The staircase is the one Christmas decoration guests see in motion. They walk past it, up it and down it, and they see the whole flight at once from the hall, not one close-up swag at a time. A staircase needs a whole-flight plan.
This guide gives you that plan: how much garland a flight actually needs, how to hang it without sagging or damaging the rail, fifteen ideas from classic red-and-green to flocked white, and the safety rules for lights, stockings and lanterns on stairs. Most staircase articles show photographs and stop there. This one gives you the lengths, the fixings and the order of work, so the staircase you build looks like the photographs from the hall, not just from six inches away.
Key Takeaways
- Buy 1.5 times the rail length in garland for a full swag look: a 4-metre rail needs about 6 metres of garland.
- Hang garland with removable hooks and colour-matched zip ties, never nails into a wooden rail you care about.
- The newel post is the anchor shot: a loaded newel with lanterns at its base carries the whole staircase.
- Battery fairy lights with a timer are the safest stair lights: no trailing cords on steps and no outlet overload.
- Keep every decoration off the treads: nothing on a step that a foot, a child or a pet can catch.
Table of Contents
- Measure the flight before you buy anything
- 15 Christmas staircase decor ideas
- Step by step: a full swag garland that does not sag
- Damage-free hanging for every rail type
- Lights, stockings and lanterns, safely
- Taking it down and storing it for next year
- Common mistakes and fixes
- FAQ
Measure the flight before you buy anything
Measure the handrail from newel post to newel post, following the slope, not the horizontal distance. A straight flight with a 4-metre rail needs about 6 metres of garland for a swagged look, because each swag dips below the rail and uses extra length.
Count the swags before you hang anything. A classic look hangs one swag per three to four balusters, or one swag per metre of rail, whichever gives fewer, deeper swags.
Finally, count outlets and light lengths together. Battery lights with timers solve most staircase lighting, but if you use mains lights, plan the cord route before the garland goes up: a cord draped over a step is a trip hazard, and a cord hidden behind garland is hard to reach when a bulb fails. Decide the light plan first, then hang the garland around it.
15 Christmas staircase decor ideas
1. Classic deep-swag cedar garland
Thick cedar or Norfolk pine garland, swagged deeply between balusters, with warm white lights woven through. Cost around £30 to £70 depending on length.
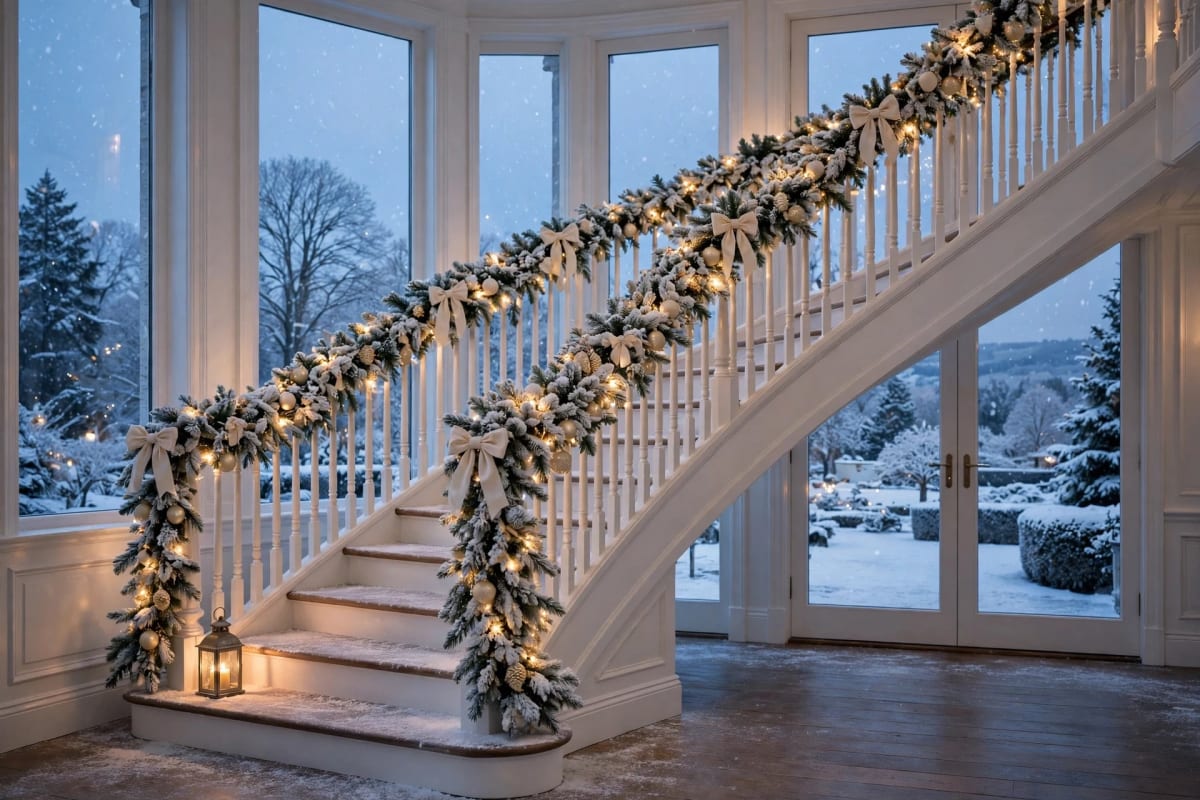
2. Flocked snowy garland on white stairs
Flocked or snowy garland on a white or pale staircase, with warm white lights only and no coloured ornaments. Cost around £35 to £75.
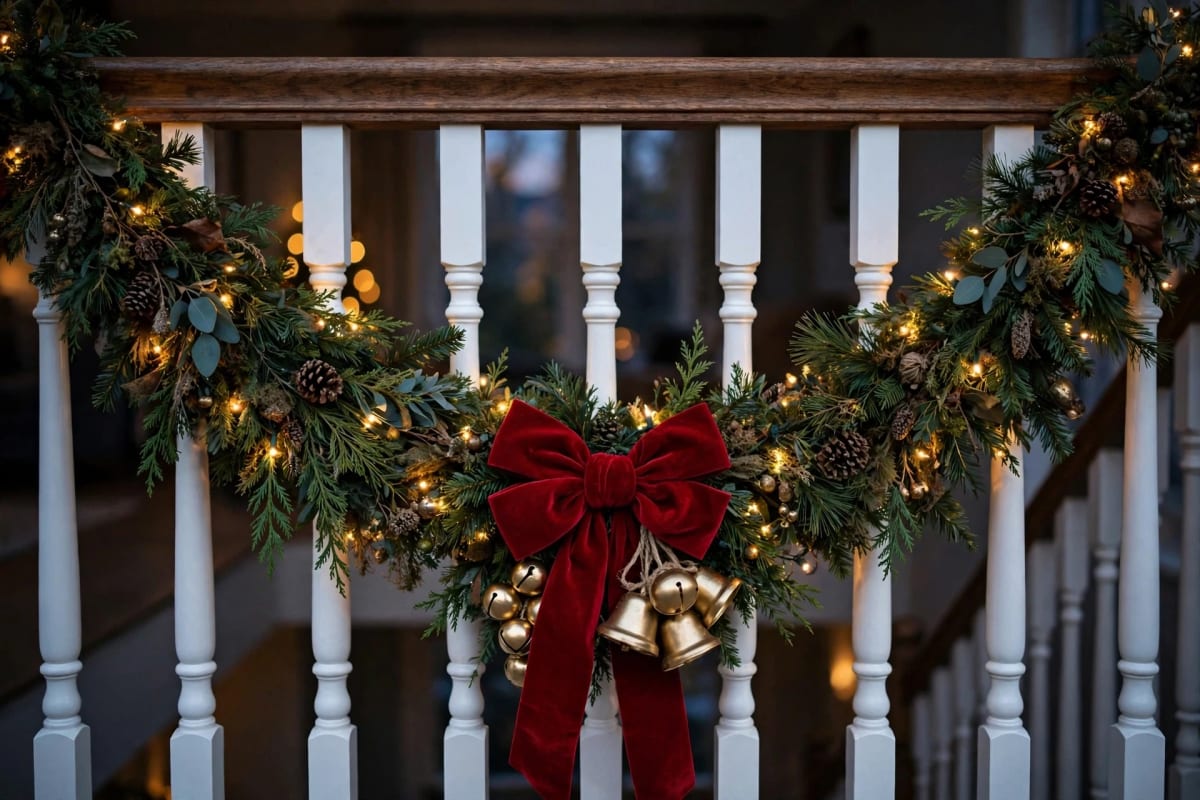
3. Red velvet bows and berries
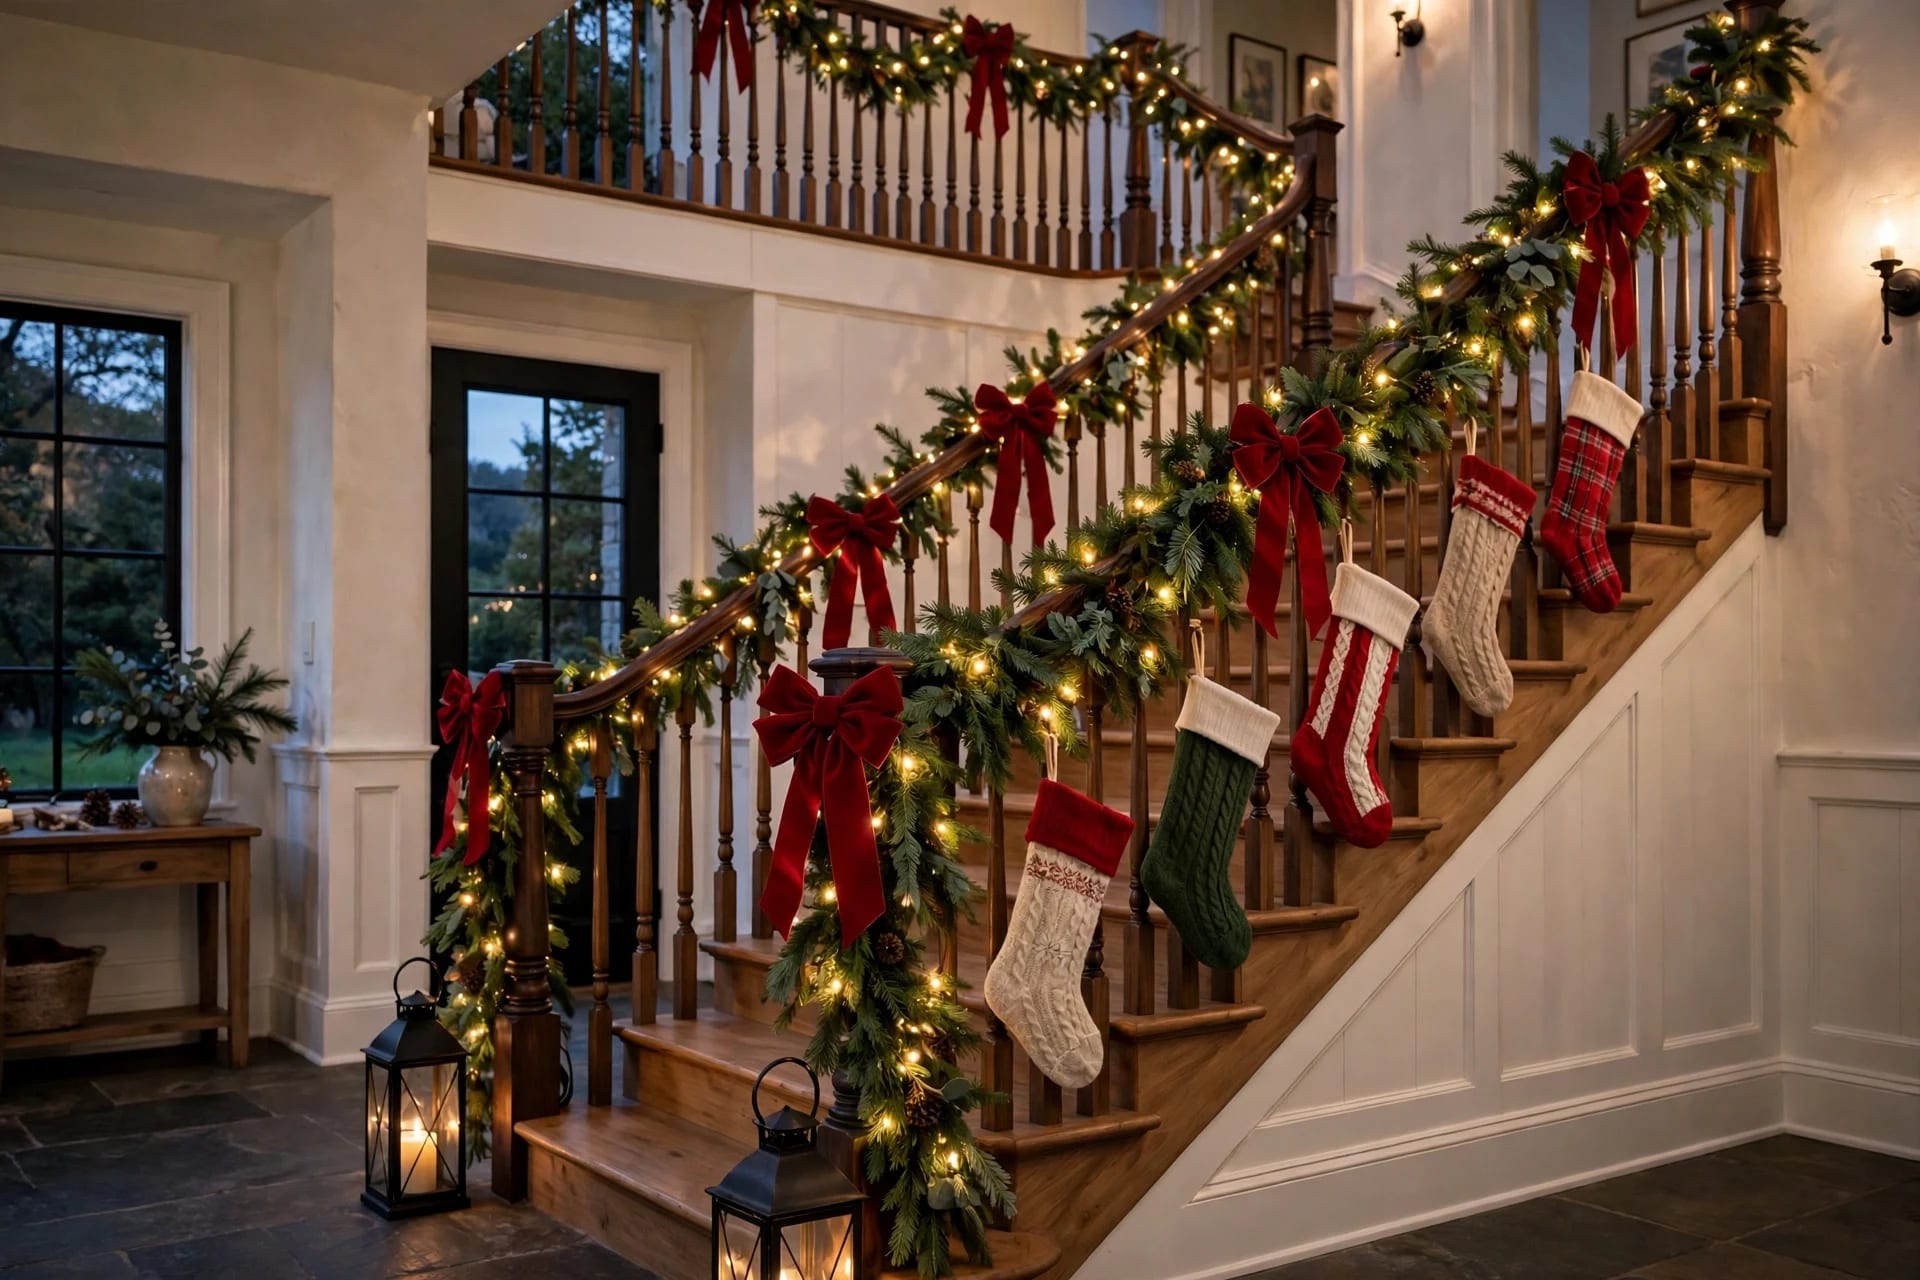
Deep green garland with large red velvet bows at each swag point and clusters of red berries between them. Cost around £15 to £30 for bows and berries, plus garland.
4. Gold bells and metallic garland
Green garland with gold bells, gold baubles and a gold ribbon woven through, for a formal, evening look. Cost around £20 to £40 for accents, plus garland.
5. Stockings along the rail
Small stockings hung from the rail at each swag point, alternating with bows, for a family staircase. Cost around £15 to £35 for stockings.
6. A loaded newel post with lanterns
A large bow, a garland wrap and a lantern or two at the base of the newel post, as the staircase's anchor shot. Cost around £20 to £50.
7. Lanterns on every third step edge
Black metal lanterns with LED pillar candles placed at the wall edge of every third step, never in the walking line. Cost around £25 to £55 for three to five lanterns.
8. A pastel staircase garland
Blush, mint or ivory garland with pearl strands and pale bows, for a soft, dreamy staircase. Cost around £30 to £65.
9. A rustic pinecone and burlap staircase
Natural garland with pinecones, burlap ribbon and wooden ornaments, for a cabin or farmhouse hall. Cost around £20 to £45 for accents, plus garland.
10. A ribbon-only staircase
Wide wired ribbon woven along the rail in loops, with no garland at all, for a clean look in a small hall. Cost around £15 to £30.
11. A nutcracker and figurine staircase
Small nutcrackers or figurines on the landing and at the newel base, with garland on the rail above them. Cost around £20 to £50.
12. A lit village on the landing
A small lit Christmas village or a row of bottle-brush trees on the landing windowsill or a landing table, tying the staircase to the rest of the house. Cost around £25 to £60.
13. A sliding penguin banister, for fun
A snow drift along the rail with plush penguins sliding down it, lit from underneath, for a playful family staircase. Cost around £20 to £40.
14. A wreath at the top of the stairs
A lit wreath hung on the wall at the top of the flight, echoing the garland below, to finish the staircase as a whole. Cost around £20 to £45.
15. A minimalist single-swag staircase
One deep swag of garland on a short flight, with a single bow and lights, for a small hall that cannot carry a full display. Cost around £20 to £35.
Step by step: a full swag garland that does not sag
You need garland at 1.5 times the rail length, battery fairy lights with a timer, removable hooks or colour-matched zip ties, and bows or berries for the swag points. Start at the top newel post and work down, which keeps the garland from sliding downhill as you hang it. Fix the garland at the top newel first, then at each marked swag point, letting it dip 25 to 35 centimetres below the rail between fixings.
Weave the lights through the garland after it is fixed, not before: lights woven first tangle and pull the garland out of shape. Add bows at the swag points last, covering the fixing ties as you go, so no hook or tie shows in the finished staircase. Step back to the hall after every three swags and check fullness from the doorway, adding a second garland strand alongside the first anywhere the rail shows through. Total time is one to two hours for a straight flight, and the difference between a sagging staircase and a full one is almost always that second strand, not better garland.
For garland formulas for mantels, doorways and tables, see Christmas garland ideas, and for the wider staircase wall, see staircase wall decor ideas.
Damage-free hanging for every rail type
Wooden rails take removable hooks over the rail, zip ties in a colour matched to the garland, and ribbon ties that can be cut away in January without a mark. Never nail into a wooden rail: the holes show for years and the rail is expensive to repair. Metal rails take magnetic hooks where the metal allows, or zip ties and ribbon, since adhesive hooks fail on cold metal and on rails handled daily.
Painted rails and banisters need extra care: adhesive hooks can lift paint when removed, so prefer ribbon ties and over-rail hooks, and test any adhesive on a hidden section first. For renters, the same methods work, with one extra rule: photograph the rail before decorating, so any mark at the end of the season can be checked against the original. A staircase decorated without damage is a staircase that can be decorated the same way next year, which is the real saving.
Lights, stockings and lanterns, safely
Battery fairy lights with a timer are the safest staircase lights: they need no outlet on the stairs, they switch off on their own, and a failed battery does not darken the whole flight. If you use mains lights, run the cord along the wall side of the rail, never across a tread, and plug it into an outlet at the top or bottom of the flight, not an extension lead draped down the stairs. Check every light string for damaged wire before hanging, and never overload one outlet with tree, mantel and staircase lights together.
Stockings stay light and on the rail, lanterns stay LED and at the wall edge of steps, and nothing at all sits on a tread in the walking line. Those three rules prevent almost every staircase decoration accident: a tripped foot, a pulled garland and a knocked lantern. Take decorations down in January before they dry out: dry garland near lights is a fire risk, and garland left until February sheds onto every carpet in the house.
Taking it down and storing it for next year
Take the staircase down in the reverse order you put it up: bows and ornaments first, then lights, then garland, then hooks and ties. Removing lights before garland stops the light string tangling into the branches, and removing ornaments first stops them falling as the garland comes down. Work from the bottom newel upward this time, so the garland does not slide down the flight as you release it, and keep a bag or box at the bottom of the stairs for ties and hooks, which are the pieces most often lost between seasons.
Store garland loosely coiled in a large bag or box, never compressed into a small one, since crushed branches take a season to recover their fullness, if they ever do. Label the box with the flight length and the number of swags, so next December you know exactly what you own without uncoiling it: a box labelled "staircase, 6 metres, 6 swags" saves a repeat purchase and a repeat measurement. Store bows flat, lights coiled separately with their timers, and lanterns with their LED candles removed, so batteries do not leak over the summer. A staircase stored well goes up in half the time next year, and it looks fuller, because the garland was never crushed.
The staircase is only one part of the festive hall: the mantel usually sits at the end of the same view, so plan it alongside the stairs with Christmas mantel decor, dress the front door that guests arrive through with Christmas front door decor, and light the hall windows to match with Christmas window decor ideas.
Common mistakes and fixes
Buying too little garland is the most common staircase mistake, and the fix is the 1.5-times rule: a rail that looks thin needs a second strand alongside the first, not a rearrangement of the strand already there. Hanging garland in a straight line along the rail is the second: without swags, the staircase reads as a rope, not a decoration, so add fixing points and let the garland dip. Ignoring the newel post is the third: a bare newel makes even a full flight look unfinished, so load the newel and put lanterns at its base.
The fourth mistake is decorating the treads: ornaments, candles and figurines on steps are tripped over, knocked down and broken, usually within a week. Move everything to the rail, the newel and the landing, and the staircase stays decorated for the whole season instead of the first weekend. Finally, a staircase with no lights looks flat after dark, when most guests see it: add battery lights even to a simple garland, and the staircase glows in the evening hall.
FAQ
How much garland do I need for a staircase?
About 1.5 times the handrail length, measured along the slope, for a full swag look. A 4-metre rail needs about 6 metres of garland, plus a separate wrap for the newel post.
How do I hang garland without damaging the rail?
Use removable over-rail hooks, colour-matched zip ties or ribbon ties. Never nail into a wooden rail, and test adhesive hooks on a hidden section of a painted rail before trusting them.
Are Christmas lights safe on stairs?
Battery fairy lights with a timer are the safest choice, with no cords on steps. Mains lights must run along the wall side of the rail to an outlet at the top or bottom of the flight, never across a tread.
Can I put stockings on the staircase?
Yes, hung from the rail at swag points and kept light or empty. Never hang filled stockings from balusters where they swing into the walking line or pull the garland down.
How do I stop garland sagging?
Fix it at every swag point, not just at the ends, and add a second strand wherever the rail shows through. Sagging usually means too little garland, not weak fixings.
When should I take staircase decor down?
In early January, before garland dries out and sheds. Dry garland near lights is a fire risk, and garland left until February is far harder to remove cleanly.