Most homemade ornaments fail for the same reason: they are made one at a time, with no plan for how they will look together. A salt dough star is charming on its own. Twelve unrelated ornaments in clashing colours, crowded onto the top third of the tree, look like a craft fair exploded. The difference is rarely talent. It is a palette, a count, and a hanging order.
This guide gives you all three, plus twelve finishable ideas. Every idea includes cost, time and skill level. You will also find a full salt dough step-by-step, hanging advice, safety notes for children and pets, and storage that keeps ornaments intact until next December.
Key Takeaways
- Best starting trio: salt dough stars, dried orange slices and cinnamon bundles — cheap, quick and forgiving
- Tree rule: plan one palette, three finishes (matte, natural, one sparkle) and count ornaments before you hang
- Budget: most ornaments here cost under $2 each; a full tree can be dressed for $20–$40
- Time: most ideas take 30–90 minutes including drying or setting time where stated
In this guide:
- Planning a cohesive tree
- 12 homemade ornament ideas
- Full step-by-step: salt dough ornaments
- Hanging and balancing the tree
- Kid-safe and pet-safe notes
- Storing ornaments so they survive to next year
- Mistakes to avoid
- FAQ
Planning a cohesive tree
Start with the palette, not the project list. Choose three colours at most, plus a neutral. Classic red, green and gold works because the tree already supplies the green; a softer modern palette might be cream, terracotta and sage. Write the palette down and check every material against it. Restraint is what makes handmade ornaments look intentional.
Then choose three finishes: matte, natural and one sparkle. Matte felt and painted wood give depth, natural pinecones, orange slices and cinnamon add texture, and a small number of glittered or metallic pieces catch the light. When every ornament sparkles, none of them does. Aim for roughly half matte and natural pieces, and no more than a quarter glitter or metallic.
Ornament count matters more than most guides admit. Too few leave bare gaps; too many hide the branches and weigh them down. Use these starting points, then adjust for how full your tree already looks:
- 4-foot tree: 30–40 ornaments
- 5-foot tree: 40–55 ornaments
- 6-foot tree: 55–75 ornaments
- 7-foot tree: 75–100 ornaments
- 7.5-foot tree and above: 100–130 ornaments
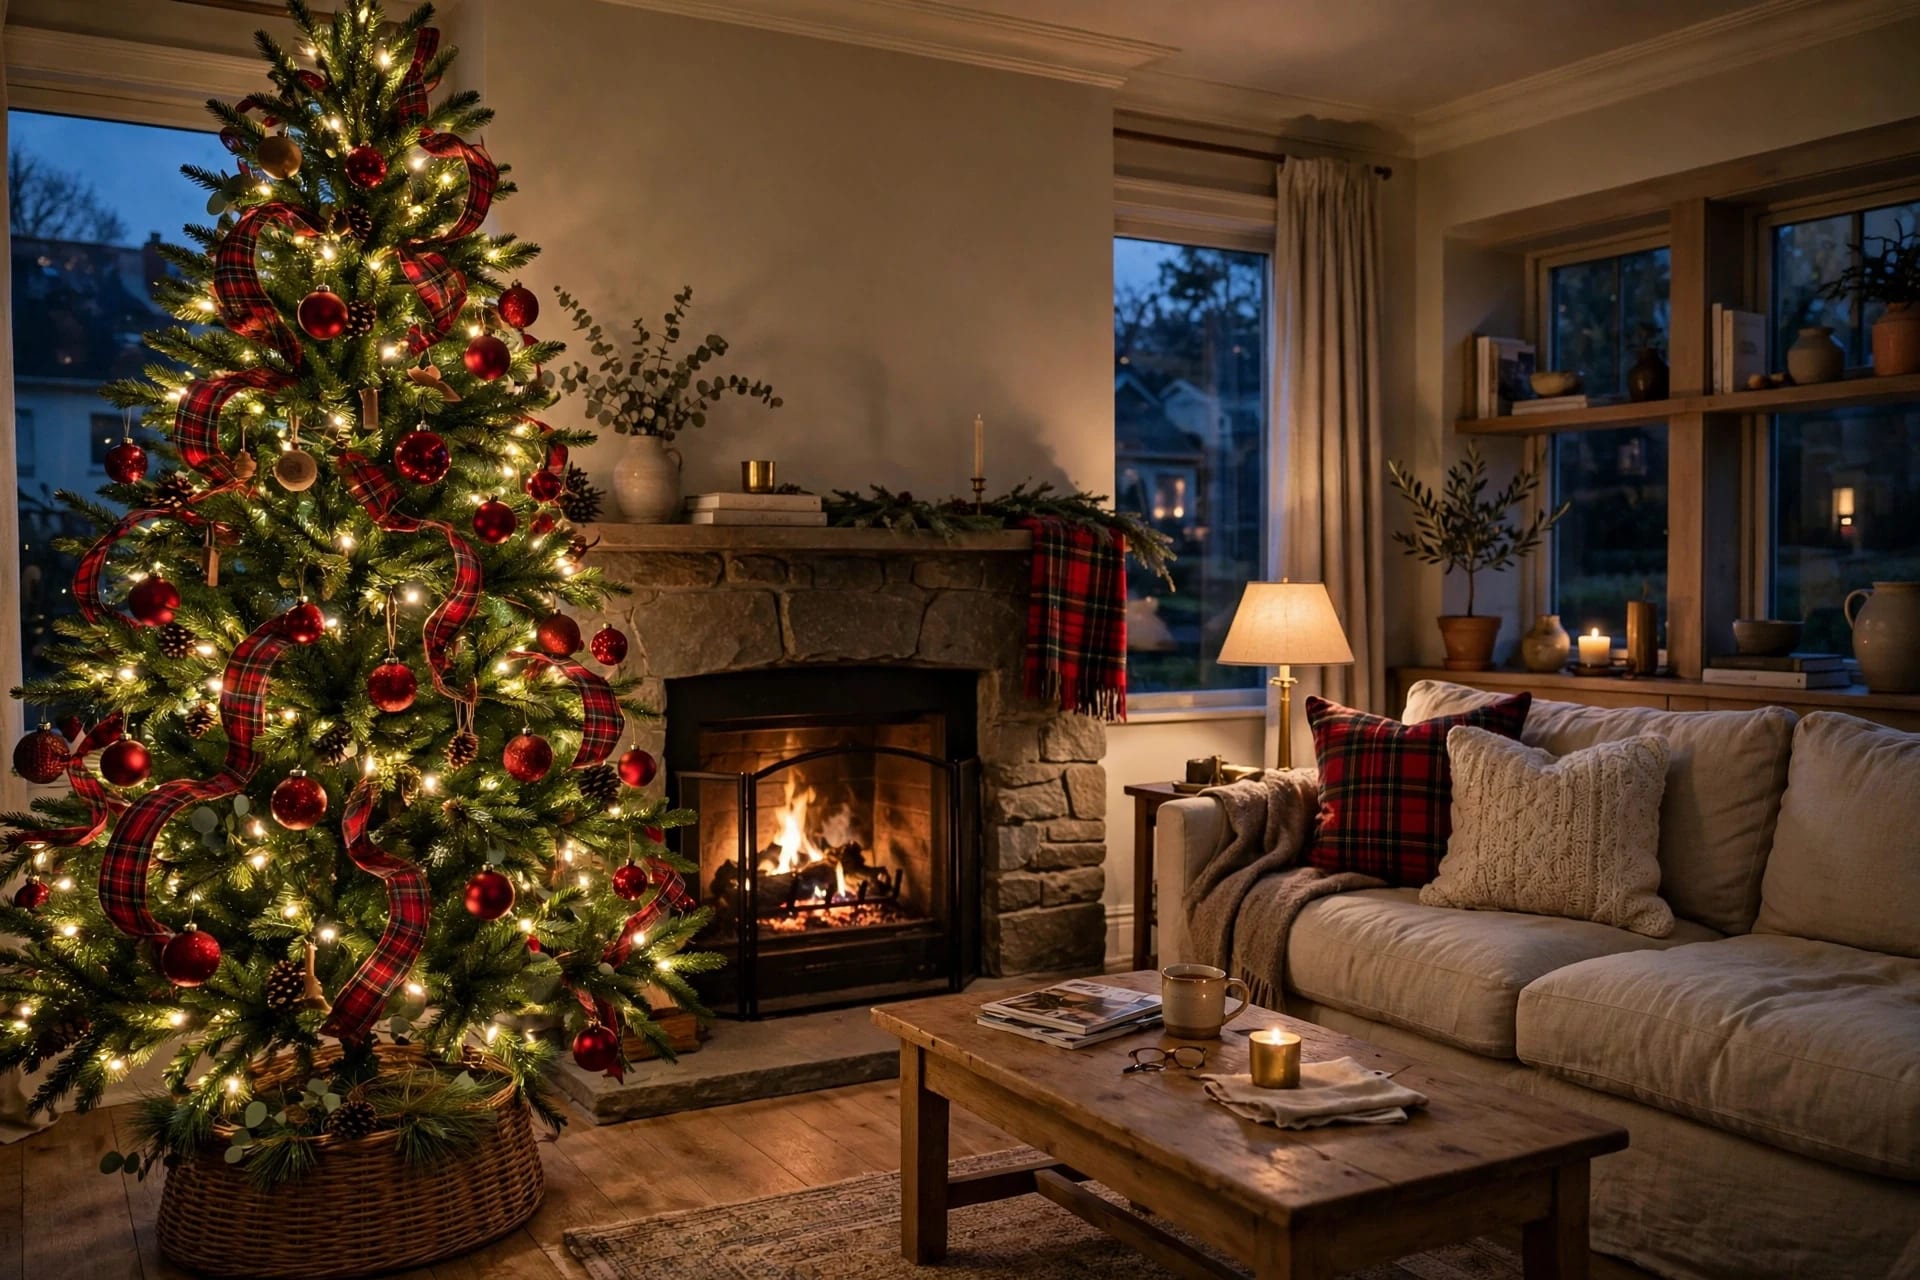
For a six-foot tree, plan about ten larger ornaments, twenty medium pieces and the rest small fillers. Large pieces go deep inside and on lower branches, medium pieces at mid-depth, and small fillers near the tips. This layering creates depth. For more, see our Christmas tree decorating ideas.
Decide the topper and garland before you make ornaments: they set the scale and the space left between branches. If you also make a wreath, keep its palette identical, as in our DIY Christmas wreath ideas.
12 homemade ornament ideas
Grouped by material, so you can batch work: make all salt dough pieces in one session, dry all orange slices together, and cut all felt shapes at once.
Salt dough
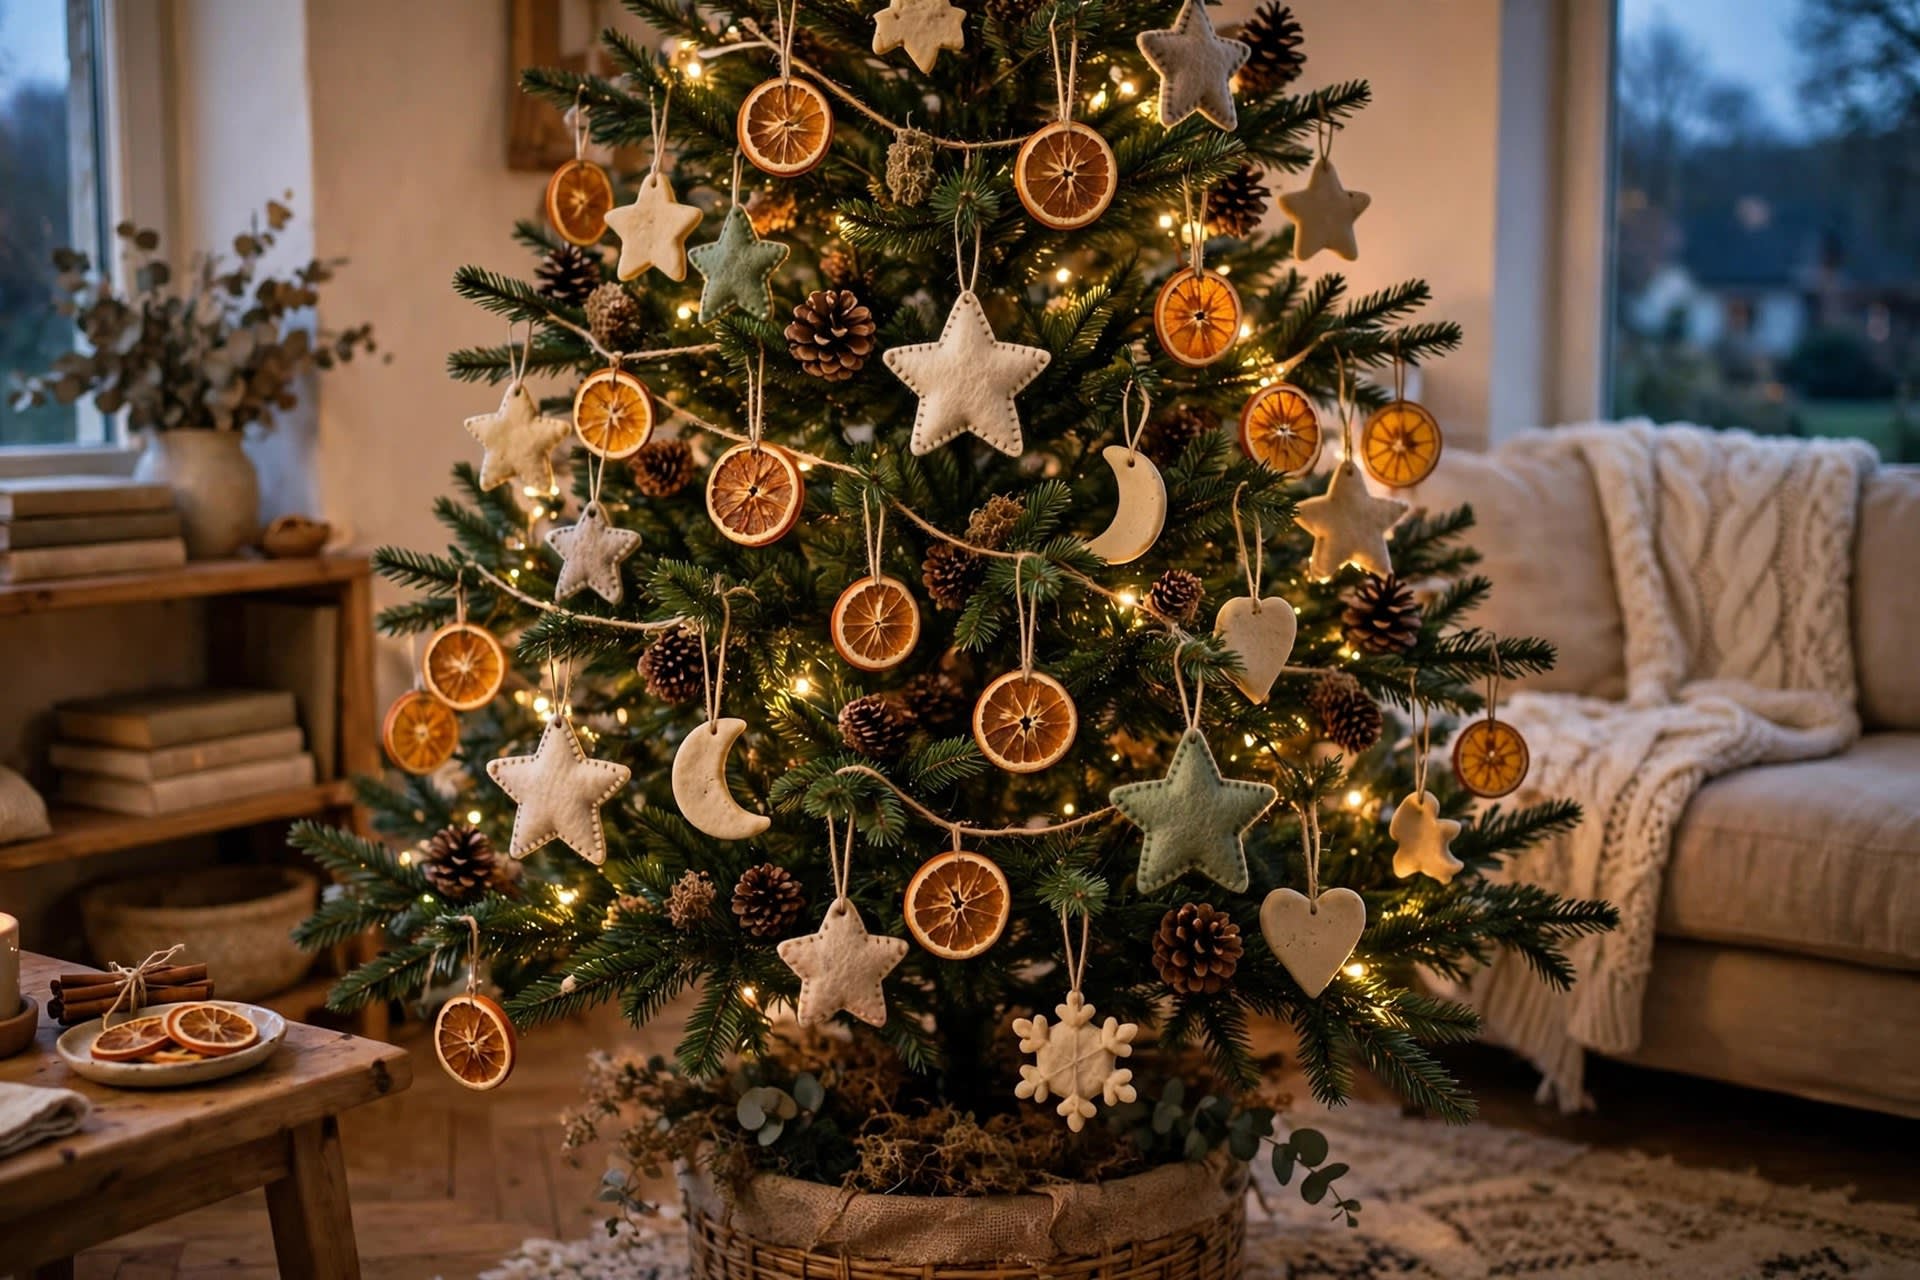
1. Classic salt dough stars and trees
Cost: under $0.50 each. Time: 30 minutes active, plus overnight drying. Skill: beginner.
Roll dough to 6 mm, cut stars, trees and hearts, and poke a hanging hole with a straw. Dry flat, turning once, then paint and seal. The full method follows below.
2. Salt dough gift tags that double as ornaments
Cost: under $0.50 each. Time: 30 minutes active, plus overnight drying. Skill: beginner.
Cut small rectangles, press a name into the soft dough, and dry as for the stars. Hang on twine until Christmas morning, then move them onto presents.
Dried orange slices
3. Dried orange slices with cinnamon and twine
Cost: about $0.50 each. Time: 2–3 hours in a low oven, mostly hands-off. Skill: beginner.
Slice oranges 5 mm thick, blot dry, and bake at the lowest oven setting until crisp, turning halfway. Thread twine through the centre and tie a cinnamon stick across the front. Keep slices thin and fully dry, or they will soften in a warm room.

Felt
4. Layered felt trees
Cost: about $1 each. Time: 20 minutes each. Skill: beginner.
Cut three graduating triangles from green felt, stack with a small gap, and stitch or glue onto a felt trunk. Add French knots or seed beads as baubles. Felt is soft and unbreakable, ideal for low branches.
5. Felt gingerbread people
Cost: about $1 each. Time: 25 minutes each. Skill: beginner.
Cut a gingerbread shape from brown felt, add a white icing outline with blanket stitch or fabric glue, and two button eyes. Keep the face simple: two dots and a smile read better from a distance.
Paper
6. Folded paper stars
Cost: almost nothing. Time: 15 minutes each. Skill: beginner to intermediate.
Fold strips of sturdy paper into five-pointed stars and press the creases firmly. Use plain, patterned or map paper in your palette, avoiding very thin paper, which tears. Glue the final join.
7. Paper bauble garland balls
Cost: under $0.50 each. Time: 20 minutes each. Skill: beginner.
Cut twelve identical card circles, fold each in half, and glue the halves in a ring to form a ball. Thread a loop through the top before closing the last seam. Hang in clusters for a fuller look.
Pinecone
8. Frosted pinecones with ribbon hangers
Cost: under $1 each if pinecones are gathered. Time: 20 minutes each, plus drying. Skill: beginner.
Clean and fully dry pinecones first, or paint will not stick. Brush tips with white paint, sprinkle glitter or fake snow while wet, and tie a ribbon loop around the base. Use them deep in the tree to fill gaps.
Clear-fill baubles
9. Clear baubles filled with dried flowers
Cost: $1–$2 each. Time: 10 minutes each. Skill: beginner.
Open a clear fillable bauble, tuck in dried lavender, small dried flowers or pine sprigs, and close firmly. Do not overfill: empty space lets contents move and catch the light.
10. Clear baubles filled with faux snow and miniature trees
Cost: $1–$2 each. Time: 15 minutes each. Skill: beginner.
Add faux snow, a miniature bottle-brush tree and a pinch of glitter to a clear bauble, then seal the cap with glue. Shake gently to settle the snow.
Wood slice
11. Painted wood slice ornaments
Cost: $1–$2 each. Time: 30 minutes each, plus drying. Skill: beginner.
Sand a small wood slice lightly, paint a simple design — a star, snowflake, house or single word — and seal it. Bold shapes read across the room; fine detail disappears. Keep paint within your palette.

Cinnamon
12. Cinnamon stick bundles
Cost: about $1 each. Time: 10 minutes each. Skill: beginner.
Bundle three cinnamon sticks, tie with twine, add greenery or a dried orange slice, and hang. They are the fastest ornament here, scent the room gently, and fill gaps on sparse branches.
Full step-by-step: salt dough ornaments
Most salt dough failures come from wet dough, thick shapes, or painting before drying is complete. Follow this order and the ornaments will last for years.
Step 1: Mix the dough. Combine two cups of flour, one cup of fine salt and about three-quarters of a cup of water. Mix until smooth, adding water a spoonful at a time, until it feels like soft play dough, not sticky.
Step 2: Roll and cut. Roll to an even 6 mm on a floured surface. Thicker shapes may stay soft inside; thinner shapes snap. Cut shapes, lift with a spatula, and place on a lined tray.
Step 3: Make the hanging hole now. Poke a hole near the top of each shape with a straw, before drying — drilling a dry piece cracks it. Make the hole slightly large; dough shrinks as it dries.
Step 4: Dry slowly. Air-dry 24–48 hours, turning once, or bake at the lowest oven setting for 2–3 hours, turning halfway. It is ready when light, hard and evenly dry on both sides.
Step 5: Paint and seal. Paint with acrylics in your palette, dry fully, then seal both sides with clear varnish or diluted craft glue. Unsealed dough absorbs moisture and softens. Thread twine through the hole and hang.
Hanging and balancing the tree
Hang in this order: lights, garland, large ornaments, medium pieces, then small fillers last. Step back after every ten ornaments and judge from the doorway, not from two feet away.
Place heavy ornaments — wood slices, filled baubles, large salt dough pieces — close to the trunk, on strong branches, with hooks wrapped securely around the branch. Light pieces — felt, paper, cinnamon — can sit near the tips. Spread each colour evenly around the tree, and check the back too.
Hang a few ornaments inside the tree, not only on its outer edge: inner pieces add depth, and pinecones and cinnamon fill gaps round baubles cannot reach. For garland, see our Christmas garland ideas.
Kid-safe and pet-safe notes
Homemade ornaments are safer than many shop-bought ones, but only if you choose materials deliberately. Felt, paper and cinnamon bundles are the safest choices for low branches: they are soft, light and unbreakable if pulled down. Keep salt dough, painted wood and clear baubles higher up, out of reach of toddlers, because paint, small parts and breakable plastic are the main risks.
Avoid small beads, buttons and loose glitter within a child's reach, and never use real candles near a tree. For pets, skip tinsel and long ribbons, which may be chewed or swallowed, and keep food-based decorations, including salty dough, away from nibbling animals. Put fragile pieces high and soft pieces low.
Storing ornaments so they survive to next year
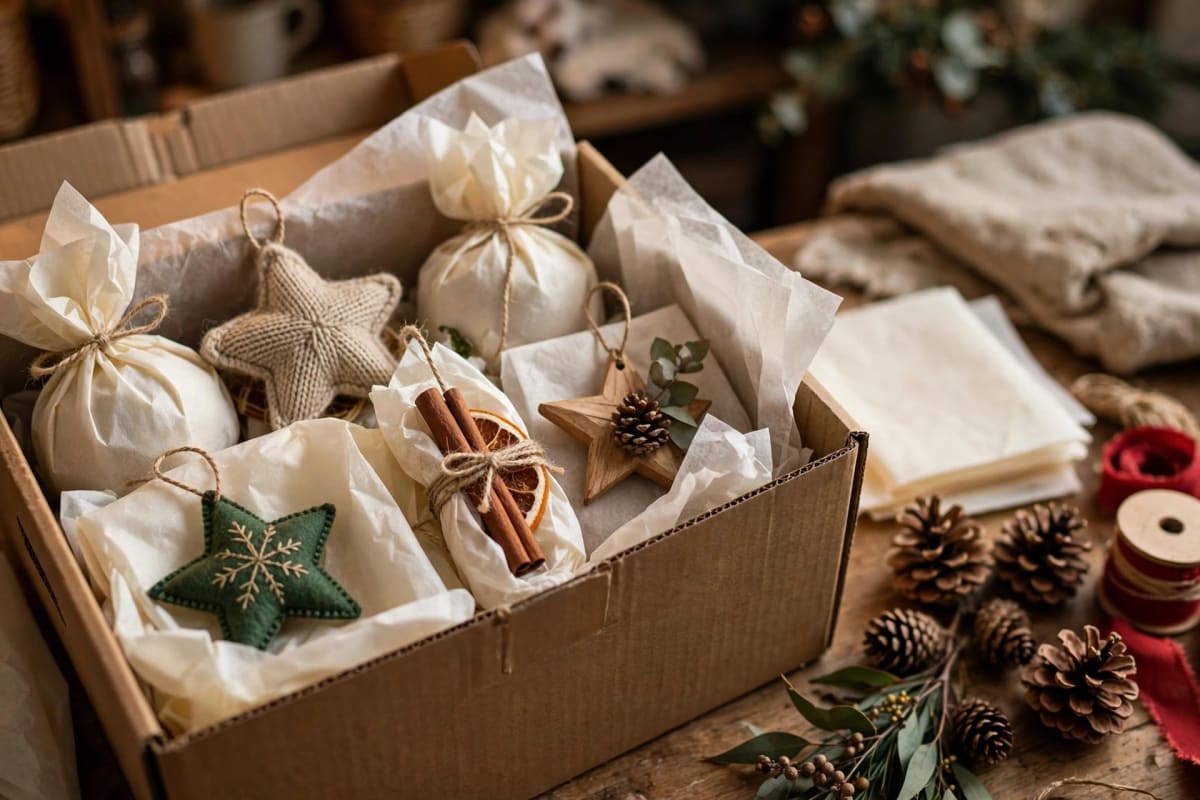
Most ornament damage happens in storage, not on the tree. Wrap each fragile piece individually in tissue paper, never in newspaper, which can transfer print onto paint. Store salt dough and painted pieces in a rigid box with dividers, not loose in a bag where they knock together. Keep dried orange slices and cinnamon bundles in a dry, airtight container with a silica gel packet; moisture is their enemy, and a damp box can ruin a whole set in one summer.
Label the box by year and palette, and store it cool and dry. Photograph the finished tree before taking it down: next year, that photo is your hanging map. When you open the box again, check each piece before hanging it, and repair any loose ribbon or chipped seal promptly, so small damage never becomes a broken ornament mid-season.
Mistakes to avoid
- Overloading branches. A branch that droops under ornaments looks tired, not abundant. Move heavy pieces inward and remove one ornament rather than adding another to a sagging branch.
- Glue failures. Hot glue on smooth plastic, or craft glue on a dusty pinecone, will let go in a warm room. Clean surfaces first, match the glue to the material, and let joins cure fully before hanging.
- Skipping the seal. Unsealed salt dough and unsealed paint absorb moisture, chip and fade. One coat of varnish takes minutes and adds years.
- No palette discipline. Every extra colour dilutes the scheme. If a new ornament does not fit the palette, save it for another room or another year.
- Hanging everything on the outside. A tree decorated only on its surface looks thin. Push pieces inward for depth.
- Rushing the drying. Painting damp salt dough or hanging damp orange slices leads to cracking, mould and soft centres. Drying time is part of the project, not an optional extra.
FAQ
How many homemade ornaments do I need for a 6-foot tree? Plan 55–75 in total: about ten large, twenty medium, and the rest small fillers. Count before you start making.
Are salt dough ornaments safe around children and pets? Once sealed, they are safe to handle, but very salty and not food. Keep them from toddlers and pets, and use felt or paper low down.
How long do dried orange slice ornaments last? Fully dried slices last one season easily, often two or three if stored airtight. Soft, bendable slices were under-dried and may mould.
Can I make these ornaments with children? Yes — felt trees, paper stars, cinnamon bundles and painting dried dough are all child-friendly. Adults should handle ovens, hot glue and cutting tools.
What is the cheapest way to decorate a whole tree by hand? Combine salt dough, dried orange slices and cinnamon bundles: all under $1 each, using kitchen ingredients. Add felt for softness, for a full tree at roughly $20–$40.
Start with the palette, count before you craft, and hang large to small. A homemade tree built this way does not look like a compromise next to shop-bought decorations — it looks like a collection, made on purpose, year after year.