
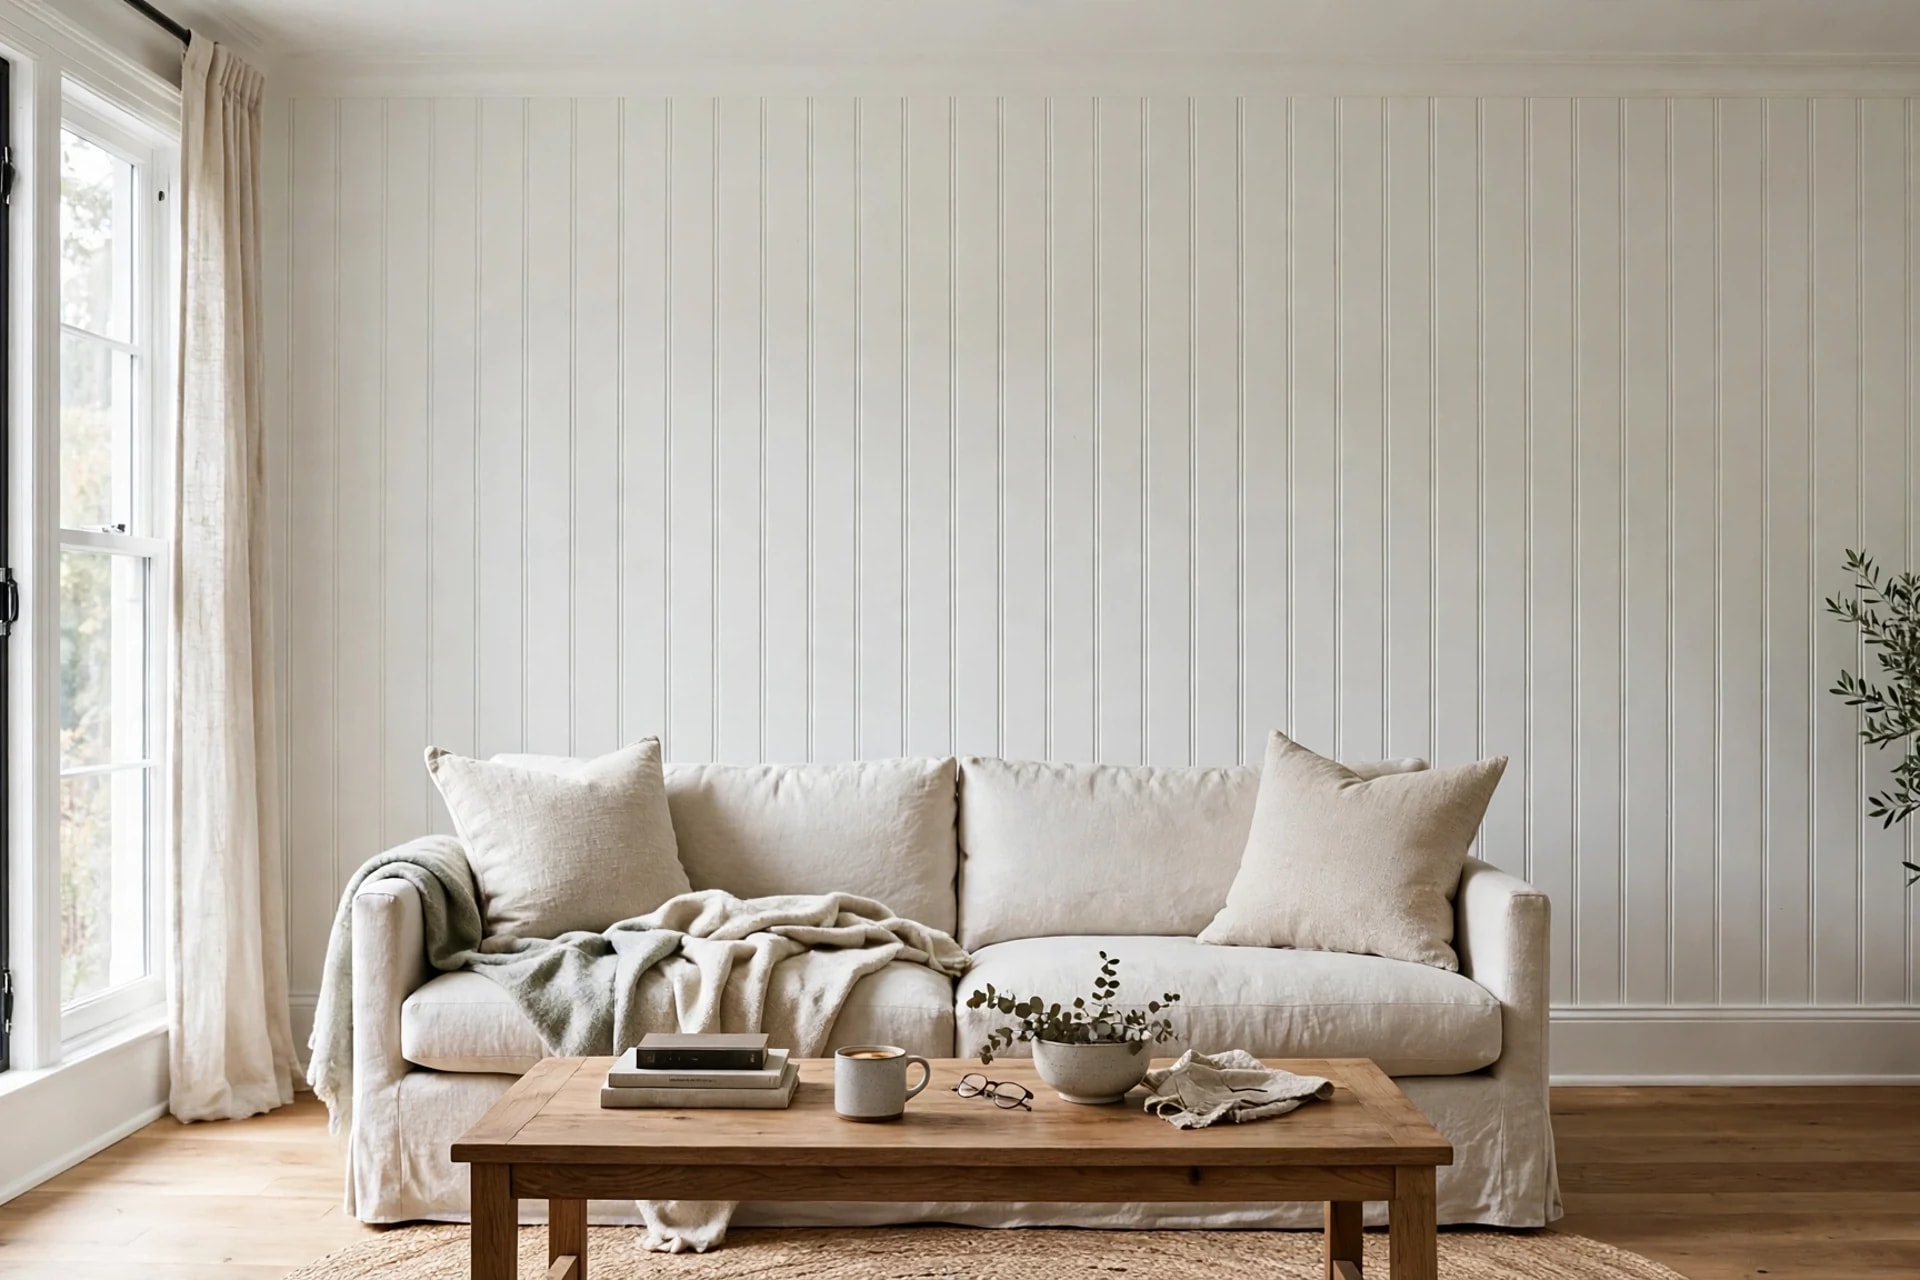
Beadboard is the wall treatment for people who want shiplap's texture without shiplap's price tag or board-and-batten's geometry homework. It's a row of narrow vertical boards with a small rounded "bead" milled between each one — a detail that catches light every few inches and turns a flat wall into something with rhythm. Originally it was thick tongue-and-groove cladding; today it's mostly lightweight 4×8 sheets that go up in an afternoon. Done right, it reads as built-in carpentry. Done rushed, it reads as paneling from a 1970s basement. The difference is almost entirely in the trim and the caulk.
Key Takeaways
- 4×8 beadboard sheets run $25–$35 each; a DIY 10×10 room lands around $150–$200 in materials, pro install around $4–$6/sq ft
- Half-wall height is 32–36 inches (chair-rail height); full-height walls suit entryways and bathrooms, not every room
- Install first, caulk second, paint last — that sequence is what makes seams disappear
- Bathrooms need PVC or moisture-rated panels — standard MDF swells and never recovers
- Order 10% extra and plan seams so they never land as a skinny strip at a corner
Table of Contents
- What beadboard actually is
- Panels vs individual planks
- Three heights, three looks
- Materials and real costs
- Panel math for a real wall
- Install steps that matter
- Paint: before or after
- Where beadboard fails
- Beadboard vs shiplap vs board-and-batten
- FAQ
What beadboard actually is
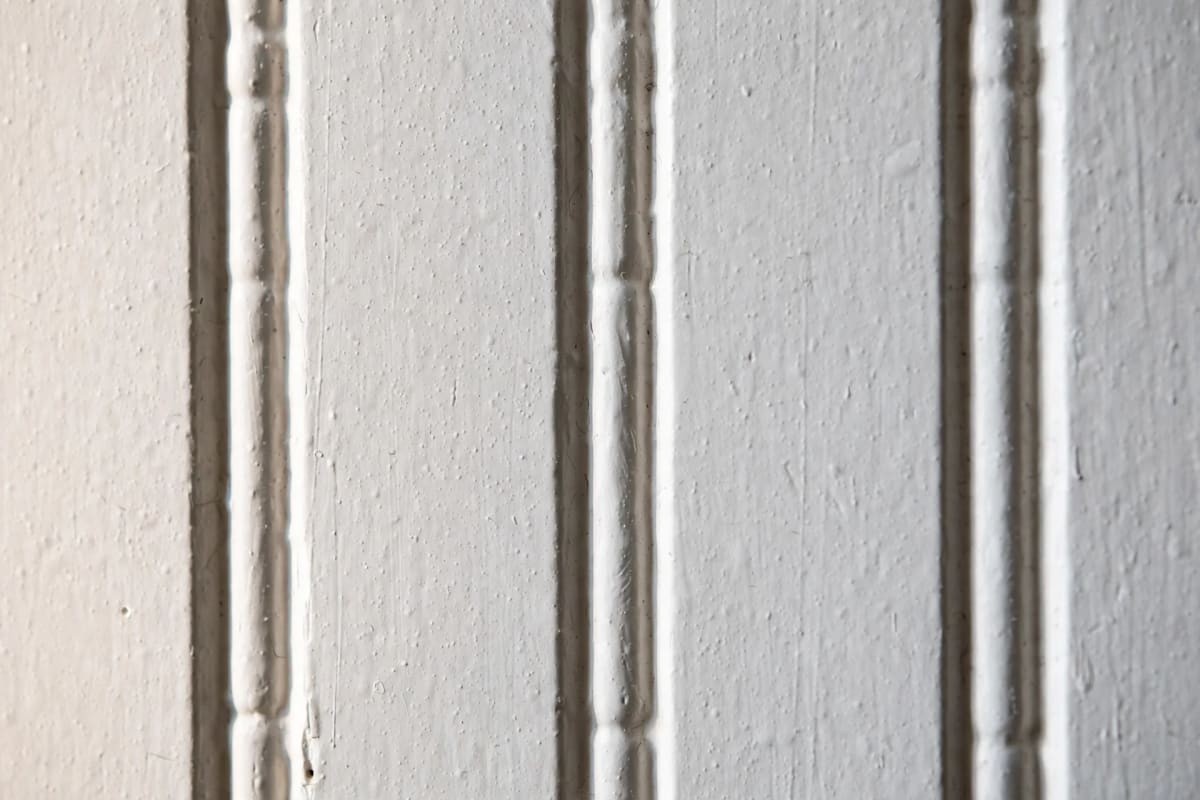
Real beadboard is a series of narrow boards — traditionally about 3 inches of face width each — joined tongue-and-groove, with a small half-round bead milled along one edge of each board. The bead is the whole point: it's a shadow line that repeats every few inches, so the wall reads as texture from across the room and as craftsmanship up close. It suits cottage, coastal, farmhouse, and traditional rooms the way flat drywall never will, and it hides minor wall sins (small dents, uneven paint) behind vertical rhythm.
The modern shortcut is a 4×8-foot sheet with the bead pattern milled or molded into its face. From three feet away, a good sheet is indistinguishable from individual boards; up close, the giveaway is the seam where two sheets meet — the bead spacing breaks for a fraction of an inch. Caulk and paint hide most of that, which is why sheets dominate DIY installs. Individual tongue-and-groove boards are still available (pine, oak, Douglas fir) and still better — no fake seams, real wood depth, and they handle moisture better — at roughly double the material cost and triple the install time.
Panels vs individual planks
- MDF beadboard sheets (¼-inch, primed): the default DIY choice. Cheap ($25–$35 per 4×8 sheet), light, perfectly flat, and already primed. Cuts with a circular saw or even a sharp utility knife scored twice. Weakness: MDF drinks water. One plumbing leak or a steamy bathroom without ventilation, and the bottom edge swells into a wavy mess that sanding can't fix.
- Wood beadboard sheets (pine, primed or raw): sturdier, takes nails better, and survives minor moisture. Costs more per sheet and weighs more, but it's the better buy for dining rooms and hallways that take chair bumps.
- Individual tongue-and-groove boards: the authentic route. Boards lock together, expand and contract as a system, and can be sanded and repainted for decades. A full room takes a weekend rather than an afternoon, and you'll want a brad nailer and a miter saw, not just a hammer.
- PVC/vinyl beadboard: the wet-room answer. Waterproof, wipeable, slightly plastic-looking up close, and the right call for bathrooms, laundry rooms, and porch ceilings. Costs more than MDF per sheet but less than a rotted MDF wall replaced twice.
- Peel-and-stick beadboard wallpaper: not beadboard, but worth one line — it's a printed pattern with no real shadow line. Fine for a rental accent in a photo; unconvincing in person from closer than six feet. Our peel-and-stick wallpaper accent wall guide covers that route honestly.
Three heights, three looks
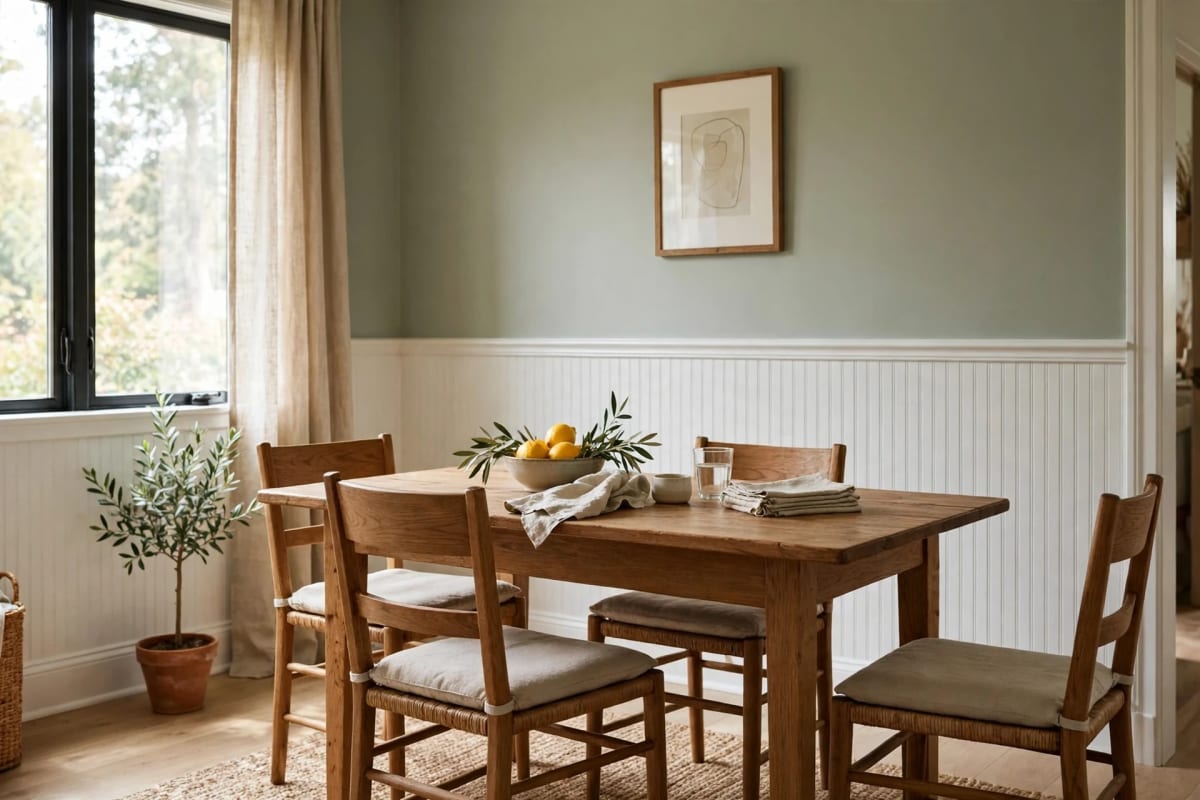
Half-wall wainscoting (32–36 inches, capped with a chair rail). The classic. It protects the wall behind dining chairs — the original job of wainscoting — and adds architecture without shrinking the room visually. The chair rail cap is not optional: it finishes the top edge, gives you a tiny display ledge, and hides the cut line. Standard chair-rail height is 32–36 inches; in rooms with 8-foot ceilings, stay near 32 inches so the upper wall keeps its proportion.
Two-thirds height (48–54 inches). Bolder, and the right call for entryways, stairwells, and mudrooms where the lower wall takes abuse. Above 48 inches the beadboard starts competing with art and windows for attention, so keep the upper wall calm — one color, minimal decor.
Full height, floor to ceiling. Dramatic in small rooms (powder rooms, reading nooks, porch walls) and overwhelming in big ones. Full-height beadboard works best painted the same color as the trim so the room reads as paneled rather than striped. On a full wall, plan your sheet seams symmetrically — a seam dead-center looks intentional; a seam 6 inches from a corner looks like a mistake.
Materials and real costs
2026 US pricing, rounded from retail listings and pro cost guides:
- MDF beadboard sheet (4×8 ft): $25–$35
- Primed pine beadboard sheet: $35–$55
- Individual pine tongue-and-groove boards: roughly $1.50–$3 per sq ft in material
- PVC beadboard sheet: $40–$70
- Chair rail / cap trim (primed pine, 8 ft): $12–$15 per piece
- Baseboard to reinstall over panels: $10–$18 per 8 ft piece (if replacing)
- Construction adhesive: $5–$8 per tube
- Brad nails (1¼-inch, 18-gauge): $8–$10 per pack
- Paintable caulk: $5–$7 per tube
- Paint (semi-gloss, 1 gallon): $25–$40
- Spackle/wood filler + sandpaper: $10–$15 combined
Room totals for a DIY half-wall install: a 10×10-foot room runs $150–$200 in materials; a 12×15-foot room runs $200–$275. A published pro-vs-DIY comparison for a 12×15 room put professional installation of 180 sq ft of beadboard wainscoting at about $2,700 (labor plus materials) versus roughly $780 in materials DIY — a 71% saving for a weekend of work. Professional installation generally quotes at $4–$6 per sq ft for the paneling itself, before paint. Tool costs if you're starting from zero: a brad nailer $80–$120 (or rent one for a day), a stud finder $15–$20, a circular saw $50–$70 — or use the store's cutting service and a handsaw for the trim.
Panel math for a real wall
A 4×8 sheet covers 32 sq ft, but walls aren't sheet-shaped. For a 12-foot-wide wall at half-wall height (3 feet), you need 36 sq ft of panel — two sheets, with one sheet cut down. For a full-height 12×8 wall, 96 sq ft — three sheets exactly, which never happens in practice because of outlets, windows, and corners. Order 10% extra and accept that the last sheet becomes offcuts for closets and repairs.
Layout rules that save you:
- Measure the wall in inches, sketch it on paper, and mark every outlet, switch, and vent before cutting anything. Outlets need box extenders (a few dollars each) so the plate sits on the new panel surface — a plate sunk behind beadboard is the loudest tell of a rushed job.
- Center the layout. Start from the middle of the wall and work outward so the two end pieces are equal width. A 2-inch sliver at one corner screams mistake; two 8-inch pieces at both corners read as planned.
- Subtract ¼ inch from the height for an expansion gap at the floor, hidden by the baseboard you reinstall over the panels.
- Plan seams on studs. A sheet edge floating between studs flexes and eventually cracks its caulk line. Shift the layout a few inches to land every seam on framing.
Install steps that matter
- Remove the baseboard (and any chair rail) carefully with a pry bar — you'll reinstall it over the panels, which hides every bottom cut. Score the paint line first with a utility knife so the drywall paper doesn't tear.
- Find and mark the studs (usually 16 inches on center). Panels glue-and-nail to studs; adhesive alone holds for a while, nails into studs hold for decades.
- Dry-fit the first sheet. Hold it in place, check it against the floor and the corner, and scribe it if the wall leans — old walls lean, and a scribed first sheet beats a caulk-filled wedge.
- Glue and nail. A zigzag of construction adhesive on the back, then 1¼-inch brads every 12 inches into studs (and a few into the top and bottom plates). Work from one corner outward, keeping each sheet's bead lines vertical with a level — a sheet that drifts ⅛ inch at the bottom is visibly drunk by the ceiling on a full-height wall.
- Install the cap trim (chair rail for half walls, crown or a simple cap for full height). The cap hides the top cut and gives the install its finished line. Miter inside corners; cope them if you know how, miter if you don't — caulk forgives miters.
- Fill, caulk, sand. Fill every nail hole with lightweight spackle or wood filler, sand with 220-grit when dry, and run paintable caulk along every seam, inside corner, and trim joint. Caulk is the step amateurs skip and professionals never do — it's what turns "panels on a wall" into "wall, paneled."
- Reinstall baseboard over the panels, extend outlet boxes, replace plates, and only then paint.
Paint: before or after
You can do either, but install first, then caulk, then paint last gives the cleanest finish for one reason: caulk and filler need paint over them to disappear. Pre-painting sheets before install saves cutting-in time but guarantees touch-ups at every seam and nail hole — and touch-up paint over caulk never quite matches. The sequence that works: install, fill, caulk, prime any raw wood or filler spots, then two coats of semi-gloss or satin paint. Semi-gloss is the right sheen for beadboard — it wipes clean (dining rooms, hallways, kids' rooms) and its slight shine deepens the bead shadows. Flat paint hides imperfections better but marks the first time a chair bumps it. A gallon covers roughly 350–400 sq ft per coat, so a half-wall room needs barely a quart for two coats — buy the gallon only if you're painting the upper wall the same trip.
Where beadboard fails
- Bathrooms with standard MDF. Steam finds the bottom edge and the panel swells. Use PVC or moisture-rated panels in any room with a shower, and leave a small gap behind the baseboard for air.
- Long walls with lazy seams. Two sheets meeting mid-wall without a stud behind the seam will crack their caulk within a year. Land seams on studs or add a thin vertical trim batten over the seam as a design feature — a 1×2 painted strip reads as intentional paneling, not a cover-up.
- Wavy walls. Beadboard sheets are flat and honest: they bridge dips and telegraph humps. On a badly uneven wall, individual boards (which flex slightly per board) or a skim coat first will save you.
- Rentals. Adhesive plus brads is not a reversible install. If your lease forbids holes, beadboard isn't your project — our renter friendly wall decor guide has the no-damage alternatives.
- Ceilings in humid climates. Beadboard ceilings look gorgeous and sag embarrassingly if glued without enough fasteners. Screw (don't just nail) ceiling panels into joists, and use PVC in porches.
Beadboard vs shiplap vs board-and-batten
These three get confused constantly, and choosing wrong is the most common beadboard regret:
- Beadboard: vertical narrow boards, bead detail, cottage/traditional feel, cheapest of the three, best for half walls and small rooms.
- Shiplap: horizontal (or vertical) wide planks with a shadow gap, farmhouse/modern feel, mid-range cost, best for full accent walls. Our shiplap accent wall guide covers the real-vs-faux decision.
- Board-and-batten: flat wall with applied vertical battens over it in a grid, craftsman/formal feel, the most architectural of the three, best for dining rooms and tall walls. See our board-and-batten wall guide.
Rule of thumb: beadboard for charm, shiplap for texture, board-and-batten for structure. If your room already has a lot of horizontal lines (long sofa, wide windows), beadboard's vertical rhythm balances it; if the room is tall and narrow, shiplap's horizontal lines widen it.
FAQ
How much does a beadboard accent wall cost? DIY materials for a 10×10 room run $150–$200; a 12×15 room runs $200–$275. Professional installation quotes around $4–$6 per sq ft for paneling alone. Sheets themselves cost $25–$35 per 4×8 sheet in MDF.
What height should beadboard wainscoting be? 32–36 inches for a standard half wall with a chair rail cap. In 8-foot-ceiling rooms, stay near 32 inches so the upper wall keeps its proportion. Full-height installs suit small rooms like powder rooms and entryways.
Can you install beadboard over drywall? Yes — directly over drywall or plaster with construction adhesive plus brad nails into studs. Remove the baseboard first and reinstall it over the panels for a built-in look.
Is beadboard good for bathrooms? Only in PVC or moisture-rated panels. Standard MDF beadboard swells with steam and humidity and can't be repaired once it does. Use PVC for any wall near a shower.
Should you paint beadboard before or after installing? After, for the cleanest result: install, fill nail holes, caulk the seams, then paint. Pre-painting saves cutting-in time but every seam and nail hole needs touch-ups afterward.
What's the difference between beadboard and shiplap? Beadboard is narrow vertical boards with a rounded bead between them (cottage/traditional); shiplap is wider horizontal planks with a shadow gap (farmhouse/modern). Beadboard is generally cheaper and better for half walls; shiplap suits full accent walls.



