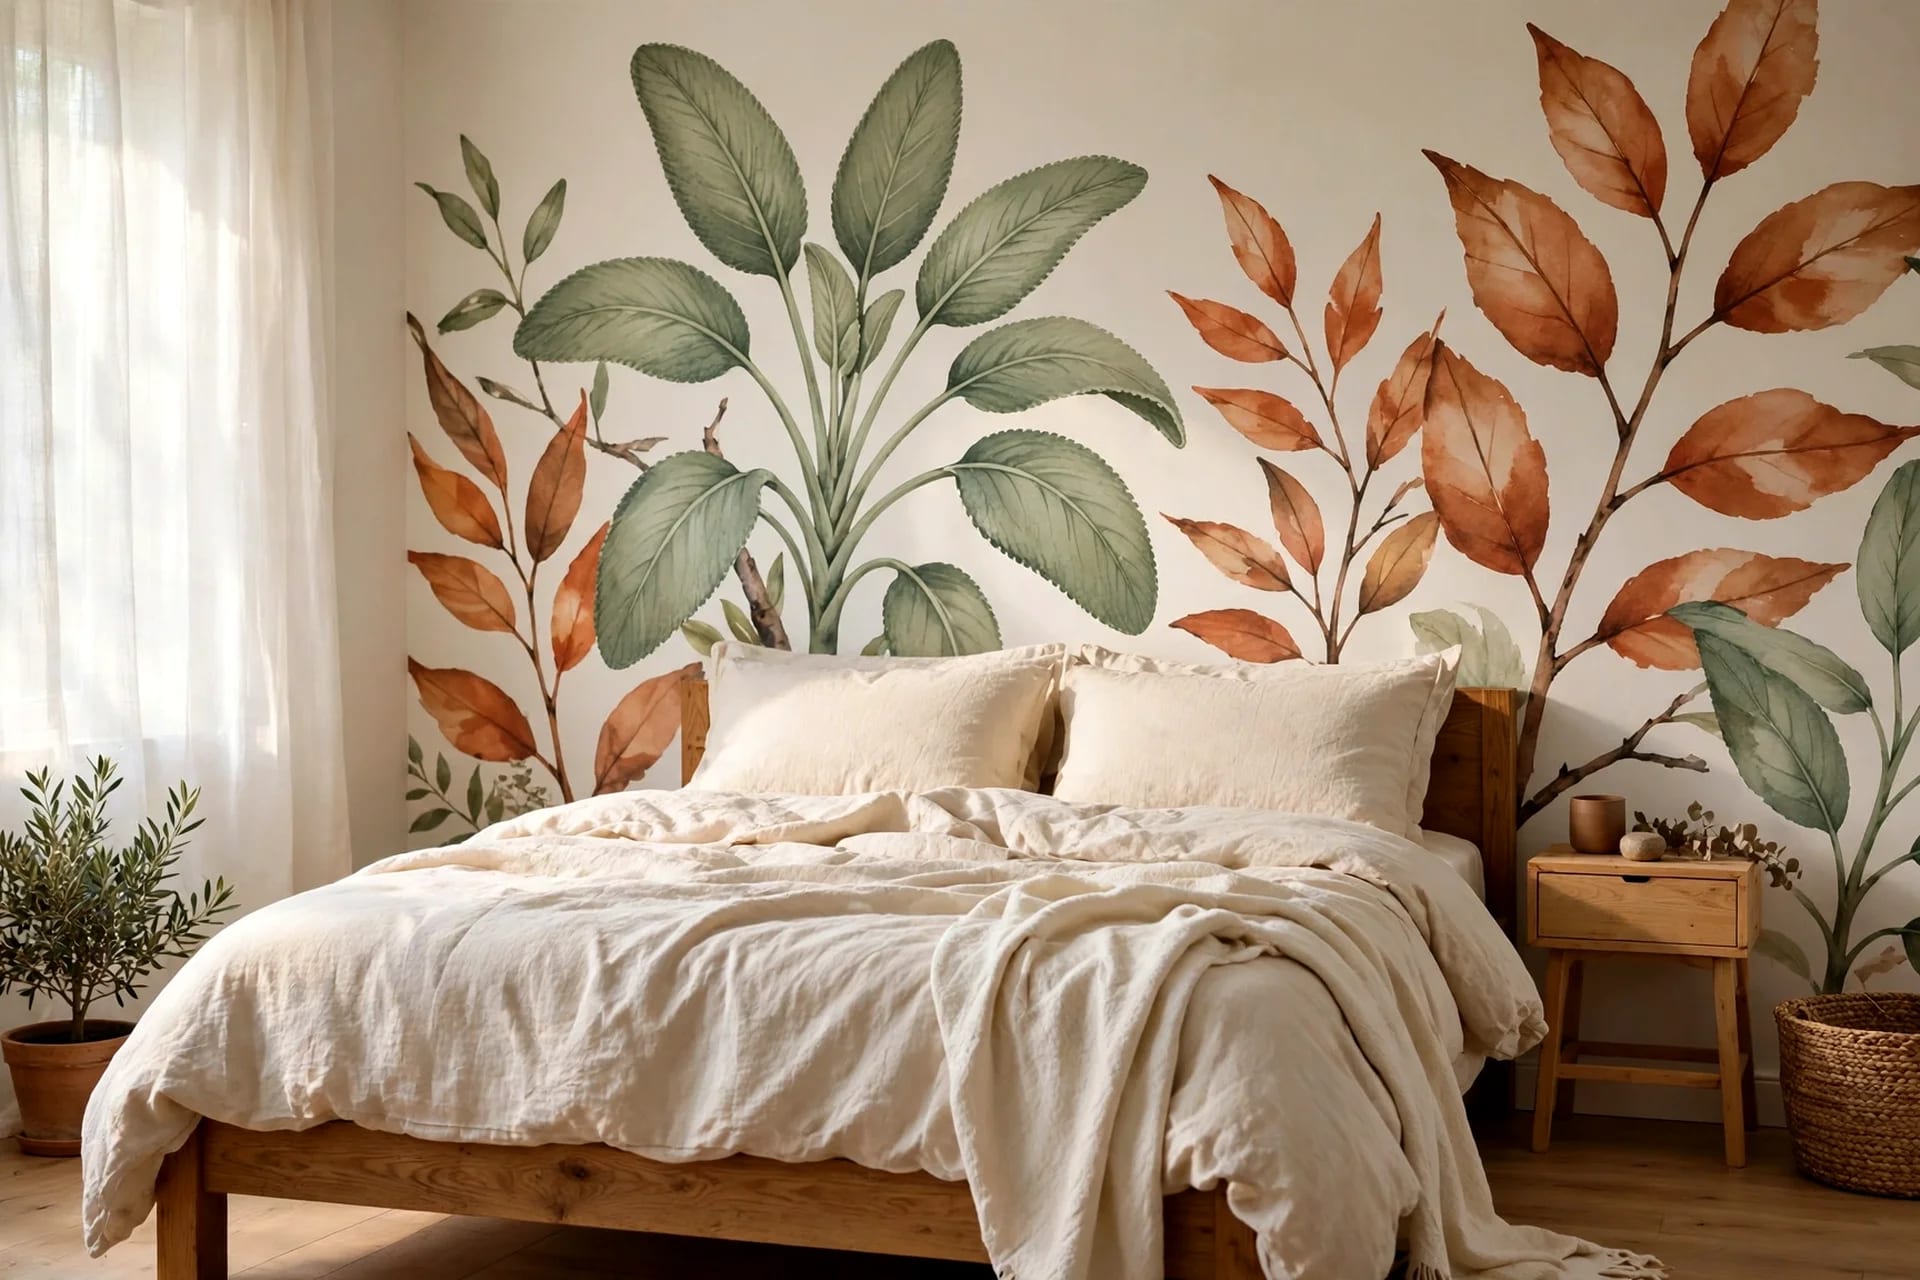
The staircase wall is the largest blank wall in most homes — and the most ignored. It runs two storeys high, catches the eye from the entryway, and usually holds nothing but a coat of paint. Decorate it well and the whole house feels finished. Decorate it badly and every trip upstairs passes a crooked, cluttered mess.
Staircase walls are unforgiving because they are angled, tall and hard to reach. You cannot stand back and judge like you can with a flat living-room wall, and a frame that looks level from the stairs often looks tilted from the floor below. This guide fixes that with the hanging math professionals use, a paper-template method that prevents extra nail holes, and twelve looks ranked by effort — plus the safety rules that matter more here than on any other wall.
Key Takeaways
- Sightline rule: centre artwork 57–60 inches above each stair tread — not above the floor — so the display rises evenly with the stairs
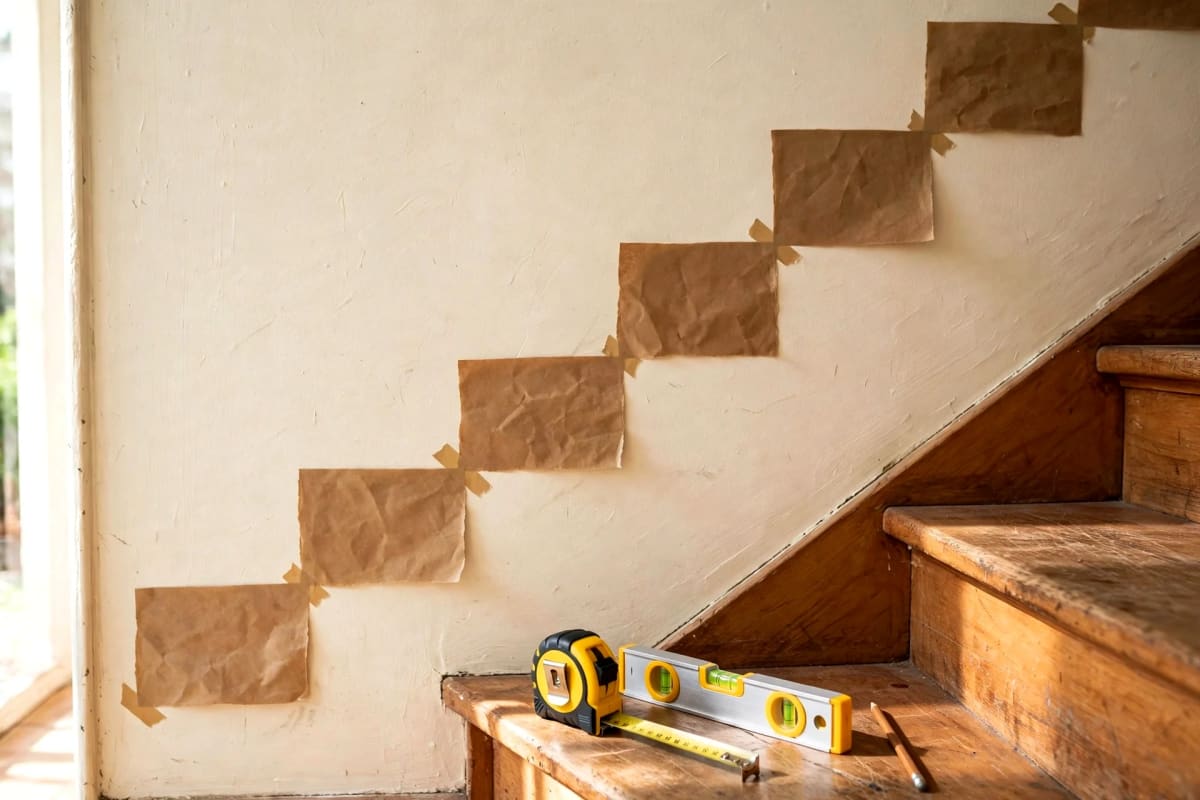
- Template first: cut paper the size of every frame and tape them to the wall before a single nail goes in
- Safety first: keep decor above handrail height, keep the walking path clear, and anchor anything over 10 lbs into a stud
- Easiest big win: a diagonal gallery wall of 5–8 frames in matching frames, following the stair angle
- Budget: most staircase displays cost $40–$150 using frames you already own plus a few new pieces
In this guide:
- Safety rules before you hang anything
- The hanging math: sightlines, spacing and angles
- The paper-template method
- 12 staircase wall decor ideas
- Landing and tall-wall features
- Lighting a staircase wall
- Renter-friendly options
- Mistakes to avoid
- FAQ
Safety rules before you hang anything
A staircase wall sits beside a fall hazard, so safety shapes every decision. Three rules are non-negotiable.
First, keep decor above the handrail. The handrail sits 34–38 inches above the stair nosing, and anything below that height — a protruding shelf, a chunky frame, a plant — can catch a hand or block a grip during a stumble. Hang artwork with its bottom edge above handrail height, and never place a shelf or ledge where someone could grab it instead of the rail.
Second, keep the walking path completely clear. Staircases need their full width for safe passage. That means no deep shelves, no protruding baskets and no bulky frames jutting more than a couple of inches from the wall within the walking zone. Shallow pieces — frames, flat mirrors, slim ledges under 4 inches deep — are safe. Deep shadow boxes and chunky planters are not, unless they sit on a wide landing rather than the stair run itself.
Third, anchor heavy pieces properly. Stair vibrations loosen fixings over time, so anything over 10 lbs must go into a wall stud, not just drywall, and heavy mirrors need proper mirror hardware rather than a single picture hook. Use a stud finder — stair walls often have studs in unexpected places — and if you cannot find a stud where you need one, use a toggle bolt rated well above the piece's weight. For a deeper look at hanging weight limits, see our floating shelf weight capacity guide.
The hanging math: sightlines, spacing and angles
The mistake most staircase displays make is hanging frames level with the floor. On a slope, level frames look like they are sliding downhill. The fix is to hang them parallel to the staircase angle, using the treads as your reference.
Start by measuring your staircase: the rise (height of each step) and run (depth of each step). Most homes have a rise of 7–8 inches and a run of 10–11 inches. The stair angle is roughly 35–40 degrees, but you do not need the angle — you need the sightline. Stand on a tread and measure 57–60 inches straight up from that tread's surface: that is where the centre of the artwork beside that tread should sit. Repeat every few treads and you have a rising sightline that follows the stairs perfectly.
Spacing follows the same logic as any gallery wall, with one adjustment: keep 2–4 inches between frames, and keep the whole arrangement's centre on the sightline, not its top or bottom edge. For a diagonal grid of same-size frames, align their centres along a line parallel to the stair slope. For a staggered arrangement, let individual frames sit up to 6 inches above or below the sightline — enough to feel organic, not enough to look random.
The paper-template method
Never hang a staircase gallery by eye. The wall is tall, the ladder is awkward, and every wrong hole is visible from below. Paper templates solve all of it.
Cut a piece of craft paper or newspaper to the exact size of each frame, including the frame border. Mark the hanging point on each template — where the nail goes relative to the paper's top edge. Then tape the templates to the wall in your planned arrangement, stepping back to the floor to check from all three viewpoints. Move paper, not nails: repositioning a template costs seconds, while patching and repainting a wrong hole costs an evening.
Live with the templates for a day: walk the stairs, glance from the entryway, check them in evening light. When the arrangement still pleases you, mark nail points through the paper and hang the real frames.
12 staircase wall decor ideas
1. Diagonal photo gallery
The classic for a reason. Five to eight framed photos in matching frames, arranged in a diagonal line or loose grid following the stair angle. Black-and-white prints in identical frames look curated even when the photos themselves are casual family snaps. Keep frame sizes within two sizes of each other for cohesion.
2. Staggered family timeline
Arrange photos chronologically as you ascend — childhood at the bottom, recent years at the top. It turns the daily climb into a story, and guests naturally read it as they walk up. Use one frame colour throughout so the timeline, not the frames, carries the design.
3. Oversized single artwork
One large piece — a landscape print, an abstract canvas, a textile hanging — centred on the sightline midway up the stairs. This suits tall, narrow stair walls where a gallery would feel crowded, and it is the fastest option: one hanging point, one decision. Choose art at least 36 inches on its longest side, or it will look lost on a two-storey wall.
4. Mirror collection
A large round mirror at the landing plus two or three smaller mirrors along the run bounces light into what is often the darkest part of the house. Mirrors work especially well on staircases with no window. Keep them flat and light — heavy mirrors on stair walls are a safety risk, as noted above — and see our mirror wall decor ideas for sizing rules.
5. Floating ledges
Two or three short picture ledges mounted parallel to the stair slope hold leaning frames, small plants and books, and let you swap the display without new holes. Keep ledges shallow — under 4 inches deep — and mount them above handrail height.
6. Botanical prints in a row
A set of matching botanical or landscape prints in a single horizontal-ish diagonal row brings calm to a busy staircase. This is the best choice when the stairs are visible from the living room, because the repeated motif reads as one intentional piece rather than clutter.
7. Woven and textile hangings
A macramé piece or woven wall hanging adds softness and absorbs sound in an echoey stairwell. Textiles are also the lightest option, which matters on walls where studs are hard to find. Pair one large textile with two small framed prints for balance.
8. Plate or basket wall
Decorative plates or flat woven baskets arranged diagonally up the stairs add texture and warmth, especially in farmhouse or boho homes. Use plate hangers rated for the weight, and keep plates flat against the wall — anything protruding into the walking path is a hazard.
9. Wall moulding panels
Applied moulding rectangles running up the stair wall add architecture without any art at all. Paint them the same colour as the wall for a subtle panelled look, or a contrasting colour for drama. Moulding suits formal homes and tall stair walls, and our DIY picture frame moulding guide covers the technique.
10. Sconces and picture lights
Wall sconces mounted above artwork, or a single picture light over a large piece, turn the staircase into a gallery after dark. Battery-operated sconces avoid wiring entirely. Light also solves the most common staircase complaint — that the display disappears in the evening.
11. Chalkboard or letter board
A framed chalkboard or letter board on the landing wall gives the staircase a rotating message — a quote, a countdown, the week's menu. It is the most personal option and the easiest to refresh, though it suits the landing better than the stair run itself.
12. Tall vertical gallery
For a tall blank wall at the turn, stack frames vertically in a single column, largest piece in the middle. Keep the column one frame wide so it reads as a feature, not clutter.
Landing and tall-wall features
Landings deserve their own moment. A landing is flat, reachable and visible from two directions, so it can carry what the stair run cannot: a console table, a leaning floor mirror, a tall plant, a bench with storage. Anchor the landing with one large piece — a mirror, a big frame, a tall plant — then add two smaller pieces beside it. The landing is also the right place for anything heavy, since you can reach studs and hardware comfortably without balancing on a ladder over steps.
For the double-height wall above a staircase, scale up aggressively: one oversized canvas, a large mirror, or a vertical arrangement spanning at least two-thirds of the wall height. If it is truly out of reach, hire the hanging out.
Lighting a staircase wall
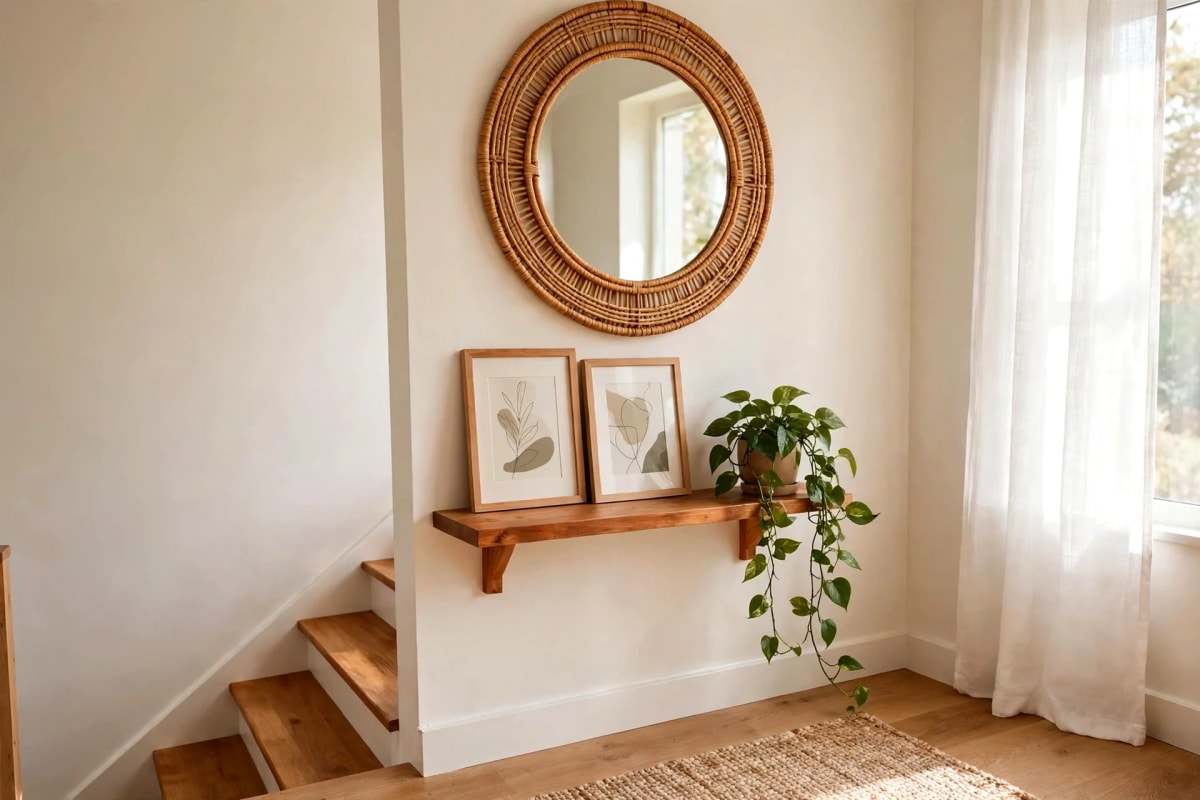
Most staircase walls are under-lit, and no display survives bad light. If your stairs have a window, let it work: hang reflective pieces — mirrors, glass-fronted frames, metallic art — where they catch daylight. If not, add light deliberately. Battery sconces between frames, a picture light over a large piece, or LED strip lighting tucked under a ledge all transform the display after dark. Warm white (2700K) suits wood stairs and warm frames; cool white suits modern, white-walled staircases.
Renter-friendly options
Renters have excellent staircase options that leave no trace. Adhesive strips hold most frames on smooth walls — check the rating, since textured walls reduce holding power. Washi tape outlines taped directly on the wall create a gallery look with zero holes, leaning art on the landing needs no fixings at all, and a textile on a single adhesive hook warms the whole stairwell. See our damage-free wall decor and renter-friendly wall decor guides for the full no-hole toolkit.
Mistakes to avoid
- Hanging level with the floor. On a slope, level frames look like they are sliding. Follow the stair angle.
- Hanging below handrail height. Anything that blocks a grip or protrudes into the walking path is a safety problem, not a style choice.
- Skipping templates. Every wrong hole on a staircase wall is visible from below and awkward to repair.
- Too many small frames. A dozen tiny frames on a two-storey wall read as clutter. Fewer, larger pieces hold the space.
- Ignoring the view from below. Judge the display from the entryway and the bottom of the stairs, not just while standing on the steps.
- Heavy pieces on drywall alone. Stair vibrations loosen fixings over time. Studs or toggle bolts for anything over 10 lbs.
FAQ
How high should pictures hang on a staircase wall? Centre each piece 57–60 inches above the tread beside it, so the display rises evenly with the stairs. Hanging at a fixed height above the floor makes the display look like it is sliding downhill.
What is the best staircase wall decor for a small staircase? A diagonal gallery of 5–8 matching frames, or one oversized piece. Keep everything flat and above handrail height, and avoid deep shelves that narrow the walking path.
Can I hang a gallery wall on a staircase without damaging the walls? Yes — adhesive strips hold most frames, washi tape creates a no-hole gallery look, and leaning art on the landing needs no fixings at all. Check strip weight ratings and avoid textured walls, which reduce adhesion.
How do I hang pictures straight on a sloped wall? Hang them parallel to the stair slope, not level with the floor. Use the paper-template method, mark nail points through the templates, and check the arrangement from the bottom of the stairs, the top, and the entryway.
What should I put on a tall staircase wall? Scale up: one oversized canvas, a large mirror, or a vertical arrangement spanning at least two-thirds of the wall height. Small frames disappear on double-height walls.
Are floating shelves safe on a staircase wall? Shallow ledges under 4 inches deep, mounted above handrail height and anchored into studs, are safe. Deep shelves that protrude into the walking path are not.
Start with the sightline, test with paper, and hang one wall this weekend. The staircase is the most-seen wall in your home — every guest walks past it, and you walk past it daily. It deserves more than blank paint.