
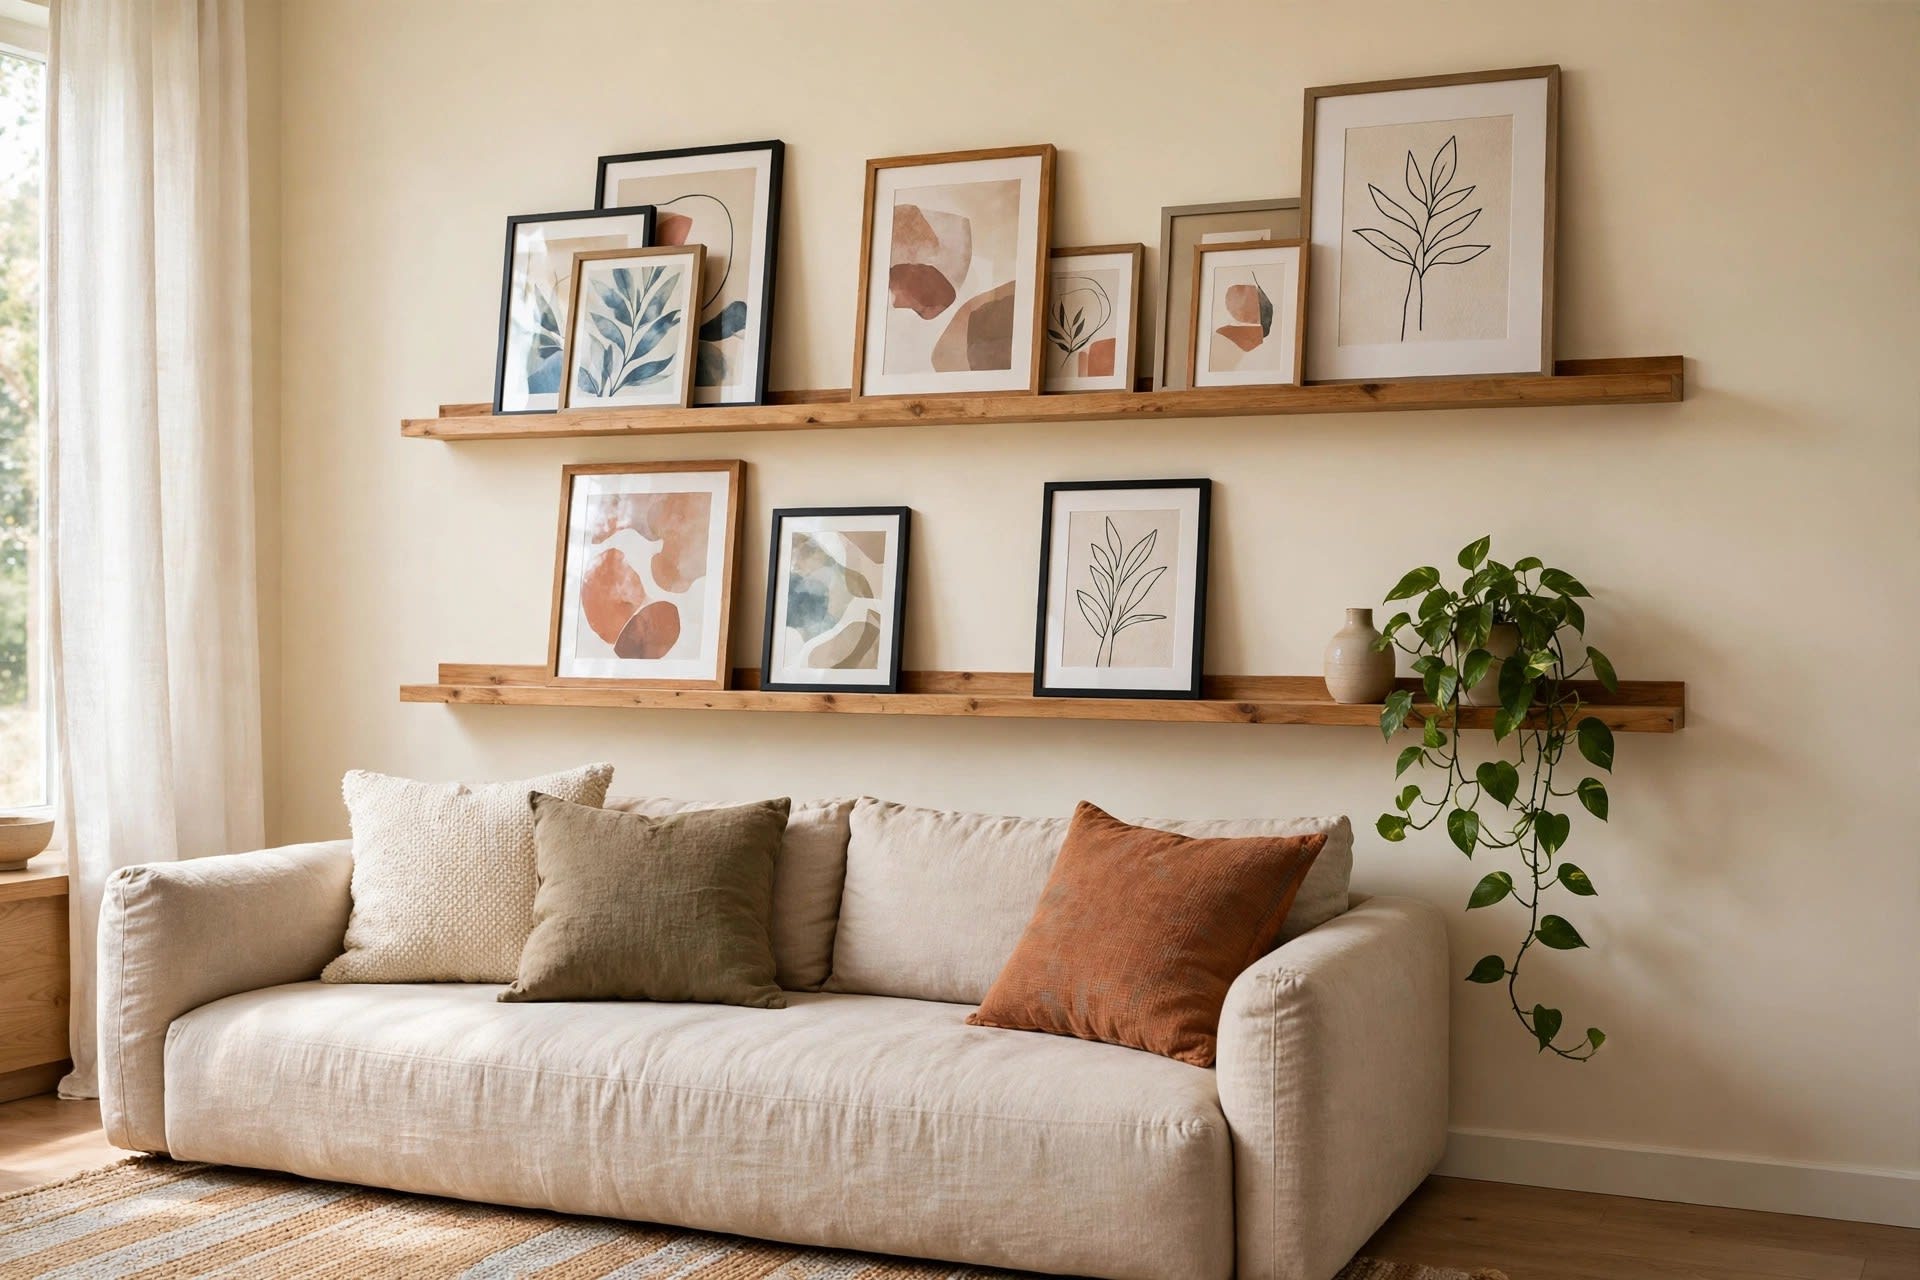
A picture ledge is a slim shelf with a raised front lip, built for leaning art rather than hanging it. You can swap a print in thirty seconds and restyle a whole wall without a single nail. But a ledge hung too high, loaded with same-size frames, or crowded edge to edge looks less like a gallery and more like a shelf that gave up.
This guide covers the full job: picking the right ledge, installing it so it stays put under real weight, placing it at designer height, and styling it with a layering formula that works in any room. Most picture ledge articles online are idea listicles — no install steps, no weight limits, no spacing formulas. This one includes all three.
Key Takeaways
- Cost: $15–$60 per ledge ready-made, or $10–$25 per ledge built from a single board
- Time needed: about an hour per ledge
- Skill level: beginner with a drill
- The formula: large frame at the back, medium in the middle, small in front
In this guide:
- What a picture ledge is — and how it differs from a floating shelf
- Choosing the right ledge: length, depth and lip
- Step-by-step installation
- The styling system: the layering formula
- Room-by-room ideas
- Seasonal rotation: restyle without new holes
- Renter-friendly options
- Mistakes that make a ledge look wrong
- FAQ
What a picture ledge is — and how it differs from a floating shelf
A picture ledge is a narrow shelf, usually 3 to 5 inches deep, with a small raised lip along the front edge that stops leaning frames sliding forward; frames rest against the wall with no hanging hardware at all.
A floating shelf looks similar but behaves differently: deeper (typically 8 to 12 inches), no lip, built for objects — books, vases, plants — standing upright. A leaning frame on a lipless shelf falls at the first bump. If you want books and objects, build DIY floating shelves; if you want art you can rearrange on a whim, you want ledges.
Art changes on a ledge are free: swapping a print takes seconds and leaves no new holes, while a traditional gallery wall needs a nail for every frame. The trade-off is weight: ledges are art rails, not storage, and the weight limits below keep them from sagging.
Choosing the right ledge: length, depth and lip
Length: match the furniture, not the wall
The most common beginner error is a ledge too short for its space: a 24-inch ledge above an 84-inch sofa looks like an afterthought. Use the two-thirds rule: the total ledge run should span roughly two-thirds to three-quarters of the width of the furniture below it. Above a standard 72 to 84-inch sofa, that means a single 48-inch ledge at minimum, or two 36-inch ledges with a 2 to 3-inch gap. Above a 60-inch console, a 36 to 48-inch ledge works. Above a twin bed, one 48-inch ledge is plenty; above a queen or king, go to 60 inches or a pair of 36-inch ledges.
Depth: 3.5 to 4.5 inches is the sweet spot
Below 3 inches, a ledge only holds thin frames; above 5 inches, it reads as a shelf and tempts you to park objects in front of the art. At 3.5 inches, you can hold frames up to about 16 by 20 inches plus a slim vase or candle. At 4.5 inches — the versatile choice — you can hold larger frames (20 by 24 inches and up), books laid flat, and a trailing plant.
The lip: small but non-negotiable
The front lip should stand about 1 to 1.5 inches above the shelf surface. Shorter and thick frames creep forward; taller than 2 inches and the lip hides the bottom edge of smaller frames. If you are building your own, a strip of 1-by-2 lumber on edge gives exactly the right height. On ready-made ledges, check the lip in person — product photos hide this detail, and a decorative groove instead of a real raised lip means a floating shelf in disguise. Finish: paint it your wall colour and it disappears; stain it to match wood furniture and it becomes a feature.
Step-by-step installation
Budget an hour per ledge.
Step 1: Find the studs
Studs in most homes sit 16 inches apart (sometimes 24 inches in newer builds). Run a stud finder across the wall at ledge height and mark each stud edge with painter's tape; verify by tapping — studs sound solid, gaps sound hollow. A ledge anchored into two studs holds far more than one on drywall anchors alone, and never creeps downward. Between studs, use at least three heavy-duty anchors rated for 50 pounds each. Never hang a loaded ledge on adhesive strips alone — leaning frames pull outward, the force adhesives handle worst.
Step 2: Mark the height
Height is the second most common mistake, and it is almost always "too high." Measure from the floor to the bottom of the ledge: above a sofa, 6 to 8 inches above the sofa back (42 to 44 inches for a standard 36-inch back); above a headboard, 6 to 8 inches above it, or 58 to 62 inches with no headboard; above a console, 8 to 10 inches above the surface; on a bare wall, the centre of the art at 57 to 60 inches — gallery standard. Space tiers 12 to 18 inches apart vertically.
Step 3: Level, pre-drill and fix
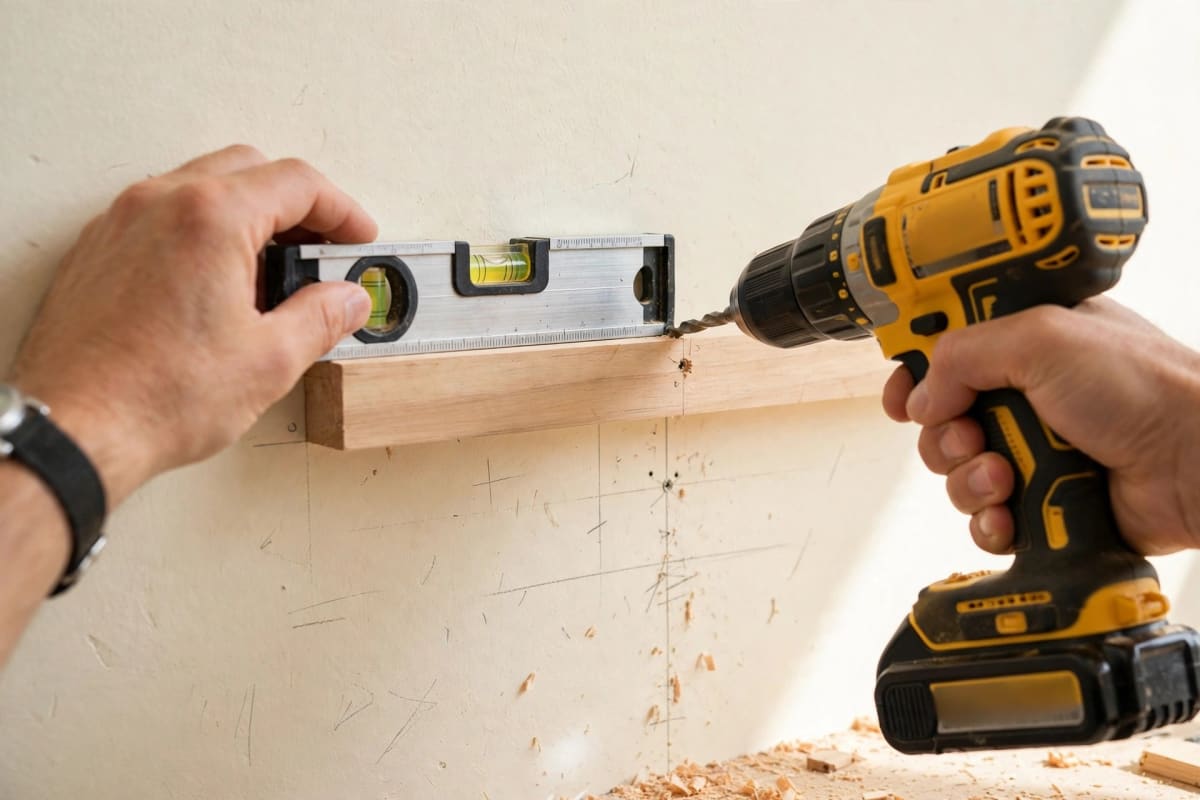
Hold the ledge against the wall, level it, and mark screw positions onto your stud marks. Pre-drill pilot holes, then drive 2.5-inch wood screws into studs (or anchors into drywall), working from the centre outward and re-checking level after each screw.
Step 4: Load it in the right order — and respect the weight limits
Load the heaviest frames first, centred on the ledge, and work outward; check level again once loaded, and re-fix if the ledge dips. A ledge screwed into two studs safely holds 30 to 50 pounds across its length; on heavy-duty drywall anchors, 20 to 30 pounds. One large glass-framed print (24 by 36 inches) weighs 8 to 12 pounds, so a typical styled ledge sits near the anchor-only limit. Use acrylic instead of glass in large frames to halve the weight, and never hang glass-fronted frames above a crib or a child's bed.
The styling system: the layering formula
Here is the formula the idea listicles never give you.
The layering formula: large back, medium middle, small front
Think of each ledge as a stage with three rows. The back row is one large piece — a frame 16 by 20 inches or larger, leaning flat against the wall — which sets the height and colour story. The middle row is one or two medium pieces (11 by 14 or 8 by 10 inches), leaned in front of the anchor and offset to one side, so part of the large frame still shows; this overlap is where the depth comes from. The front row is one small piece: a 5 by 7 frame, a small ceramic object, or two books laid flat with a tiny frame on top. A 48-inch ledge holds one full formula plus room for a plant or candle; a 60-inch ledge holds one formula plus a smaller grouping.
Spacing between tiers and pieces
Within a ledge, leave 2 to 4 inches between groupings; between tiers, keep 12 to 18 inches vertically.
Colour and frame rules
Three rules keep a ledge from looking chaotic. First, two frame finishes maximum per wall — black plus natural wood, or white plus brass; three or more reads as a clearance bin. Second, one colour story: pick two or three room colours and make sure every print contains at least one. Third, repeat one element: the same mat colour, wood tone, or subject family makes mixed art feel curated — the discipline gallery walls start with.
Room-by-room ideas
Living room. The classic spot is above the sofa: one or two tiers, not three, which can overwhelm the seating. Style the bottom tier with the full formula and keep the top tier lighter — two medium frames and a trailing plant. If the sofa wall is also the television wall, use the flanking walls instead. The height and spacing rules in our above sofa wall decor guide still apply.
Bedroom. Above the bed, ledges give the wall a focal point without the bulk of a headboard. Keep frames lightweight (acrylic, not glass), and the bottom tier at least 8 inches above the headboard so pillows do not knock frames forward. One long ledge with a calm palette beats a busy multi-tier display.
Hallway. Hallways are ledge heaven because they are narrow: a 3.5-inch ledge barely projects. Run a single tier at gallery height (centre of art at 57 to 60 inches) along the longest wall, as a rotating family photo line — small and medium frames only, since viewers pass within two feet.
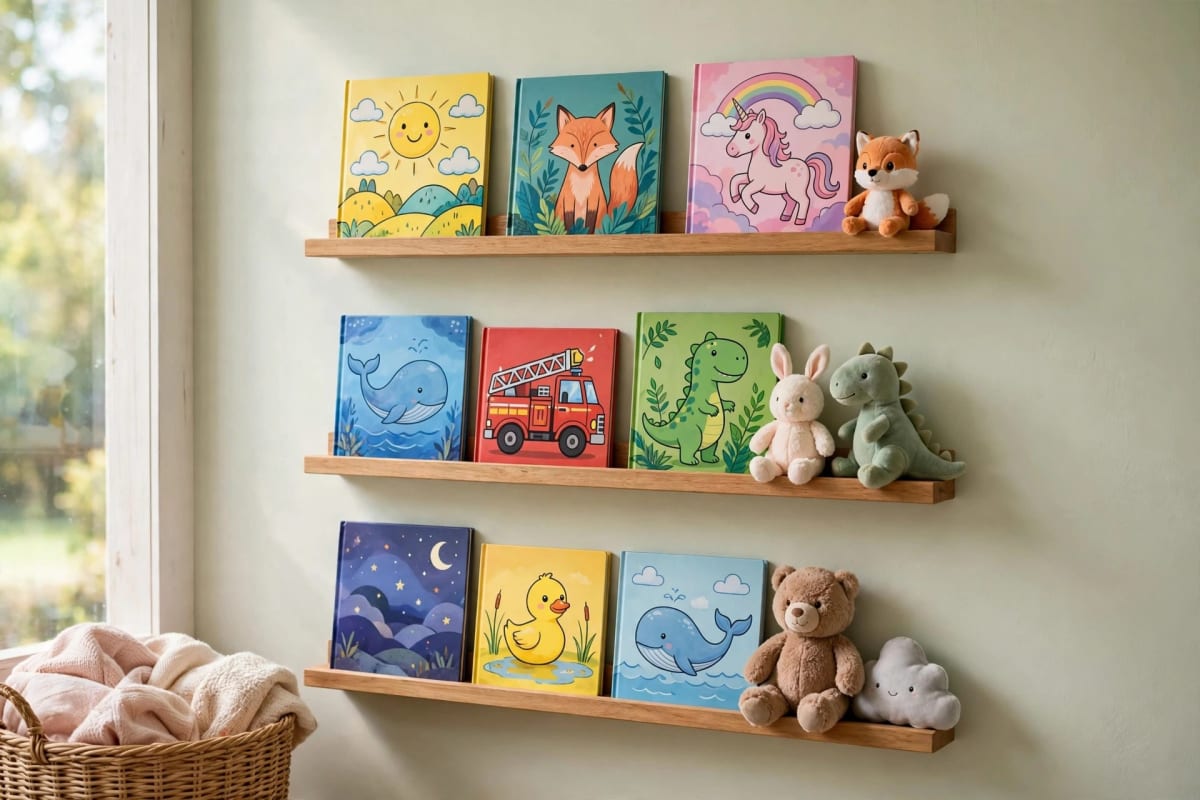
Nursery. Ledges are the nursery standard: books face outward, covers visible, and a toddler can see every title. Mount them low enough for a child to reach eventually, but keep glass on a higher tier, out of grabbing range. Use short ledges (24 inches) in pairs, and fix every nursery ledge into studs.
Kitchen. Kitchens suit ledges best in dining nooks and beside open shelving, not above the hob or sink where steam and grease settle on art. Style one with a botanical print, a leaning cutting board, and a potted herb, in warm wood, cream and botanicals.
Seasonal rotation: restyle without new holes
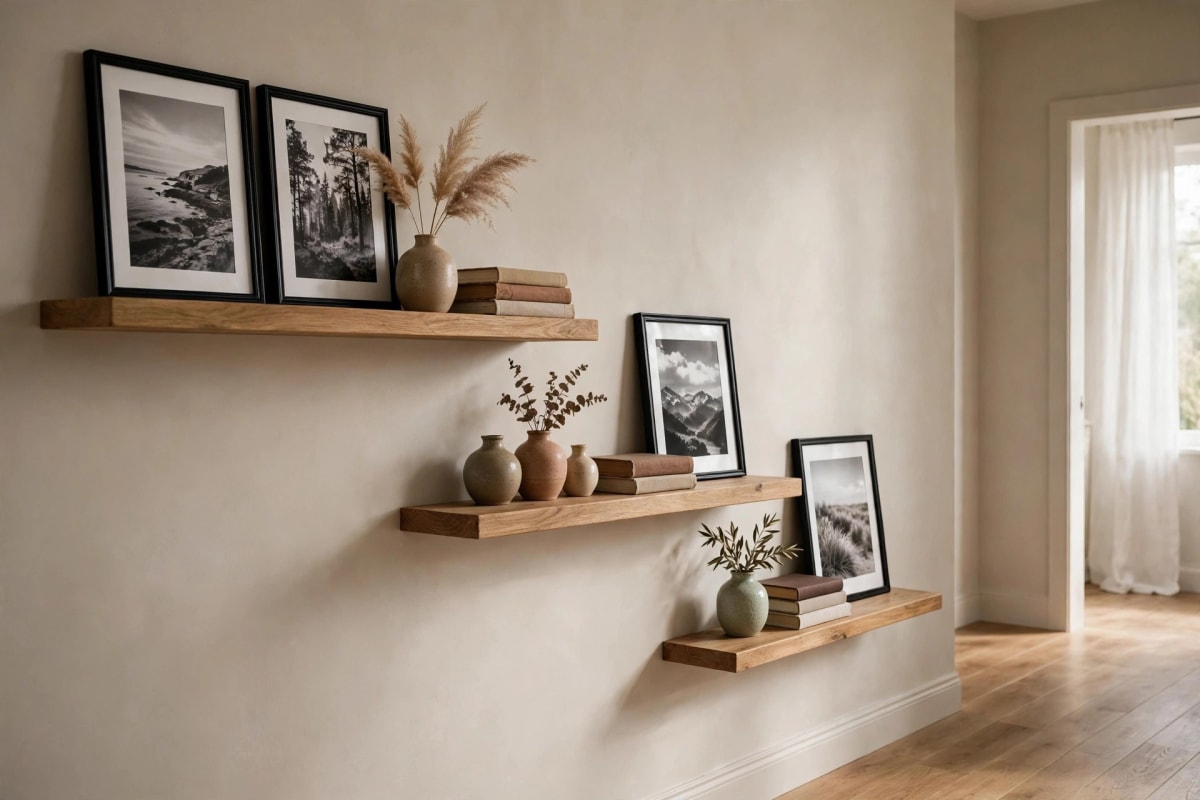
A seasonal refresh is a fifteen-minute swap, since nothing is fixed to the wall except the ledge. In spring, swap in botanical prints, fresh stems, and cream mats. In summer, use travel photography, bright abstracts, and travel books laid flat at the front. In autumn, go warm — amber, rust, deep green — with a chunky candle and a dried stem. In winter, put one festive print in the anchor spot, drape battery fairy lights along the top tier, and add a pine sprig; swap the festive anchor out in January.
Renter-friendly options
Renters can have picture ledges, with lower weight limits. Adhesive-mounted mini ledges (12 to 18-inch spans) work for two or three small, light frames with acrylic fronts — use strips rated well above the loaded weight, on a cleaned wall, with the full cure time respected. Do not adhesive-mount a 48-inch ledge full of glass frames. Leaning ledge shelves need no fixings at all. Picture-rail systems in older homes let you hang a lightweight ledge from the rail with hooks. Finally, the small-holes negotiation: many landlords accept a few screw holes you fill on move-out; two stud screws per ledge, filled and touched up, buy you the full weight limit.
Mistakes that make a ledge look wrong
- Overcrowding. A ledge packed frame-to-frame looks like storage, not styling. If you cannot fit a finger between groupings, remove one piece.
- Hung too high. Ledges floating near the ceiling. Art belongs at eye level: 6 to 8 inches above the sofa back, not a foot.
- Mismatched lengths. A short ledge above a long sofa breaks the furniture relationship. Use the two-thirds rule and repeat one length per wall.
- All frames the same size. Five identical 8 by 10 frames in a row is a police lineup, not a gallery. Vary sizes; let one large anchor lead.
- Anchors-only mounting for heavy loads. A sagging ledge is a fixing problem, not a styling problem. Studs first; anchors only when studs are unavailable.
FAQ
How long should a picture ledge be above a sofa? Two-thirds to three-quarters of the sofa's width. Above a standard 72 to 84-inch sofa, use a single 48-inch ledge at minimum, or two 36-inch ledges side by side.
Can I use a picture ledge instead of a floating shelf? Yes, if the job is displaying leaning art — that is what ledges are for, and the front lip keeps frames safe. For books, vases or plants, a deeper floating shelf is the right tool.
How much weight can a picture ledge hold? About 30 to 50 pounds across its length when screwed into two studs; 20 to 30 pounds on heavy-duty drywall anchors. Swap glass for acrylic in large frames to halve the weight, and stay within the anchor rating.
How high should I hang a picture ledge above a sofa or bed? The ledge bottom should sit 6 to 8 inches above the sofa back or headboard. On a bare wall, set it so the centre of the art falls at 57 to 60 inches from the floor — standard gallery height.
Do picture ledges work in rentals? Yes, with limits. Short adhesive-mounted ledges suit small, light frames; leaning floor shelves need no fixings; many leases tolerate small screw holes you fill on move-out. Never adhesive-mount a long, heavy ledge.
Get the length right, fix it into studs, hang it at eye level, and style it large-medium-small — then enjoy changing your mind whenever you like.



