
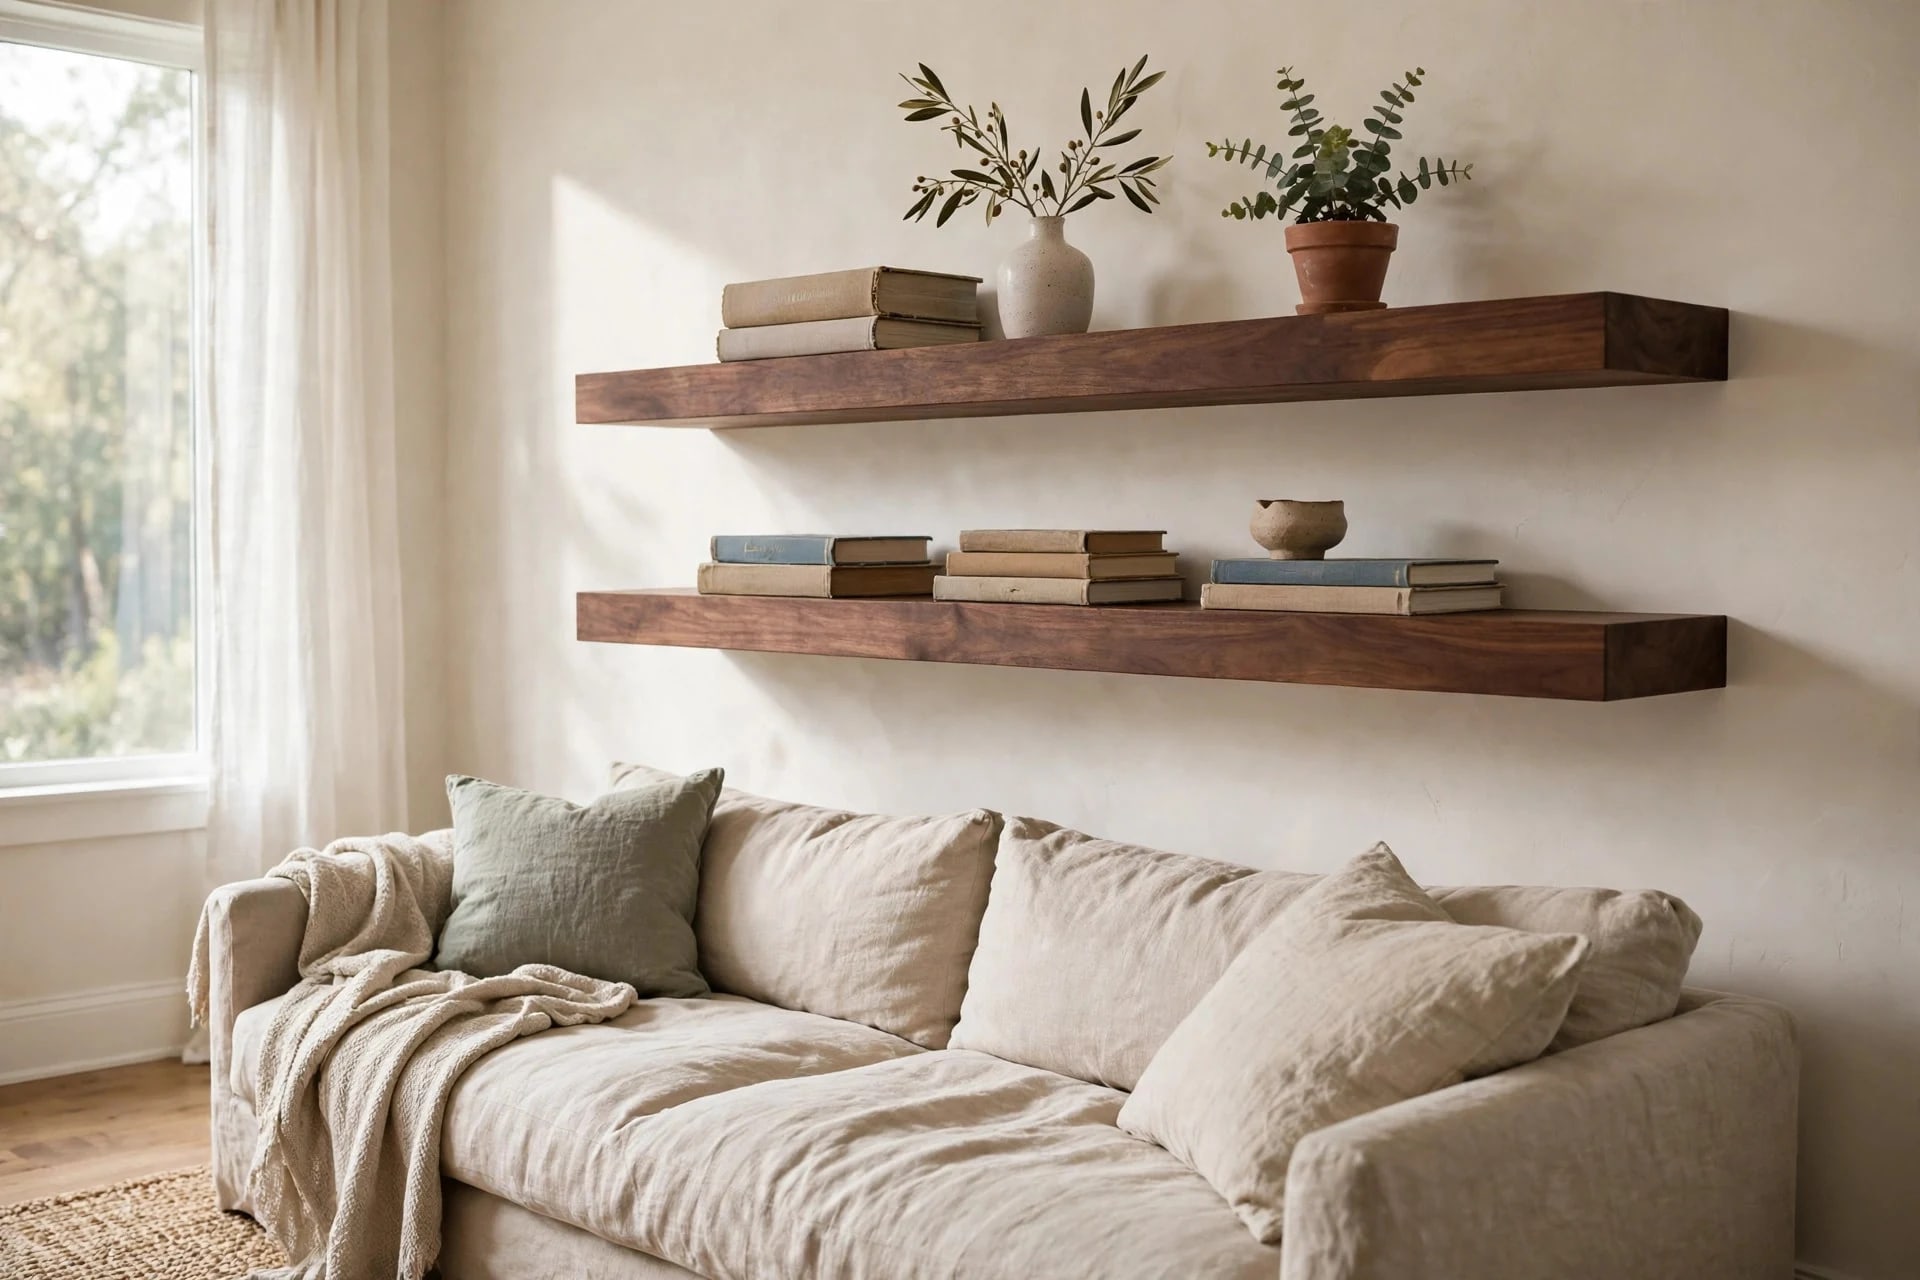
Floating shelves fail in slow motion. They look fine the day you hang them, then the books go on, and over a season the front edge drifts down a quarter inch at a time until everything's sliding toward the floor. It isn't bad luck — sagging is engineering, and it's preventable with three decisions: the right bracket, a mounting into studs, and a shelf depth the hardware can honestly carry.
Here's the weight math nobody prints on the kit box, the install sequence that keeps shelves level for years, and what the whole thing costs.
Key Takeaways
- The stud rule: a quality rod bracket holds roughly 45–50 lbs per stud it hits
- The rod rule: bracket rods should span about 80% of the shelf's depth
- Skill level: intermediate-beginner — one careful afternoon for a pair
- Cost: $35–$85 per shelf DIY vs $150+ installed
Table of Contents
- Why floating shelves sag
- Bracket types and honest weight limits
- Choosing the shelf: thickness, depth, material
- Step-by-step install
- Styling rules: spacing, grouping, negative space
- Costs: kits vs solid slab vs pro
- Mistakes that end in a pile of ceramics
- FAQ
Why floating shelves sag
A floating shelf is a lever. The bracket anchors at the wall, the load sits inches out from it, and physics charges interest on every inch of depth. Three failures account for nearly every drooping shelf:
- Short rods. If the bracket rods only reach halfway into the shelf, the outer half cantilevers unsupported and the shelf flexes at the rod tips. Rods should reach about 80% of the shelf depth.
- Drywall-only mounting. Gypsum is not structure. Anchors in bare drywall carry a fraction of the stud-mounted rating — fine for a plant and a paperback, a slow pull-out under a row of hardcovers.
- Hollow-core shelves. The bargain kits are cardboard honeycomb inside a wood-look skin. The rod anchors tear through the thin skin under load the bracket itself could have held. The hardware was never the weak point; the shelf was.
Bracket types and honest weight limits
- Rod brackets (the standard): a steel backplate with two or more horizontal rods welded on; the shelf slides over the rods. Into studs, quality versions hold 45–50 lbs per stud — so a 36-inch shelf crossing two studs is honestly a ~90–100 lb shelf if the rods are long enough. Cheap thin-rod versions dip at 15–25 lbs total.
- Cam-adjustable concealed brackets: pricier, but they let you correct level after install by a few millimeters — worth it on long runs where the wall itself waves.
- French cleat: two interlocking 45° strips; spreads load along the shelf's whole length instead of concentrating it at two rods. The heavyweight DIY answer for long shelves, and the shelf lifts off for painting.
- Visible L-brackets: two to three times stronger than concealed hardware at the same depth, and the honest choice for workshops, garages, and genuinely heavy storage. Painted matte black, they read as a deliberate industrial choice, not a compromise.
Whatever the packaging claims, derate it: drywall-only mounting roughly halves any rating, and front-edge loading multiplies the pull beyond the static number.
Choosing the shelf: thickness, depth, material
- Thickness: 1.5–2 inches minimum. The rods and backplate have to hide inside the shelf; below ~1.5 inches there's no meat for the hardware, and heavy-duty brackets want closer to 1.75–2 inches. Thickness is also stiffness — doubling a board's thickness cuts its bend under load to about an eighth.
- Depth: 8–10 inches for books and decor, 12 inches maximum in kitchens for dinner plates. Deeper than that, leverage grows faster than usefulness; every extra inch is paid for in bracket stress.
- Material: solid wood (pine for paint, oak/walnut for show) holds rods and screws properly. A mitered plywood box shelf built over an internal cleat is the classic budget route to a thick, light, strong shelf. Hollow-core kit shelves are for decor under ~15 lbs, forever, no exceptions.
Step-by-step install
- Find and mark the studs (16 inches apart in most homes). Plan the shelf length so the bracket hits two studs; a shelf that can only reach one stud gets halved expectations.
- Tape the layout first. Painter's tape outlines at shelf height and thickness; live with them a day. Check sightlines seated and standing.
- Mount the bracket plate level — laser level if you have one; a shelf 1/8 inch off-level advertises itself daily. Lag screws into stud centers, not edges.
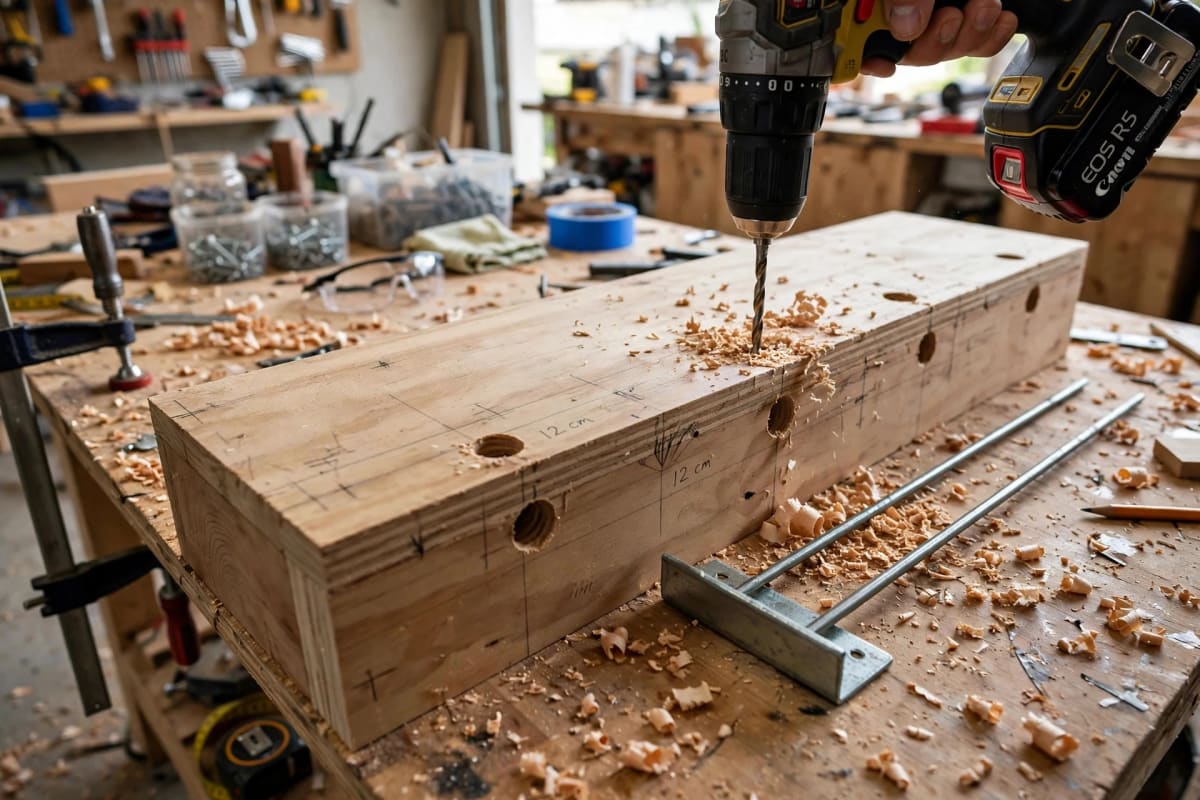
- Dry-fit the shelf. Mark rod positions on the shelf's back edge and drill the rod holes to the rods' full depth (that's the 80% rule in practice). Test-slide before any finish work.
- Slide on, set the screws, check level. Shim behind the plate if the wall bows — walls bow more than you think, and a gap telegraphs straight to the shelf's front edge.
- Load smart: heaviest items against the wall, weight spread along the length rather than parked at one end, and the total honest about the stud count underneath.
For the wall-treatment version of this carpentry, see our board and batten guide; shelves also layer beautifully above the wainscot line of a wood slat accent wall.
One pro habit worth stealing before the styling goes on: the test load. Stack books or weights equal to about 150% of what the shelf will normally carry and leave them for 24 hours. A bracket that's going to creep, tilt, or pull announces it under the test load — better discovered with a stack of old magazines aboard than with the ceramics collection.
Styling rules: spacing, grouping, negative space
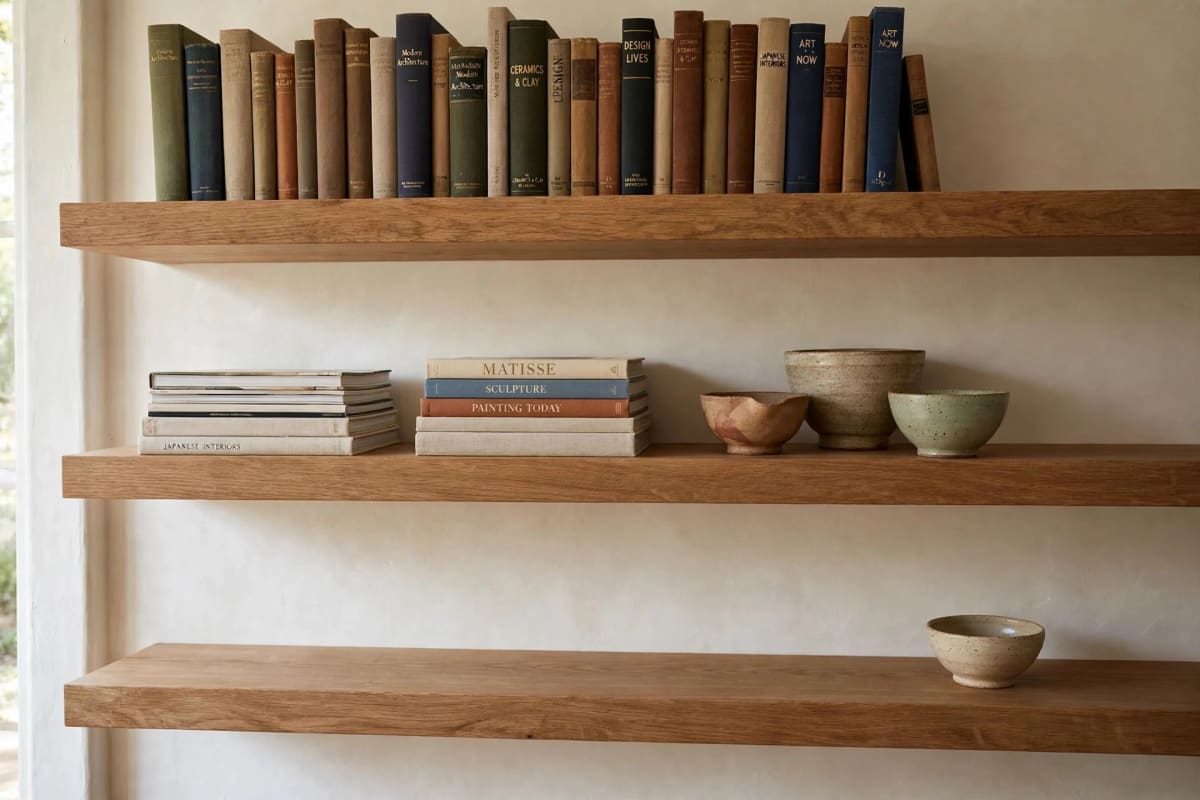
- Vertical spacing: 12–15 inches between stacked shelves — closer feels cramped, wider feels disconnected.
- Groups, not singles. One lone shelf on a big wall looks like a leftover. Two is a pair, three is a composition.
- Leave about a third empty. Every inch covered turns the shelf into storage you're apologizing for. The empty stretches are what make it read as design — the same negative-space logic as a small space storage wall done right.
- Big things first, placed; then mediums; then small fillers last — and keep the visual weight low and toward the wall, which conveniently matches the structural rule.
Costs: kits vs solid slab vs pro
- Kit shelf (hollow-core + bracket): $25–$60 — decor-weight only.
- DIY solid shelf: lumber $20–$50 + quality rod bracket $15–$35 = $35–$85 per shelf, books-worthy.
- Box-built plywood shelf: $25–$45 in materials, the cheapest path to thick-and-strong.
- Professional install: commonly $150+ per shelf with labor, which is why the DIY math wins if your studs cooperate.
However it's built, a pair of honest shelves remains one of the cheapest functional upgrades in the whole DIY wall decor guide.
Mistakes that end in a pile of ceramics
- Trusting kit ratings. The number on the box assumes perfect stud mounting few kits ever get.
- One stud (or none). If the shelf must land between studs, drop to decor weight or switch to a French cleat spanning to the studs.
- Deep shelf, short rods. The classic pairing, and the classic sag.
- Loading the front edge. A row of mugs at the lip is a lever arm with handles.
- Skipping the dry-fit. Rod holes drilled 1/4 inch off don't forgive; the shelf binds or sits crooked.
- Renters forcing it. Floating shelves are not renter decor — they need studs and lag screws. Our renter-friendly wall decor guide covers the storage looks that don't.
FAQ
How much weight can a floating shelf really hold? With a quality rod bracket into two studs, roughly 90–100 lbs distributed evenly. Into drywall only, keep it under 15–25 lbs of light decor — and expect cheap kits to dip well before their printed rating.
How thick should a floating shelf be? 1.5–2 inches. Thinner can't hide the hardware; thicker is fine structurally but starts to dominate small rooms visually.
Can floating shelves hold books? Yes — a full row of books is roughly 15–20 lbs per linear foot, well within a two-stud solid-wood install. Paperbacks on a drywall-anchored hollow-core kit are where the trouble starts.
Why does my shelf tilt forward slightly? Short rods, a bowed wall behind the plate, or front-loaded weight. Shim the plate, move weight back, and if the rods don't reach ~80% of the depth, replace the bracket — tilts don't self-correct, they grow.
Floating shelves or a bookcase? Shelves win on floor space and lightness; a bookcase wins on raw capacity and zero wall risk. In small rooms, shelves above furniture give storage without taking the footprint — often the deciding factor.
Buy the bracket like you mean it, hit two studs, and keep the depth honest. A floating shelf done right is invisible engineering — nobody notices it at all, which is exactly the point.



