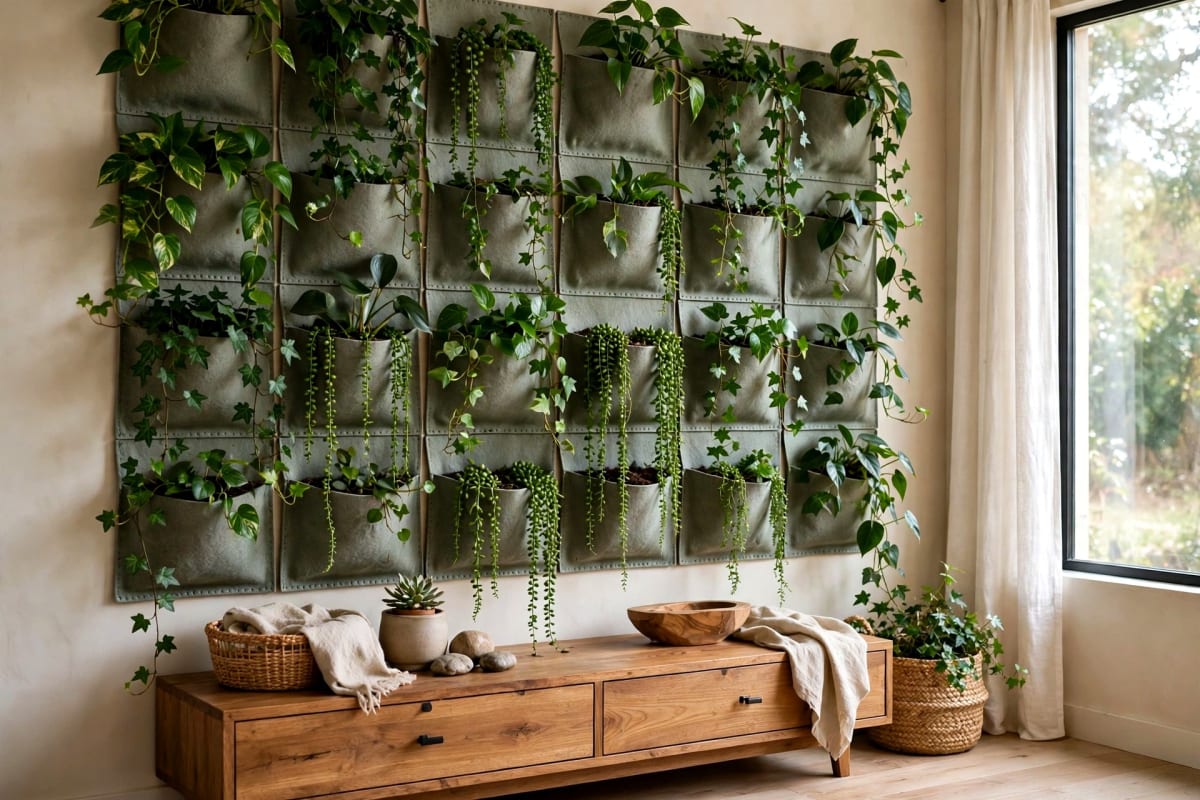
A wall planter solves two problems at once: it brings greenery into a room without using floor space, and turns a blank wall into a feature that changes as plants grow. Done badly, it drips, pulls fixings loose, and leaves plants dry at the top and drowning at the bottom.
The difference is planning: knowing wet weight, giving water somewhere safe to go, choosing plants for your real light, and building a system you can water without removing everything. This guide covers all of that, with twelve builds from a simple rail to a full pocket panel.
Key Takeaways
- A wet planter weighs far more than a dry one, so calculate soil, pot, plant and water together first.
- Every indoor planter needs drainage, a liner or tray, and an air gap behind pots.
- Water slowly, and check moisture at the top, middle and bottom separately.
- Match plants to your real light level, not the light you wish you had.
- Renter-friendly rails, ladders and tension systems give the same look without drilling.
In this guide:
- Weight limits and fixing types
- Drainage and wall protection
- Watering vertical planters correctly
- Best plants by light level
- 12 DIY wall planter ideas by budget and skill
- Step by step pocket panel living wall
- Renter friendly wall planter options
- Pests mould and maintenance
- Common mistakes and fixes
- FAQ
Weight limits and fixing types
Weight is the part most guides skip, and it causes damage. A small plastic pot with dry compost may weigh under a kilogram, but once watered it can weigh two to three times as much. Across ten or twenty pots, that becomes a serious load.
Do the wet weight maths first
Work per unit, then add them together. A typical 15-centimetre pot holds roughly 1.5 litres of compost. Dry compost weighs about 0.5 kilograms per litre, saturated compost close to 1 kilogram per litre. Add the pot, at 0.2 to 0.5 kilograms for plastic and 1 to 2 kilograms for ceramic, plus plant and tray water. One watered plastic pot lands around 2 kilograms; the same size in ceramic lands around 3 to 3.5 kilograms. Eight watered ceramic pots exceed 25 kilograms, and twelve pockets pass 30 kilograms when freshly watered. Always design for wet weight.
Choose fixings for your wall type
Fixings matter more than the board or rail. Into a timber stud, a long wood screw gives the strongest domestic fixing, often holding 20 kilograms or more. Into solid brick or block, a masonry plug is reliable. Into plasterboard with no stud behind it, standard picture hooks are not enough: use rated hollow-wall anchors or toggle bolts. Spread the load across at least four fixings for a panel. For broader wall planning, the DIY wall decor guide explains layout and spacing.
Drainage and wall protection
Plants need drainage, and walls need protection from it. A good indoor system gives both, without drips or damp patches.
Build a drainage path, not just holes
Every pot needs drainage holes. Without them, water collects at the base and roots rot. Place coarse clay pebbles at the bottom of each pot, then compost above them; they stop compost sealing the holes shut. Fit a drip tray under each pot, slightly wider than the pot. For pocket panels, use a waterproof backing sheet and a shallow tray at the base. Empty trays after watering.
Keep an air gap behind the pots
Never press pots flat against painted plaster for months. Trapped moisture softens paint and encourages mildew. Leave at least 2 centimetres of air behind pots using battens, spacers, or a rail that stands proud of the wall. That gap also improves airflow and reduces fungal problems. If the wall gets condensation, add a clear waterproof liner behind the display, and check behind it every few months.
Watering vertical planters correctly
Vertical planters fail for a predictable reason: gravity. Water runs down, so the top dries out while the bottom stays soggy. Treating the whole wall as one plant guarantees some plants suffer.
Water slowly and in stages
Water each pocket or pot slowly until a small amount reaches the tray, then wait ten minutes and check again. Dry compost can repel water at first, so a second slow pass soaks far more evenly. Use a long-spout can or squeeze bottle for pockets. Avoid overhead drenching indoors: it wets foliage and hides how much each pot received.
Check moisture at three levels
Push a finger or wooden skewer into the compost at the top, middle and bottom of the wall. The top row often needs water twice as often as the bottom row, so water only pots that need it. Check twice a week, water only dry pots, and empty trays after each session. In winter, most indoor plants need less water, so lengthen the gap between checks. If a pot feels heavy but the surface looks dry, it may be waterlogged below; let it dry before watering again.
Best plants by light level
Choosing plants for your light level matters more than choosing plants you like in the shop. In the wrong light, a trailing plant will stretch, drop leaves and look sparse within weeks.
Plant by light table
| Light level | Best choices | Avoid | |---|---|---| | Bright indirect light | Pothos, philodendron, spider plant, peperomia, basil and mint | Cacti that need direct sun to stay compact | | Low light | Pothos, heartleaf philodendron, ZZ plant, snake plant, English ivy | Succulents, flowering herbs and most ferns | | Direct sun for part of the day | Succulents, sedum, rosemary, thyme, string of pearls | Ferns and shade-loving foliage that scorches easily |
Trailing plants suit high rails and upper pockets, where stems can hang freely. Herbs suit kitchen walls near a window, where you will pick them. Succulents suit sunny walls and forgetful waterers, but still need drainage and must never sit in tray water. Group plants with similar water needs together.
12 DIY wall planter ideas by budget and skill
Costs below are approximate and assume basic tools are already at home.
1. Picture rail and hanging pots
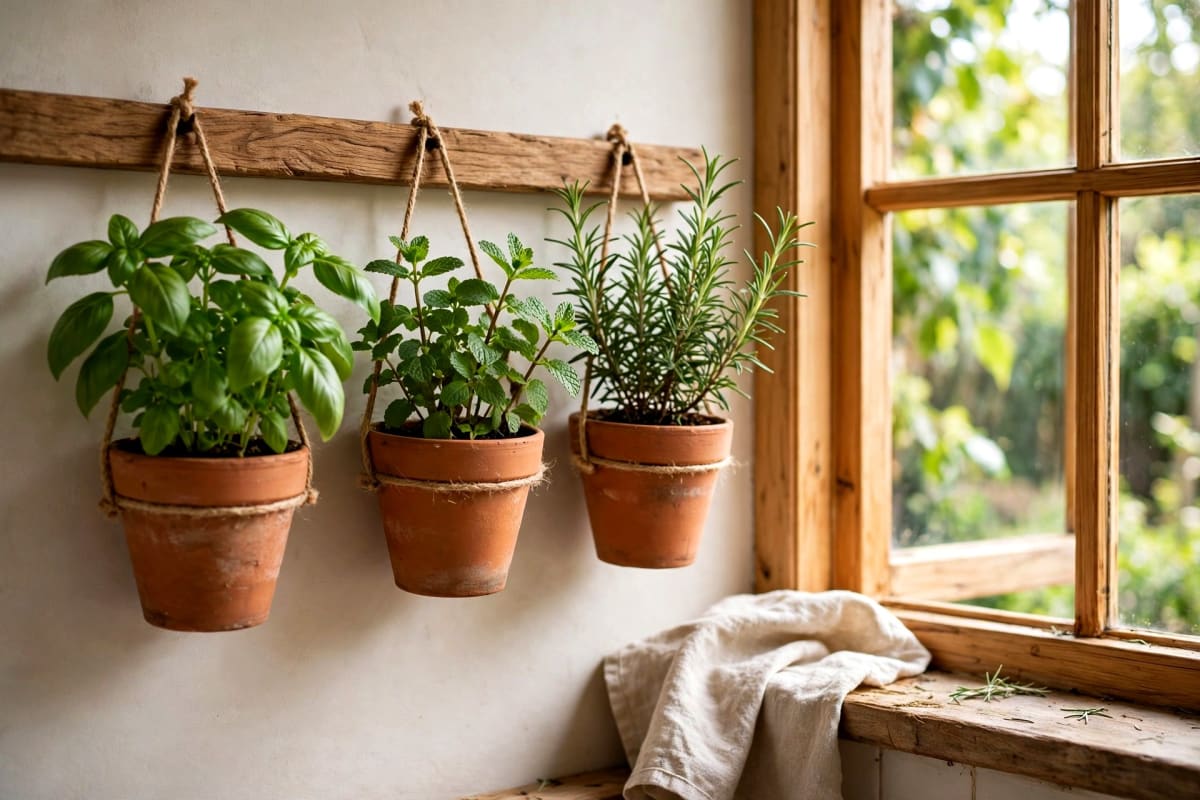
Fix a sturdy rail to studs, then hang pots from S-hooks. Cost around £15 to £30. Time about 30 minutes. Best for beginners and renters.
2. Pocket panel living wall
Sewn felt pockets on a waterproof board, planted in rows. Cost around £40 to £90. Time two to three hours. Best for a full look on one feature wall.
3. Wooden batten trellis
Vertical battens with pots clipped or wired on and climbers trained upward. Cost around £25 to £50. Time one to two hours. Best for trailing plants and narrow walls.
4. Reclaimed pallet planter
A cleaned pallet with landscape fabric lining the slats to form troughs. Cost around £10 to £30. Time two hours. Best for rustic rooms and indoor herbs.
5. Leaning ladder planter
A wooden ladder leaned against the wall, with pots on rungs or boards laid across them. Cost around £20 to £60. Time under one hour. Best for renters and corners.
6. Picture frame living wall
A deep frame fitted with mesh and moss, planted with small succulents or air plants. Cost around £25 to £45. Time one to two hours. Best for sunny walls.
7. Kitchen herb wall
A rail with small labelled pots beside the prep area, planted with herbs you cook with weekly. Cost around £20 to £40. Time 45 minutes. Best for bright kitchens.
8. Macrame cluster
Several macrame hangers at staggered heights from a single hook. Cost around £20 to £50. Time 30 minutes plus hanging. Best for soft styling above a chair or bench.
9. Gutter trough planters
Short lengths of capped rain gutter, fixed level and planted with herbs or trailing plants. Cost around £20 to £35. Time one hour. Best for long, narrow walls.
10. Pegboard herb and plant wall
A pegboard panel with hooks, pots and baskets around jars or tools. Cost around £30 to £60. Time one to two hours. Best for kitchens, studios and craft rooms.
11. Floating shelf plant ledge
One or two floating shelves styled with pots and trailing stems. Cost around £30 to £70. Time one hour. Best for a tidy look that also holds books. See the DIY floating shelves guide for fixing and load advice before loading shelves with wet pots.
12. Modular grid panel
A metal grid panel with clip-on pots that can be moved as plants grow. Cost around £35 to £80. Time one hour. Best for changing displays.
Step by step pocket panel living wall
This is the most forgiving route to a full living wall, because pockets hold compost in place and the panel spreads weight evenly. First, choose a wall with bright indirect light and no direct radiator heat. Measure the area, cut a waterproof backing board slightly smaller than the finished panel, and fix battens to studs or masonry anchors, then screw the board to the battens for an air gap. Fix the pocket panel starting at the bottom row, and fit a shallow tray or gutter beneath the lowest row. Fill each pocket with moist, free-draining compost mixed with perlite. Plant larger specimens at the bottom and trailing plants at the top. Water slowly, pocket by pocket, until trays show a little runoff, then empty them. Leave room between plants for growth, rather than packing every pocket on day one.
Renter friendly wall planter options
The safest renter options avoid new holes. A leaning ladder needs no fixing. A tension rod across a window recess can hold light hanging pots. An over-door hook rail can carry small planters on a sturdy door. Freestanding shelving against the wall gives the plant-wall look. If you do drill, use existing studs, keep holes small, and photograph the wall before and after. For more deposit-safe ideas, read the renter-friendly wall decor guide. The small living room storage ideas guide shows how shelves can serve plants and storage together.
Pests mould and maintenance
Inspect leaves weekly for aphids, webbing or tiny flying insects. Remove dead leaves promptly, since they trap moisture and attract fungus gnats. If gnats appear, let the top compost layer dry out between waterings and remove standing tray water. Wipe leaves occasionally to remove dust, feed lightly in spring and summer, and skip feeding in winter. Prune trailing stems to keep the shape balanced. Every few months, check fixings, trays and the wall behind it.
Common mistakes and fixes
The most common mistake is hanging too much weight from too few fixings. Fix it by calculating wet weight first, spreading fixings across studs or anchors, and testing the empty board before planting. Second, sun lovers in low light: move the planter, add a grow light, or swap plants. Third, watering on a schedule instead of checking compost: use the finger test at three heights and water only dry pots. Fourth, skipping trays: add trays and empty them every time. Fifth, overcrowding pockets on day one: plants grow, and a panel that looks full immediately often looks tangled within months.
FAQ
How much weight can a plasterboard wall hold for planters? It depends on the fixings and whether you hit a stud. A screw into a stud holds far more than any plasterboard-only fixing. With rated hollow-wall anchors, a panel across four to six fixings can hold a moderate display, but check the anchor rating, calculate wet weight, and test the empty board first.
Do wall planters damage walls? They can if pots sit directly against plaster and water has nowhere to go. A waterproof backing, drip trays, an air gap and regular checks behind the panel prevent most damage.
How often should I water a vertical planter? There is no single answer, because top pockets dry faster than bottom pockets. Check twice a week, water only pots that feel dry an inch below the surface, and empty trays after watering.
Which plants are easiest for a first wall planter? Pothos, spider plants and philodendrons are forgiving, trail attractively, and tolerate bright indirect or lower light. They recover well from occasional missed watering.
Can I grow herbs on a wall planter indoors? Yes, provided the wall gets bright light for most of the day. Basil, mint, parsley and chives do well in small pots near a window. Keep mint in its own pot, since it spreads aggressively.
What should I do if mould appears on the compost surface? Scrape off the affected top layer, improve airflow, and let the compost dry slightly before watering again. Check trays are empty and pots drain freely. Persistent mould usually signals overwatering or poor ventilation.
Are wall planters safe above a sofa or bed? They can be, but only with secure fixings into studs or masonry, a realistic wet-weight calculation, and pots that cannot easily be knocked down. Avoid heavy ceramic pots above sleeping areas, and check fixings regularly.
A wall planter rewards the same care as good joinery: measure first, fix properly, and maintain lightly but regularly. Start with a rail or a small pocket panel, learn how your wall dries and how your light behaves, then expand with confidence.