
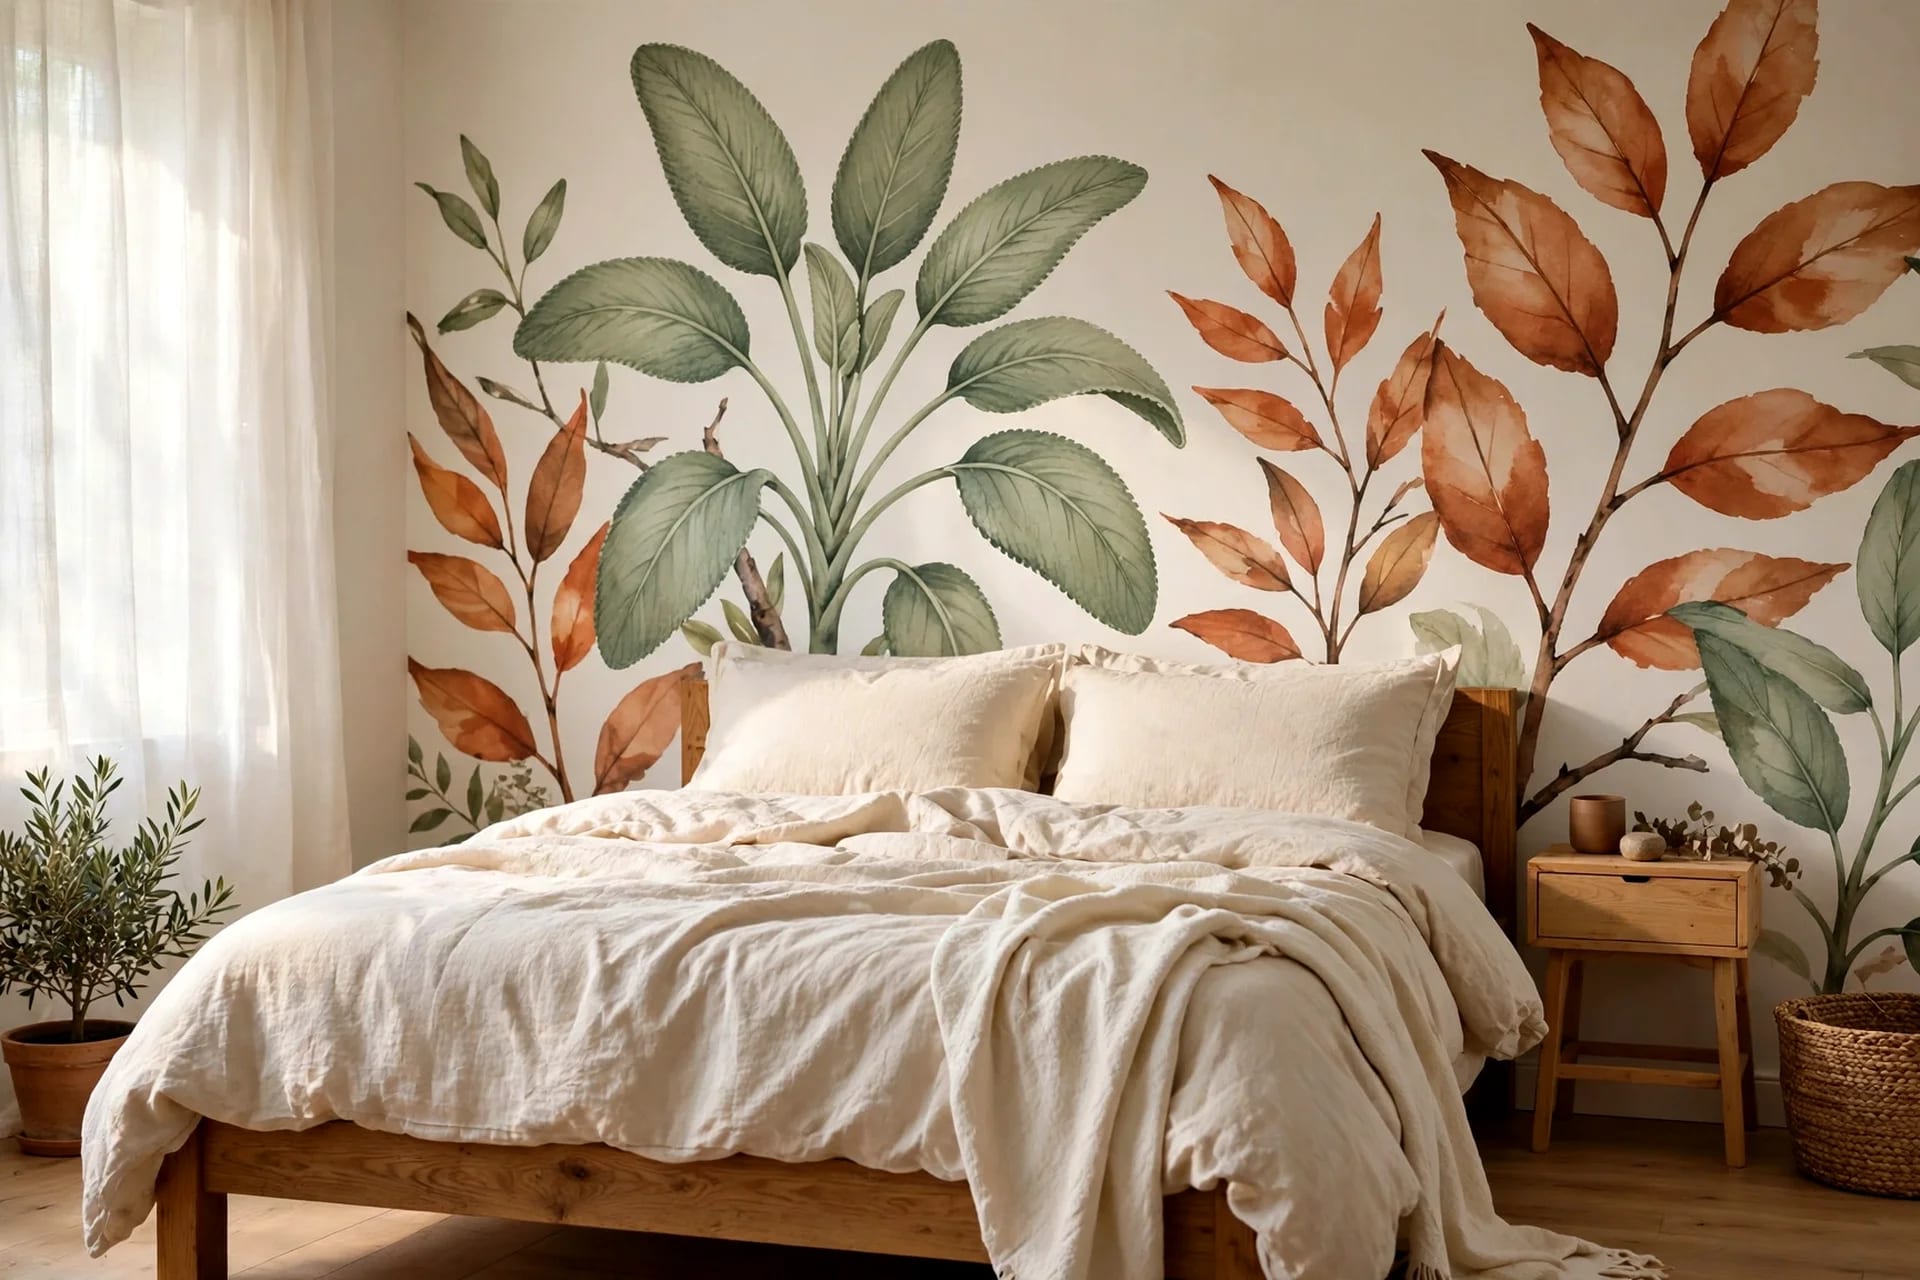
A painted mural gives you the look of expensive wallpaper for the price of a few paint pots — and unlike wallpaper, it is exactly your design, your colours, your size. The reason most people never try one is the same: "I can't draw." The truth is, most beautiful wall murals are not drawn freehand at all. They are transferred — projected, gridded or stencilled onto the wall — and then painted like a colouring book.
This guide is built for that reality: twelve mural designs ranked by genuine skill level, three transfer methods that remove the drawing fear, paint quantities for a standard wall, and the sealing and fixing steps that keep a mural looking good for years. No art degree required.
Key Takeaways
- You do not need to draw freehand: the projector method transfers any design onto the wall — trace the outline, then paint inside it
- Best beginner mural: layered mountain silhouettes — straight tape lines, three tones of one colour, one weekend
- Paint quantity: a standard 10 × 8 foot mural wall needs roughly 1 gallon of base paint + 1 quart per major colour
- Budget: most DIY murals cost $60–$130 all in, versus $300–$800 for a comparable wallpaper mural
- Time: 8–14 hours over two to three days, including drying between layers
In this guide:
- Before you paint: wall, design and skill check
- 3 transfer methods (no freehand drawing needed)
- 12 DIY wall mural ideas by skill level
- Paint, tools and quantities
- Step-by-step: painting your first mural
- Sealing, fixing mistakes and living with it
- Mistakes to avoid
- FAQ
Before you paint: wall, design and skill check
Three questions decide your mural before you buy paint. First, what does the wall do all day? A bedroom wall is viewed in low light, lying down — calm, low-contrast designs work best. A living-room wall is viewed from across the room and in daylight — bolder shapes and higher contrast hold up. A hallway wall is seen in passing — simple, graphic designs read instantly, while fine detail is wasted.
Second, how big is it, honestly? Measure it. A 10 × 8 foot bedroom wall is one weekend. A double-height stair wall is a multi-day project with ladder work. The size decides the transfer method too: a projector handles a large flat wall beautifully, while a grid suits a smaller wall where you can reach every square.
Third, what can you paint well right now? Flat shapes and lines are forgiving. Portraits and photorealistic scenes are not. Your first mural should show off what you can already do — bold shapes, clean edges, simple colour — at a size you have not tried before. The twelve ideas below are ordered so you can find that step.
Also check the wall surface. Smooth or lightly textured drywall is ideal; heavy texture softens fine lines, so choose bold shapes over delicate detail. Fix damp, peeling paint or cracks first — paint over damage just preserves it.
3 transfer methods (no freehand drawing needed)
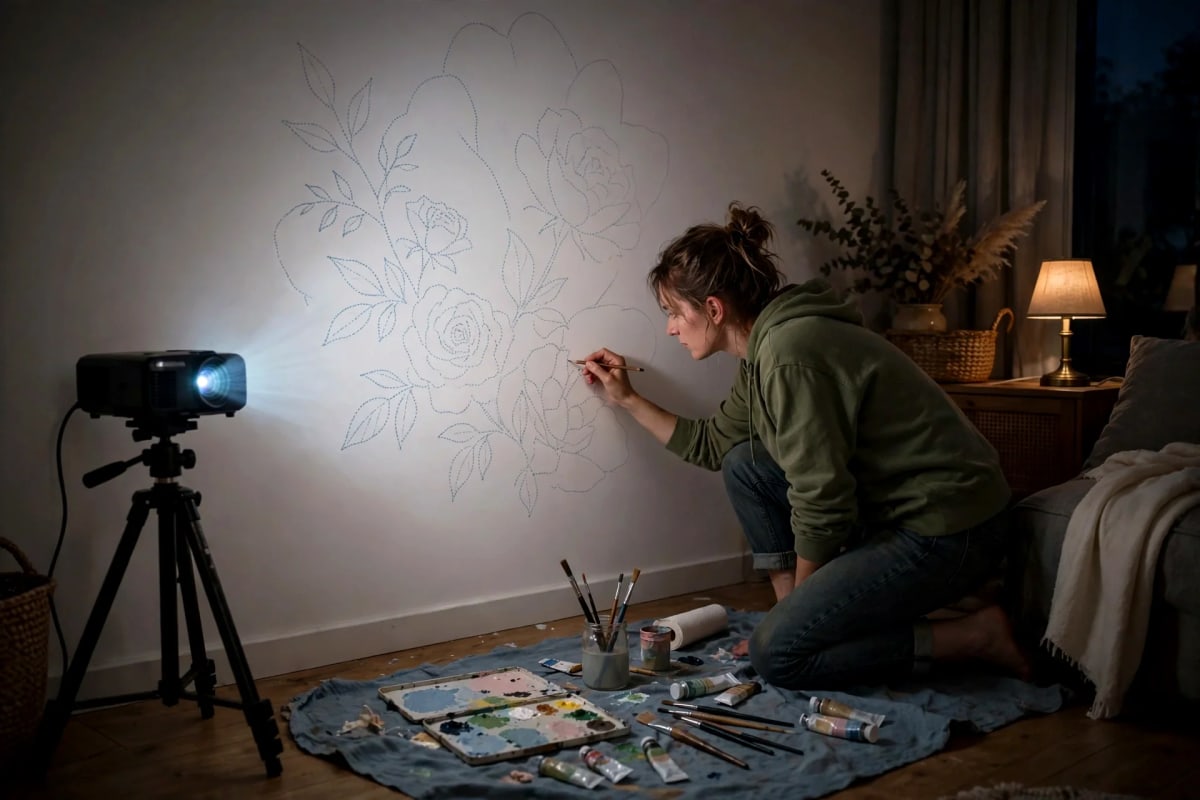
The projector method (easiest for detailed designs)
Borrow or buy a basic projector — many libraries lend them, and budget models cost under $100. At night, project your design onto the wall, adjust the size until it fits, and lightly trace the outlines in pencil. Mark the projector's position on the floor with tape so you can return to exactly the same projection for a second session. The machine does the drawing, you do the painting.
The grid method (free, works anywhere)
Draw a grid over a printed copy of your design — say 12 squares across — then draw a matching grid on the wall with light pencil lines, scaled up (each wall square might be 12 inches). Copy the design square by square. It needs no equipment, and it suits geometric and landscape designs where accuracy matters more than fluid curves.
Stencils and templates (best for repeats)
For repeating motifs — leaves, arches, terrazzo flecks, stars — cut a stencil from cardboard or buy a reusable one, and repeat it across the wall. Mark registration points so each repeat aligns. Stencilling is the fastest route to a professional-looking pattern wall, and it pairs well with the techniques in our DIY wall stencil ideas.
12 DIY wall mural ideas by skill level
Beginner (tape, roller, one weekend)
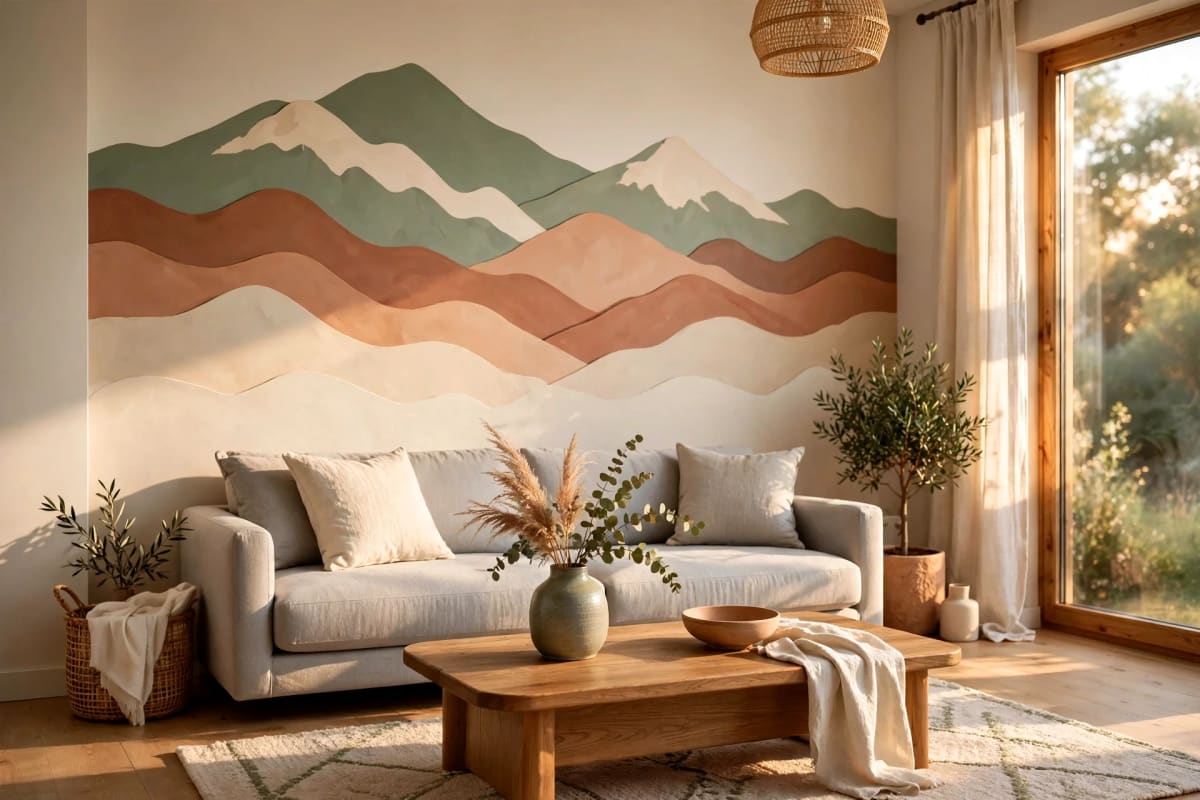
1. Layered mountain silhouettes. Three to five overlapping mountain shapes in tones of one colour, darkest at the bottom. Tape straight lines or use soft brushed edges — no detail needed. Cost: about $40–$60. Time: 5–7 hours.
2. Half-wall colour horizon. One flat colour up to about 4 feet, a lighter one above, with the join as a soft wave or a straight line. Works brilliantly behind a bed as a painted headboard. Cost: about $30–$50. Time: 4–5 hours.
3. Oversized single leaf or branch. One monstera leaf or eucalyptus branch, drawn two metres tall in a single colour, using the projector or grid method. The whole piece is one outline, so transfer it carefully and the painting is quick. Cost: about $35–$55. Time: 5–6 hours.
4. Terrazzo flecks. A neutral base scattered with small, irregular shapes in three accent colours, applied with a sponge or small brush. No drawing at all — just controlled randomness. Cost: about $30–$45. Time: 4–6 hours.
Intermediate (projector or grid, two weekends)
5. Botanical wall, full height. Large plants, leaves and stems from floor to ceiling in two or three greens plus one accent. Each shape is simple; the impact comes from scale. Project the design, trace, and paint shape by shape. Cost: about $60–$90. Time: 10–14 hours.
6. Moon phases strip. Eight moons across the top of the wall, white or gold on a deep blue or charcoal ground. Use a plate as a template for the circles. Calm, graphic and very forgiving. Cost: about $40–$60. Time: 6–8 hours.
7. Colour-block landscape. A stylised landscape — sun, hills, sea — built from flat colour blocks, like a modern poster painted wall-size. Grid-transfer this one for clean geometry. Cost: about $55–$80. Time: 8–12 hours.
8. Arches and rainbows. Overlapping arches in muted earth tones behind a bed or sofa. Tape the curves with flexible tape or trace a large template. Hugely popular, endlessly photographed, and far easier than it looks. Cost: about $45–$70. Time: 6–9 hours. For a simpler arch-only version, see our painted arch accent wall.
Advanced (patience and detail, worth it)
9. Watercolour floral wash. Thinned paint layered wet-on-wet for a soft, bleeding floral effect. Beautiful in bedrooms, but it demands practice on a board first — watercolour technique on a vertical wall runs and drips if you have not tested it. Cost: about $60–$90. Time: 12–16 hours.
10. Map or line illustration. A simplified map of a beloved place, or a continuous-line face, drawn with a fine brush or paint pen over a plain ground. The line work is long and fine, so transfer it rather than freehanding it. Cost: about $50–$75. Time: 10–14 hours.
11. Full botanical scene with shading. Layered leaves with highlights, shadows and depth — the step up from idea 5. Build it in passes: base shapes first, then mid-tones, then highlights last. Cost: about $80–$120. Time: 16–20 hours.
12. Faux marble or stone. Veined marble effect built from layered glazes and feathered lines. Stunning on a fireplace wall or a small feature wall, but practice the veining technique on a board until it looks natural, not scribbled. Cost: about $70–$110. Time: 12–18 hours.
Paint, tools and quantities
For a standard 10 × 8 foot wall:
- Base paint: 1 gallon of matte emulsion in your ground colour (about $30–$45). Matte hides imperfections; avoid gloss, which shows every brush mark.
- Accent paints: 1 quart per major colour (about $12–$18 each). Sample pots work for small accents and details.
- Brushes: a 2-inch angled brush for edges, a 1-inch brush for detail, and a small artist's brush for fine lines — about $15–$25 total.
- Roller + tray: a 4-inch mini roller for large flat areas, about $8–$12.
- Projector (optional): borrowed, rented, or a budget model under $100. Not required if you use the grid method.
- Pencils, painter's tape, drop cloths, level: about $15–$20.
Total without a projector: roughly $60–$130 depending on colours and design complexity. With a purchased projector, add up to $100 — still far below a wallpaper mural or a professional muralist, who typically charges $300–$800 for a single wall.
Step-by-step: painting your first mural
Step 1: Prep the wall. Clean it, fill holes, sand smooth, and paint the base ground colour. Let it dry at least 24 hours. A fresh, even ground is the canvas everything else sits on — do not skip it.
Step 2: Transfer the design. Projector, grid or stencil — get the outlines onto the wall in light pencil. Step back and check proportions from the doorway, not from two feet away. Fix outline mistakes now, while they are pencil.
Step 3: Paint large shapes first. Start with the biggest, lightest shapes and work toward smaller, darker ones. Two thin coats beat one thick coat. Let each colour dry before painting an adjacent colour, or wet edges will muddy.
Step 4: Add mid-tones and details. Once base shapes are dry, add second tones, outlines and details. Work top to bottom so drips fall onto unpainted areas, not finished work.
Step 5: Highlights last. Small highlights — a lighter leaf edge, a sun glint, a white dot — go on at the very end, with a small brush and a light hand. Restraint here is everything: ten highlights lift a mural, fifty flatten it.
Step 6: Seal it. When fully dry (24–48 hours), seal with a clear matte varnish, especially in hallways, kids' rooms and kitchens where walls get touched and wiped. Sealing also evens out the sheen between colours.
Sealing, fixing mistakes and living with it
Mistakes on a mural are fixable at every stage. A wrong shape in pencil erases; a wrong shape in paint gets painted over with base colour once dry, then redone. The only unfixable mistake is painting over a wet adjacent colour and muddying both — patience between coats prevents it.
Touch-ups after sealing are simple: keep small pots of every colour used, labelled with the wall and the design. A scuff gets a dab of the right colour, feathered at the edges, and it disappears. Without saved paint, matching a mixed colour later is guesswork.
One honest note: repainting over a mural takes a coat of primer and two coats of paint — an afternoon's work, not a disaster. If you rent, paint your mural on a large primed canvas or MDF panel hung on the wall instead: the same impact, fully removable. Our renter-friendly wall decor guide covers panel-mounted art in more depth.
Mistakes to avoid
- Starting with the hardest design. Portraits and photorealism as a first mural end in frustration. Build skill with shapes first.
- Skipping the base coat. Painting a mural over an uneven, marked wall makes every colour look patchy.
- Painting adjacent colours wet. Wet-on-wet muddies edges. Let each colour dry before its neighbour goes on.
- Too many colours. Five or more colours in one mural usually look chaotic. Three or four, well chosen, look designed.
- Detail too small for the viewing distance. A mural viewed from across a room needs bold shapes. Fine detail belongs on walls viewed from close up, like a hallway.
- No sealing in busy rooms. Unsealed murals in hallways and kids' rooms scuff fast. One matte topcoat prevents most wear.
FAQ
Do I need to be good at drawing to paint a wall mural? No. The projector and grid methods transfer any design onto the wall for tracing, so you paint inside outlines rather than drawing freehand. Most beginner murals are shapes, not drawings.
What is the easiest DIY wall mural for a beginner? Layered mountain silhouettes: straight tape lines, three tones of one colour, no detail work. A half-wall colour horizon is equally easy and works beautifully behind a bed.
How much paint do I need for a wall mural? For a standard 10 × 8 foot wall, about 1 gallon of base paint plus 1 quart per major accent colour. Sample pots cover small details.
How long does a DIY wall mural take? Beginner designs take 5–8 hours; intermediate botanical or arch murals take 10–14 hours; detailed scenes take 16–20 hours. Spread the work over two or three days so coats dry properly.
Can I paint a mural on a textured wall? Yes, but choose bold shapes over fine detail — heavy texture softens delicate lines. The projector method still works, though traced lines will be slightly less crisp.
How do I remove a mural if I change my mind? Prime over it and repaint: one coat of primer plus two coats of paint, about an afternoon's work. For renters, paint the mural on a primed canvas or MDF panel instead, so it lifts off the wall entirely.
Should I seal a painted mural? Yes in hallways, kids' rooms and kitchens — one coat of clear matte varnish protects against scuffs and wiping. In a low-traffic bedroom it is optional.
Pick one design, transfer it with a projector or a grid, and paint the biggest shapes first. A mural sounds like an artist's project, but in practice it is a tracing project with paint — and the wall it transforms is the one you look at every single day.



