
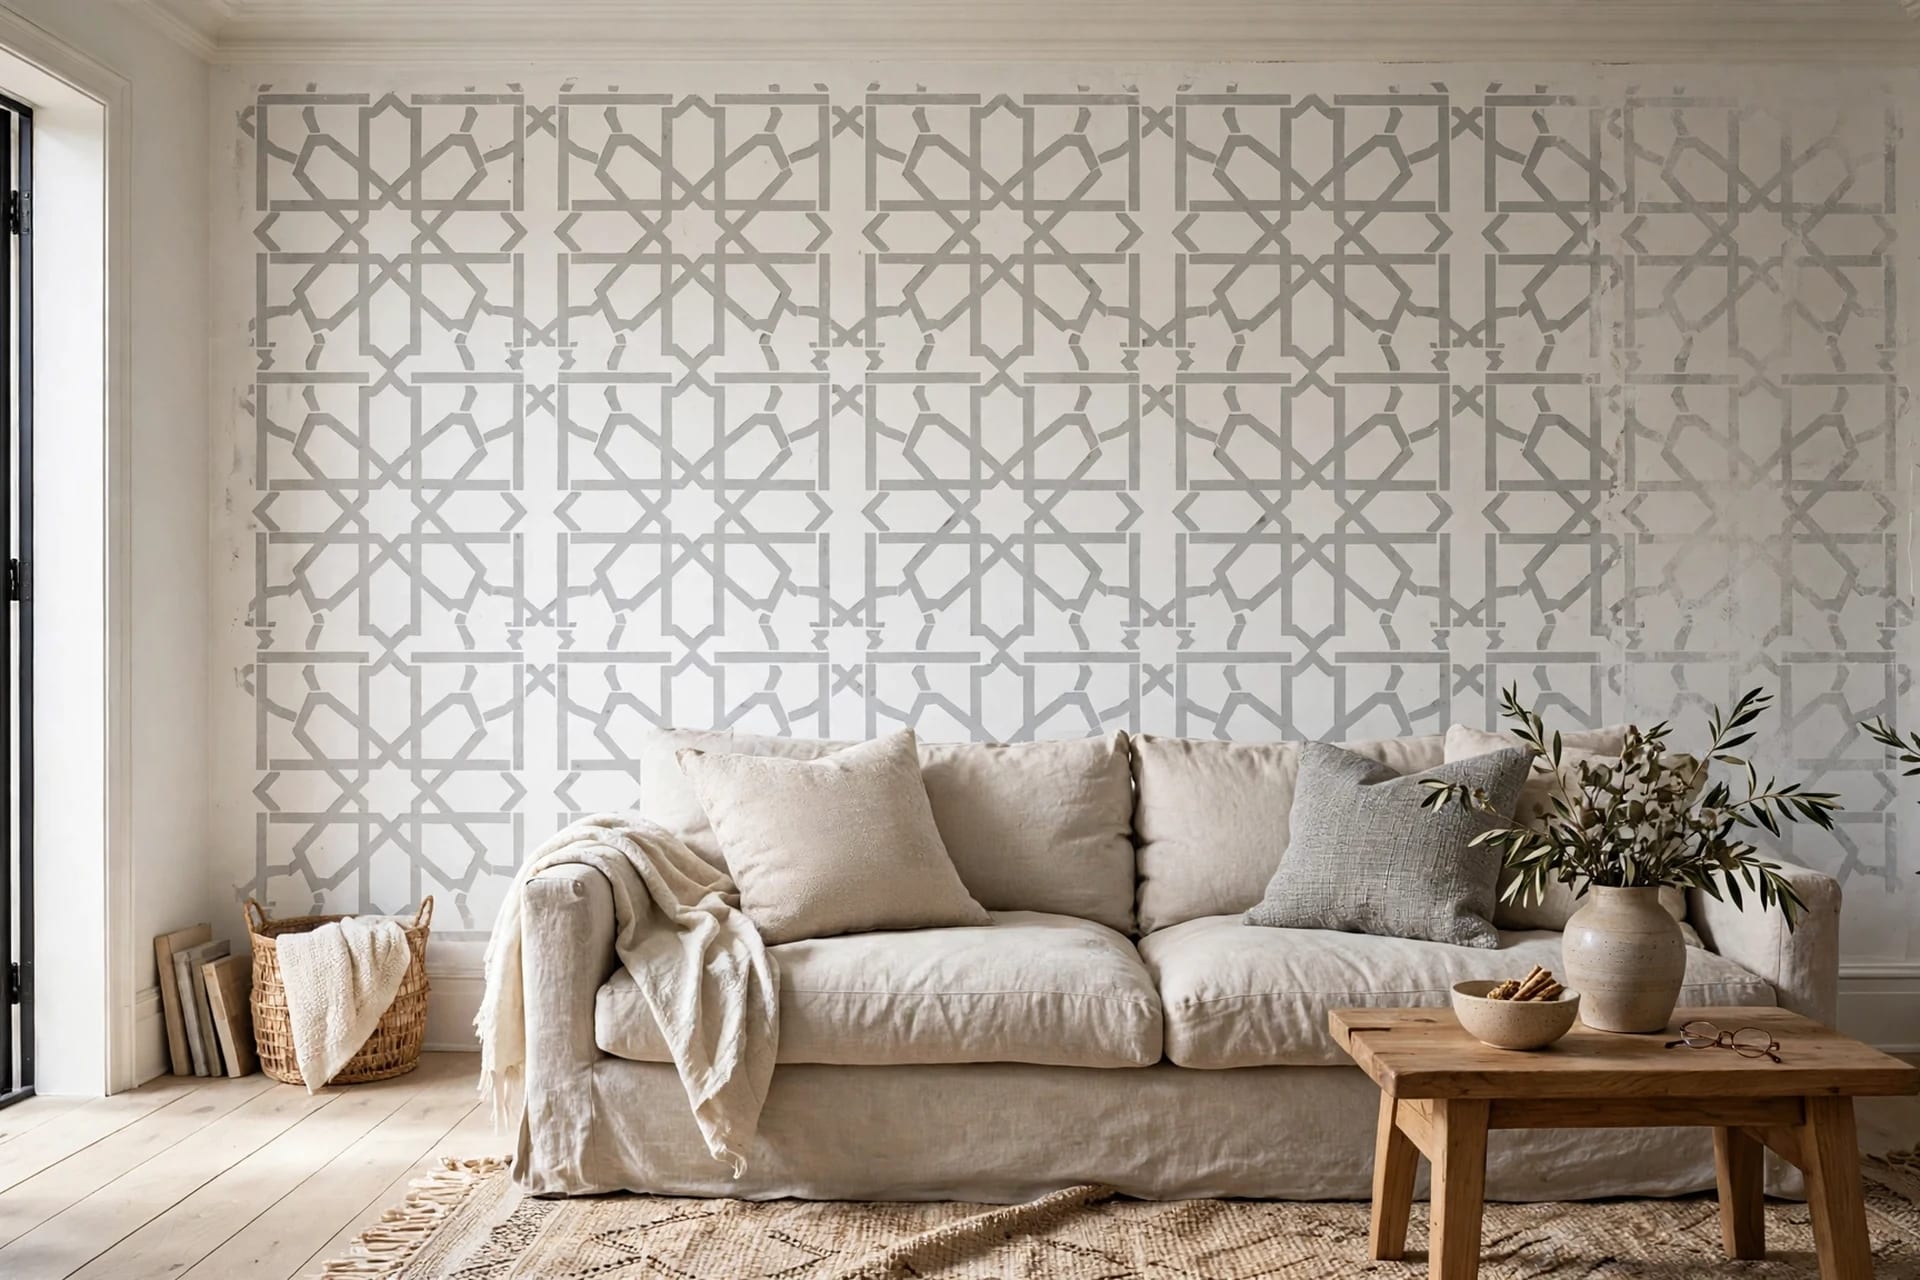
Wallpaper math is brutal: the rolls you love run $1–$3 a square foot, the pattern repeat wastes a fifth of every roll, and removing it in five years is a weekend of steam and regret. A reusable wall stencil inverts all three: $25–$60 once, any colors you want, and when you're done with the pattern you paint over it in an afternoon. The only thing standing between you and a crisp result is technique — and stencil technique is really one rule with a few supporting habits.
Key Takeaways
- The one rule: offload almost all the paint onto a paper towel before the roller touches the stencil — bleed means you skipped this
- Repositionable spray adhesive + tape holds the stencil dead flat; flat contact = crisp edges
- Work in columns, ceiling to floor, aligning each repeat to the built-in registration marks
- A full accent wall takes 3–5 hours and one stencil you'll reuse for years
Table of Contents
- Stencil types and pattern ideas
- Tools and wall prep
- The technique: dry brush, offloading, registration
- Corners, edges and ceilings
- Color strategies
- Fixing mistakes and cleaning up
- Stencil vs wallpaper: honest comparison
- FAQ
Stencil types and pattern ideas
- Allover repeating stencils are the wallpaper substitute: one large Mylar sheet (typically 12×12 to 24×24 inches of pattern) with registration marks — small cutouts at the edges that overlap the previously painted repeat so the pattern locks together seamlessly.
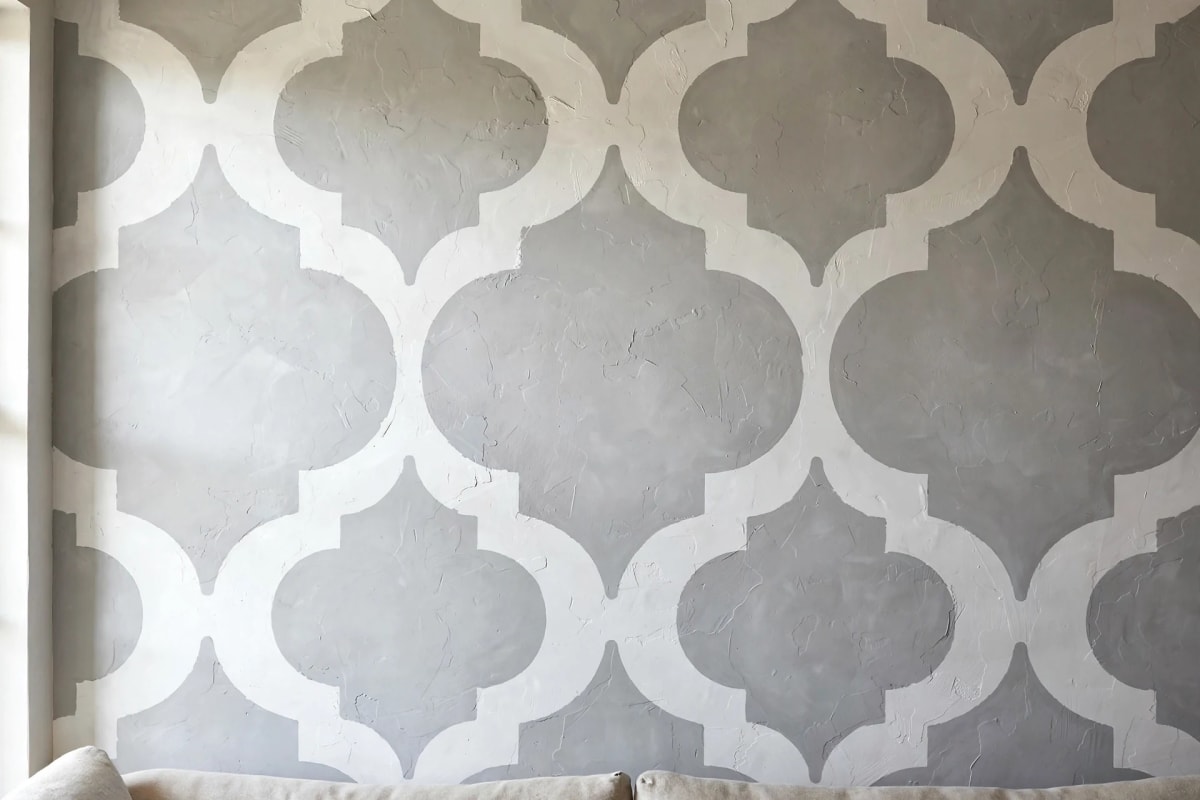
- Pattern families that carry a whole wall: Moroccan and cement-tile geometries (the kitchen/bathroom favorite, and a cheap answer to a tile backsplash), damask and traditional repeats for bedrooms, botanical and branch designs that forgive tiny misalignments, geometric mid-century stars and diamonds, and brick or stone faux-finishes.
- Single-motif stencils place individual designs — a medallion over a bed, a scattered sprig pattern, a border — wherever you want them. Looser, more forgiving, and the right choice for a first project: try one on a closet or laundry wall before committing the living room.
- DIY your own: a sheet of Mylar or acetate and a craft knife turn any silhouette into a single-motif stencil for a few dollars. Keep bridges (the little ties holding islands of the design) in mind — a stencil design must stay in one piece.
Tools and wall prep
You need: the stencil, a dense foam mini roller (4-inch is standard) for allover patterns, a stencil brush for detail and edges, repositionable spray adhesive, low-tack painter's tape, a level (a clip-on stencil level is a genuine luxury), paper towels in quantity, and flat/matte latex paint.
Prep decides the edges. The wall should be clean, patched and smooth, with the base coat fully cured — at least 24 hours — before a stencil touches it. A flat base coat is the stencil's friend: its slight absorbency grabs the stencil paint fast and discourages seepage. Tape off skirting, ceiling line and switch plates; remove the plates rather than stenciling around them.
The technique: dry brush, offloading, registration
- Position the first repeat at the top-center of the wall, checked with the level. Mist the stencil's back lightly with spray adhesive (one misting lasts 4–5 repeats), press it flat, and tape the top edge.
- Load, then offload. Roll the foam roller through the paint until evenly loaded — then roll most of it back off onto a stack of paper towels until the roller looks almost dry. This is the whole craft. Paint that feels "barely there" builds to full coverage in two light passes; paint that feels generous slides under the stencil and ruins the edge. If you get bleed, you didn't offload enough — every stencil teacher on earth says some version of this, because it's true.
- Roll with light, even pressure, in several directions. Heavy pressure flexes the Mylar and pumps paint under it.
- Peel the stencil away while the paint is wet, lifting from one corner. Stencil paint dries in about a minute at this thickness.
- Reposition using the registration marks: the cutouts at the stencil's edge fit over the matching shapes you just painted. Check the level every repeat or two — drift compounds.
- Work in columns: complete one vertical strip from ceiling to floor, then move sideways. Column order keeps registration tied to fresh, known-good repeats instead of chasing alignment across the whole wall at once.
With a brush instead of a roller: dip only the tip, offload the same way, and pounce — vertical stippling, working from the cutout edges toward the center so paint never gets pushed outward under the stencil.
Corners, edges and ceilings
Where the pattern meets the ceiling and baseboards, don't force full repeats: mask the trim, let the pattern run to the edge, and finish the last partial band with the stencil brush, pouncing into the boundary. For corners, tape the stencil firmly on the finished side, let the other side hang free, and press it into the corner with your free hand while you pounce with a small brush — Mylar flexes enough to take a corner if the paint on it is nearly dry (which, per the rule, it is). Ceilings are the same job at a harder angle: adhesive becomes essential, and a smaller stencil earns its price in reduced arm fatigue.
Color strategies
- Tone on tone: base and pattern in the same color family, two shades apart, ideally with a sheen difference (flat base, satin pattern) — the pattern appears and disappears as the light moves. The most expensive-looking result for the least risk.
- Classic contrast: white pattern on a deep base (navy, forest, charcoal) or the reverse. High drama, zero forgiveness for bleed — offload like you mean it.
- Metallics: gold or copper craft paint over a matte base for medallion and damask patterns; apply with a brush for control.
- Two-color patterns: some stencils are layered (two sheets, two colors). Paint the lighter color first across the whole wall, then the second layer — registration marks keep the layers married.
For base-color selection, the undertones logic in our limewash walls guide applies to stencils too — both are paint-depth effects on a flat wall.
Fixing mistakes and cleaning up
Bleeds and smudges fix with a small artist's brush and the base color: paint the mistake back to the wall color, let it dry, and re-stencil that motif if needed. Faint or incomplete motifs get the reverse treatment. Nobody's first wall is bleed-free; everybody's first wall looks bleed-free after ten minutes of touch-up, which is the actual professional secret.
Paint builds up on the stencil as you work, thickening the pattern's lines and inviting bleed. When the cutouts start looking furry, stop: lay the stencil flat on plastic, soften the paint with warm water (or latex paint remover for dried buildup), scrub gently, rinse, pat dry. A clean stencil is a crisp stencil.

Stencil vs wallpaper: honest comparison
Wallpaper wins on perfection and speed of professional installation; a stencil wins almost everywhere else. Cost: a stencil wall runs the price of the stencil plus a quart of paint — often under $80 all-in, against $300+ of rolls for the same wall. Customization: total (any base, any pattern color, patterns placed only where you want them). Rental-friendliness: tied with our removable wallpaper ideas — both leave with a repaint or a peel. The stencil's honest cost is your time and a pattern that's 98% perfect instead of 100%: at room distance, in real light, 98% reads as wallpaper to everyone but you.
FAQ
How long does it take to stencil a wall? A single accent wall with an allover pattern: 3–5 hours for a first-timer, including drying, moving and touch-ups. Small single-motif projects take under an hour.
Can I stencil over textured walls? Light orange-peel texture: yes, with a brush and extra patience. Heavy knockdown or popcorn textures defeat the flat contact a stencil needs — the pattern will bleed at every bump. Choose a smoother wall or a looser, organic motif that hides imperfection.
What paint works best for stenciling? Flat or matte latex for both base and pattern. Avoid glossy pattern paint — it shows every thickness variation — except for deliberate metallics.
My pattern drifted off level. How bad is it? A degree or two across a wall is invisible in organic patterns and barely visible in geometrics. Correct gradually over several repeats rather than snapping back in one — a sudden correction is the one that shows.
Can stencils go on floors or furniture? Yes — tile-pattern stencils on painted floors and patio slabs are a whole subculture. Seal with polyurethane afterward; walls don't need sealing, floors absolutely do. Furniture is the friendliest practice surface of all: a stenciled dresser or cabinet door teaches you offloading and pressure on something small enough to sand back and retry without a ladder, a sore neck, or an audience.



