
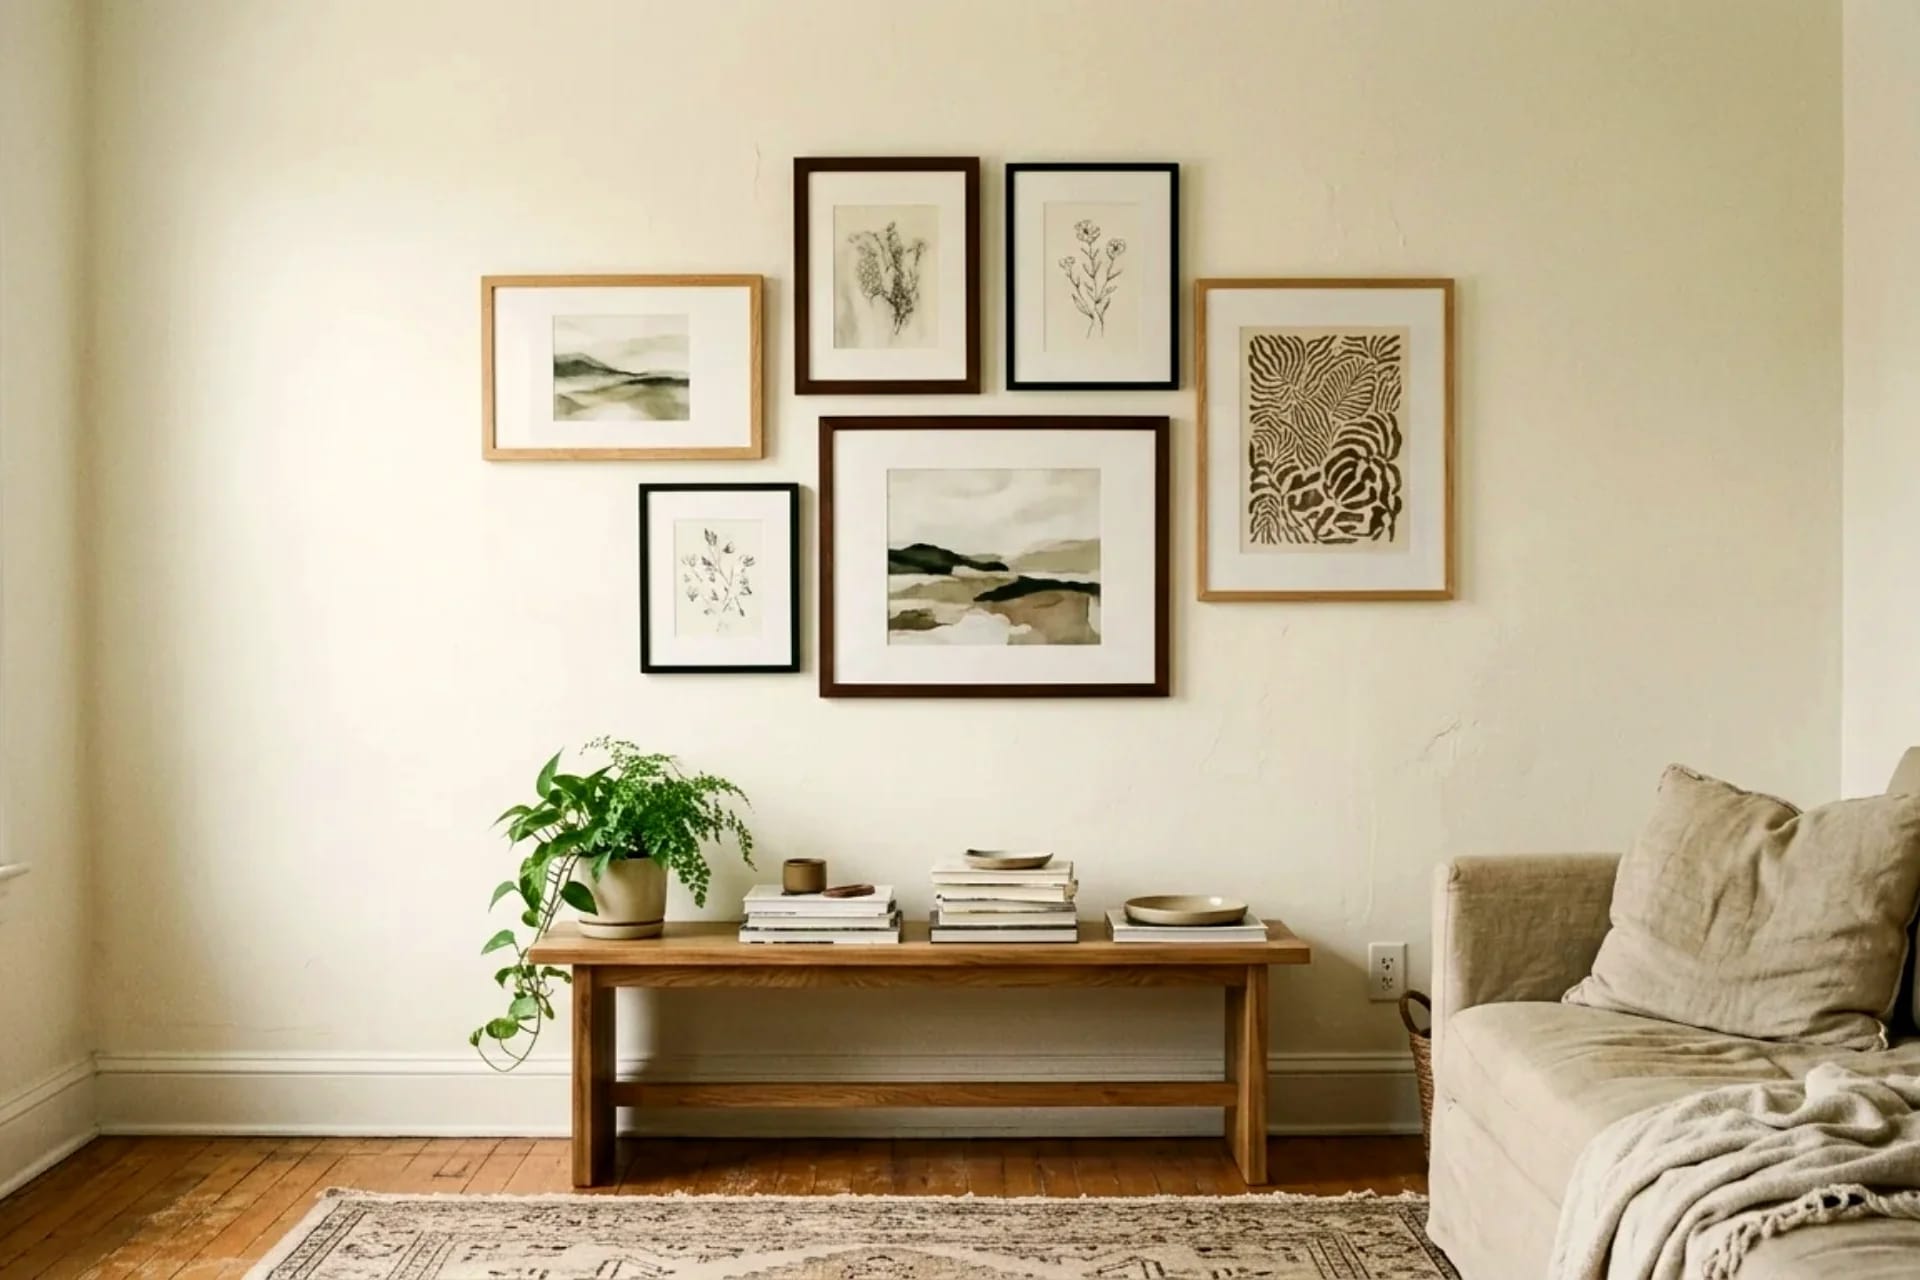
Most gallery walls don't fail because of bad taste. They fail because of bad planning — frames hung one at a time, eyeballed, until the wall looks like a rummage sale. The fix isn't better art. It's a template: a planned layout with exact measurements, mocked up on the floor before a single nail goes in. Below are six proven gallery wall templates with the spacing, sizing, and hanging heights that make each one work. Pick the one that fits your wall, cut kraft paper to match, and hang the whole thing in under an hour.
If you're starting your wall decor journey from zero, our DIY wall decor guide walks through the basics first — this is the precision-planning deep dive.
Key Takeaways
- The 6 templates: grid, salon style, single row, staircase, statement + satellites, corner wrap — exact measurements for each below
- The golden rule: the center of your arrangement sits at 145 cm (57 inches) from the floor
- Spacing: keep 5–8 cm (2–3 inches) between frames, and keep it identical everywhere
- Plan on the floor first: kraft-paper cutouts taped to the wall save hours of patching
- Renters: every template works damage-free — jump to hanging without damage
Table of Contents
- The 3 rules before you pick a template
- Template 1: The grid
- Template 2: Salon style
- Template 3: The single row
- Template 4: Staircase gallery
- Template 5: Statement + satellites
- Template 6: Corner wrap
- Frame size cheat sheet
- Transferring the template to your wall
- Hanging without damage: renters' edition
- The takeaway
- Frequently asked questions
The 3 rules before you pick a template
Every template below assumes these three rules. Get them right and almost any arrangement looks intentional.
Rule 1: Center at 145 cm (57 inches)
Museums hang art so its center sits at 145 cm from the floor — average human eye level. Mark a faint pencil line at 145 cm across your wall and build the template around it. For arrangements above furniture, the bottom of the arrangement should sit 15–20 cm above the furniture instead — the furniture becomes the visual anchor.
Rule 2: Spacing stays 5–8 cm (2–3 inches)
Tighter than 5 cm and frames crowd each other; wider than 8 cm and the pieces stop reading as one arrangement. Pick one number — say 6 cm — and use it between every pair of frames. Consistent spacing is what separates "curated" from "random."
Rule 3: Start with an anchor piece
Every template needs one biggest piece. Hang (or plan) the anchor first, centered on your 145 cm line, and arrange everything else relative to it. Without an anchor, salon-style clusters drift and look accidental.
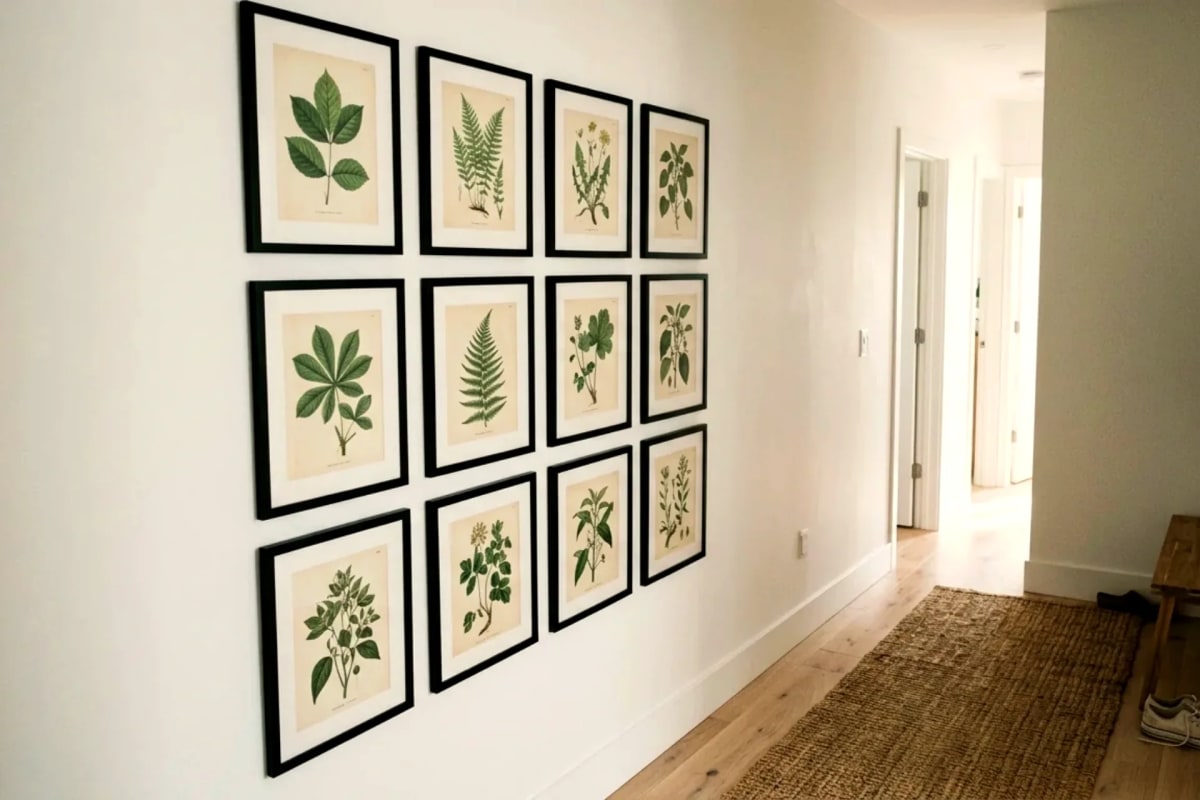
Template 1: The grid
Best for: matching frames, modern and minimalist rooms, hallways.
The grid is the most forgiving template because symmetry does the work. Use identical frames — same size, same finish.
Exact measurements: For a 3×3 grid of 30×30 cm frames with 6 cm gaps:
- Total width: (30 × 3) + (6 × 2) = 102 cm
- Total height: same, 102 cm
- Formula: (frame size × count) + (gap × (count − 1))
Hanging tips: Use a level on every row — grids punish crookedness. Start with the center frame (on your 145 cm line), then work outward. A 2×3 or 4×4 grid follows the same math. For a full breakdown of choosing between layouts, see our gallery wall layouts guide.
Cost: 9 matching frames at $4–8 each = $36–72.
Template 2: Salon style
Best for: mixed art, photos, and frames — the classic "collected over time" look.
Start with your largest piece dead center (on the 145 cm line). Add medium pieces around it, then fill the gaps with smalls. Keep the outer silhouette roughly rectangular or oval — that's the secret; the inside can be gloriously messy as long as the outside edge holds a shape.
Exact measurements:
- Spacing: 5 cm between all frames
- Total span: aim for roughly two-thirds the width of the furniture below (e.g., 130 cm span over a 200 cm sofa)
- Build outward evenly — if you add 20 cm to the left, add 20 cm to the right
Hanging tips: Lay the whole thing on the floor first and photograph it. Squint at the photo — if the outer edge looks blobby, swap pieces until it holds a rectangle.
Template 3: The single row
Best for: above long, low furniture — sofas, consoles, sideboards, beds.
Three to five frames in one straight horizontal line. Simple, calm, almost impossible to mess up.
Exact measurements:
- All frame centers on one horizontal line at 150 cm from the floor (slightly above the 145 rule since furniture sits below)
- Total width ≈ two-thirds the width of the furniture beneath
- Gaps: 8–10 cm (slightly wider than clustered templates — the row needs air)
- Bottom of frames: 15–20 cm above the furniture top
Hanging tips: Identical frames look sharpest here, but identical mats with different frame finishes also work. Use a laser level or a taut string line — a row that's off by 1 cm is visible from across the room.
Template 4: Staircase gallery
Best for: stairwell walls — the most underused gallery space in any home.
Follow the slope of the stairs. This is the one template where the 145 cm rule bends: here, everything keys off the stair angle instead.
Exact measurements:
- Bottom edges of frames sit 15 cm above an imaginary line following the stair nosings (the front edge of each step)
- Frames step up parallel to the slope — each frame 8 cm apart horizontally
- Start at the bottom of the stairs with the largest piece; sizes can shrink as you ascend
- 5–7 frames is the sweet spot for a standard flight
Hanging tips: Tape kraft paper cutouts first (see the transfer method below) — stairwell walls are where eyeballing fails hardest because there's no level reference line.
Template 5: Statement + satellites
Best for: mixing one big art piece with smaller photos and prints.
One large anchor — say 60×80 cm — with 4–6 smaller pieces orbiting it. The anchor does the heavy lifting; the satellites add personality.
Exact measurements:
- Anchor center at 145 cm from the floor
- Satellites sit 6 cm from the anchor's edges
- Keep satellites on two or three sides only (not all four — that looks like a shrine)
- Total arrangement roughly 120×100 cm for a 60×80 anchor
Hanging tips: Vary satellite sizes (two mediums, three smalls beats five identical smalls). This template is ideal for mixing a statement art piece with family photos without the photos looking lost.
Template 6: Corner wrap
Best for: small rooms where one wall isn't enough, or awkward corners begging for attention.
The gallery continues around the corner — both walls treated as one canvas.
Exact measurements:
- Keep frames 10 cm clear of the corner edge itself (frames kissing the corner look cramped)
- Mirror the spacing (5–8 cm) across both walls
- Start the arrangement on the more visible wall, wrap 2–3 pieces around the corner
Hanging tips: Keep frame finishes consistent across the corner — the wrap already adds visual complexity, so unify with matching frames or a limited color palette.
Frame size cheat sheet
Match your wall to a starting point, then adjust with the templates above:
| Wall situation | Arrangement | Example | |---|---|---| | Narrow wall, up to 120 cm | Single row of 3, or 2×2 grid | 3 × 30×40 cm frames, 8 cm gaps | | Medium wall, 120–200 cm | Salon cluster or 3×3 grid | 9 × 25×25 cm frames, 6 cm gaps | | Wide wall, 200 cm+ | Statement + satellites, or large salon | 1 × 60×80 cm + 6 smalls | | Staircase wall | Staircase template | 5–7 mixed frames | | Above a sofa | Single row or salon, 2/3 sofa width | Row of 4 × 30×40 cm over 200 cm sofa | | Small/awkward wall | Corner wrap or 3-piece vertical stack | See small-space gallery wall ideas |
Transferring the template to your wall
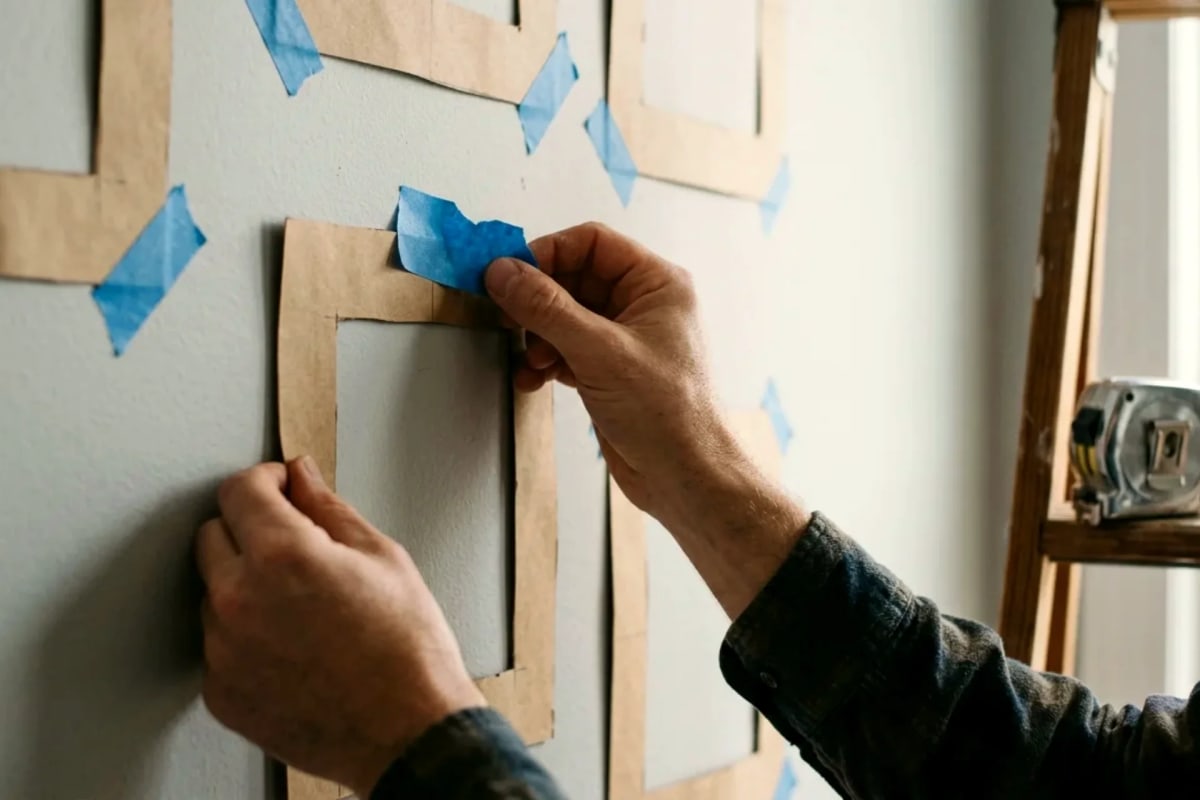
This is the 30-minute step that prevents 3 hours of patching. Do not skip it.
- Measure your wall and note obstacles: switches, thermostats, vents.
- Cut kraft paper (or newspaper) to the exact size of each frame. Brown packing paper is cheapest.
- Label each cutout with the frame's contents ("wedding photo," "blue abstract") so you don't lose track.
- Tape cutouts to the wall with painter's tape, following your chosen template's measurements. Use a tape measure, not your eye.
- Live with it 24 hours. Walk past it, view it from the sofa, check it in evening light. Move pieces now — it's free.
- Hang through the paper: hammer the nail or press the strip through the paper cutout, then tear the paper away. The fastener lands exactly where the template said.
Total cost: a $5 roll of kraft paper and a roll of painter's tape you probably own.
Hanging without damage: renters' edition
Every template above works without a single nail. The full method lives in our renter-friendly wall decor guide — the short version:
- Picture-hanging strips: the workhorse. Medium sets hold ~1.8 kg; use two sets per frame for anything over 2 kg. Clean the wall with rubbing alcohol first — adhesion doubles.
- Monkey hooks / Hercules hooks: leave a pinhole (usually within "normal wear"), hold up to 15 kg each. Best for heavy anchors.
- Lean, don't hang: for the single-row template, a picture ledge shelf gives you a damage-free gallery you can rearrange in seconds.
- Weigh your frames: a kitchen scale takes 10 seconds and prevents the 2 a.m. crash. Anything over 3 kg gets two fixing points, minimum.
The takeaway
Gallery walls are a planning exercise disguised as a decorating project. Pick one template, obey the 145 cm center line, keep spacing identical, mock it up in kraft paper, and hang once. The whole job — planning included — fits in a Saturday morning, and the result looks like you hired someone. Start with the template that matches your wall, not the one you like most on Pinterest; the right template for your space always photographs better than the wrong template executed perfectly.
Frequently asked questions
How far apart should gallery wall frames be? 5–8 cm (2–3 inches) between frames, kept identical throughout the arrangement. Tighter reads as one piece; wider and the frames stop relating to each other.
What is the 57-inch rule for hanging pictures? The center of the artwork (or arrangement) sits 145 cm (57 inches) from the floor — average eye level, and the standard museums use. For pieces above furniture, the bottom of the arrangement goes 15–20 cm above the furniture instead.
How do I plan a gallery wall without making holes in the wall? Cut kraft paper to each frame's exact size, tape the cutouts to the wall with painter's tape, and live with the layout for 24 hours before hanging. Hammer nails or press adhesive strips through the paper, then tear it away.
Can I mix frame colors in a gallery wall? Yes — limit yourself to two finishes (e.g., black + natural wood) and repeat both at least twice. One lonely frame in a different finish looks like a mistake; two or more looks like a choice.
How big should a gallery wall be over a sofa? About two-thirds the width of the sofa. A 200 cm sofa wants a ~130 cm wide arrangement. Full-width arrangements make the sofa look small; tiny centered clusters look lost.
Do all frames in a gallery wall need to match? Only for the grid template, where matching frames are the whole point. Salon style, statement + satellites, and staircase galleries look better with mixed frames — just keep spacing consistent so the variety reads as intentional.



