The entryway is the first thing guests see, yet it is the room most people decorate last — usually with whatever is left over after the tree is done. It deserves better. A few deliberate pieces in the hallway set the tone for the whole house, and because the space is small, the effect is instant and the cost stays low.
This guide gives you seventeen Christmas entryway decor ideas for real hallways, including flats and narrow entries, plus six DIY projects under $20 each, a safety checklist and a takedown plan.
Key Takeaways
- Style the entryway in four parts — console, wall, floor and light — and it looks finished even with inexpensive pieces.
- A console needs three heights, one tray and one living thing.
- Garland belongs on the door frame, the mirror or the console, not all three at once.
- Use flameless candles and battery fairy lights near garland and paper, and keep a clear 36-inch path through the doorway.
- Most of this look costs under $60 if you DIY first and buy only the garland and lights.
Table of Contents
- The 4-Part Entryway Formula: Console, Wall, Floor and Light
- Styling the Console: Three Heights, One Tray, One Living Thing
- What to Hang on the Wall: Wreaths, Mirrors and Garland
- Floor Anchors: Slim Trees, Baskets, Lanterns and Layered Doormats
- Lighting It Right: Fairy Lights and Flameless Candles
- Small and Apartment Entryways: 5 Space-Saving Layouts
- 6 Easy DIY Entryway Projects (Under $20 Each)
- Safety First and Easy Takedown and Storage After Christmas
- FAQ
The 4-Part Entryway Formula: Console, Wall, Floor and Light
Every good Christmas entryway has four parts, whether your entry is a grand hallway or a strip of wall beside the front door. The console holds the main display, the wall above it carries the wreath or mirror, the floor anchors the scene, and light ties the three parts together after dark.
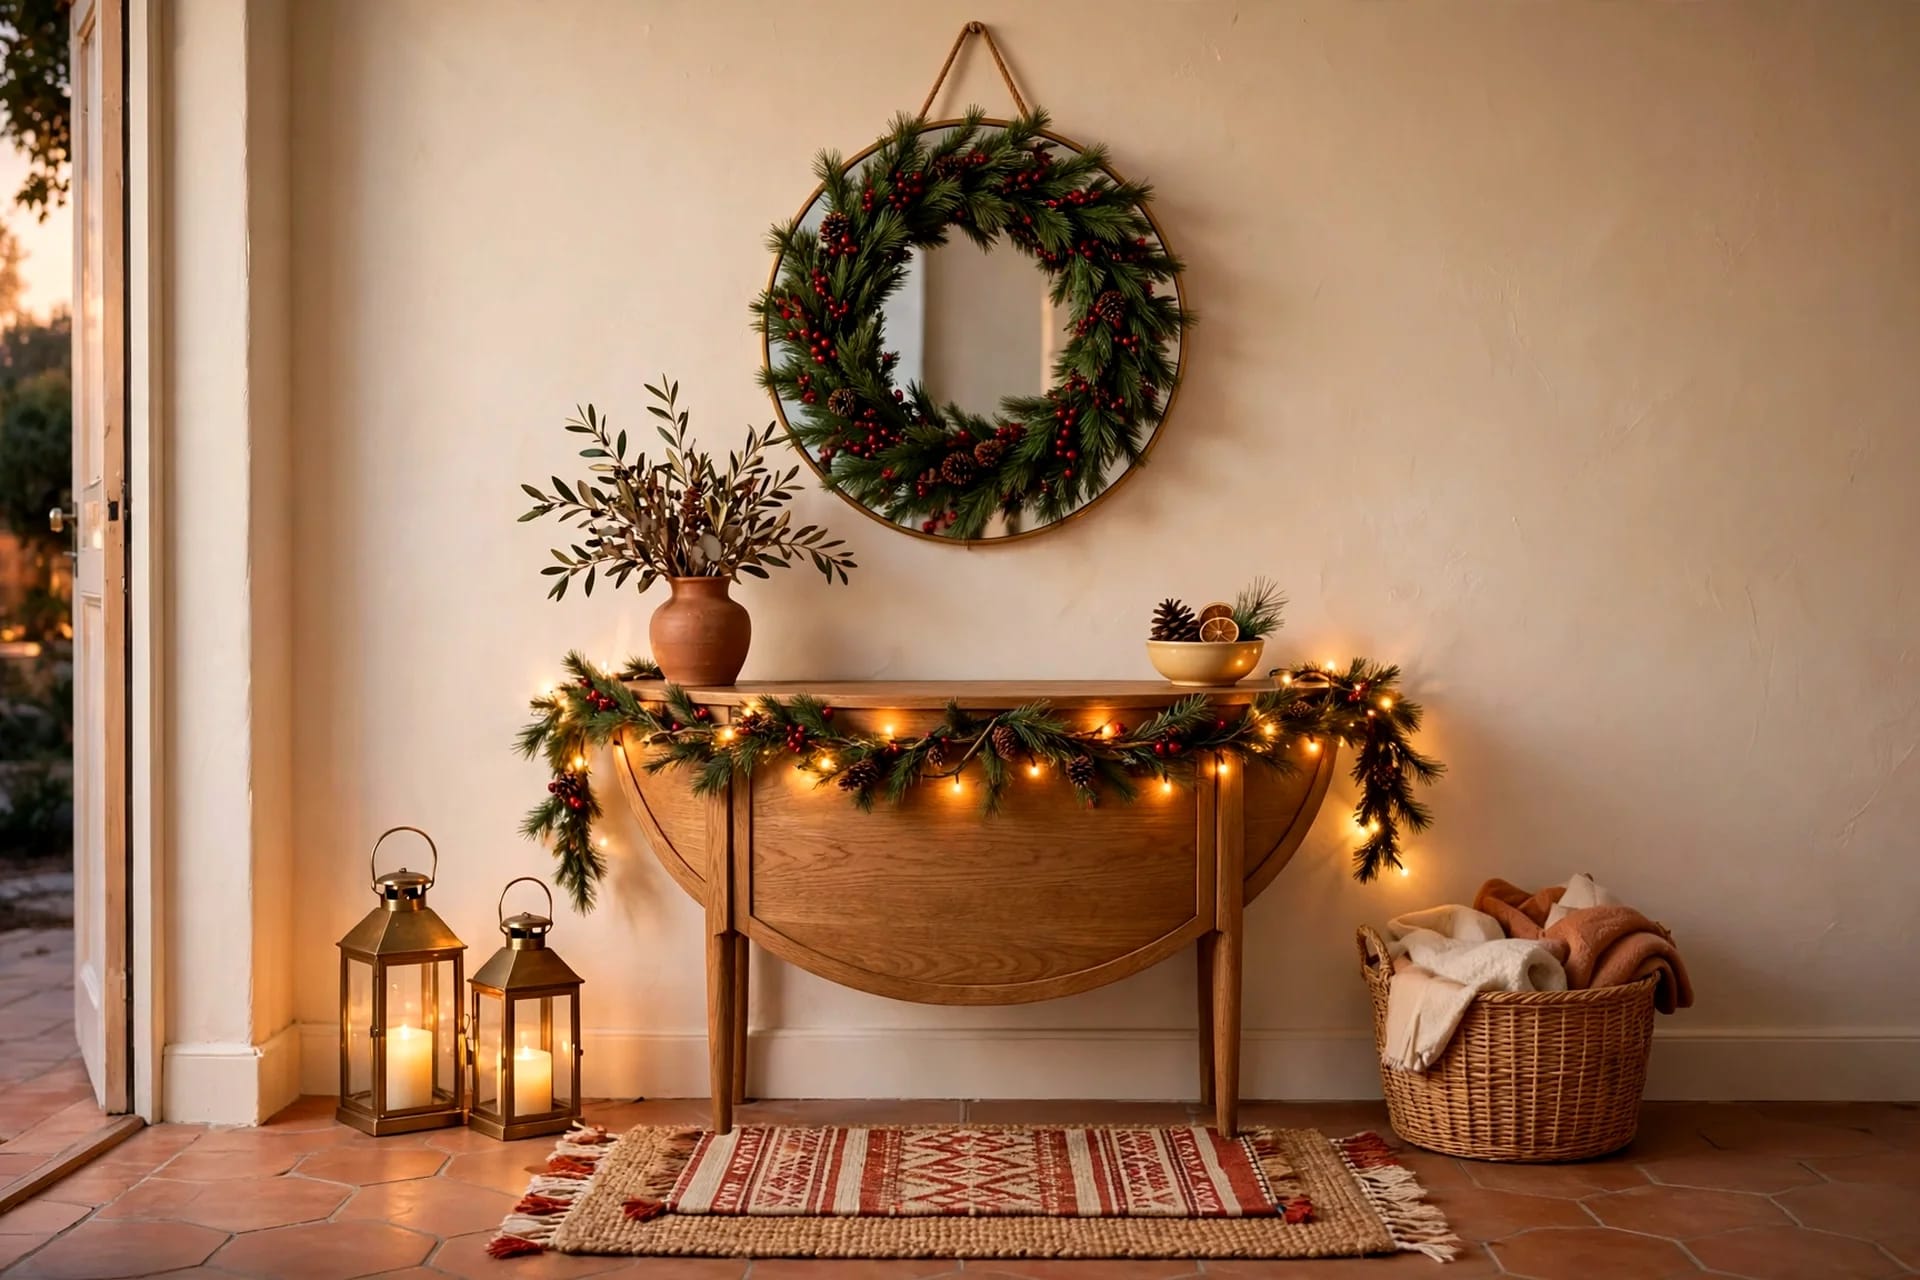
Start with the console, because it sets the height of everything else. A half-moon or narrow rectangular console, 30 to 36 inches high and no more than 12 inches deep, fits almost any entryway without blocking the path; a wall shelf, narrow bench or sturdy stool does the same job. Place the console first, then the wall piece, then one floor anchor, then the light.
Styling the Console: Three Heights, One Tray, One Living Thing
The console is where most entryways succeed or fail, and the rule is simple: three heights, one tray, one living thing. Three heights means a tall piece (a vase of branches), a medium piece (a candle cluster or books) and a low piece (a bowl of pinecones). One tray gathers the small things; one living thing — real evergreen, eucalyptus or a potted plant — keeps the display from feeling like plastic.
1. The three-height console vignette
Build the console in three heights and the eye reads it as styled rather than cluttered. On the left, a tall vase with fir or eucalyptus branches, 18 to 24 inches tall. In the centre, a medium piece: three pillar candles of different heights, or two books with a small ornament on top. On the right, something low — a wooden bowl of pinecones or a dish of baubles. Keep 4 to 6 inches of empty console between groups. The whole vignette costs $15 to $30.
2. The tray that holds it all together
A single tray — wood, rattan or metal, about 12 by 18 inches — is the fastest way to make a console look deliberate. Put the candles, pinecones and one small ornament on the tray, and everything reads as one display instead of five loose objects. The tray also protects the console from wax and water rings, and in January you lift the whole display off in one move. Choose a natural material, not a festive print: it works again next year.
3. The living touch: evergreen, eucalyptus or a potted plant
One living thing changes the whole entryway. A vase of fresh fir branches costs a few pounds from a florist or nothing from the garden, and it smells like Christmas in a way no candle can match. Eucalyptus lasts two to three weeks in water and suits minimalist rooms. A small potted rosemary or pine is the most sustainable choice. Keep it in water and away from the radiator, or the needles will drop within days. For year-round console styling, the entryway wall decor ideas guide covers the basics this display builds on.
What to Hang on the Wall: Wreaths, Mirrors and Garland
The wall above the console is the entryway's focal point, and it needs exactly one hero piece: a wreath, a mirror with a wreath on it, or a garland swag. Two heroes on the same wall fight each other, and the entryway ends up looking like a shop window.
4. The wreath on the mirror
Hang a round mirror above the console, then hang a small wreath on the mirror itself, from a ribbon or a suction hook. The mirror doubles the light, the wreath adds the colour, and the combination needs only one nail. A 24 to 30-inch mirror with an 18-inch wreath suits most consoles. Hang the wreath slightly off-centre — an inch to the left reads as styled, dead centre reads as a catalogue photo.
5. The garland-framed doorway
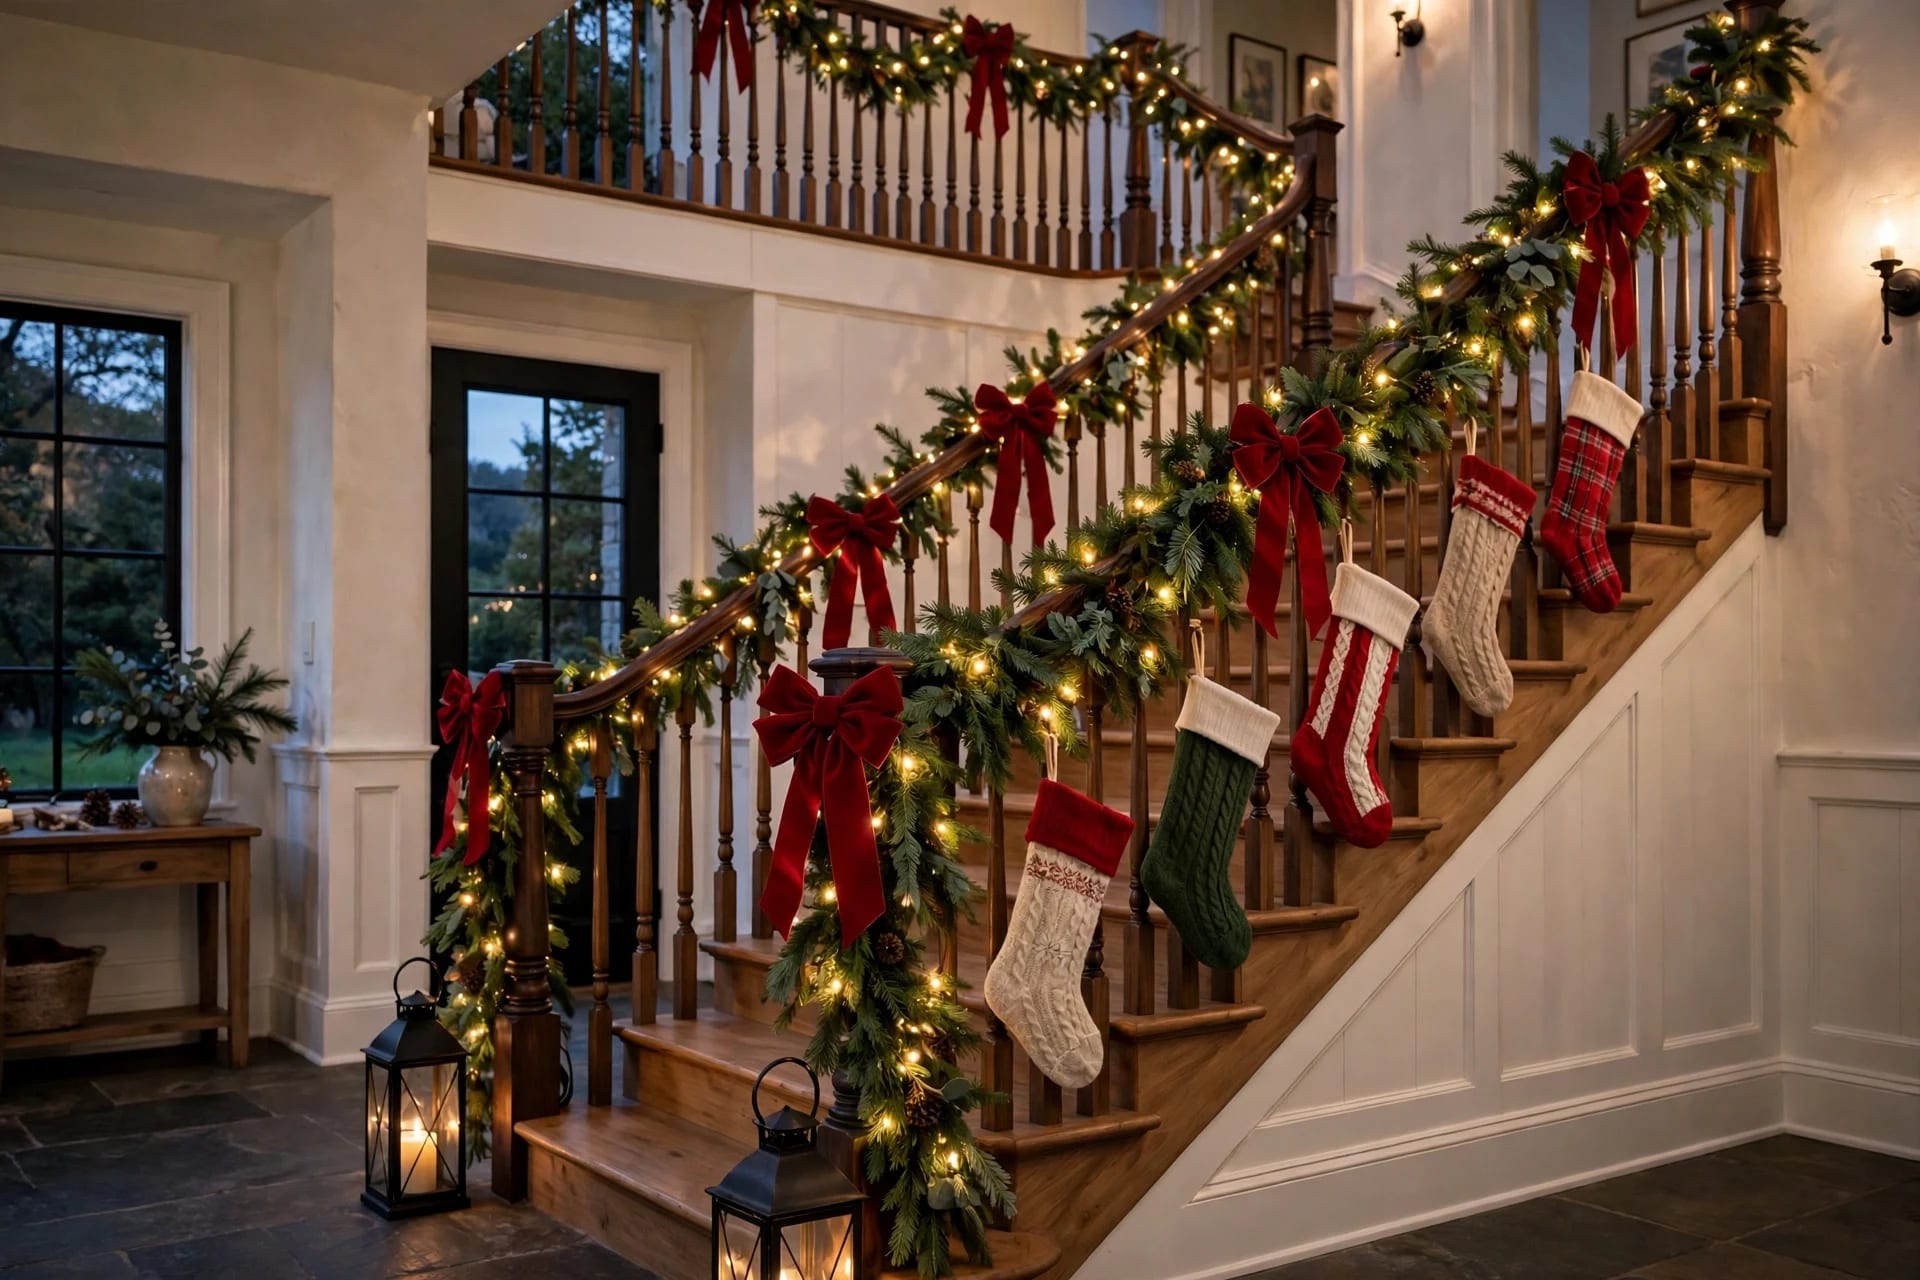
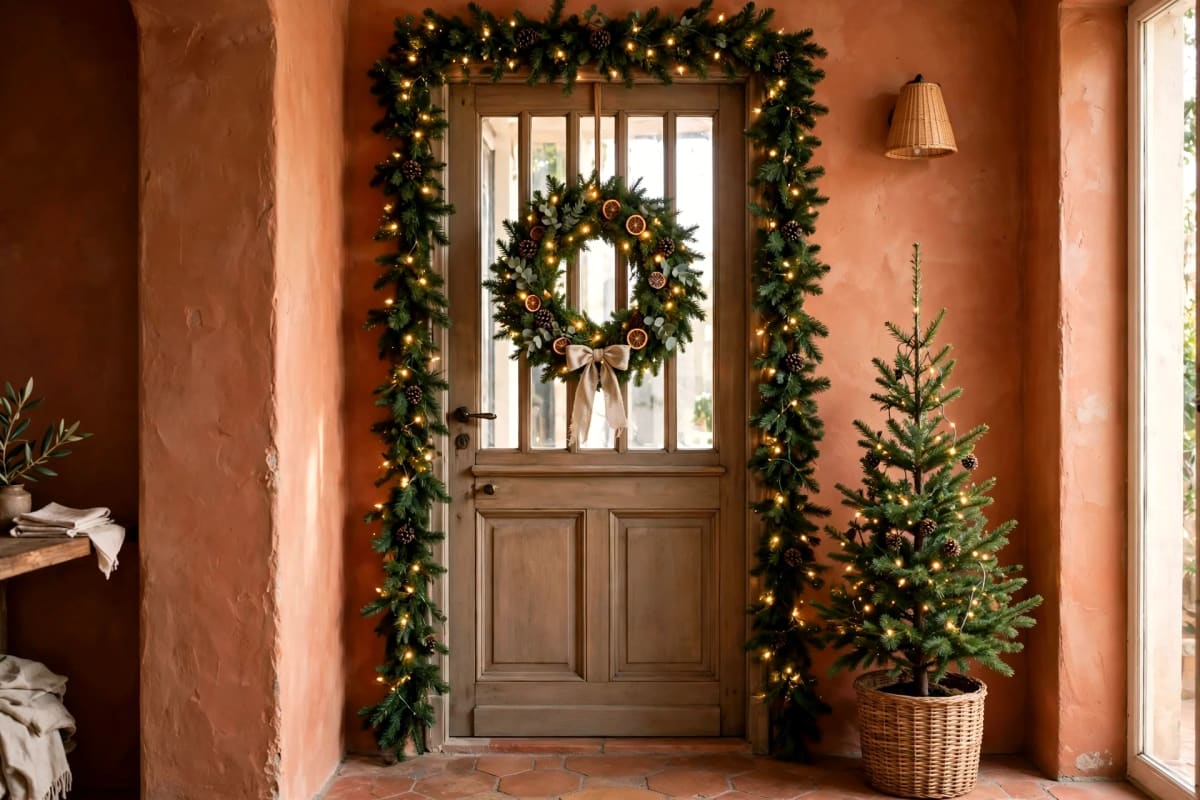
Drape a garland around the front door frame and the whole entryway feels like an event. Fix it with removable hooks at the top corners and the middle of each side, let the ends hang 12 to 18 inches down the frame, and weave in fairy lights before you hang it — far easier on the table than on the door. A 9-foot garland suits a standard door; a 6-foot one leaves it half-dressed. The Christmas front door decor guide covers outdoor-safe fixings, and the Christmas garland ideas guide covers more styles and lengths.
6. The statement wreath, hung alone
Sometimes the wall needs nothing but a wreath. A single large wreath — 24 to 30 inches — hung on a plain wall above a bench or a basket reads as confident and calm, and it suits very small entries where a mirror and a console will not both fit. Hang it at eye level, centre at 57 to 60 inches, with a simple bow: velvet for classic, linen for farmhouse, gold for glam. The DIY Christmas wreath ideas guide has a $12 evergreen wreath that takes under an hour.
Floor Anchors: Slim Trees, Baskets, Lanterns and Layered Doormats
Floor pieces give the entryway weight: pick one tall piece and one low piece, and keep a 36-inch gap through the doorway.
7. The slim tree in a basket
A slim pencil tree, 4 to 5 feet tall, in a basket is the best floor anchor for a small entryway. Dress it simply — fairy lights and a dozen baubles in one colour. Cost: $25 to $40 faux, $15 to $25 potted.
8. The basket of blankets and throws
A large woven basket filled with rolled blankets and throws is the easiest floor anchor of all, and it earns its place after Christmas too. Put it beside the console, fill it with two or three throws in cream, red or plaid, and let one drape over the edge. A basket this size costs $15 to $25.
9. The lantern cluster
Two or three lanterns of different heights on the floor beside the console give the entryway its evening glow. Use flameless LED candles inside — real flames and a hallway full of coats do not mix. A cluster of three costs $20 to $35 with LED candles included.
10. The layered doormat
Layer a plain coir doormat over a larger patterned rug, and the doorway looks styled before anyone reaches the console. The outer rug should be 6 to 12 inches wider than the mat on each side, in a simple pattern. Cost: $12 to $20 for the pair.
Lighting It Right: Fairy Lights and Flameless Candles
Christmas light should be warm and low: warm white fairy lights (2700K) make garland glow; cool white looks like a shop display.
11. Fairy lights woven through the garland
Weave one 6-foot string of warm white fairy lights through the garland before you hang it, spacing the bulbs 4 to 6 inches apart. Battery lights with a timer are the easiest choice: set the timer for 4 pm to 10 pm and never touch them again. Cost: $5 to $8 per string.
12. Flameless candles on the console and floor
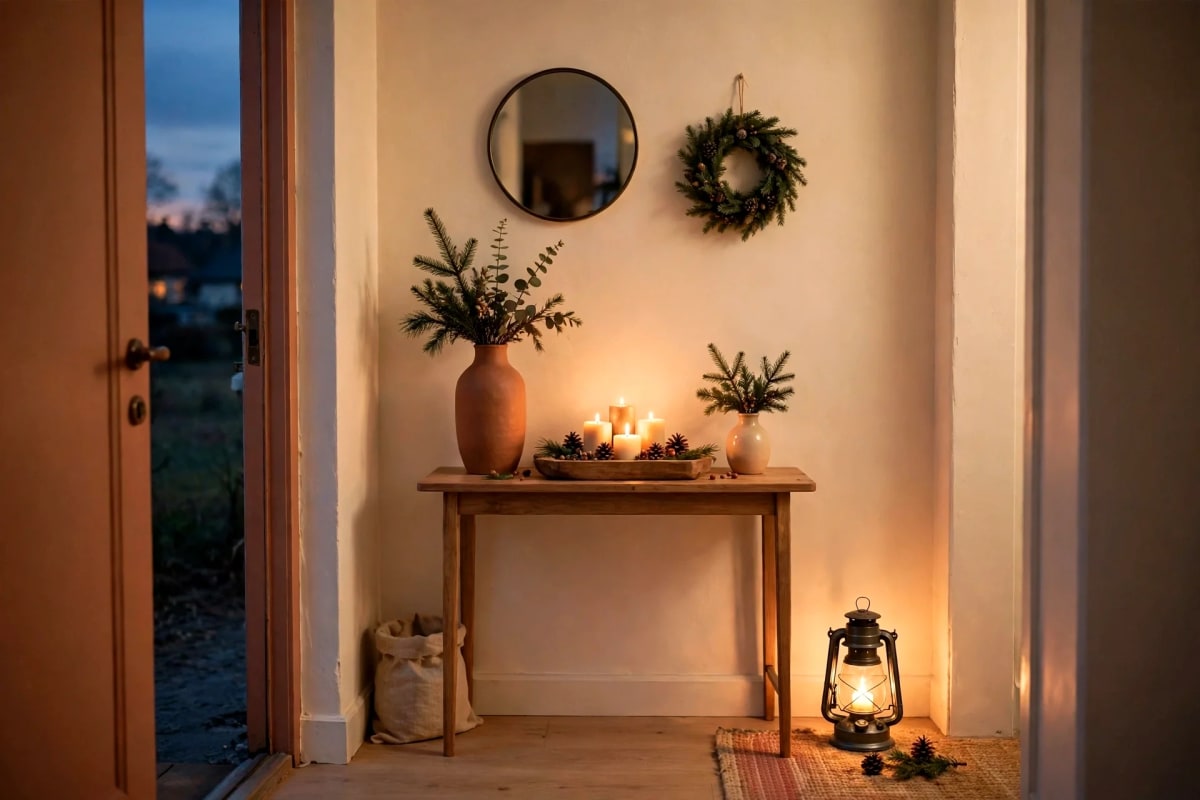
Flameless pillar candles give the entryway its candlelight without the risk. Group three on the console tray at different heights, and put one inside each floor lantern. A set of three costs $10 to $15 and lasts for years.
Small and Apartment Entryways: 5 Space-Saving Layouts
Small entries need the same four parts, just smaller: every layout below uses pieces no deeper than 12 inches.
13. The single-shelf entry
One floating shelf at console height, a small wreath above it, and a lantern on the floor below. Depth: 8 inches. Cost: under $25 with a DIY shelf.
14. The bench and basket entry
A narrow bench against the wall, a basket of throws beside it, and a wreath above. This layout suits entries with no wall space for a table.
15. The door-only entry
No console at all: a garland around the door frame, a wreath on the door, and a layered doormat. Best for entries under 3 feet wide.
16. The corner entry
A small corner shelf or half-moon console tucked into the corner by the door, a mini tree behind it, and fairy lights along the shelf edge.
17. The renter's no-nail entry
Everything removable: a leaning mirror with a wreath hung on it, a tension-rod garland across the doorway, a basket on the floor and battery lights throughout. No holes, no hooks, nothing to repair in January.
6 Easy DIY Entryway Projects (Under $20 Each)
Every project below costs under $20, takes under an hour, and uses discount-store materials.
DIY 1. Dried orange slice garland with pinecones
Thread dried orange slices, pinecones and cinnamon sticks onto twine. Hang it on the console or door frame. Cost: about $8.
DIY 2. Folded paper stars with tea lights
Fold white paper bags into stars, cut patterns, and drop a battery tea light inside. Cost: about $5.
DIY 3. Pinecone fire starters in a jar
Fill a glass jar with pinecones, dried orange peel and a cinnamon stick, and tie twine around the neck. Cost: about $6.
DIY 4. Painted bauble bowl
Fill a wooden bowl with plain baubles in one colour, mixed matte and shiny, and tuck in fir sprigs. Cost: about $10.
DIY 5. Ribbon-wrapped wreath
Wrap a foam wreath form in wide velvet ribbon, add pine sprigs and three pinecones with glue. Cost: about $12.
DIY 6. Chalkboard welcome sign
Paint a small board with chalkboard paint, write a welcome message in chalk, and lean it on the console. Cost: about $9.
Safety First and Easy Takedown and Storage After Christmas
Entryways mix greenery, electricity and foot traffic, so safety is part of the styling. Use flameless candles near garland, paper and fabric, and never leave real candles burning in a hallway. Keep light wires off the walking path and use a timer rather than leaving lights on overnight. Keep a clear 36-inch path through the doorway, and never let garland or a tree block the door from opening fully.
On Twelfth Night, lift the console display off on its tray, coil the garland loosely, and store wreaths flat in a box with tissue between them. Label the box by room, and next December the entryway goes up in twenty minutes. The DIY wall decor guide covers the hanging and fixing basics used throughout this guide.
FAQ
How do I decorate a very small entryway for Christmas?
Use one wall and the door: a small wreath on the door, a narrow shelf or bench, and a lantern on the floor. Skip the console under 3 feet wide.
What should I put on a Christmas console table?
Three heights, one tray, one living thing: a tall vase of branches, medium candles or books, a low bowl of pinecones, all on one tray.
How do I hang garland without damaging the door frame?
Use removable adhesive hooks rated for the garland's weight, or a tension rod. Never use nails or staples on a rented frame.
Are real candles safe in a Christmas entryway?
No — use flameless LED candles. Hallways have coats, garland and foot traffic, and a real flame near dry greenery is a fire risk.
When should I put up Christmas entryway decor?
Late November or the first week of December, with the rest of the house.
How do I store Christmas garland after the holidays?
Coil it loosely, wrap it in tissue, and store it flat in a labelled box, away from damp corners.
What is the cheapest way to decorate an entryway for Christmas?
DIY first: a paper star lantern, a pinecone garland and a bauble bowl cost under $25 together.