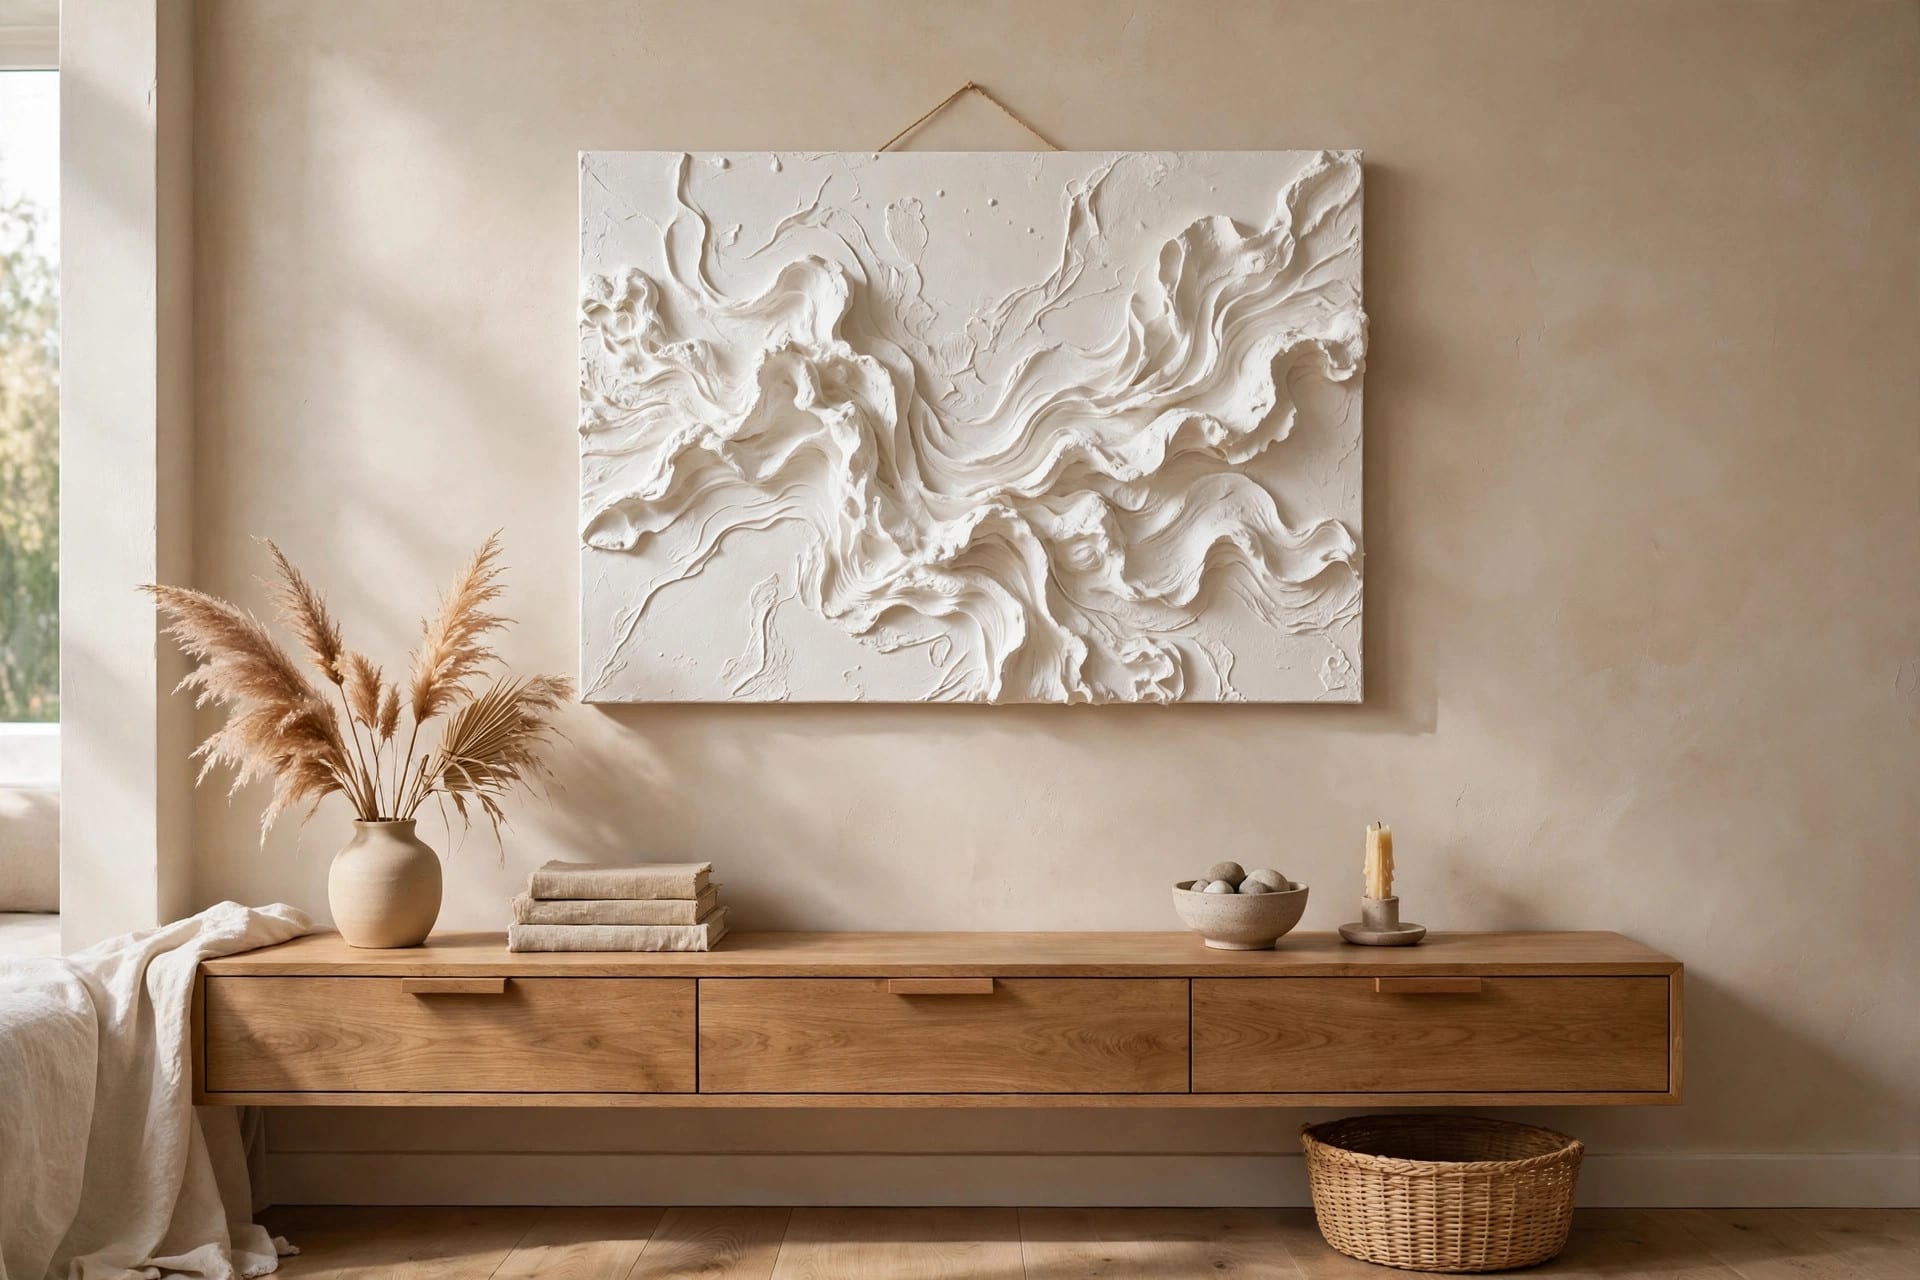
Plaster wall art — those textured, sculptural canvases all over Pinterest — looks like something from a gallery gift shop. It's actually one of the cheapest DIYs that exists: a $8 tub of joint compound, a thrifted canvas, and an afternoon. But the difference between art and a lumpy mess is technique, drying time, and knowing how to fix cracks. This tutorial covers all three.
If you're new to DIY wall decor generally, start with our beginner's guide — this is the deep-dive for one specific technique.
Key Takeaways
- Cost: $10–$20 total (joint compound + thrifted canvas + basic tools)
- Time: 2–3 hours active + 24–48 hours drying
- Material: all-purpose joint compound (not real plaster — easier, cheaper, more forgiving)
- The 3 techniques: buttered trowel texture, comb lines, sculptural arches
- #1 rule: thin layers dry; thick layers crack — build up, don't glop on
In this tutorial:
- Joint compound vs real plaster: what to buy
- Tools and materials
- Step 1: Prep the canvas
- Step 2: Technique 1 — buttered trowel texture
- Step 3: Technique 2 — comb lines
- Step 4: Technique 3 — sculptural arches
- Step 5: Drying (the patient part)
- Step 6: Fixing cracks
- Step 7: Seal and hang
- The takeaway
- Frequently asked questions
Joint compound vs real plaster: what to buy
Buy all-purpose joint compound (the premixed tub, ~$8 for 3.5 liters). Not plaster of Paris, not "real" plaster. Here's why: joint compound stays workable for 30–45 minutes (plaster of Paris sets in 10), it's softer to sand, it shrinks less, and if you mess up you can scrape it off and restart while it's wet. Real plaster is for walls; joint compound is for art.
Get the all-purpose (not lightweight, not quick-set). Lightweight compound is fluffier but weaker; quick-set gives you 20 minutes of panic. All-purpose is the forgiving one.
Tools and materials
- All-purpose joint compound, 1 tub ($8)
- Canvas — thrifted framed art is ideal ($3–$8); the frame is a bonus. Any size from 40×50 cm up works; bigger reads more "gallery"
- Putty knives: one 10 cm flexible, one 15 cm ($6 for a set)
- A notched tile trowel or plastic comb ($4) — for the comb-lines technique
- Painter's tape (to protect the frame)
- White primer or white acrylic paint ($4)
- 120-grit sandpaper + dust mask ($3)
- Matte sealant: water-based polyurethane or clear wax ($6)
Total: $10–$20 if you thrift the canvas, under $35 if you buy everything new.
Step 1: Prep the canvas
Tape off the frame with painter's tape. Then prime the canvas white — spray primer or a coat of white acrylic. This matters more than it seems: when you carve texture into the compound later, the grooves reveal what's underneath. Unprimed canvas shows brown weave in every groove; primed canvas shows clean white. One coat, 20 minutes to dry.
Mistake to avoid: skipping the prime because "I'm covering it all anyway." You're not covering it all — the texture IS the exposed underlayer in the grooves.
Step 2: Technique 1 — buttered trowel texture
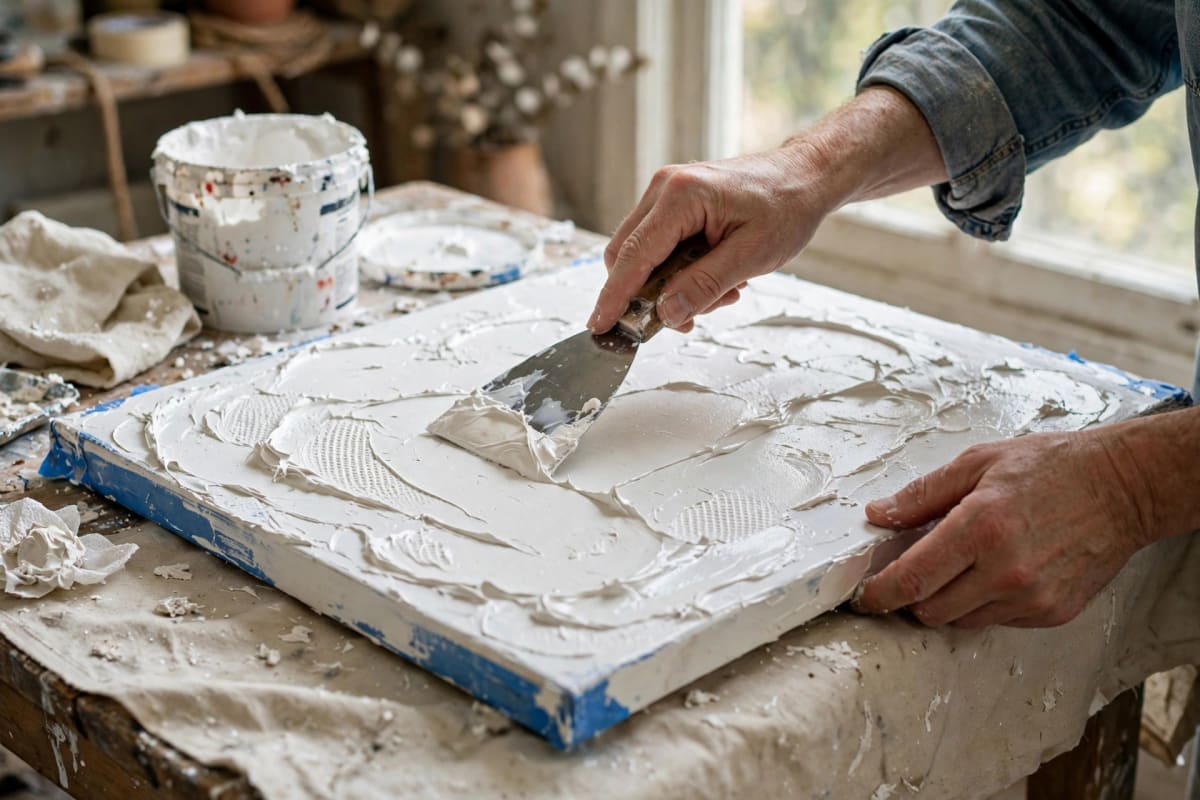
The classic organic look. Scoop compound with the 15 cm putty knife and lay it on in smooth, confident strokes — 3–5 mm thick, no more, like frosting a cake. Work in sections, keeping a wet edge. Then go back over it with the knife held almost flat, dragging lightly to create soft peaks and valleys. Vary your direction; uniformity is the enemy here.
The feel you're after: confident, fast strokes. Hesitant dabbing makes polka dots; sweeping passes make topography. If you hate it, scrape it flat within 10 minutes and restart — that's the beauty of joint compound.
Time: 20–30 minutes for a 50×60 cm canvas.
Step 3: Technique 2 — comb lines
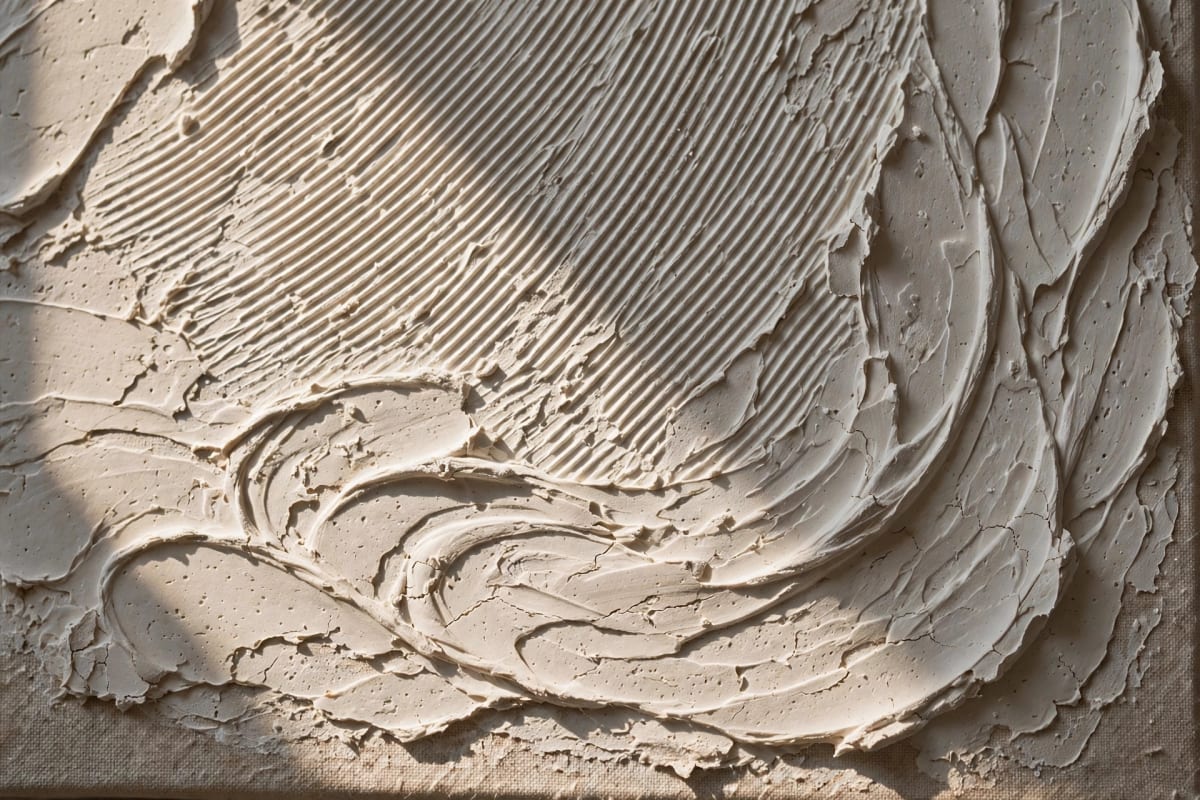
Spread a smooth 3–4 mm base layer first. Then drag the notched trowel or comb through it in one continuous motion — straight lines, arcs, or waves. One pass per line; don't go back over. Second passes tear the ridges.
Design tips that work:
- Arches: concentric half-circles, the Pinterest classic. Start from the center bottom, work outward.
- Waves: parallel horizontal waves, 3–4 cm apart — calm, Japandi feel.
- Sunburst: lines radiating from one corner — dramatic, modern.
Wipe the comb clean every 3–4 passes. Dried bits in the teeth leave ugly gouges.
Time: 15–25 minutes.
Step 4: Technique 3 — sculptural arches
For the bold 3D look: build up compound 1–2 cm thick in arch or blob shapes using the small putty knife, then shape with your (gloved) fingers. Think pottery, not painting. Let each raised element be its own shape with clean edges — muddy blending between elements is what makes sculptural pieces look accidental.
Critical: build in TWO thin passes, not one thick one. First pass 8–10 mm, let it firm up 2–3 hours, then second pass to full height. Single thick applications are the #1 cause of deep cracking (more in Step 6).
Time: 30–45 minutes active, plus the between-coats wait.
Step 5: Drying (the patient part)
- Thin texture (3–5 mm): 24 hours
- Sculptural (1–2 cm): 48 hours minimum
- Conditions: room temperature, normal humidity, good airflow. A fan on low 2 meters away helps; direct heat (hair dryer, radiator) causes surface cracking — the outside dries fast and shrinks over the wet inside.
How to tell it's dry: uniform matte white/cream color throughout, no cool/dark patches (damp compound looks slightly darker and feels cool to the touch). When in doubt, wait another 12 hours. Painting over damp compound traps moisture and guarantees cracks later.
Step 6: Fixing cracks
Some cracking is normal, especially on thicker pieces. Don't panic — fix it:
- Hairline cracks: dip your finger in wet compound and rub it into the crack, feathering the edges. Let dry 24 hours. Invisible.
- Deeper cracks (1–2 mm): fill with the small putty knife, slightly overfilling, let dry, then sand flush with 120-grit.
- Cracks that keep returning: the base layer was too thick. Sand the area down to stable compound and rebuild in thinner passes.
Prevention beats repair: thin layers, no direct heat while drying, and don't hang the piece in a bathroom (steam cycling cracks everything eventually).
Step 7: Seal and hang
Once bone-dry and crack-fixed, lightly sand any sharp ridges with 120-grit (wear the dust mask — compound dust is fine and everywhere). Wipe with a dry cloth.
Seal it: one thin coat of water-based matte polyurethane, or rub in clear furniture wax. Unsealed joint compound is chalky — it marks when touched and slowly absorbs airborne grease (especially in kitchens). Sealed, it wipes clean and lasts years. This is the step everyone skips and regrets.
Paint or not? Raw compound is a beautiful warm white. If you want color, use matte acrylic — one thin coat so the texture stays crisp. Metallic gold dry-brushed on just the high points is the gallery trick: dip a dry brush in gold, wipe almost all of it off, kiss the ridges.
Hanging: a finished 50×60 cm piece weighs 1.5–2.5 kg — two sawtooth hangers or a wire, standard picture hook. Nothing special needed.
The takeaway
Plaster art is 20% technique and 80% patience: thin layers, real drying time, crack fixes without drama, and always seal. The materials cost less than a takeaway dinner, and the result genuinely passes as gallery-bought. Make one, hang it, and watch guests ask where you bought it.
Frequently asked questions
Can I use plaster of Paris instead of joint compound for wall art? You can, but joint compound is better for beginners — it stays workable 30–45 minutes vs plaster's ~10, sands easier, and restarts cleanly when wet. Save plaster of Paris for small cast details, not textured canvases.
Why is my DIY plaster art cracking? Almost always: applied too thick in one pass, dried too fast (direct heat), or painted before fully dry. Fix hairlines by rubbing wet compound in with a finger; prevent by building in thin layers and drying 24–48 hours with gentle airflow.
How long does joint compound take to dry on canvas? 24 hours for thin texture (3–5 mm), 48+ hours for sculptural work (1–2 cm). It's dry when uniformly matte with no cool/dark patches. A fan on low speeds it safely; direct heat causes cracking.
Do I need to seal plaster wall art? Yes — one coat of water-based matte polyurethane or clear wax. Unsealed compound is chalky, marks on touch, and absorbs grease over time. Sealing takes 10 minutes and makes the piece last years.
How much does DIY plaster art cost? $10–$20 with a thrifted canvas: $8 joint compound tub (enough for 3–4 pieces), $3–$8 canvas, basic putty knives. Comparable textured art retails for $80–$300, which is why this is the highest-ROI DIY in wall decor.
Can I do plaster art on a wooden board instead of canvas? Yes — a sanded plywood or MDF board works and won't flex like canvas, which actually reduces cracking on thick sculptural pieces. Seal the wood with primer first (raw wood sucks moisture out of the compound unevenly). Boards are heavier, so use proper hanging hardware.