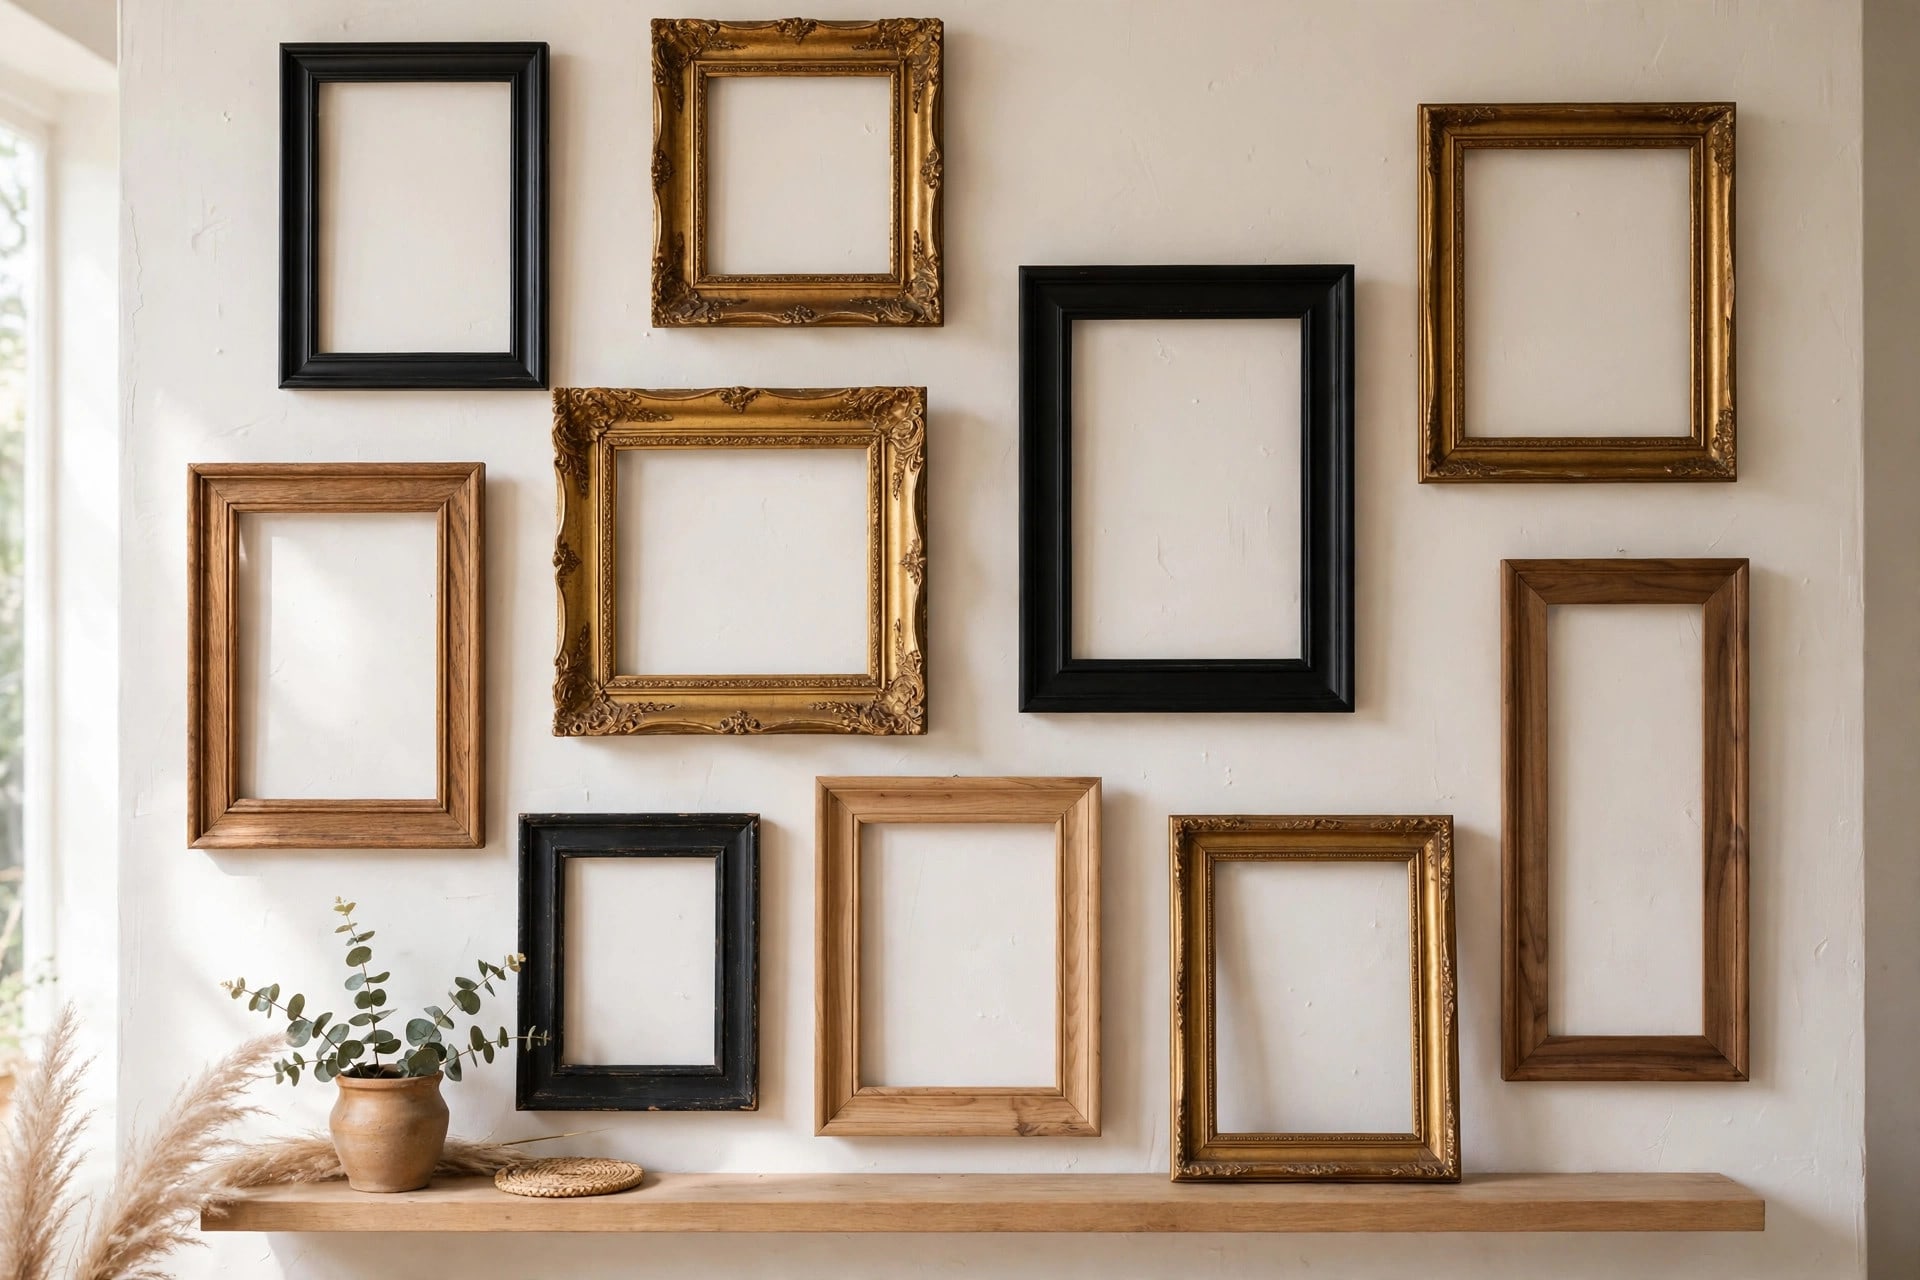
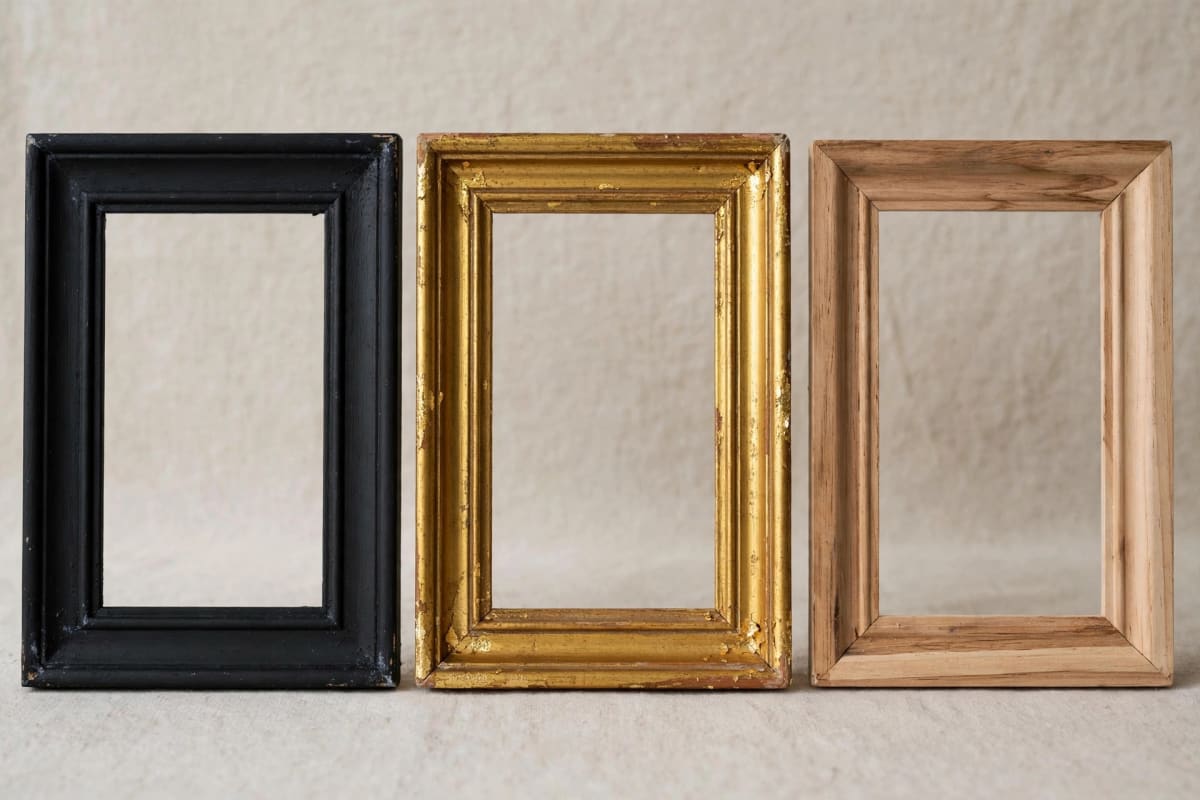
Thrift stores sell picture frames for $1–$3 that would cost $25 new — the catch is they look like $1 frames. An afternoon and under $5 of materials fixes that permanently. This tutorial covers three finishes that work on almost any thrifted frame: matte chalk paint, gold-leaf edges, and stripped natural wood. Pick the one matching your room, or do all three for a collected gallery wall.
The economics are absurd in the best way: three made-over frames cost less than one new frame of the same size, and the handmade finishes — especially gold leaf — read as far more expensive than they are. Guests will assume you bought them at a boutique.
Pair your finished frames with our gallery wall layout guide to hang them like a pro.
Key Takeaways
- Cost: $1–$3 per thrifted frame + under $5 materials per finish
- Time: 1–2 hours active per frame + drying
- The 3 finishes: matte chalk paint, gold-leaf edges, stripped natural wood
- The non-negotiable step: clean with degreaser before painting — 90% of peeling is skipped prep
- Best frames to buy: solid wood with interesting profiles; skip plastic and damaged corners
In this tutorial:
- What to buy at the thrift store
- Prep: the step that decides everything
- Finish 1: matte chalk paint
- Finish 2: gold-leaf edges
- Finish 3: stripped natural wood
- Sealing: don't skip it
- What to put in your finished frames
- 5 frame makeover mistakes
- The takeaway
- Frequently asked questions
What to buy at the thrift store
Buy: solid wood frames with interesting profiles — carved details, bevels, deep rabbets. Ornate "ugly" frames are gold: carving that looks dated in brown looks expensive in matte black or gold. Check the corners (tight joints, no splits) and the back (intact clips/tabs to hold art).
Skip: plastic frames (paint won't bond well, and they're too light to feel quality), frames with cracked corners, and anything warped. Also skip frames where the "wood" is visibly foil-wrapped MDF peeling at the edges — stripping won't save those.
Sizes to grab on sight: 30×40 cm and 40×50 cm — the standard art-print sizes, so you'll always find something to put in them. Odd sizes are fine too if the frame is beautiful; custom cutting a mat is $5 at a craft store.
Prep: the step that decides everything
- Disassemble: remove art, glass, backing, and hardware. Keep the glass — clean it, it goes back.
- Clean: scrub with warm soapy water, then wipe with a degreaser (TSP substitute or even rubbing alcohol). Thrifted frames carry years of furniture polish, kitchen grease, and hand oils. Paint peels off grease; it bonds to clean wood. This single step prevents 90% of finish failures.
- Sand lightly: 150-grit, just enough to scuff the gloss. You're not removing the old finish (unless doing Finish 3) — just giving the new one something to grip.
- Tape any parts you don't want painted (inner lip that holds glass, hanging hardware).
Time: 15 minutes per frame. The boring part. Do it anyway.
Finish 1: matte chalk paint
The most forgiving finish — chalk paint sticks to almost anything and the matte texture hides imperfections.
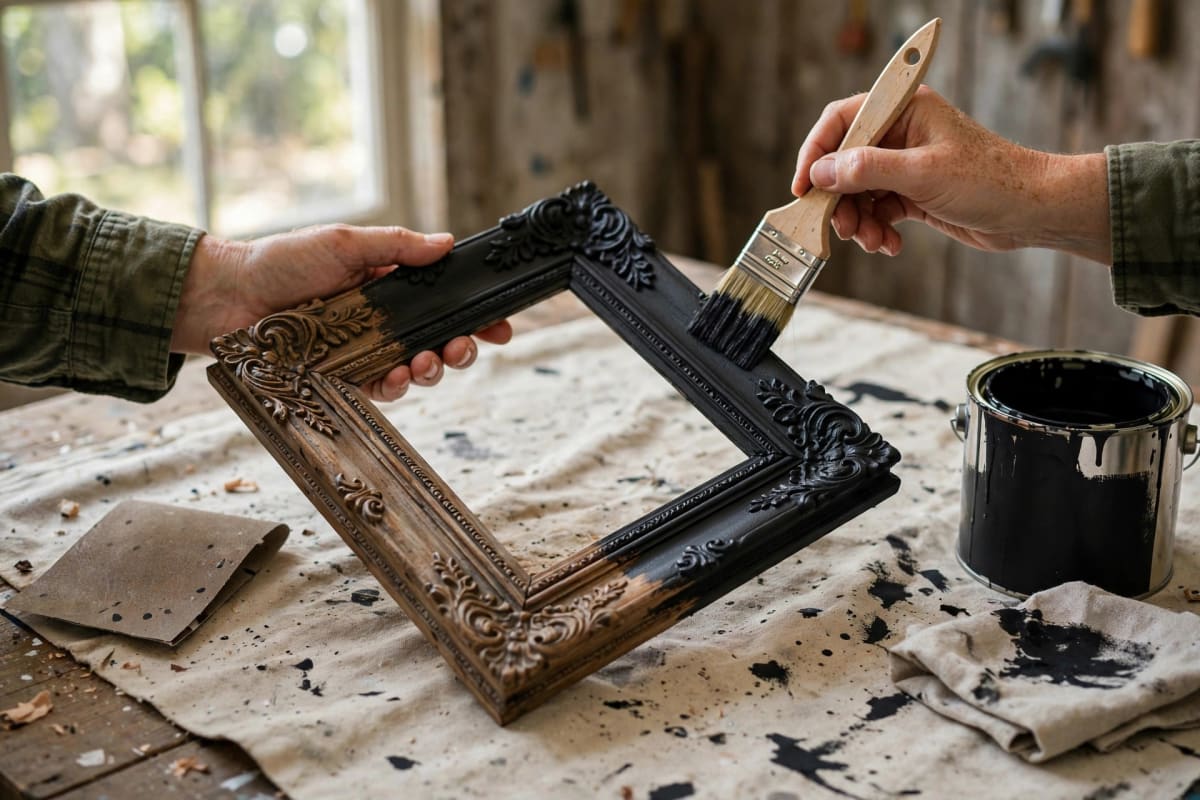
- Brush on one thin coat of chalk paint (any brand; sample pots at $5 cover 3–4 frames). Don't overwork it — lay it on and leave it.
- Let dry 1–2 hours. Apply a second thin coat.
- Optional distressing: once dry, lightly sand edges and raised details with 150-grit to reveal hints of wood underneath — the "collected antique" look.
- Wipe dust with a dry cloth.
Best colors for thrifted frames: matte black (instant gallery), warm white (fresh and clean), deep green or navy (jewel-box drama). Avoid: bright colors unless the art inside is neutral — the frame shouldn't fight the art.
Cost: ~$2 per frame (shared sample pot).
Finish 2: gold-leaf edges
The "expensive" trick — real gold leaf is unnecessary; imitation gold leaf sheets ($6 for 25 sheets, enough for 10+ frames) or Rub 'n Buff metallic wax ($8 a tube, lasts years) both read as genuine at wall distance.
Sheet method:
- Paint the frame a base color first (red-brown or black under gold looks richest; white under gold looks bright and modern).
- Brush adhesive sizing on the areas to gild — edges, raised details, the inner lip. Wait until tacky (30–60 min, follow the bottle).
- Lay gold sheets on with a soft brush, pressing gently. Overlap generously — gaps get touched up.
- Burnish lightly with the brush, then brush away loose flakes.
Rub 'n Buff method (easier): squeeze a pea-sized amount on your finger (gloved) or a stippling brush, rub onto raised details and edges. Less is more — build up slowly. The dry-brush grazing technique (barely touching the high points) gives the aged-gilt look; full coverage gives bling.
Cost: ~$1 per frame (shared leaf/tube).
Finish 3: stripped natural wood
For frames with good wood under bad finish — the Scandinavian look.
- Apply citrus-based paint stripper with a brush, wait per instructions (usually 30 min).
- Scrape softened finish with a plastic scraper. Repeat if needed.
- Sand progressively: 100 → 150 → 220 grit. The wood should feel silky.
- Finish with clear matte polyurethane (2 thin coats) or furniture wax for a soft sheen.
Reality check: this is the most labor-intensive finish (2–3 hours per frame) and only worth it on genuinely nice wood. If the strip reveals bland pine or MDF, pivot to Finish 1 — no shame in it.
Cost: ~$3 per frame (shared stripper + sandpaper).
Sealing: don't skip it
- Chalk paint: needs wax or matte polyurethane — unsealed chalk paint marks on touch and absorbs moisture. One coat of clear wax, buffed after 24 hours.
- Gold leaf: needs sealer — unsealed leaf tarnishes and flakes within months. Spray lacquer or brush-on sealant made for leaf.
- Stripped wood: the polyurethane/wax in Finish 3 IS the sealer.
Sealing takes 10 minutes and doubles the lifespan. The number of beautiful makeovers ruined by skipped sealer is tragic and entirely preventable.
What to put in your finished frames
A $2 frame deserves better than a faded stock photo:
- Free printable art — hundreds of public-domain botanical prints, abstract designs, and vintage posters are legally free. Print at a copy shop on heavyweight matte paper ($2–$4 for 30×40 cm).
- Your own photos — black-and-white prints of your own photography look intentional and personal.
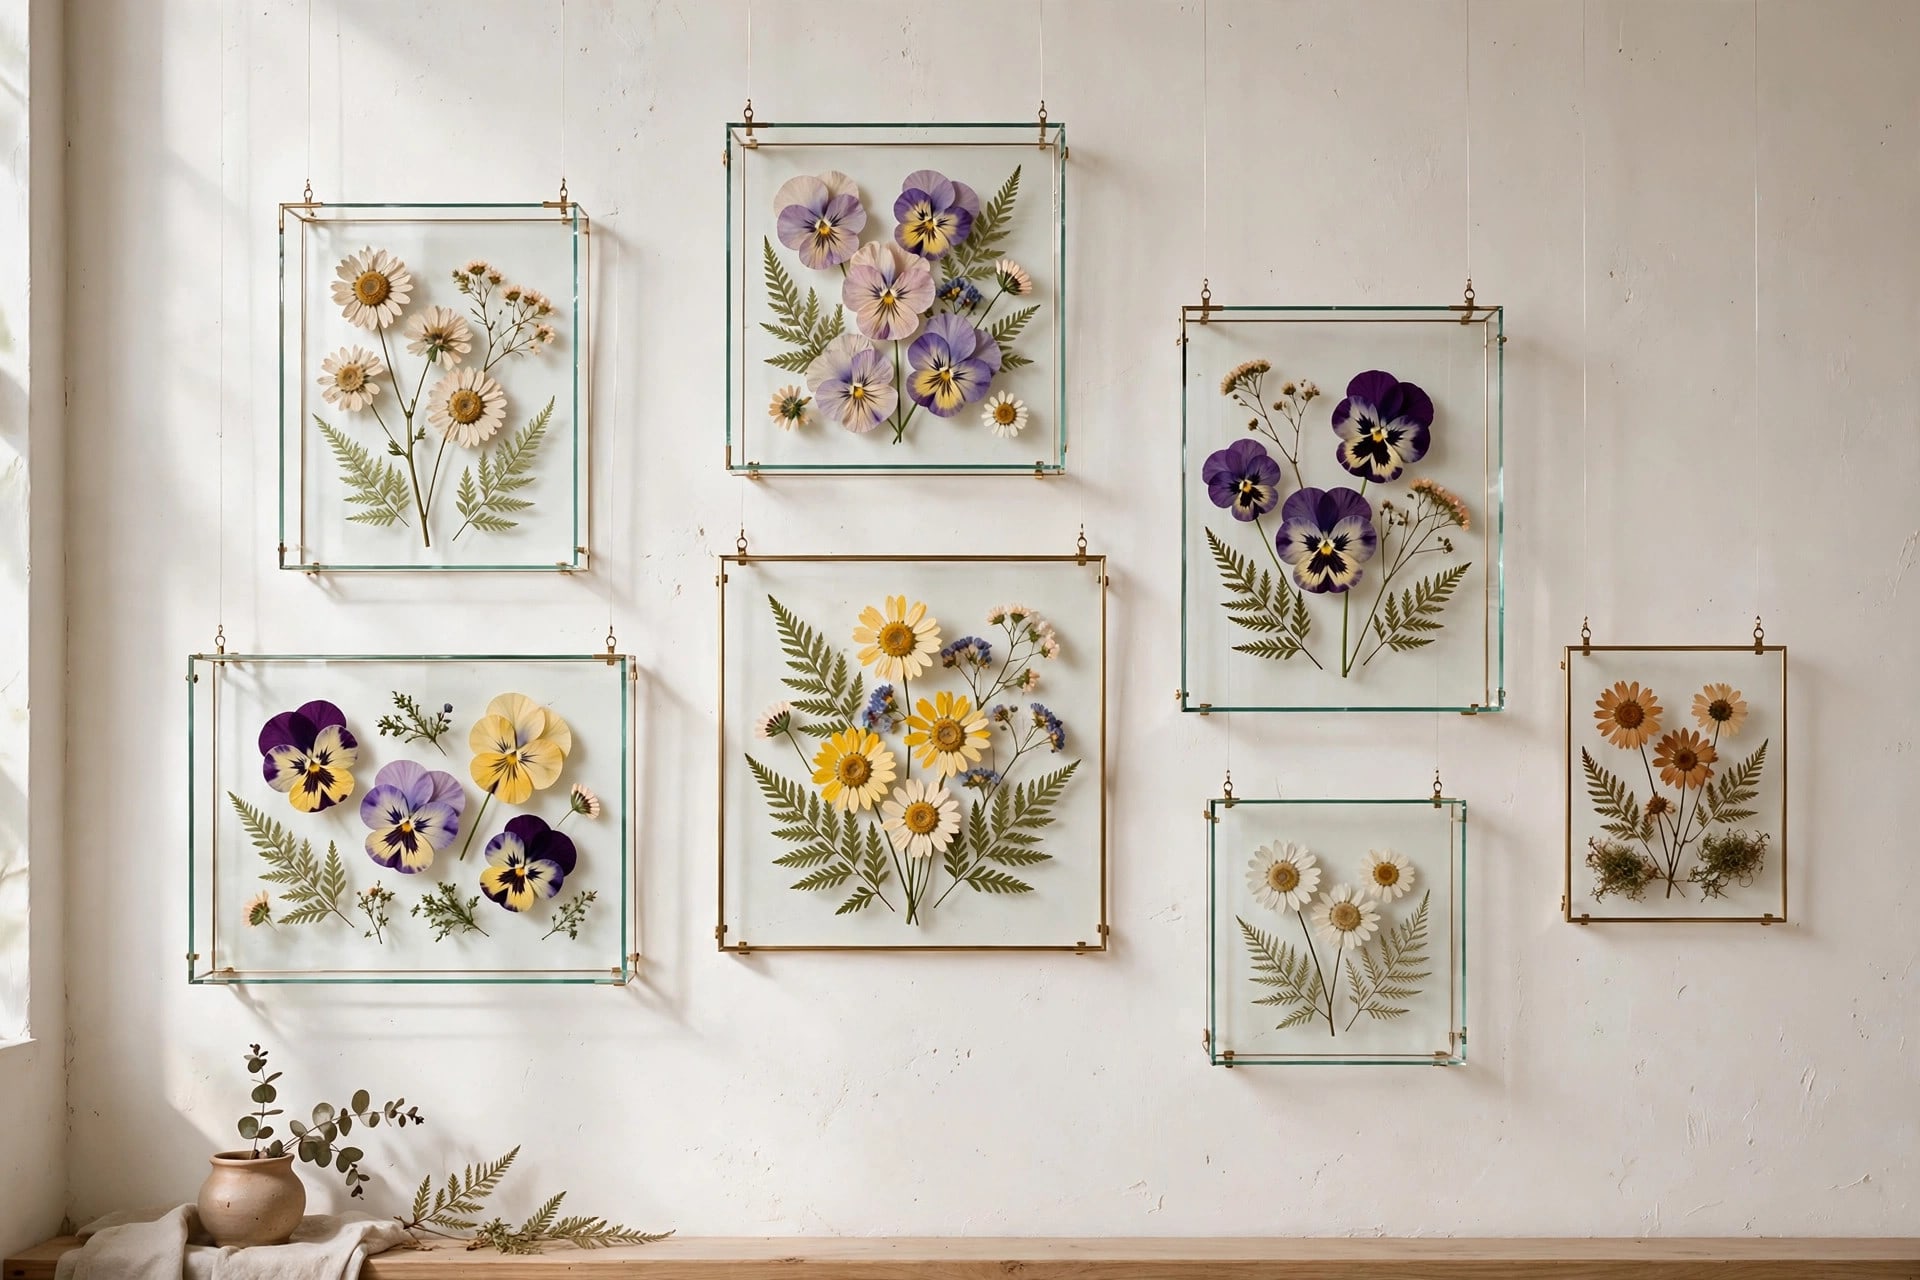
- Pressed flowers — see our pressed flower art tutorial for the 12-minute microwave method.
- Fabric scraps — interesting textile stretched over the backing board, no glass needed.
5 frame makeover mistakes
- Skipping the degrease. Paint over grease = peeling within weeks. Clean first, always.
- Thick coats. Two thin coats beat one thick coat every time — thick paint drips, cracks, and obscures carved detail.
- Painting the glass. Tape the glass or remove it. Scraping dried paint off glass is miserable.
- Over-distressing. A little edge-wear looks antique; sanding half the paint off looks damaged. Stop early — you can always add more.
- Forgetting the back. A beautiful front with a grimy cardboard back ruins the illusion when the frame is handled. Paint or cover the backing board too.
The takeaway
Thrifted frames are the cheapest wall decor that exists — $1–$3 for the frame, under $5 for the finish, and the result hangs next to store-bought frames without apology. Buy wood with good bones, clean it properly, pick your finish, seal it. Then fill it with something you love and hang it using the gallery wall formulas.
Frequently asked questions
What kind of paint works best on thrifted picture frames? Chalk paint — it adheres to wood, old varnish, and even laminate with minimal prep, and the matte finish looks expensive. Sample pots ($5) cover 3–4 frames. Seal with wax or matte polyurethane.
How do you gold leaf a picture frame for beginners? The easy path: Rub 'n Buff metallic wax rubbed onto edges and raised details with a finger or stippling brush. For full coverage, use imitation gold leaf sheets over adhesive sizing on a painted base coat, then seal. Both read as genuine at wall distance.
Can you strip paint off a thrifted frame to show the wood? Yes, with citrus-based stripper and progressive sanding (100 → 150 → 220 grit). Only worth it on solid wood with attractive grain — if stripping reveals MDF or bland pine, pivot to chalk paint instead.
How do you clean thrifted frames before painting? Warm soapy water scrub, then a degreaser wipe (TSP substitute or rubbing alcohol), then a light 150-grit scuff sand. This removes the polish/grease/oils that cause 90% of paint peeling.
Where do you find cheap frames for makeovers? Thrift stores ($1–$3), yard sales, estate sales, and Facebook Marketplace lots. Grab standard sizes (30×40, 40×50 cm) on sight — they fit readily available art prints.