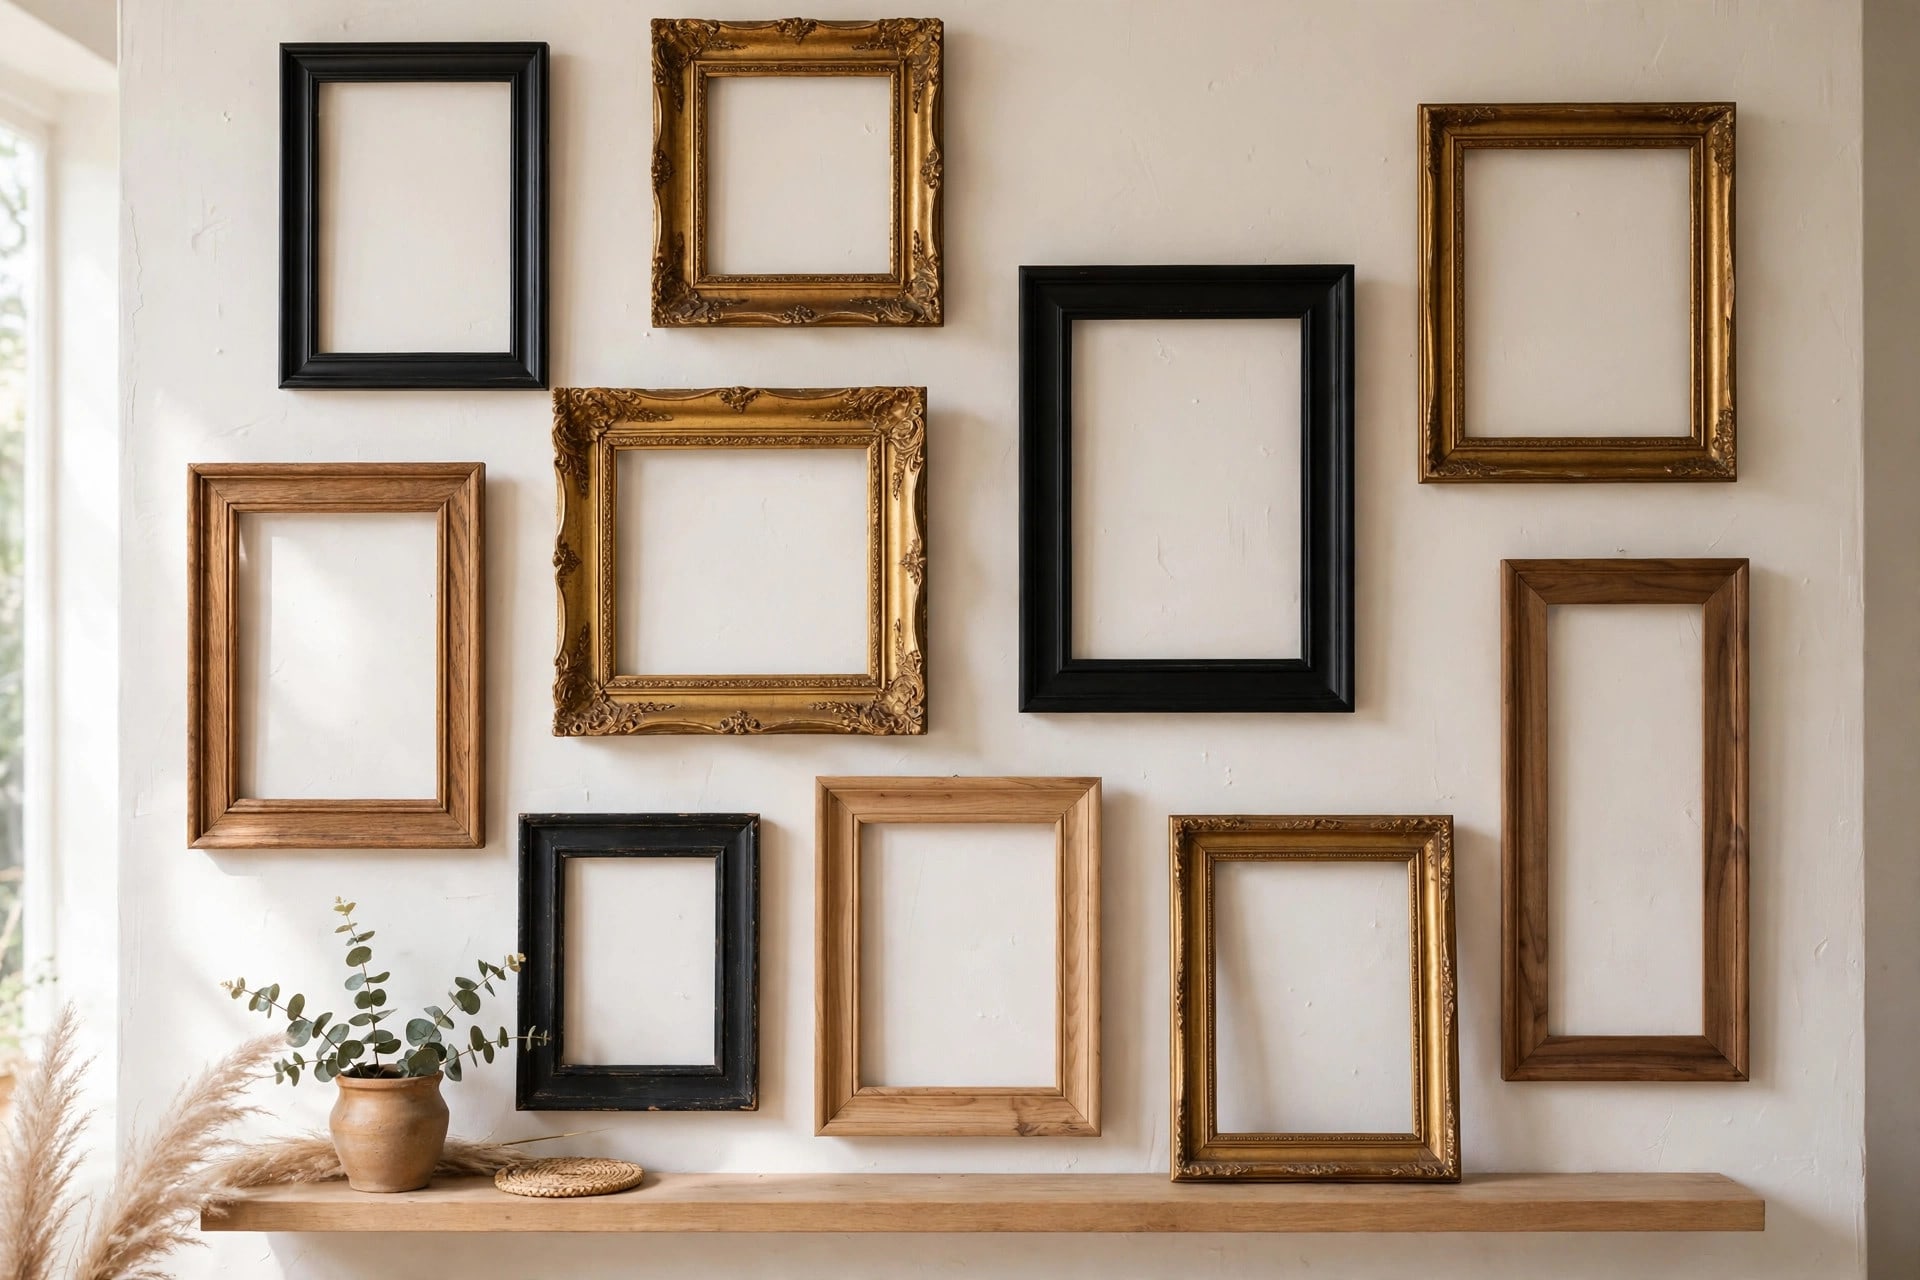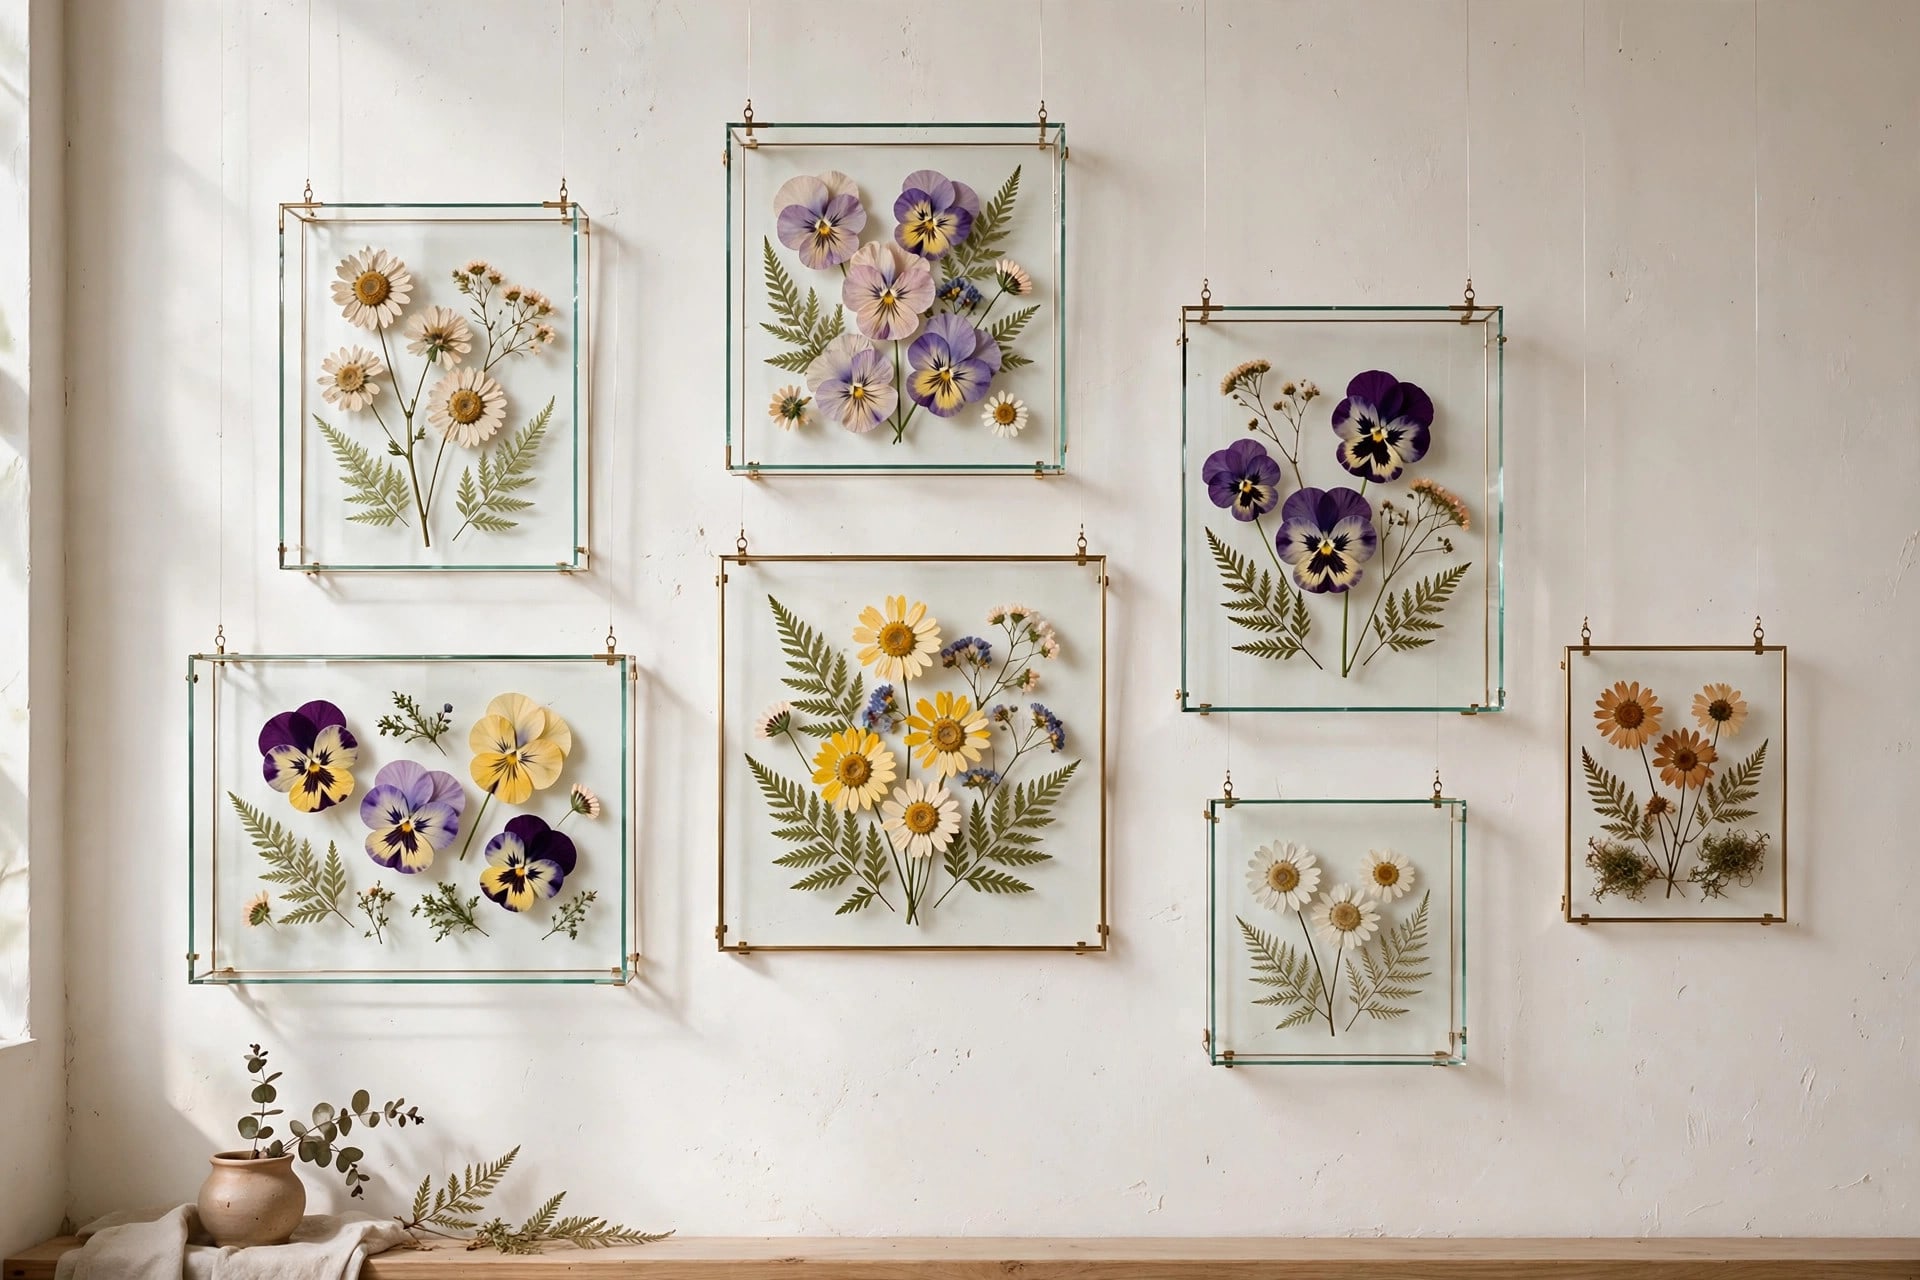
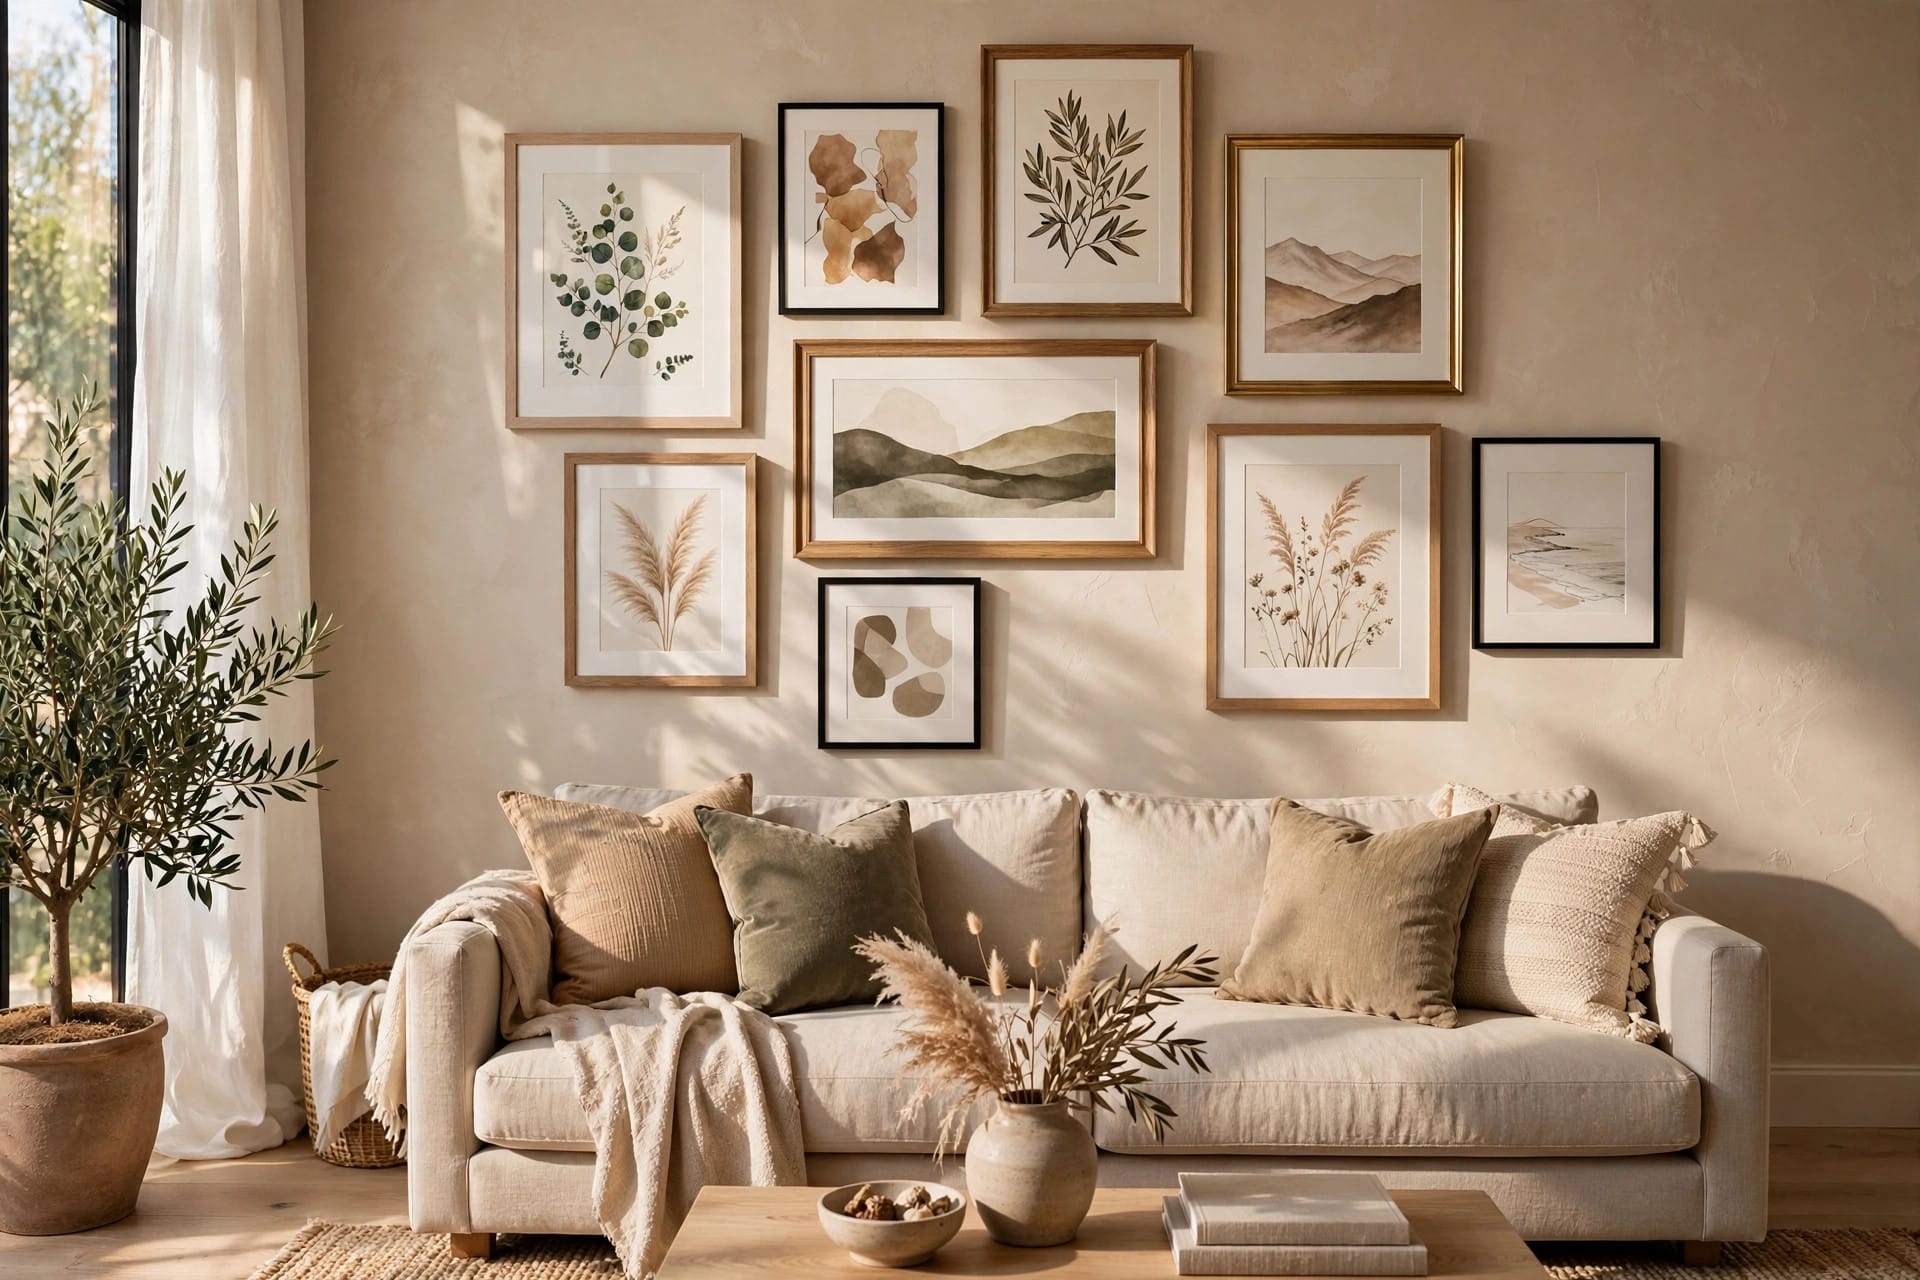
A gallery wall looks effortless and random. It's neither — it's the most precisely planned wall in the house. The good news: professionals use just four formulas, and once you know them, the "random" look becomes a recipe you can follow.
This is the framed gallery wall tutorial — real frames, real nails (plus renter options). For the zero-holes taped version, see our beginner's DIY wall decor guide.
Key Takeaways
- The 4 formulas: 145 cm center height, 5–8 cm frame spacing, ⅔ width rule, 15–20 cm above furniture
- The 4 templates: classic grid, center anchor, linear row, staircase — pick by wall shape
- The method: paper templates on the wall before a single nail — zero misplaced holes
- Time: 2–3 hours including planning; the planning IS the project
- Renters: every template works with damage-free strips if you respect weight limits
In this guide:
- The 4 formulas (memorize these)
- Template 1: The classic grid
- Template 2: The center anchor
- Template 3: The linear row
- Template 4: The staircase
- The paper-template hanging method
- Hardware: what holds what
- 5 gallery wall mistakes
- The takeaway
- Frequently asked questions
The 4 formulas (memorize these)
- The 145 cm rule. The center of your entire arrangement — not each frame, the whole composition's midpoint — sits ~145 cm from the floor (57 inches, average eye level). This is the gallery standard worldwide.
- The 5–8 cm spacing. Keep 5–8 cm between frames. Consistent gaps read as intentional; random gaps read as error. Smaller frames: 5 cm. Larger frames: 8 cm.
- The ⅔ width rule. Above furniture, the arrangement should span roughly two-thirds the furniture's width. A 180 cm sofa wants a ~120 cm wide arrangement. Wider than the furniture looks top-heavy; much narrower looks lost.
- The 15–20 cm clearance. The bottom of the lowest frame sits 15–20 cm above the furniture below. Closer and the art visually sits ON the sofa; farther and it floats disconnected.
Template 1: The classic grid
Best for: square-ish walls, matching frame sets, modern/minimal rooms.
A perfect grid — 2×2, 3×3, or 2×3 — of same-size frames with identical spacing. The most forgiving template because symmetry does the design work for you.
Recipe: same frame size throughout (30×40 cm is the sweet spot), 5 cm gaps both directions, outer edges aligned with a level. The grid's total width follows the ⅔ rule.
What makes it sing: identical frames + varied art inside. Same frame, different prints — the uniformity of the frames makes eclectic art look curated.
Mistake to avoid: mixing frame sizes "a little bit" in a grid. Grids live or die on uniformity — one odd size breaks the whole effect. Save mixed sizes for Template 2.
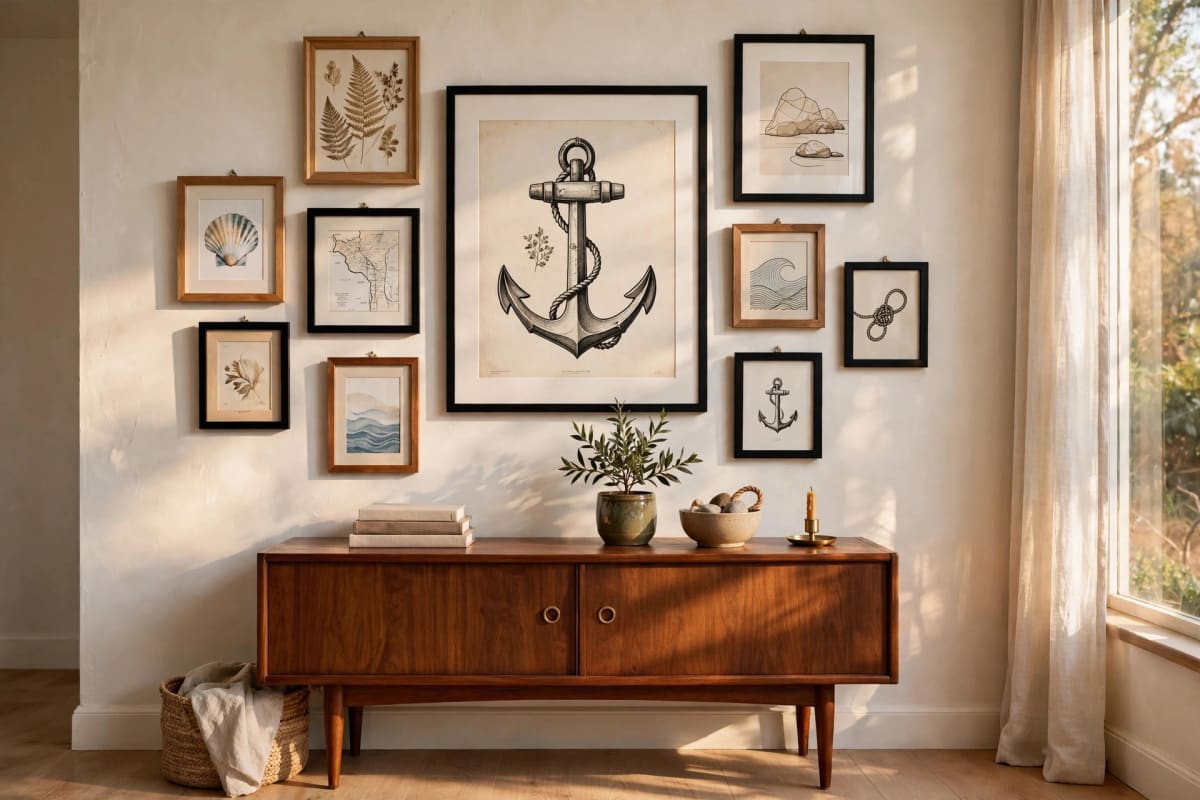
Template 2: The center anchor
Best for: mixed frame collections, the classic "collected over time" look.
One large anchor piece (50×70 cm or bigger) placed first, slightly off-center. Everything else builds around it, largest-to-smallest, maintaining 5–8 cm gaps. This is the template for people who own frames in five different sizes and want them to look deliberate.
Recipe:
- Hang the anchor first, its center at 145 cm.
- Place the second-largest piece diagonally opposite the anchor (this creates the visual balance).
- Fill medium pieces around, keeping gaps consistent.
- Small pieces last, tucked into remaining gaps.
What makes it sing: the anchor should be 30–40% of the arrangement's visual weight. Without a clear anchor, the eye wanders and the wall feels busy instead of composed.
Mistake to avoid: centering the anchor perfectly. Slightly off-center (5–10 cm) looks designed; dead-center looks like you couldn't decide. Asymmetry is the whole point of this template.
Template 3: The linear row
Best for: hallways, above long low furniture, narrow walls.
Frames in a single horizontal row, centers aligned on the 145 cm line. Devastatingly simple, nearly impossible to get wrong.
Recipe: 3–5 frames, same height (widths can vary slightly), 8–10 cm gaps, centers laser-aligned at 145 cm. Total width follows the ⅔ rule against the furniture below.
What makes it sing: restraint. Three great prints in a row beat seven mediocre ones. This template rewards editing — if a piece doesn't earn its place, cut it.
Mistake to avoid: the sloping row. Without a level, rows drift — 2 cm over 150 cm is visible from across the room. Use a level or a laser; "eyeballing it" is how rows go wrong.
Template 4: The staircase
Best for: stairwells (obviously), sloped walls, tall narrow spaces.
Frames follow the stair angle upward, each frame's center stepping up ~25–30 cm per tread. The trickiest template — and the most impressive when done right.
Recipe: start at the bottom of the stairs with the 145 cm center. Each subsequent frame rises with the stair slope — measure from the stair nosing below, keeping a consistent 150–160 cm from tread to frame center. Keep 8–10 cm gaps; stair walls need slightly more breathing room because you're viewing at an angle.
What makes it sing: following the architecture instead of fighting it. A staircase gallery that parallels the stair slope looks inevitable — like the house was designed around it.
Mistake to avoid: hanging all frames at the same height on a stair wall (ignoring the slope). It fights the architecture and looks wrong from every angle. Follow the stairs.
The paper-template hanging method
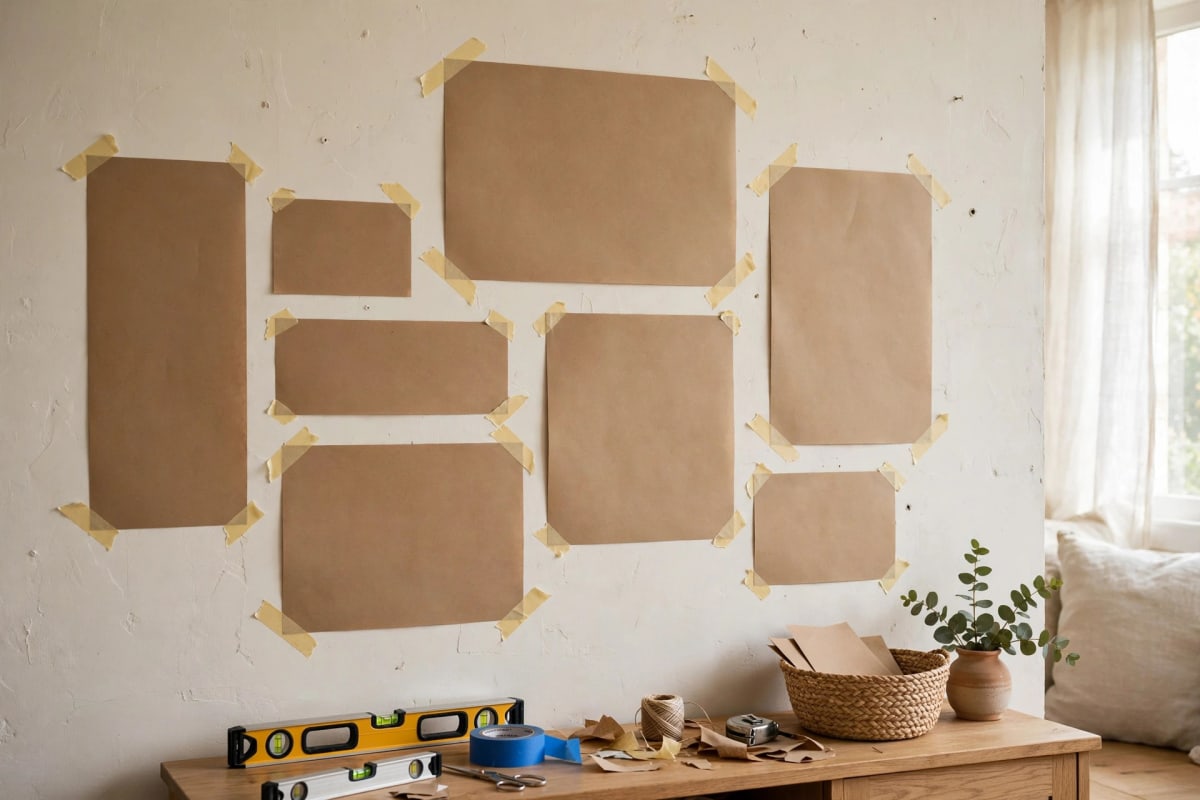
This is how professionals hang gallery walls without a single misplaced hole:
- Trace every frame onto kraft paper or newspaper. Cut out.
- Mark each template with the frame's hanging point — measure from the frame's top edge to its wire/hook, transfer that measurement to the paper. (This is the step everyone skips and regrets — the nail goes where the HOOK is, not where the frame top is.)
- Tape templates to the wall with painter's tape. Step back. Live with it an hour. Adjust.
- Nail through the marked hook points directly through the paper.
- Tear away the paper and hang the frames.
Time: the templating takes 60–90 minutes for 6–9 frames. The actual nailing takes 20. The templating IS the project — rushing it is how walls end up with 14 holes.
Hardware: what holds what
- Under 2 kg: single nail or damage-free hanging strip. Most small frames live here.
- 2–5 kg: two nails (or two strips) — always two points for anything over 2 kg, so it can't rotate.
- Over 5 kg: wall anchor or screw into a stud. Find studs with a $10 stud finder; it's the cheapest insurance in DIY.
- Renters: damage-free strips work brilliantly IF you respect the weight rating and follow the instructions exactly (clean the wall with alcohol first, press 30 seconds, wait an hour before hanging). The failures you hear about are 90% skipped prep.
5 gallery wall mistakes
- Hanging too high. The #1 gallery wall error worldwide. When in doubt, go lower — 145 cm center, not 160.
- Inconsistent gaps. 5 cm here, 12 cm there reads as accident. Pick your spacing and commit.
- Too many small pieces. Nine tiny frames read as clutter; five mixed sizes read as curation. Edit ruthlessly.
- Ignoring the furniture below. A gallery wall floats in space without its furniture relationship — apply the ⅔ rule and 15–20 cm clearance.
- Starting with nails. Paper templates first, always. Every veteran has a wall of shame from the pre-template era.
The takeaway
Gallery walls are arithmetic wearing an art costume: 145 cm center, 5–8 cm gaps, ⅔ width, 15–20 cm clearance, paper templates before nails. Pick the template matching your wall, follow the recipe, and the "effortless" look takes care of itself.
Frequently asked questions
How far apart should gallery wall frames be? 5–8 cm (2–3 inches): 5 cm for smaller frames, 8 cm for larger ones. Consistency matters more than the exact number — uniform gaps read as intentional.
How high should a gallery wall be hung? The arrangement's center at ~145 cm (57 inches) from the floor. Above furniture, the bottom frame sits 15–20 cm above the furniture — the furniture relationship takes priority over the 145 cm rule.
How do I plan a gallery wall without making holes? Trace each frame on kraft paper, mark the hanging points, tape templates to the wall, adjust until perfect, then nail through the marks. This eliminates misplaced holes entirely.
Can renters do a gallery wall? Yes — damage-free hanging strips hold up to 7 kg per set when the wall is prepped properly (alcohol wipe, 30-second press, 1-hour wait). For heavier pieces, use two sets or a proper anchor and fill the hole at move-out.
How many frames should a gallery wall have? Odd numbers (3, 5, 7, 9) feel organic; even numbers suit deliberate grids. For most walls, 5–7 mixed frames hit the sweet spot — fewer looks sparse, more needs a very large wall to avoid clutter.