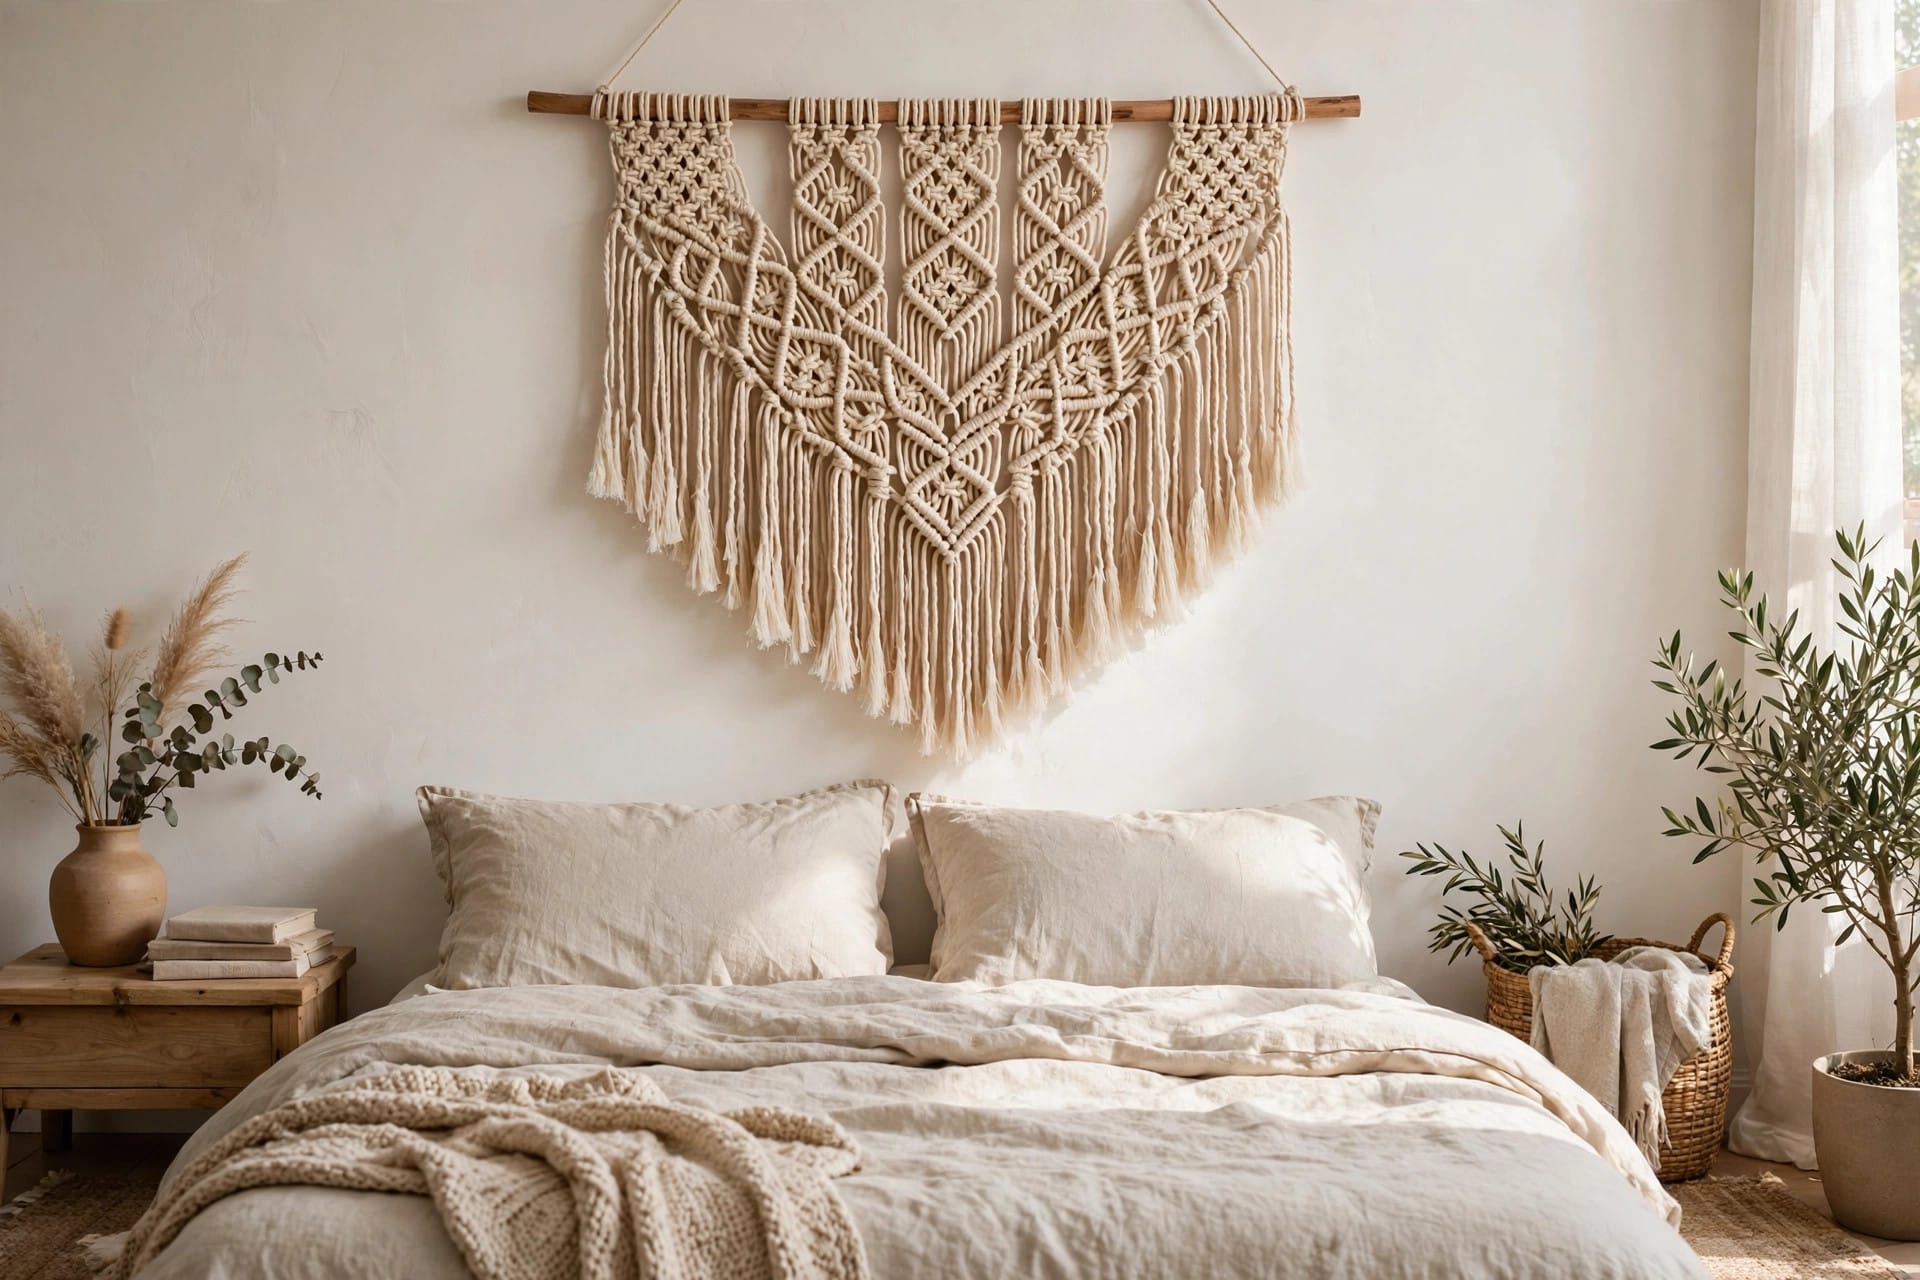
Macramé looks like sorcery and is actually four knots repeated. That's the whole secret — every wall hanging you've ever admired is some combination of the same four knots, tied in different orders. Learn them once and the entire craft opens up.
This tutorial teaches those four knots, then walks you through one complete beginner wall hanging — exact cord lengths, every row — so you finish with something on your wall, not just knot theory. For more beginner wall decor ideas, see our DIY wall decor guide.
Key Takeaways
- Only 4 knots: Lark's Head, Square Knot, Double Half Hitch, Gathering Knot — that's the entire beginner vocabulary
- This project: 60 cm dowel, 4 mm single-twist cotton cord, ~3 hours, finished size ~60×80 cm
- Cord math: cut cords 4× your finished hanging length (knots eat cord fast)
- Cost: $15–$25 for cord + dowel (enough for 2 hangings)
- #1 beginner rule: keep tension even — uneven tension, not wrong knots, is what makes pieces look messy
In this tutorial:
- Materials: what to buy (and what to skip)
- Knot 1: Lark's Head (mounting)
- Knot 2: Square Knot (the workhorse)
- Knot 3: Double Half Hitch (the diagonal)
- Knot 4: Gathering Knot (the finish)
- The project: step by step
- Finishing: fringe and trim
- 5 beginner mistakes
- The takeaway
- Frequently asked questions
Materials: what to buy (and what to skip)
- Cord: 4 mm single-twist cotton cord, natural/undyed (~$12–$15 for 100 m). Single-twist unravels into soft fringe at the ends — braided cord doesn't fringe, 3-ply is harder to comb out. For wall hangings, single-twist is the answer 90% of the time.
- Dowel: wooden dowel or driftwood branch, 60 cm long, 2–3 cm diameter ($3–$5). A found branch is free and looks better — just bake it at 100°C for an hour to kill hitchhikers.
- Scissors: sharp fabric scissors. Dull scissors fray cord ends and make every cut a fight.
- Measuring tape, comb (for fringe), painter's tape (to wrap cord ends while working — prevents unraveling mid-project).
Skip: macramé "kits" with pre-cut cord (you pay 3× for someone else's scissors work), beads for your first project (they complicate tension learning), colored cord (learn on natural, then go wild).
Cord math: knots consume roughly 3–4× the finished length. For a hanging that finishes ~80 cm long, cut working cords at 3.2 m. Cutting too short mid-project is the classic beginner heartbreak — when in doubt, cut longer. Leftover cord becomes fringe and tassels.
Knot 1: Lark's Head (mounting)
This attaches cord to the dowel. Fold a cord in half, place the loop over the dowel front-to-back, pull the two loose ends up through the loop, tighten. Done — that's the knot. Every cord on your dowel starts this way.
Tip: push all Lark's Heads to face the same direction (loops all forward). Mixed directions make the top edge look ragged.
Knot 2: Square Knot (the workhorse)
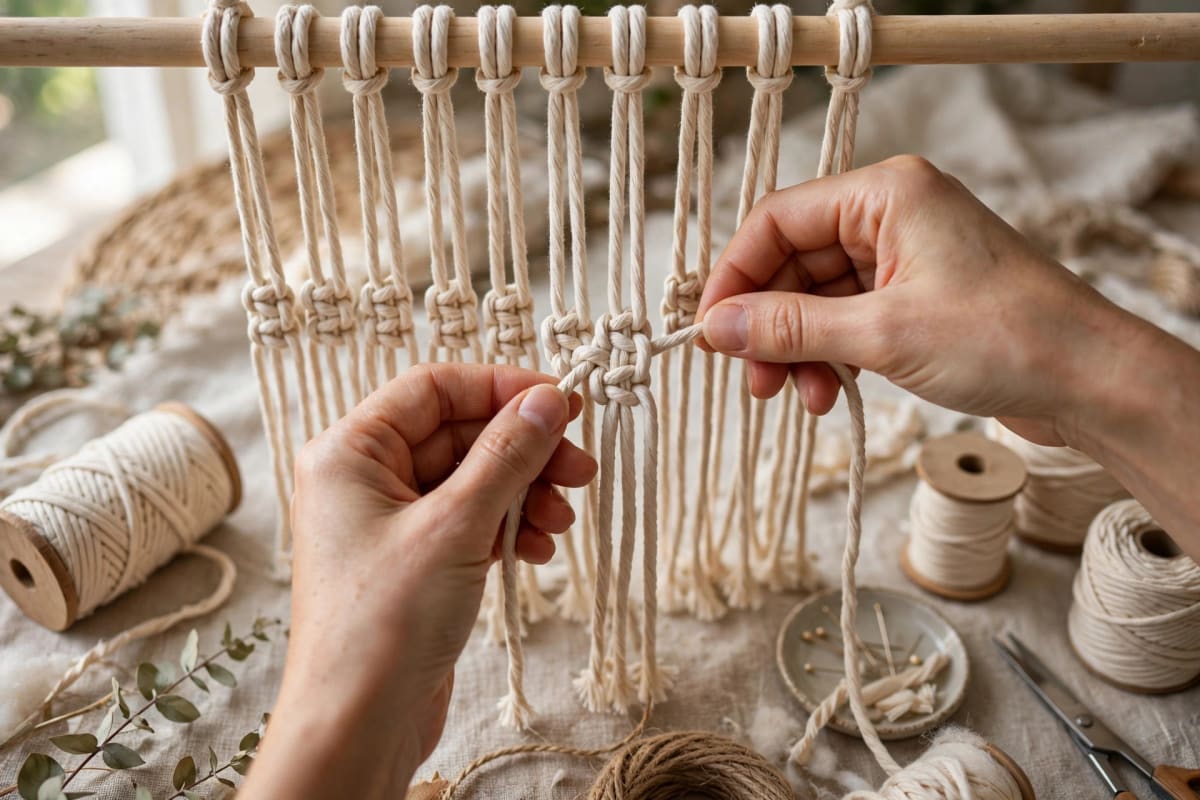
The knot you'll tie most. Take 4 cords: the two outer cords are workers, the two middle are fillers (they stay straight).
- Left worker goes OVER the fillers, right worker goes UNDER the fillers and up through the loop the left made. Pull tight — that's half the knot.
- Now mirror it: right worker OVER, left worker UNDER and through. Pull tight.
That's one square knot. Repeat for rows. Alternating square knots — offsetting each row by two cords so knots nest in the gaps — creates the classic net pattern.
Tension check: after every 4–5 knots, look at your row. All knots should sit at the same height with the same tightness. Uneven tension is visible from across the room; fix it now, not later.
Knot 3: Double Half Hitch (the diagonal)
The line-maker — creates the diagonal and V shapes in macramé designs. Hold one cord diagonally as the "anchor" (it stays taut and straight). Take the next cord, loop it twice around the anchor: over the anchor, behind, through the loop — twice. Slide it up snug. Repeat with each cord along the diagonal.
The feel: the anchor never moves; the working cords wrap it. Keep the anchor TIGHT — a sagging anchor makes a wavy line, and wavy lines are the telltale beginner mark. Pin the anchor to your work surface with tape if needed.
Knot 4: Gathering Knot (the finish)
Bundles cord ends together — for the bottom of plant hangers or decorative wraps. Make a loop with a separate cord alongside the bundle, wrap the long end around bundle + loop 5–6 times, thread the end through the loop, pull the loop's other end to tuck the tail inside the wraps. Trim.
You'll use this less in wall hangings, but it's the professional finish for wrapped sections — learn it once, use it forever.
The project: step by step
Finished size: ~60 cm wide × 80 cm long. Time: ~3 hours.
- Cut: 12 cords at 3.2 m each (4 mm single-twist). Wrap one end of each with painter's tape.
- Mount: Lark's Head all 12 cords onto the dowel — 24 strands hanging. Space evenly.
- Row 1: Tie 6 square knots across (4 cords each), starting 8 cm below the dowel.
- Rows 2–4: Alternating square knots — offset by 2 cords each row. Three rows of alternating pattern.
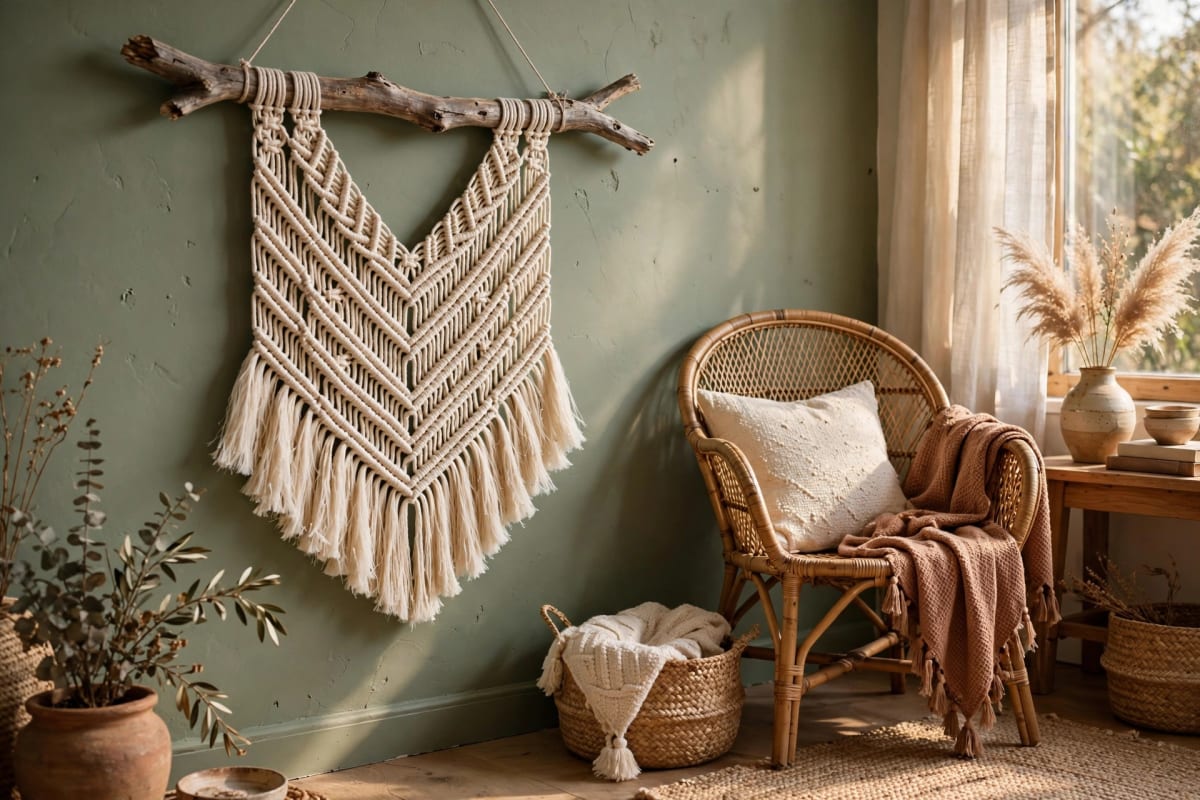
- The V: Using the center 12 cords, tie a Double Half Hitch V — anchor cord from each side meeting at center bottom, working down 15 cm.
- Sides: On the outer 6 cords each side, tie one column of 4 square knots each.
- Fringe: Leave 25 cm of loose cord below the last knots on all strands.
Check as you go: after each row, hold the dowel up and look at the whole piece. Symmetry errors compound — catching a drift at row 2 saves frogging (unknotting) at row 6.
A note on pace: your first 20 knots will feel clumsy and slow. That's normal — muscle memory kicks in around knot 50, and by row 3 you'll be tying without looking at your hands. Don't judge the craft by the first half hour; judge it by the finished piece.
Finishing: fringe and trim
- Remove the painter's tape. Untwist each cord end and comb it out with a fine comb — this is what creates the soft, fluffy fringe. Take your time; combed fringe is half the beauty.
- Trim the fringe into shape: straight across, V-point, or angled. Cut less than you think, step back, cut more. You can't uncut.
- Steam lightly (or spritz with water and smooth by hand) to relax any kinks.
- Hang the dowel from two nails or a hook — the piece weighs almost nothing.
5 beginner mistakes
- Cutting cord too short. The #1 heartbreak. Cut 4× finished length, always.
- Uneven tension. Check every few knots. Consistent medium-tight beats alternating death-grip and loose.
- Wrong cord for fringe. Braided cord won't unravel into fringe — if you want fluffy ends, single-twist only.
- Skipping the tape on cord ends. Unraveling mid-project wastes cord and patience alike.
- Hanging it in direct sun. Natural cotton yellows and weakens in strong UV. Indirect light keeps it beautiful for years.
The takeaway
Four knots, one afternoon, $20 of cord — and a wall hanging that looks store-bought. Macramé rewards the patient beginner disproportionately: the craft is simple enough to learn in a day and deep enough to explore for years. Finish this project, then change one variable (cord color, dowel length, knot order) and make it yours.
Frequently asked questions
What cord is best for beginner macramé? 4 mm single-twist cotton cord in natural color. Single-twist unravels into beautiful fringe; 4 mm is easy to handle without being bulky; natural color hides tension inconsistencies while you learn.
How many knots do I need to know for macramé? Four cover 90% of wall hangings: Lark's Head (mounting), Square Knot (the main pattern), Double Half Hitch (diagonals), Gathering Knot (finishing wraps). Everything else is a variation.
How long should macramé cord be for a wall hanging? Cut working cords 4× your intended finished length — knots consume cord fast. For an 80 cm finished hanging, cut at 3.2 m. Longer is always safer than shorter.
Why does my macramé look messy? Almost always uneven tension, not wrong knots. Tie a practice row of 10 square knots, compare them side by side, and aim for identical tightness before starting the real piece.
Can I wash a macramé wall hanging? Spot-clean only — soaking tangles the fringe and can shrink cotton. Dust with a cool hairdryer or soft brush every few months. For deep cleaning, professional textile cleaning is safest.
What should I make after my first wall hanging? The natural progression: a second hanging with a new pattern (try spiral knots for texture), then a plant hanger (same knots, new geometry), then a larger statement piece. Each project reuses the same four knots — you're learning design now, not technique.