Blank walls are the biggest missed opportunity in home decor — and the most fixable. Store-bought art is expensive, but handmade wall decor costs a fraction and looks better because it's yours. A $15 plaster canvas hangs next to $200 gallery pieces without apology; a macramé hanging you knotted yourself beats a mass-produced print every time. The secret isn't talent — it's following a good tutorial once, then repeating what worked.
This is the hub: every DIY wall decor idea on this site, organized by budget, skill, and style, with full step-by-step tutorials for the four most popular projects.
New to DIY entirely? Start with our 7 beginner projects — each under $25 and finishable in a weekend.
Key Takeaways
- 4 complete tutorials on this site: plaster art, gallery wall layouts, macramé hangings, beginner projects
- Budget range: $5–$35 per project — most under $20
- Renter-friendly: 8 of the 15 ideas need zero holes
- Best ROI: plaster art ($15 materials, looks like $200 gallery art)
- Start here: pick ONE wall, ONE project, finish it this weekend
In this guide:
- The 4 complete tutorials (start here)
- How to pick your project: the 3-question filter
- The $30 starter kit
- Under $10: the almost-free ideas
- Budget $10 to $25: the sweet spot
- Budget $25 to $40: statement pieces
- By style: boho, modern, eclectic
- Renter-friendly: zero holes
- The takeaway
- Frequently asked questions
The 4 complete tutorials (start here)
These four have full step-by-step tutorials on this site — materials lists, exact measurements, mistakes to avoid:
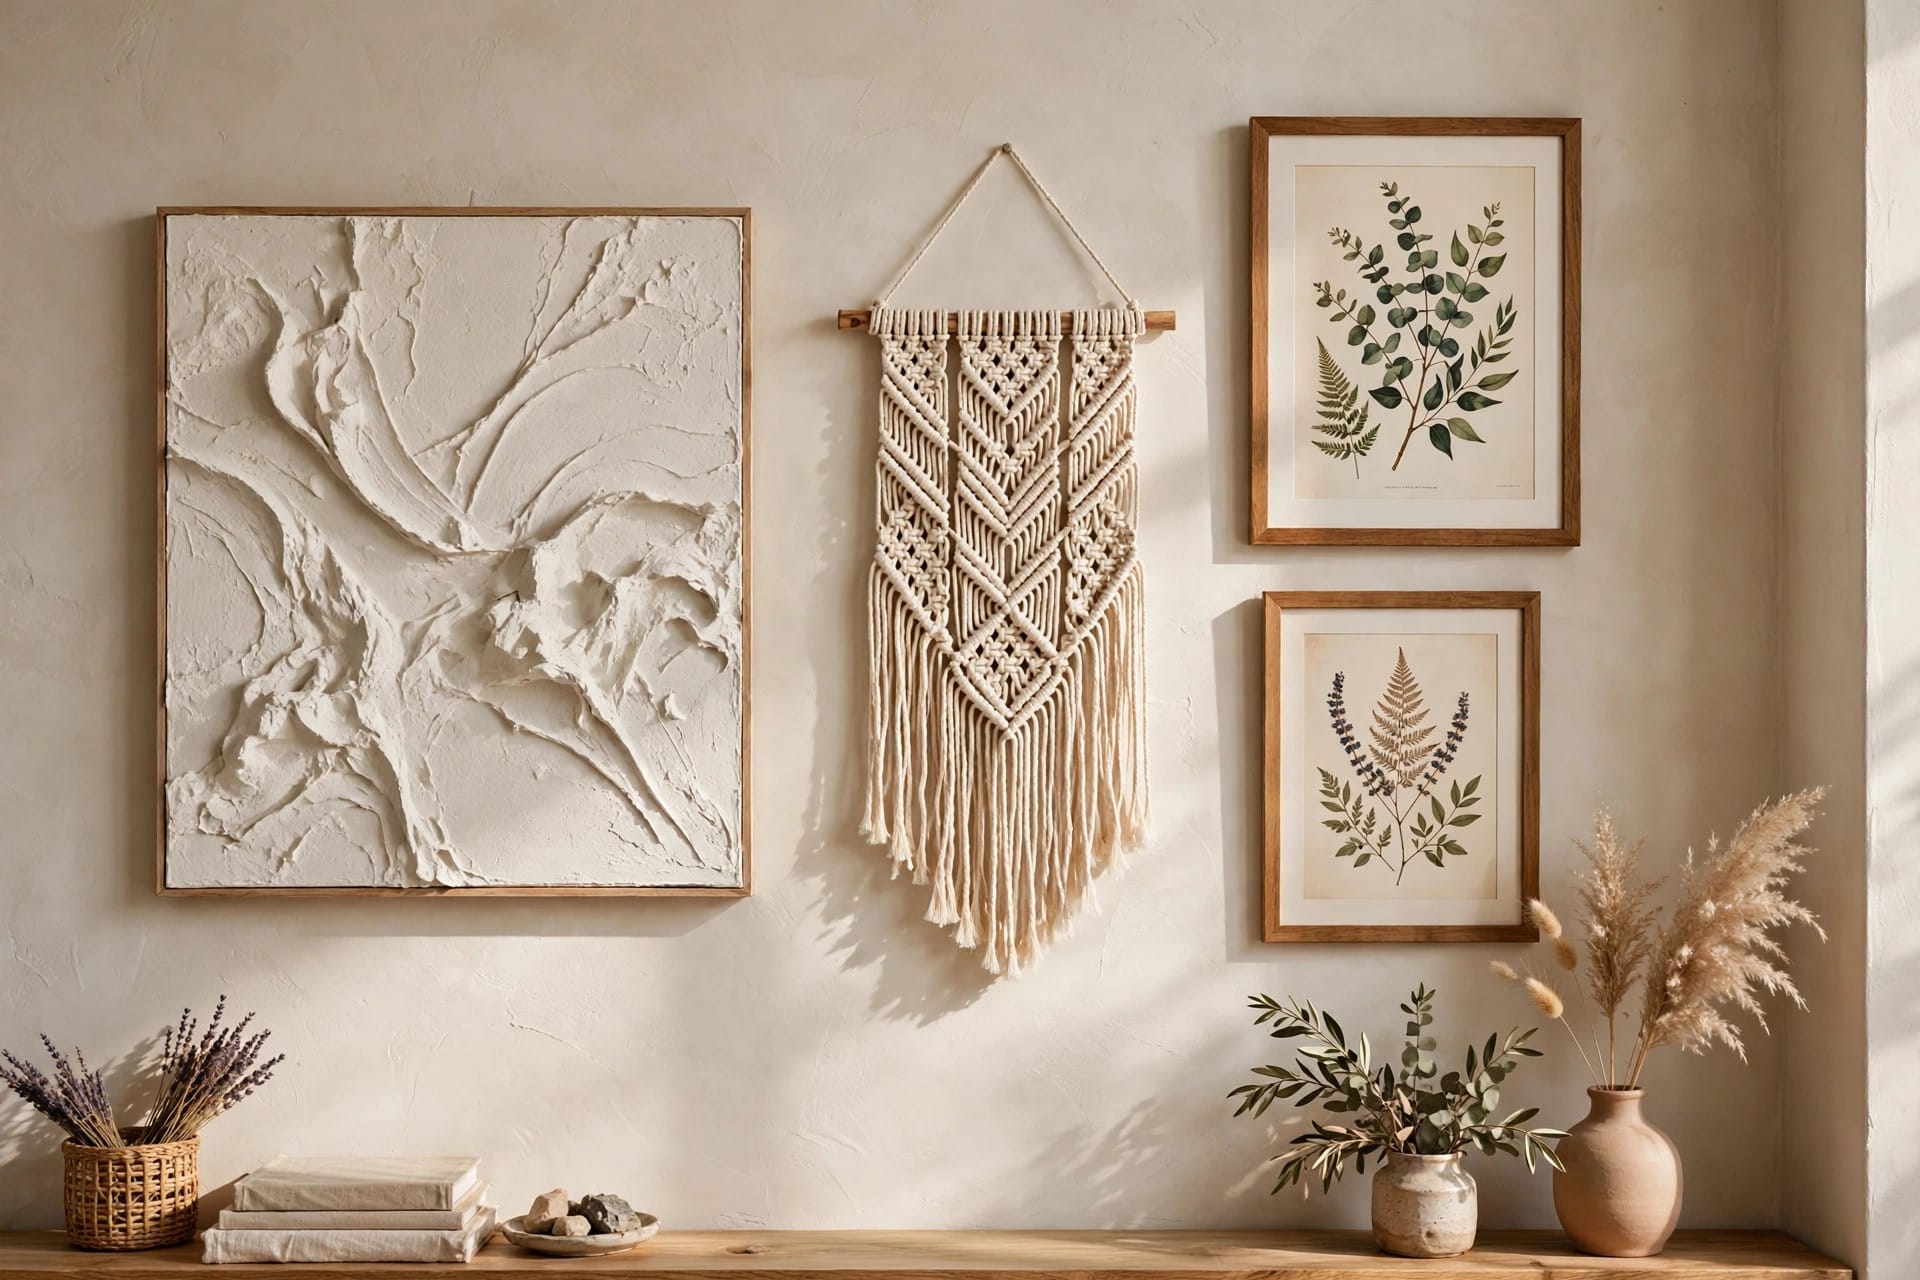
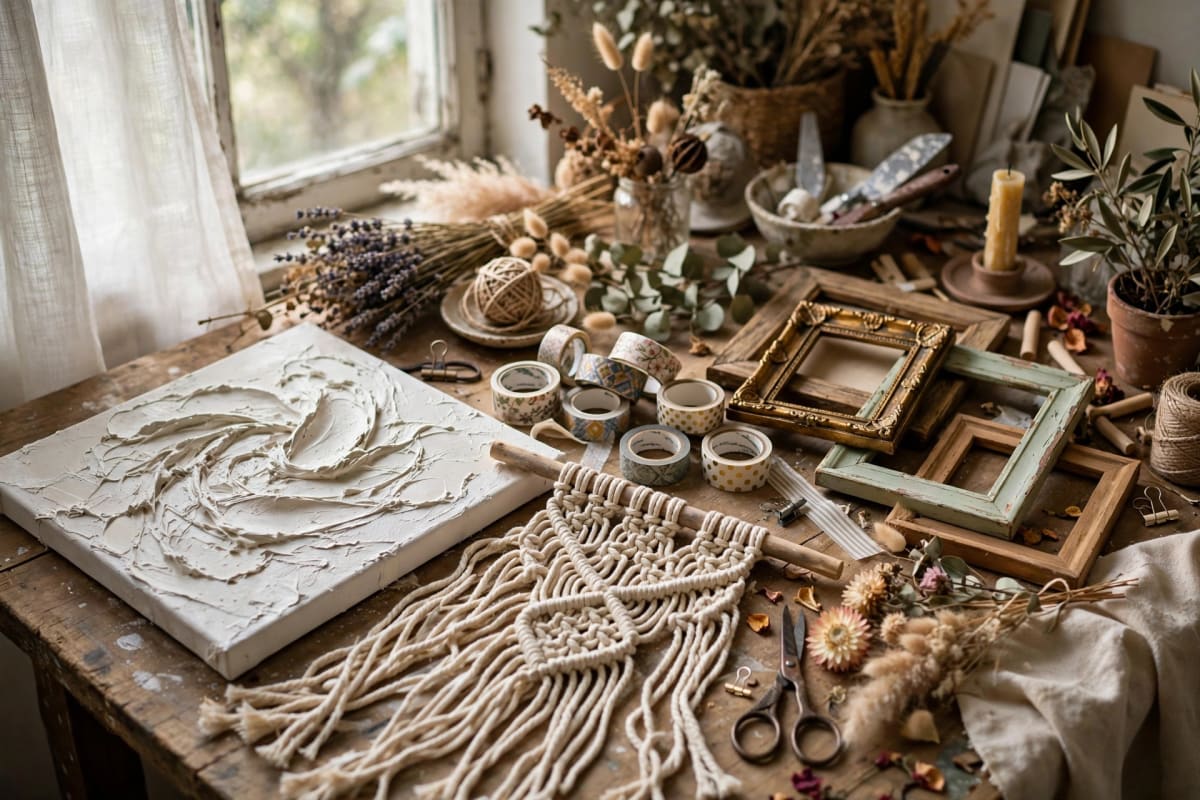
- DIY Plaster Wall Art — textured sculptural canvases with joint compound. $10–$20, 2–3 hours + drying. The highest-ROI project on this list: it genuinely passes as gallery-bought.
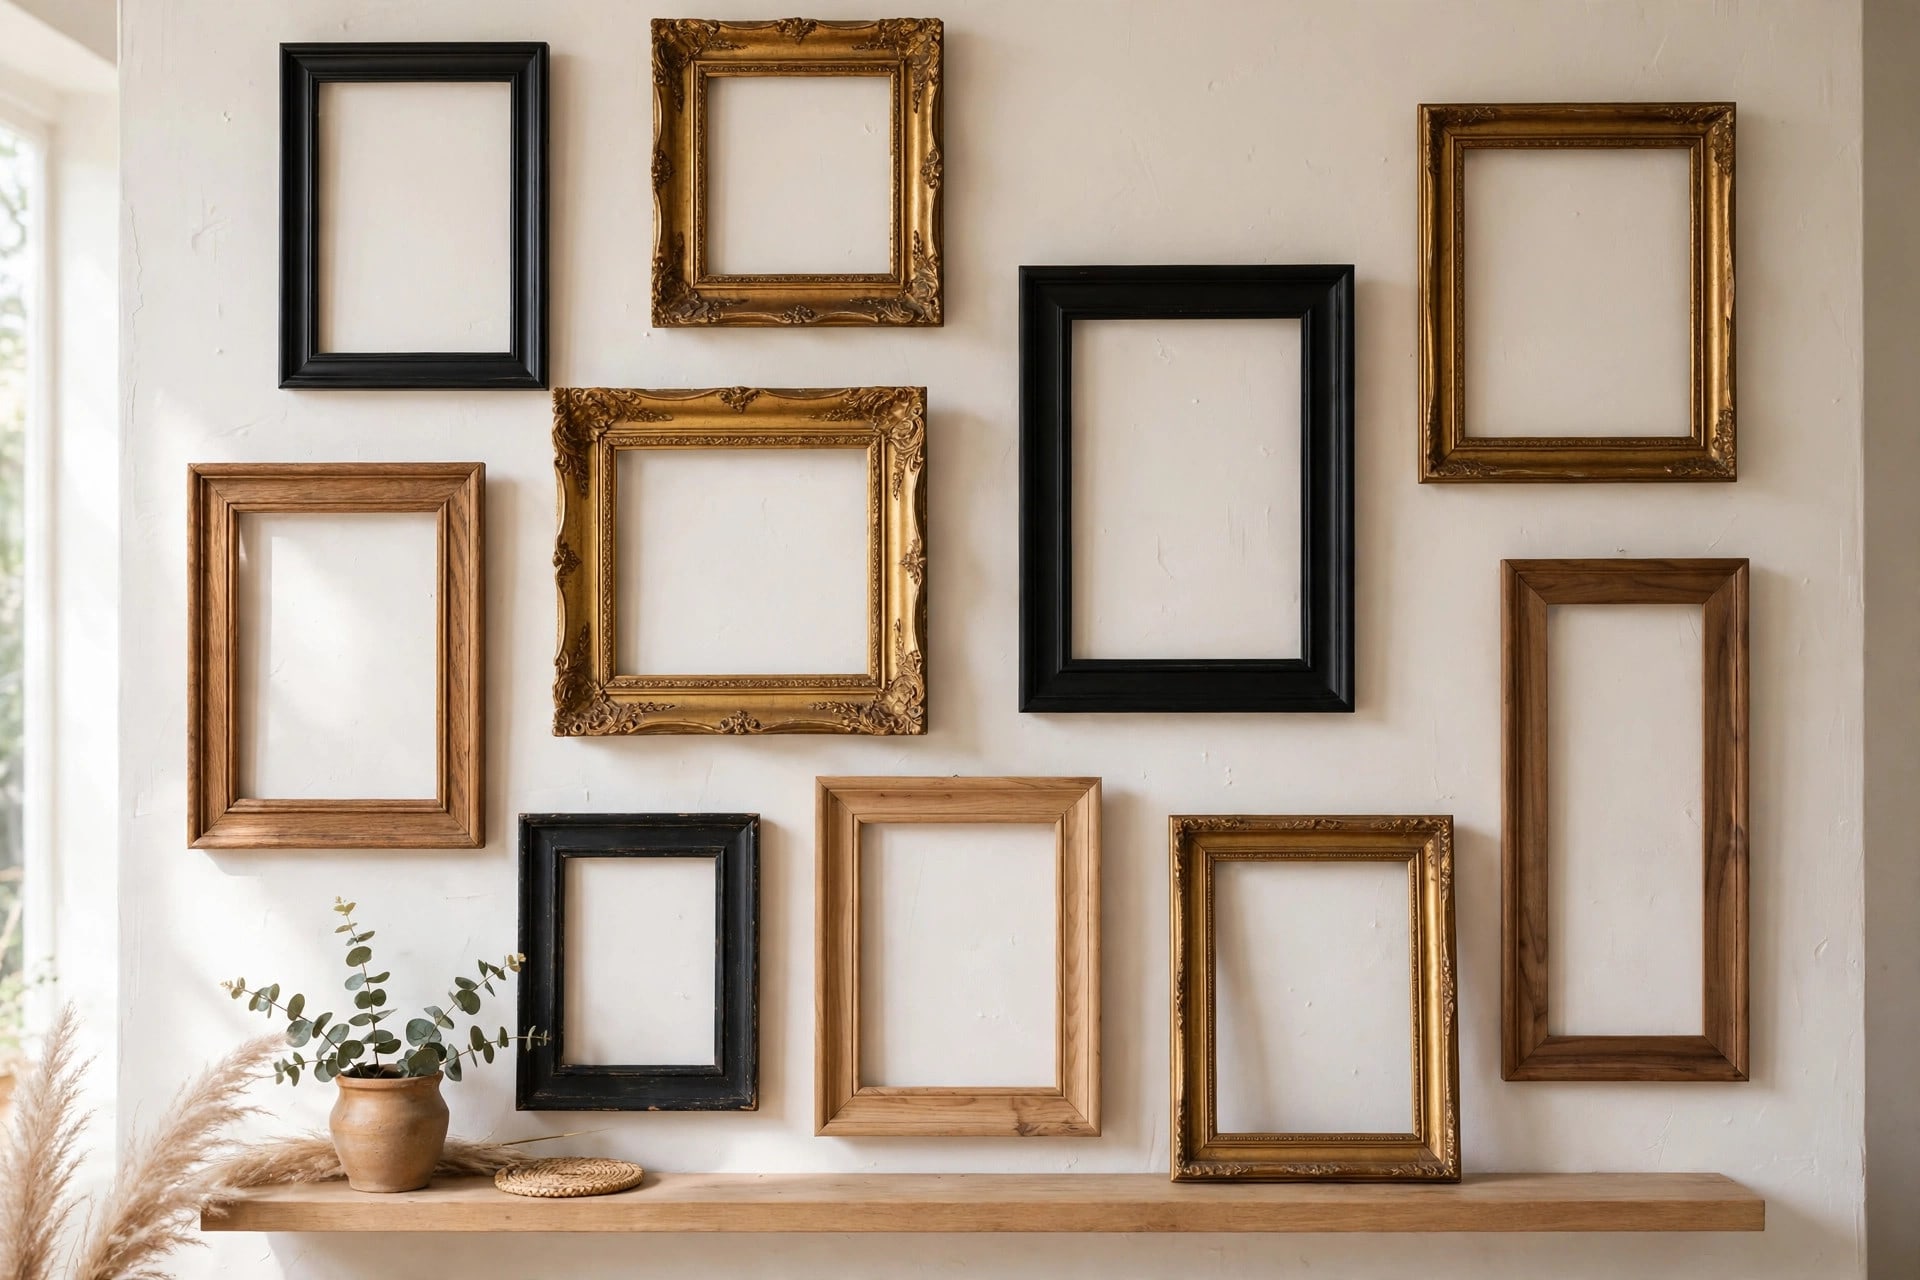
- Gallery Wall Layout Guide — 4 templates (grid, anchor, linear, staircase) with exact spacing formulas. The paper-template method means zero misplaced holes.
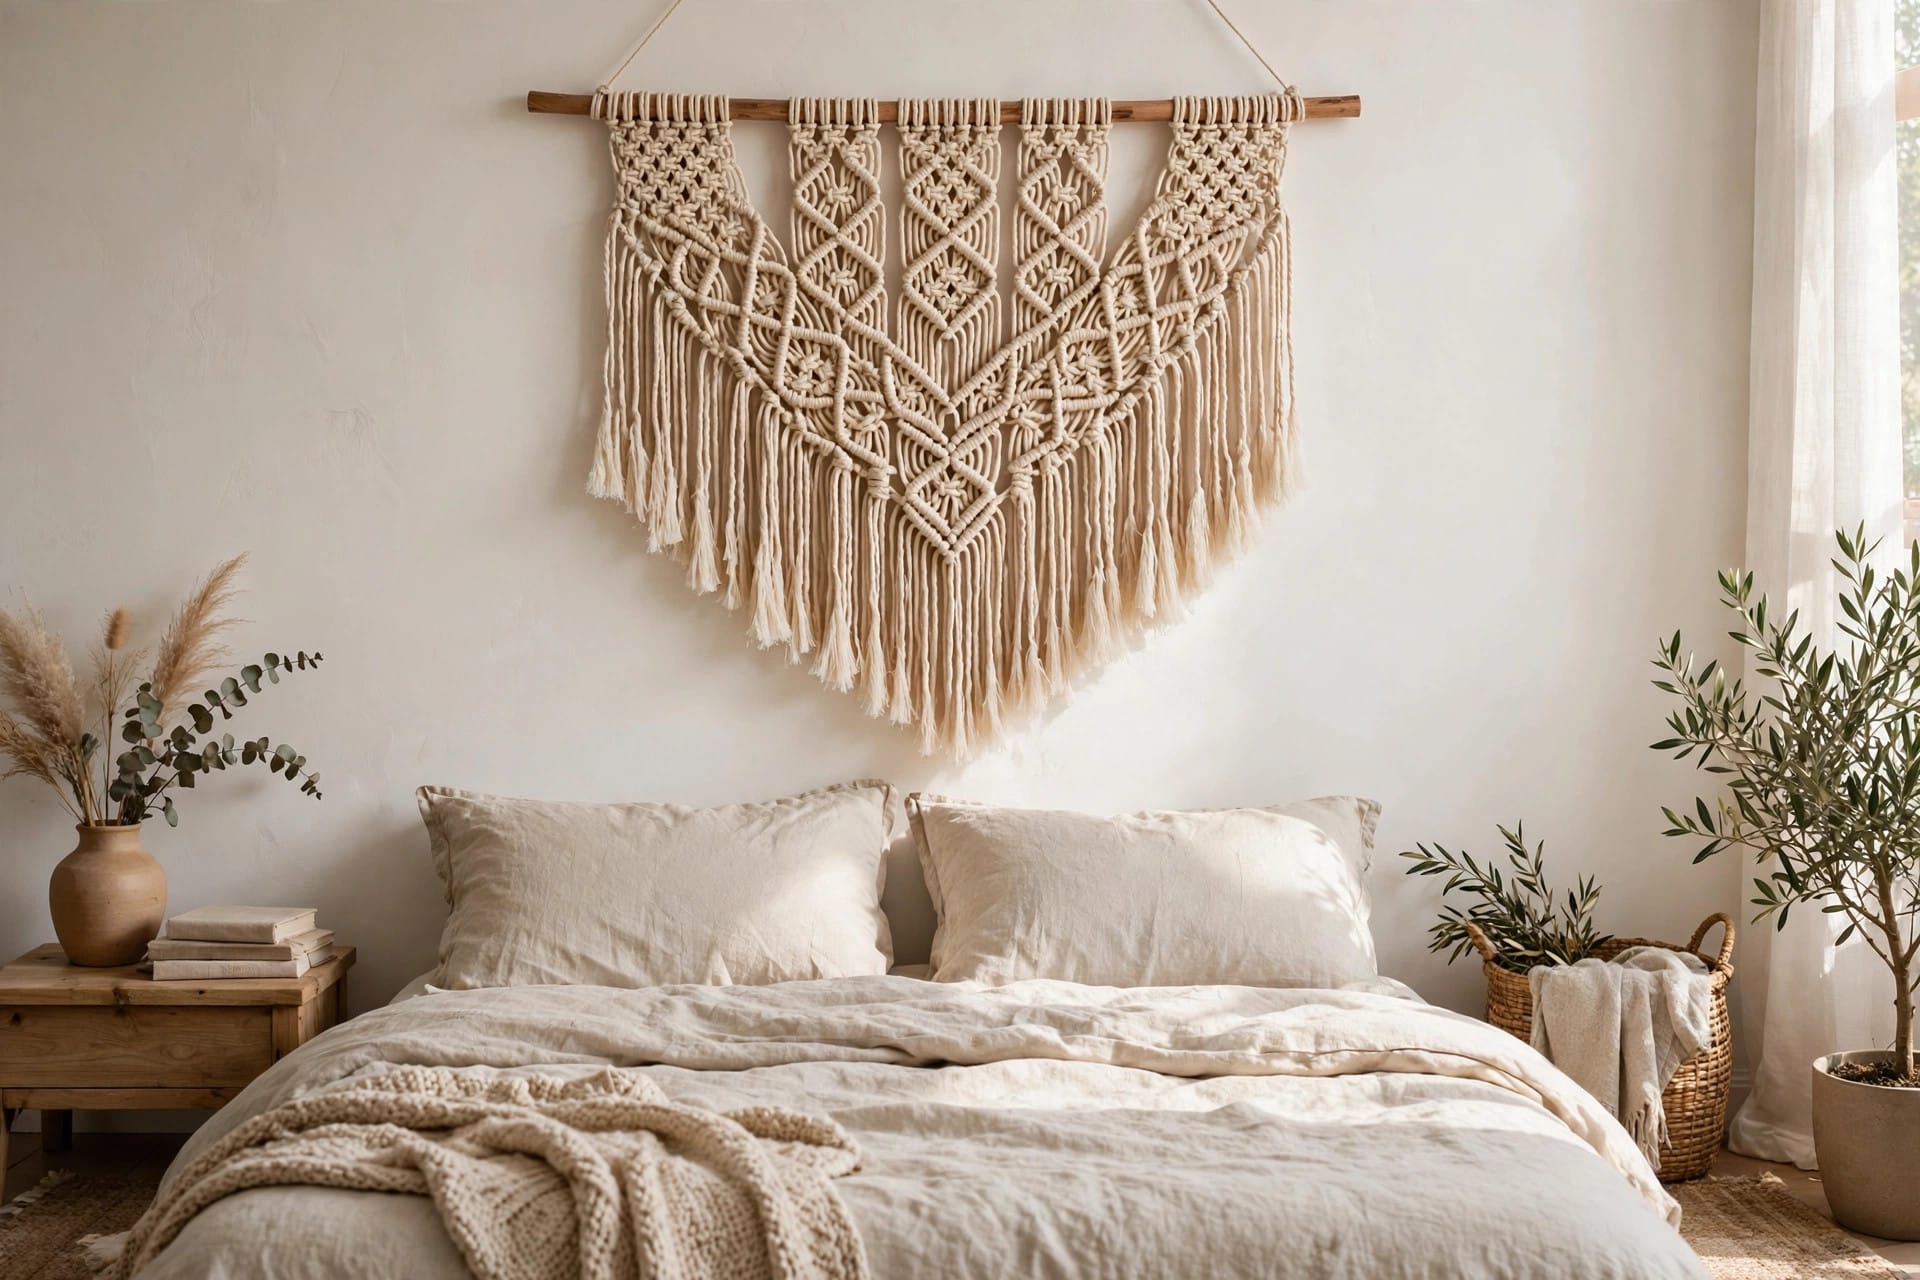
- Macramé Wall Hanging for Beginners — 4 knots, one complete project, 60 cm dowel, ~3 hours. The entire craft is four knots repeated.
- 7 Easy DIY Wall Decor Projects for Beginners — taped gallery walls, fabric hangings, photo ledges, hoop art, painted arches, plate walls, oversized prints. The true starting point.
How to pick your project: the 3-question filter
Fifteen ideas is paralyzing without a filter. Ask these three questions in order:
- What's your wall? Large blank wall → go big (oversized print, gallery wall, large plaster canvas). Small wall or awkward nook → one focused piece (hoop art, small macramé, single arch). Above furniture → check the ⅔ width rule first.
- What's your timeline? One evening → washi tape borders, polaroid display, pressed frames. One weekend → plaster art, macramé, painted arch, gallery wall. The drying/curing projects (plaster) need the weekend; the assembly projects (macramé) fit an evening if you're focused.
- What's your risk tolerance? Zero holes (renters) → the renter-friendly list below. "I'll fill holes at move-out" → everything's open. "I own this wall" → go bold with painted arches and large installations.
Answer all three and you'll land on 1–2 projects instead of 15. That's the point — this hub narrows, the tutorials go deep.
The $30 starter kit
Every project on this list is covered by one small toolkit. Buy once, make everything:
- Painter's tape ($6) — layouts, masking, washi borders
- Hammer + assorted nails + wall anchors ($8) — hanging everything
- Level ($5) — the difference between "homemade" and "handmade"
- Measuring tape ($4) — every spacing formula needs one
- Hot glue gun + sticks ($7) — hoop art, tassels, quick fixes
That's it. Specialty materials (joint compound, macramé cord, frames) are per-project, but the tools never change. If you already own a hammer and tape measure, you're $15 from the full kit.
Under $10: the almost-free ideas
Washi tape gallery borders. Frame existing prints or photos with washi tape directly on the wall — no frames, no nails. $5–$8 for tape. (Full method in the beginner's guide.)
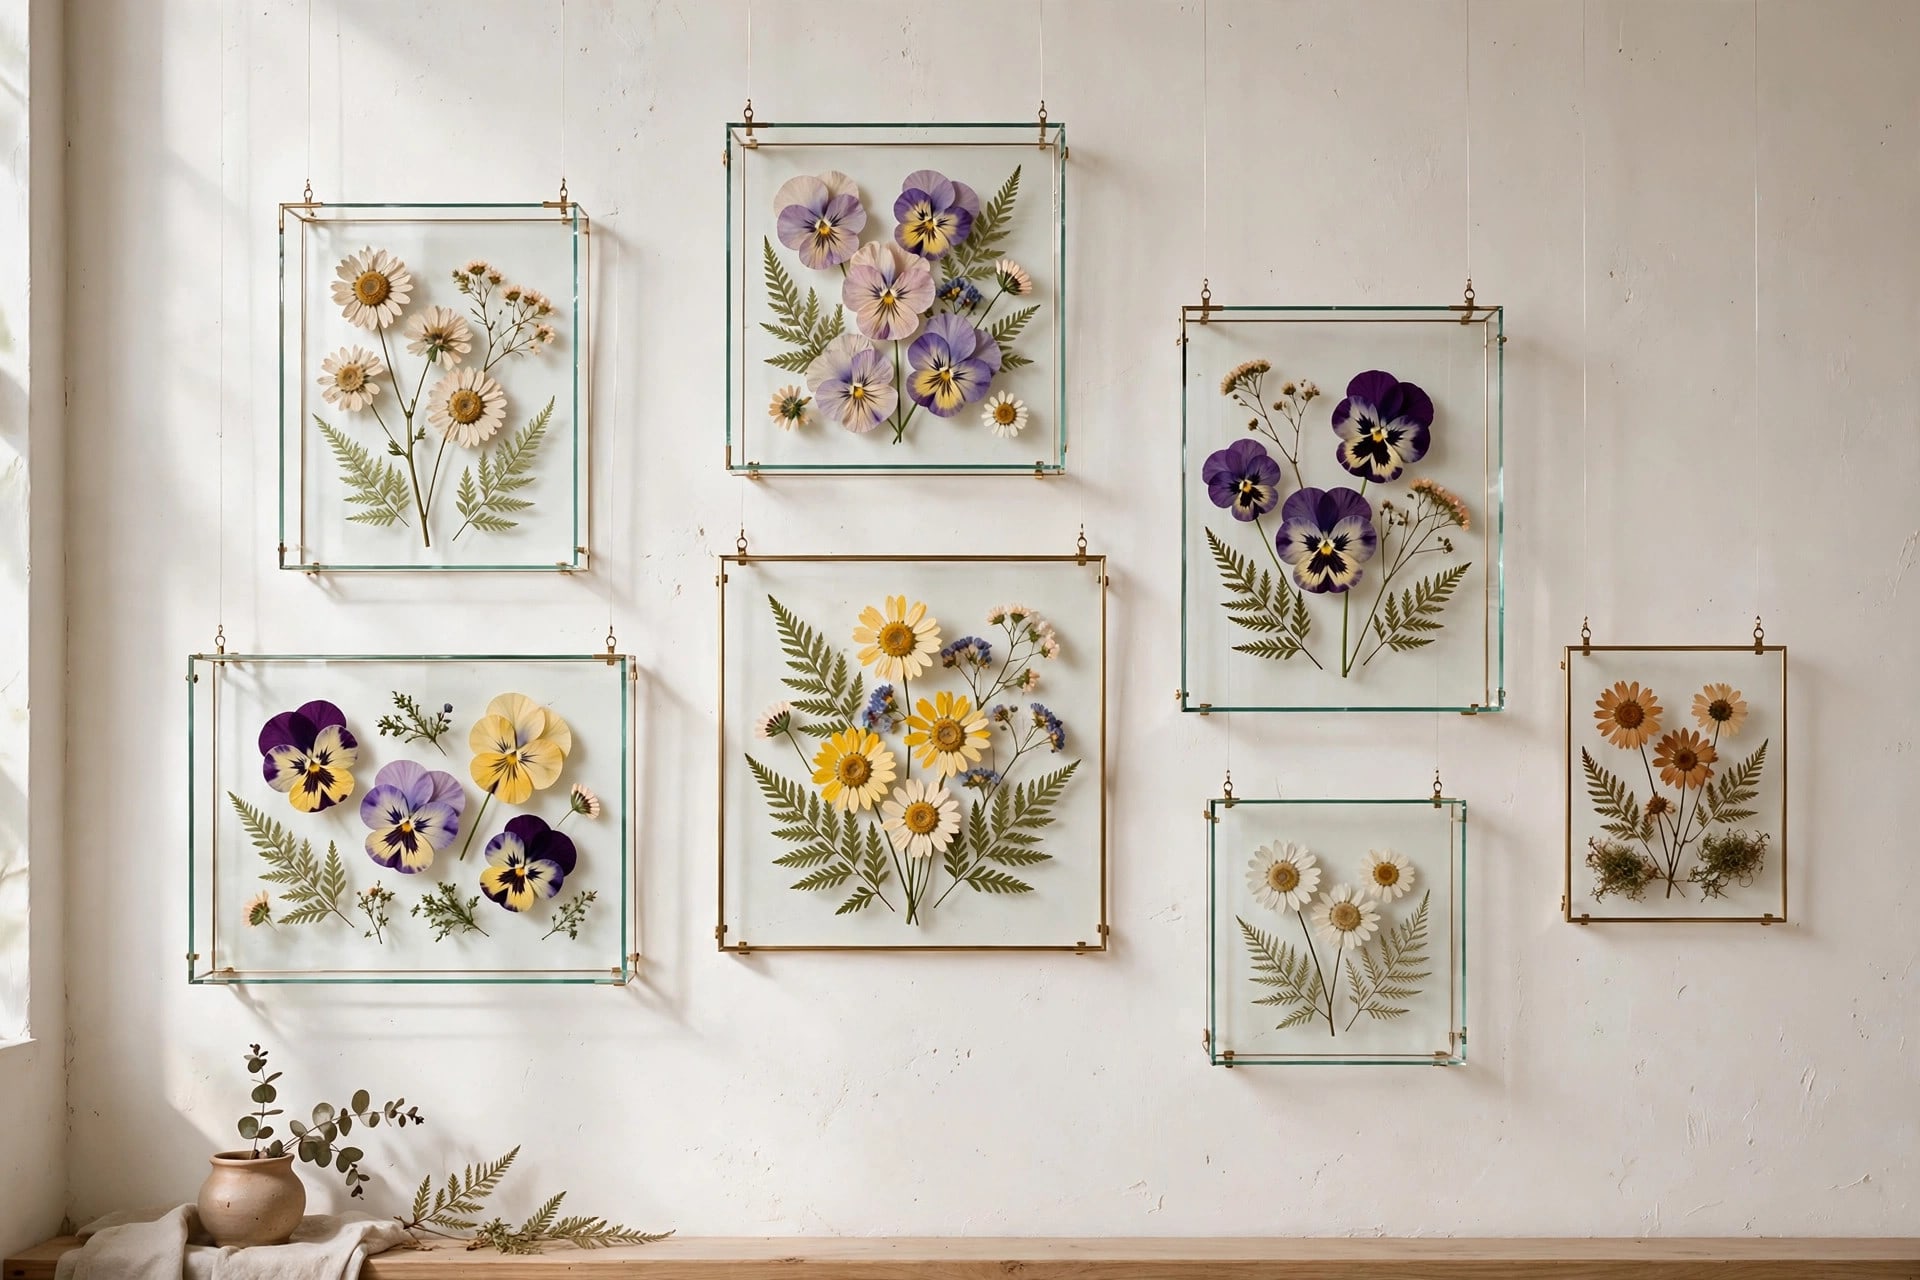
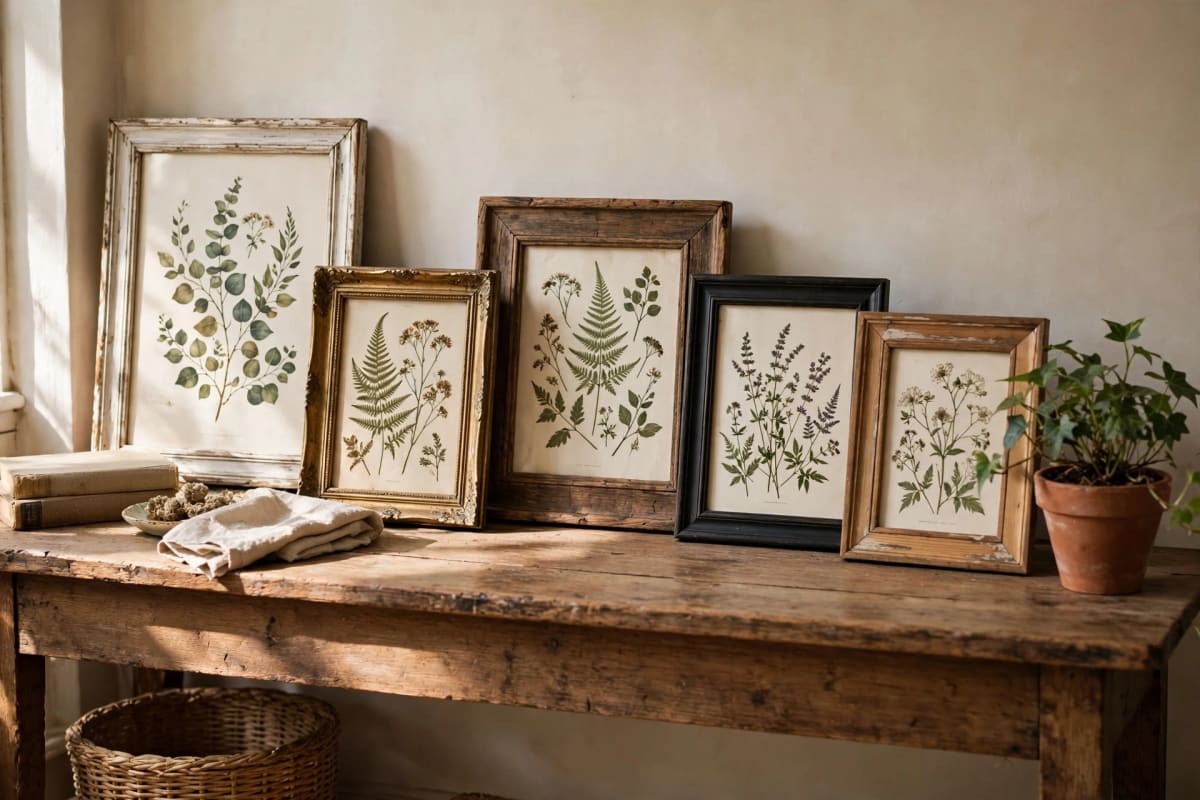
Pressed botanical frames. Press flowers or leaves in a book for a week, float them between glass in thrifted frames. $3–$8 if you thrift the frames. The biophilic trend's cheapest entry point.
Geometric tape art. Painter's tape + leftover paint = bold geometric murals. $5–$10. Trending in earth tones (terracotta, olive, warm beige) — see our paint color guide for palette ideas.
Polaroid-style photo display. String lights + mini clips + your own photos. $8–$15. Instant personality, zero skill required.
Budget $10 to $25: the sweet spot
Plaster wall art. $10–$20. Already covered — full tutorial. This is where the money-to-impact ratio peaks.
Macramé wall hanging. $15–$25 for cord + dowel (enough for two hangings). Full tutorial. Three hours, four knots, done.
Fabric wall hanging. A beautiful textile + dowel + string. $5–$20. Adds softness framed prints can't. (Method in the beginner's guide.)
The plate wall. Thrifted plates hung in a cluster with plate hangers. $10–$20 for 5–7 plates. Vintage charm, endlessly rearrangeable.
Dried flower hoop art. Embroidery hoop + dried flowers + hot glue. $8–$15. Delicate, lightweight, perfect for bedrooms.
Painted arch accent. One quart of paint, one afternoon, one dramatic arch behind a bed or console. $12–$20. (Method in the beginner's guide.)
Budget $25 to $40: statement pieces
Oversized single print. One huge print (engineer prints at office stores cost ~$10–$15 for 90×120 cm) in a simple frame or hung with clips. Scale is the statement — one big piece beats five small ones on a large wall.
Framed gallery wall. 5–7 thrifted frames + prints. $25–$40 total. Follow the layout guide — the 145 cm rule and paper templates make it foolproof.
Floating photo ledges. One or two narrow ledges for layered art you can swap seasonally. $20–$35. The curated look without committing to nail positions.
By style: boho, modern, eclectic
Boho: macramé hangings, fabric wall hangings, dried flower hoops, woven baskets. Texture over color; natural materials; layered and collected. Start with the macramé tutorial.
Modern/minimal: plaster art in monochrome, classic grid gallery walls, painted arches, oversized single prints. Restraint is the style — fewer pieces, more breathing room. Start with plaster art.
Eclectic: center-anchor gallery walls, plate walls, mixed-frame collections, polaroid displays. The collected-over-time look — but follow the spacing formulas so "collected" doesn't become "cluttered."
Renter-friendly: zero holes
No nails, no lost deposits. These need nothing but removable adhesive:
- Washi tape gallery borders
- Fabric wall hangings (adhesive hook)
- Polaroid photo displays (adhesive clips)
- Macramé hangings (adhesive hook — they're light)
- Oversized prints with clips (adhesive hooks)
- Painted arches — wait, no. Paint isn't renter-friendly unless your landlord agrees. Skip this one in rentals.
- Plaster art on canvas (adhesive hooks hold 2 kg easily)
The renter rule: damage-free strips work brilliantly IF you prep properly — alcohol wipe, 30-second press, 1-hour wait before hanging. The horror stories are 90% skipped prep.
The takeaway
Fifteen ideas, four complete tutorials, and not one of them over $40. The pattern across all of them: start with one wall, finish one project, live with it before starting the next. Done beats perfect, and a finished $15 plaster canvas beats a Pinterest board of 200 saved ideas every time.
Your weekend plan: Saturday morning — pick your project from the four tutorials. Saturday afternoon — make it. Sunday — hang it and stand back. That's the whole system.
Frequently asked questions
What is the cheapest DIY wall decor? Washi tape gallery borders ($5–$8) and pressed botanical frames ($3–$8 with thrifted frames). Both need zero skill and under an hour.
What DIY wall decor looks the most expensive? Plaster/textured art — $10–$20 in materials passes as $80–$300 gallery art. The full tutorial covers the technique that sells the illusion.
How do I decorate walls as a renter without holes? Damage-free adhesive strips/hooks for anything under 7 kg: macramé hangings, canvas art, taped galleries, fabric hangings. Prep the wall properly (alcohol wipe, press 30 seconds, wait an hour) and they hold reliably.
What should I put on a large blank wall? Go big: one oversized print, a large plaster canvas, or a 7-piece gallery wall. The mistake is hanging small art on a big wall — scale the art to the wall, not the other way around.
How do I make DIY wall decor look cohesive? Pick ONE unifying element: same frame color, same art palette, or same material (all textile, all monochrome). Cohesion comes from consistency in one dimension, not matching everything.
What tools do I need for DIY wall decor? The $30 starter kit covers everything: painter's tape, hammer + nails + anchors, level, measuring tape, hot glue gun. Specialty materials (joint compound, cord, frames) are per-project — the tools never change.
How long does a typical DIY wall decor project take? 30 minutes (washi borders, photo displays) to one weekend (plaster art with drying time, gallery walls with planning). Most land at 2–3 hours of active work — the planning and drying are what stretch the clock.