
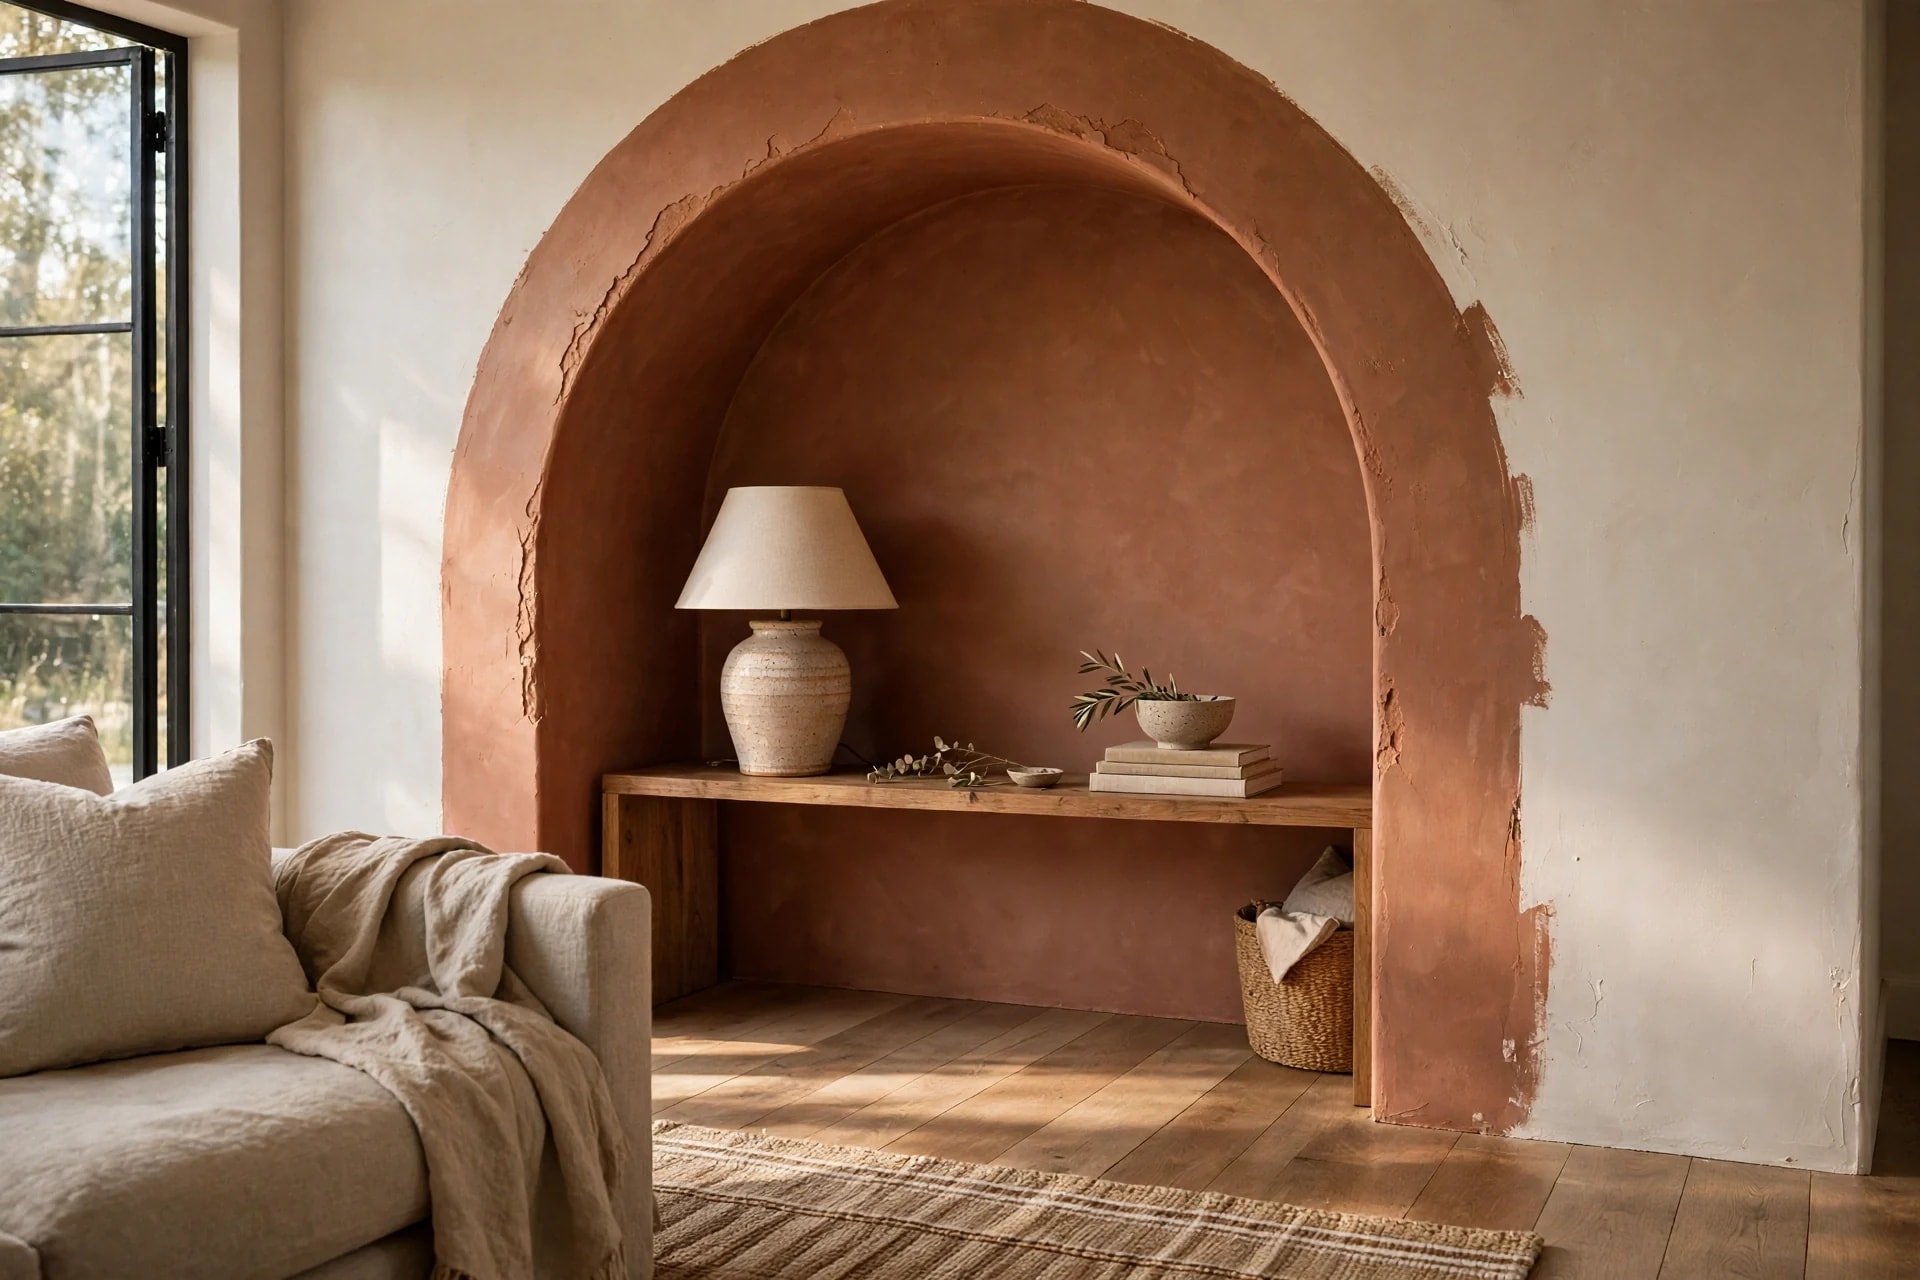
The painted arch is the best deal in wall decor: one quart of paint, one afternoon, and a plain wall gets architecture it never had. It's also the rare trend that's fully reversible — no holes, no panels, nothing to remove when tastes change. But arches live or die on geometry. A curve drawn freehand looks hand-drawn in the bad way; a curve drawn with a string compass looks built-in.
Here's the sizing math, the drawing method, and the painting sequence that keeps the edge crisp.
Key Takeaways
- Draw the curve with a pin, string and pencil — the string length is the radius (half the arch's width)
- The spring line (where the curve starts) sits at about ⅔ of the arch's total height
- The gap above the arch must be larger than the radius, or the curve runs into the ceiling
- Seal the tape edge with the base wall color first — that's the bleed-proofing step
Table of Contents
- Where a painted arch works
- Sizing: width, height and the spring line
- Drawing the curve: the string compass
- Taping and painting, step by step
- Colors that carry an arch
- Variations: double arches and half arches
- Mistakes to avoid
- FAQ
Where a painted arch works
An arch is a frame, and frames want something to frame: the head of a bed, a desk (the classic work-from-home backdrop), a console table with a lamp and a stack of books, a reading chair, a mirror, a row of hooks in an entryway. Painted behind a piece of furniture, it borrows the height of architecture and gives the furniture a destination on the wall. On a completely empty wall with nothing in front of it, an arch can look stranded — if the wall is bare, size the arch generously and let it be the furniture. It sits naturally alongside the other paint-led treatments in our DIY wall decor ideas.
Sizing: width, height and the spring line
Three numbers decide everything:
- Width: anchor it to what it frames. An arch behind a desk or console looks right at the furniture's width plus 4–8 inches of margin. Standalone arches typically run 36–60 inches wide.
- Total height: most painted arches end 6–18 inches below the ceiling. Floor-to-near-ceiling is the dramatic version; a shorter arch (top at 5–6 feet) suits a nook or vanity.
- The spring line: the height where the straight sides end and the semicircle begins. Get it from the geometry: the semicircle's radius is half the width, so the straight sides run from the floor up to (total height − radius). For a 48-inch-wide arch reaching 84 inches, the radius is 24 inches and the spring line sits at 60 inches — straight sides for 60 inches, then 24 inches of curve.
One hard constraint: the distance from the spring line to the ceiling must exceed the radius. Break it and your semicircle climbs onto the ceiling — the single most common arch-layout accident, and it's pure arithmetic, so check it before the pin goes in.
Drawing the curve: the string compass
- Mark the two outside edges of the arch on the skirting/baseboard line, and draw the two vertical sides up to the spring line with a level — plumb, not eyeballed.
- Find the center point: midway between the sides, exactly on the spring line. Push a pin or small nail in there.
- Tie a loop of non-stretch string to the pin and the other end to a pencil, adjusted so the pencil tip sits exactly one radius from the pin.
- Keeping the string taut and the pencil upright, swing slowly from one vertical line to the other. You'll draw a true semicircle that lands precisely on both side lines — no template, no tracing, no wobble.
Draw it once, step back, and live with the pencil version for an hour. Proportion problems are free to fix at this stage and expensive later.
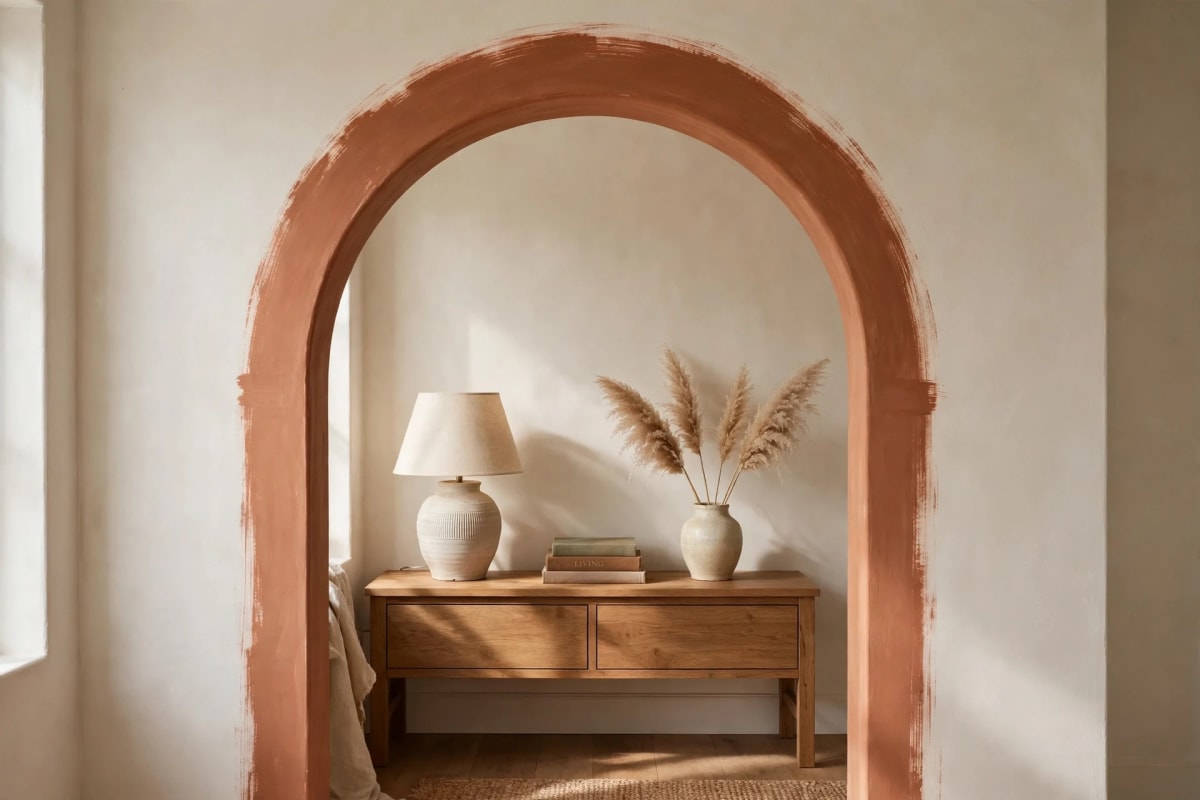
Taping and painting, step by step
- Tape the two straight sides on the outside of your pencil lines. For the curve, use short 2–3-inch strips of painter's tape overlapped around the arc — long strips pucker and leak on curves.
- The bleed-proofing step: brush a thin coat of the existing wall color along the tape edges inside the arch and let it dry. Any bleed-under is now invisible base color, and it seals the edge for the topcoat.
- Cut in the curve with a small angled brush — this is the line everyone will judge, so go slowly — then roll the body with a mini roller, keeping a wet edge.
- Two coats for saturated colors; deep tones over light walls occasionally need three.
- Peel the tape while the last coat is still slightly tacky, pulling away from the paint at a low angle. Waiting for full dry invites the film to tear the edge.
Total active time is about 90 minutes, and the paint bill is one quart — often a $6–$10 sample pot is enough for a single arch, which makes this the cheapest accent in the house after our peel and stick wallpaper accent wall experiments.
Colors that carry an arch
An arch is a commitment to one color in a bold shape, so borrow the color from the room rather than introducing a stranger: pull the deepest tone out of a rug, cushion or artwork nearby. The reliable performers: terracotta and clay (the arch's natural habitat — warm, architectural), sage and olive, deep navy for drama against pale walls, and tone-on-tone — the wall color two shades deeper — for rooms that want shape without contrast. Flat or matte paint flatters arches; sheen exaggerates every wall imperfection the curve draws the eye to. Our small living room paint colors guide covers the undertones to test first.
Variations: double arches and half arches
- Double/overlapping arches: two arches of different heights overlapping, usually in two tones of the same color. Draw and paint the rear arch first, let it cure fully, then tape and paint the front one over it.
- The half arch: one straight side and a quarter-curve, run into a corner or over a door — the modern, asymmetric option, and forgiving of rooms where a full arch won't fit.
- Arch + border line: a thin second arch outline 1–2 inches outside the main shape, painted in a metallic or a contrasting trim color, like the pinstripe on the delineated versions all over Pinterest.
Mistakes to avoid
- Freehanding the curve. String costs nothing and takes two minutes. There is no version of this project where skipping it pays.
- Sizing to the wall instead of the furniture. An arch 6 inches narrower than the console it frames looks like a mistake, not minimalism.
- Stretchy string. Yarn and elastic cord sag mid-swing and produce an egg, not a semicircle. Use twine or braided cord that doesn't stretch.
- Skipping the base-color seal coat, then blaming the tape for the bleed. The tape is fine; the technique was missing.
- Glossy paint. Every bump in the drywall telegraphs through a sheen finish under raking light. Flat hides; gloss confesses.
If you like the softness of the arch but want texture with it, the same shape works in plaster and limewash — see our limewash walls guide for the technique that suits curved, blended shapes best.
FAQ
How much paint does one arch need? A 4×7-foot arch is about 25 sq ft of painted area — a single quart covers it in two coats with paint to spare. Sample pots (8 oz) handle small arches under 3 feet wide.
Can I paint an arch in a rental? It's the most landlord-friendly accent there is: no holes, and repainting one arch back to the wall color takes an hour. Keep a labeled pot of the original wall color for the reversal.
What if my walls are textured? Heavier textures (orange peel and up) soften the curve's edge no matter how good the tape work is. Lean into it with a deliberately hand-painted edge — brush the outline without tape — or choose a smoother wall.
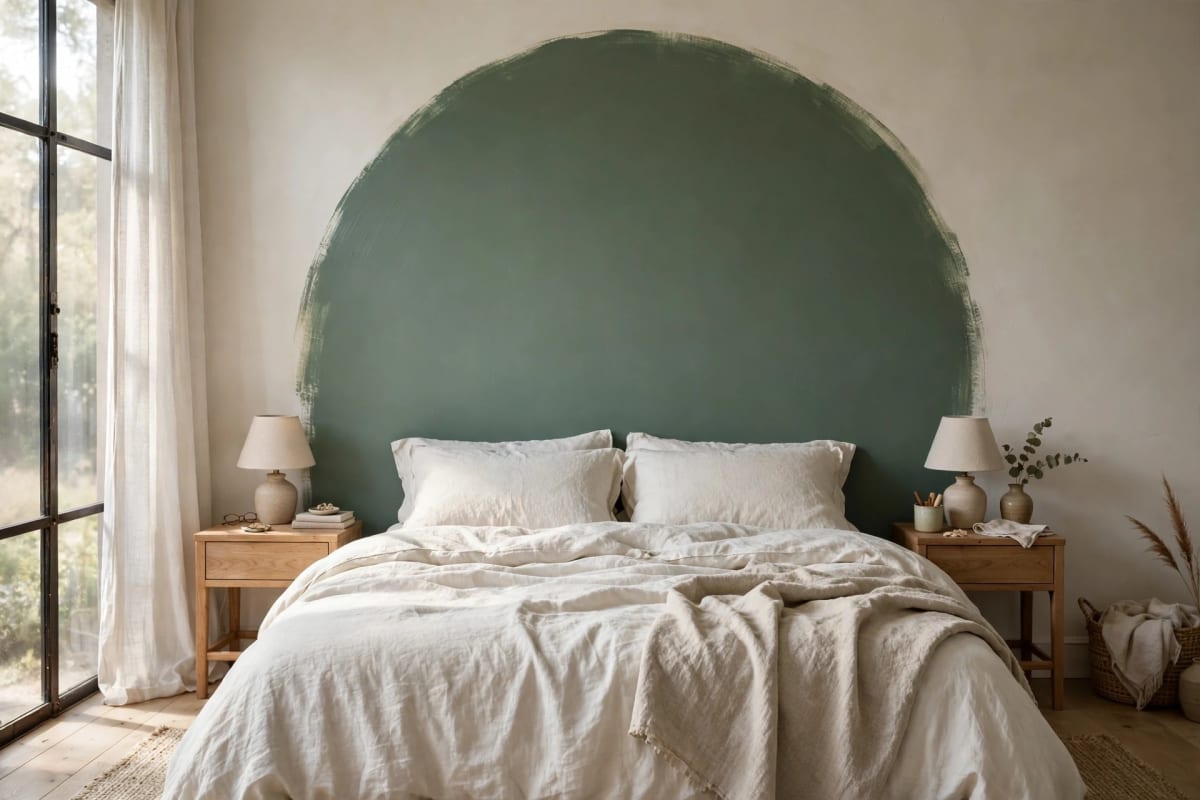
Arch behind a bed: how wide? The bed's width plus 4–8 inches total. A king (76") wants an 80–84-inch arch; the radius (40–42") then sets the spring line, so check the ceiling-clearance rule with real numbers before drawing.
Can I do an arch on two walls (a corner)? Yes — wrap it around the corner by keeping the spring line level across both walls and drawing each side's curve from its own center pin. Corners are rarely perfectly square, so expect to fudge the meeting point by a fraction and hide it in the curve.



