
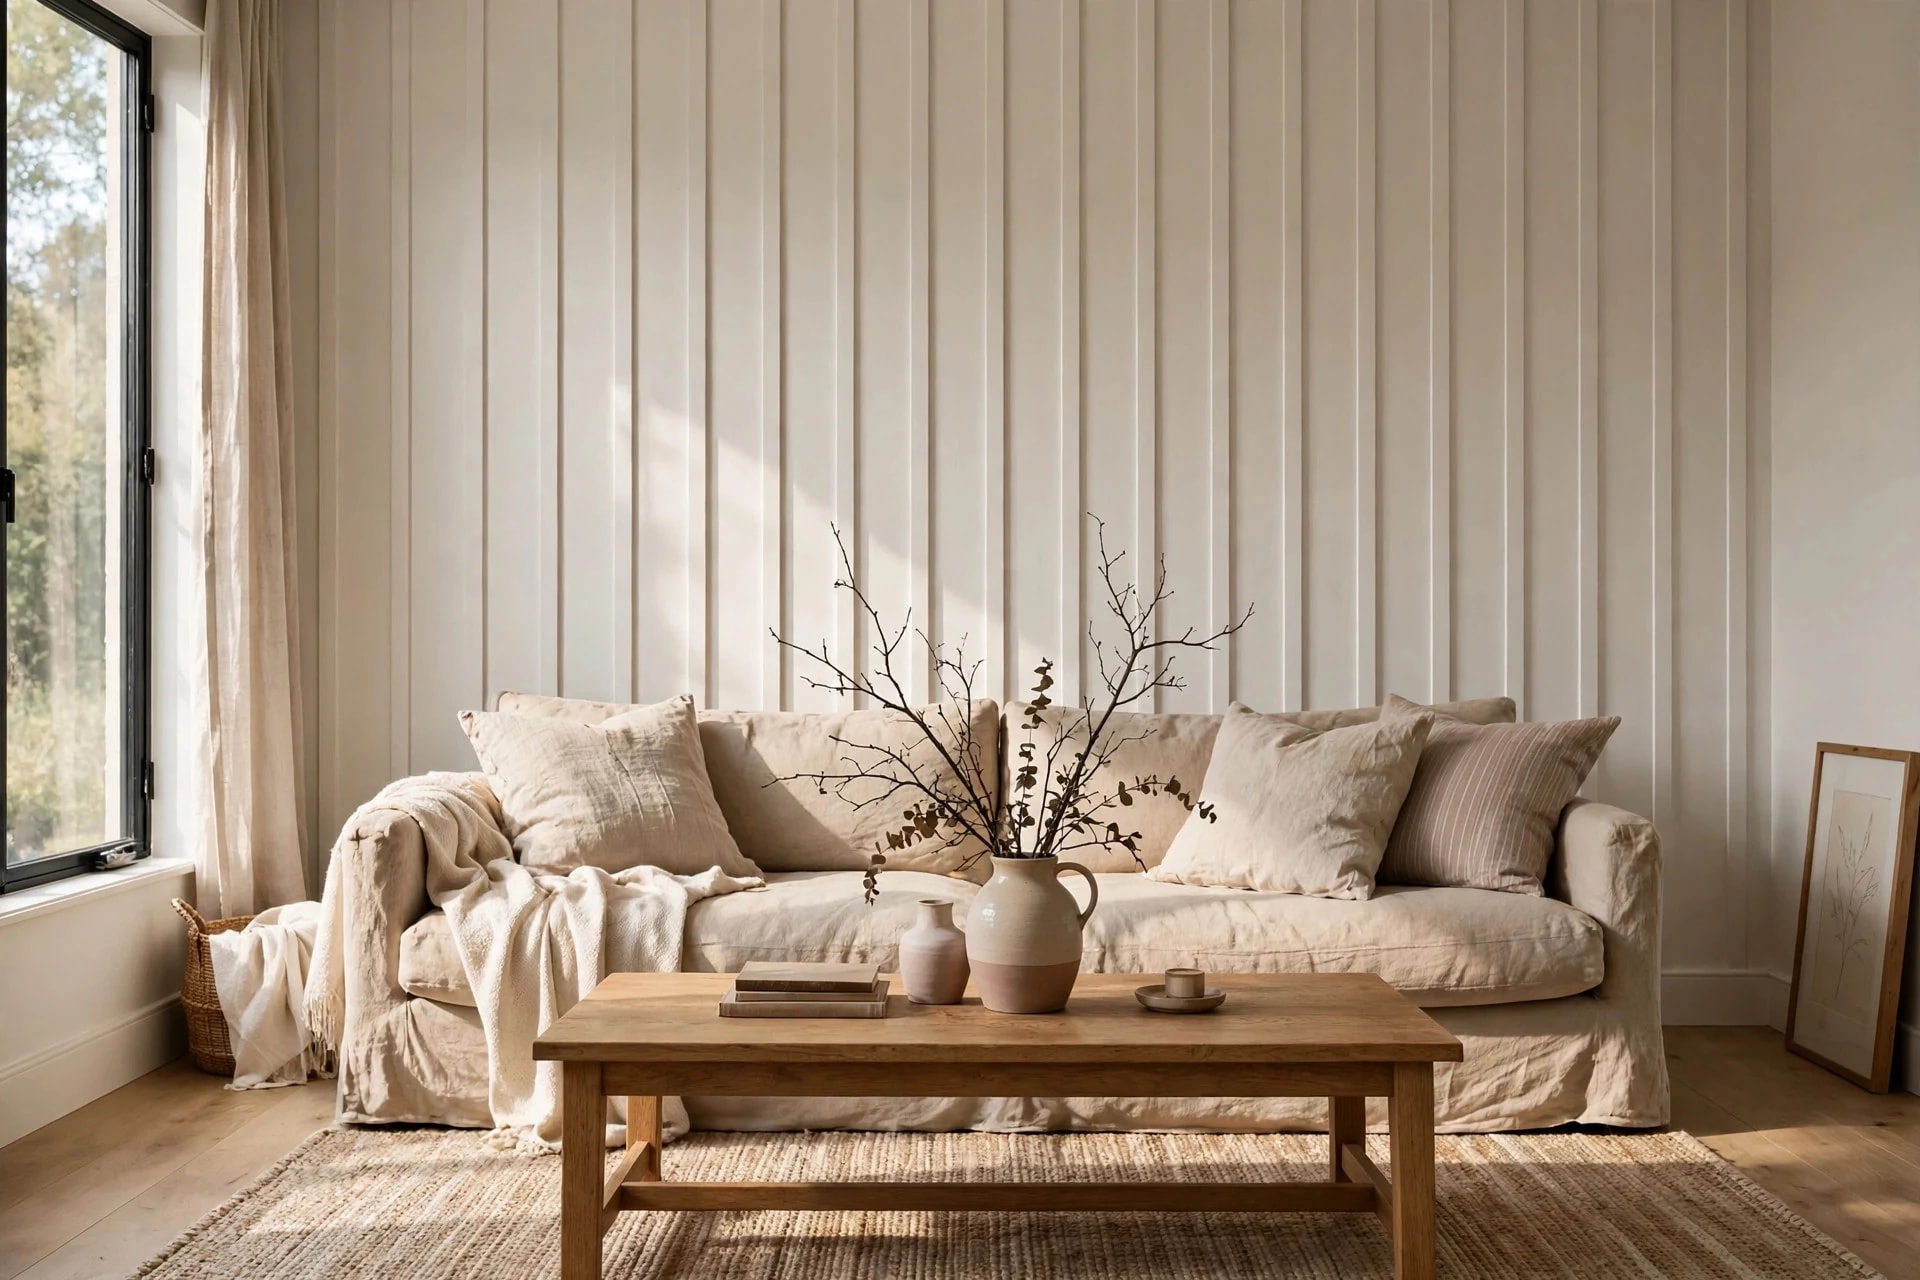
Board and batten is the wall treatment everyone thinks is simple — nail up some strips, paint, done — and the one that most often ends up looking slightly off in photos. The battens are up, the paint is fine, but something reads amateur. Nine times out of ten it's the spacing: somebody measured 16 inches from the left corner, worked across, and finished with a sad 5-inch sliver panel at the right end.
This guide fixes that with the actual math (it's one division problem), plus the material rules that decide whether the wall still looks good in three years — because the wrong board in the wrong room fails in a way paint can't rescue.
Key Takeaways
- Cost: about $150–$350 in materials for a 12 ft wall, DIY (pros charge $7–$20 per sq ft installed)
- Time needed: one weekend — a day to install, a day to fill, caulk and paint
- Skill level: confident beginner; a brad nailer makes it twice as fast
- The golden rule: never space battens at a fixed measurement — divide your wall into equal spaces so every panel matches
Table of Contents
- The spacing math (with a worked example)
- MDF vs pine vs poplar: pick by room, not price
- Full height or wainscot height?
- What it really costs
- Step 1: Tape the layout before you buy
- Step 2: Install — glue, brads, and a spacer block
- Step 3: The finishing work that makes it look custom
- The baseboard problem (and three fixes)
- Mistakes that give DIY away
- FAQ
The spacing math (with a worked example)
Forget standard spacing. Battens typically land 12–18 inches apart, but the exact number must come from your wall, not a chart. The formula:
- Decide your batten width — 1×3 (actually 2.5 in wide) is the most versatile; 1×4 (3.5 in) reads bolder.
- Count the spaces: divide wall width by your target spacing and round to a whole number of spaces.
- Exact gap = (wall width − total batten width) ÷ number of spaces.
- Battens needed = spaces + 1.
Worked example — a 144 in (12 ft) wall, 1×3 battens, target ~15 in spacing:
- 144 ÷ 15 ≈ 9.6 → 9 spaces, so 10 battens
- Total batten width: 10 × 2.5 = 25 in
- Exact gap: (144 − 25) ÷ 9 = 13.2 in between every pair of battens
Every panel identical, nothing left over, no sliver at the end. Work around doors and windows by treating each wall section as its own mini-wall and running the same math on it. Then mark studs — battens that land on studs get nailed into them; the rest rely on adhesive and angled brads.
MDF vs pine vs poplar: pick by room, not price
- Primed MDF (~$1.50–$3 per linear ft): perfectly straight, no knots, no grain, paints beautifully, and barely moves with humidity — so caulk lines stay intact. The catch is water. MDF is compressed fiber; if moisture reaches a cut edge or the bottom of a board, it swells like a sponge and never goes back. Fine for bedrooms, living rooms and dry hallways. Never in a bathroom with a shower, and risky in a wet entryway.
- Pine: cheaper and tougher than MDF, but knots can bleed yellow-brown tannin through paint for years unless you seal them with shellac-based primer first. Board quality varies — sight down every piece at the store and reject the warped ones.
- Poplar: the pro's paint-grade wood. Hard, straight, smooth, takes paint without grain showing. Costs more than pine; worth it on a wall you'll look at daily.
- PVC trim: the wet-room answer. Indifferent to water, slightly flexible (a plus on wavy walls), paints fine.
Whichever you choose, let solid wood acclimate in the room for 48 hours before installing, and order 10–15% extra — outlets, corners and one bad cut will eat the margin.
Full height or wainscot height?
Full-height battens (floor to ceiling) suit accent walls behind beds and sofas, and make ceilings feel taller — the modern look leans this way, with tall narrow panels instead of square grids. (A square grid on an 8 ft ceiling actively makes the room feel shorter.) Wainscot height — battens stopping at roughly 48–64 inches with a cap rail — suits hallways, entryways and dining rooms, and uses about half the material. Same math either way; the cap rail just adds one horizontal board at the top.

What it really costs
For one 12 ft × 8 ft wall in MDF at the spacing above: 10 battens ≈ 80 linear ft of board (~$120–$200), plus a top rail if wainscot style, construction adhesive (~$6), brads, wood filler, one tube of paintable caulk (~$5), primer and a gallon of paint ($30–$50). Realistic total: $150–$350, against $700–$1,900 for the same wall professionally installed at $7–$20 per sq ft. A brad nailer (or a weekend rental) is the one tool worth adding if you don't own one — hand-nailing dents boards and doubles the fill work. Compare the budget against picture frame moulding, which delivers a similar built-in look for about $82 a wall in thinner trim.
Step 1: Tape the layout before you buy
Run painter's tape vertically at your calculated batten positions and live with it for a day. Tape is where spacing mistakes are free. Check the layout against outlets, light switches and furniture placement — a batten landing dead-center on an outlet means shifting that section's math, and it's better discovered now. This is also the moment to decide on textured walls: battens glued straight onto orange-peel or knockdown texture look cheap, because the wall behind them is visibly bumpy. Textured wall? Add thin MDF or hardboard backing sheets first to create the flat "board," or choose a different treatment from our DIY wall decor guide.
Step 2: Install — glue, brads, and a spacer block
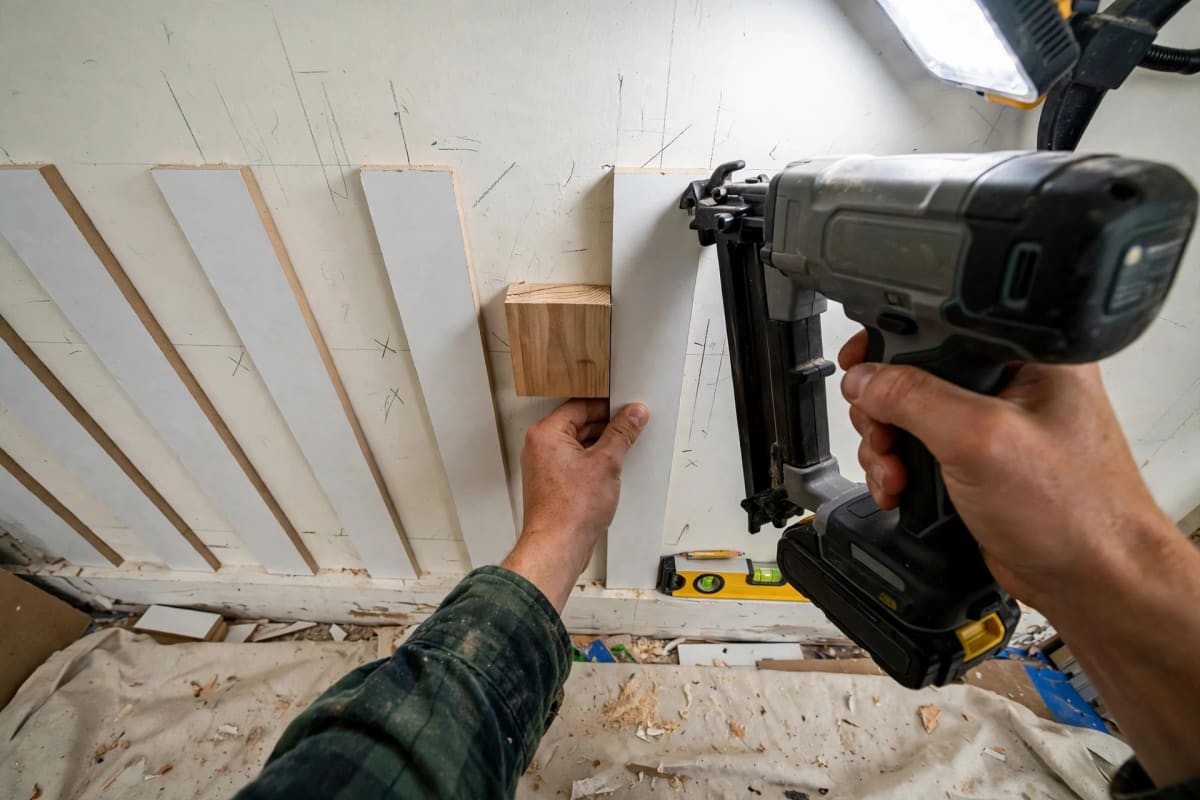
Cut each batten to its own measured length (ceilings and floors are never perfectly level or parallel, so one "standard" length guarantees gaps somewhere). Work in this order: the two end battens first, then fill between them. For each batten: a zigzag of construction adhesive on the back, press to your line, check plumb with a level, then brad-nail every 12–16 inches — into studs where they align. Between studs, angle pairs of brads toward each other (toe-nailing) for grip in the drywall.
Cut a spacer block from scrap at exactly your gap width (13.2 in in the example) and butt each new batten against it. The block never lies, never misreads a tape, and keeps the tenth gap identical to the first.
Step 3: The finishing work that makes it look custom
Installation is half the job. The difference between "DIY strips on a wall" and "built-in paneling" is entirely in this step:
- Fill every nail hole and joint with wood filler; sand flush when dry.
- Seal MDF cut edges. Raw MDF edges drink paint and dry fuzzy ("edge fuzz"). A coat of shellac- or oil-based primer on cut ends, a light sand after, and they paint as smooth as the faces.
- Caulk every seam where batten meets wall — a thin bead, smoothed with a damp finger. Uncaulked seams cast thin shadow lines that read as gaps, and gaps read as cheap. This is the single highest-value 20 minutes of the project.
- Prime everything, then two coats of paint (satin or semi-gloss shows the shadow play best). Paint the wall and battens one color — the monochrome finish is what sells the architecture.
The baseboard problem (and three fixes)
Standard battens (¾ in thick) are thicker than the top edge of most baseboards, so battens either stop awkwardly above the baseboard or overhang it. Three honest fixes: (1) remove the baseboard and run battens to the floor, then reinstall baseboard over them — the cleanest, most work; (2) end battens on top of the baseboard with a small angled cut — acceptable when baseboard and batten depths are close; (3) add a plinth block or transition strip at each batten foot — the traditional carpenter's answer, and it looks intentional. Pick one on purpose. What reads as a mistake is pretending the junction isn't there.
Mistakes that give DIY away
- Fixed spacing from one corner. The sliver panel at the end announces the whole story. Equal spaces, always.
- MDF in a steamy bathroom. It swells once and it's ruined — PVC or poplar there.
- Skipping caulk. Shadow lines at every seam; the wall looks assembled, not built.
- Battens over heavy texture with no backing. The bumpy wall behind betrays the flat strips.
- One length for every batten. Ceilings slope; measure each position.
- Painting without priming knots or MDF edges. Tannin bleed and fuzzy edges appear within weeks.
FAQ
Can board and batten go directly on drywall without backing boards? Yes — on smooth drywall, the wall itself is the "board." Battens + adhesive + brads + one paint color is the standard modern install. Backing sheets are only needed over texture or damaged walls.
How far apart should battens be? Whatever makes your wall divide evenly — usually a 12–18 inch gap. The target matters less than the equality: run the formula for your wall width and batten width, then keep every gap identical.
Is board and batten renter-friendly? Honestly, no. Adhesive and brads leave holes and residue that go beyond "normal wear" in most leases — it's a homeowner project. Renters get more mileage from the options in our renter-friendly wall decor guide.
What paint finish looks best? Satin or semi-gloss in a quality trim paint. Flat paint hides the shadow lines that give the wall its depth, and scrubs poorly on a high-touch treatment.
Board and batten vs picture frame moulding — which first? Moulding is cheaper, faster, and needs no backing decisions — a better first project. Board and batten has more depth and presence. Many houses end up with both, in different rooms; the wood slat wall is the third sibling if you want texture instead of trim.
Do the division once, caulk like you mean it, and the wall stops reading as a weekend project — it reads as carpentry the house was built with.



