
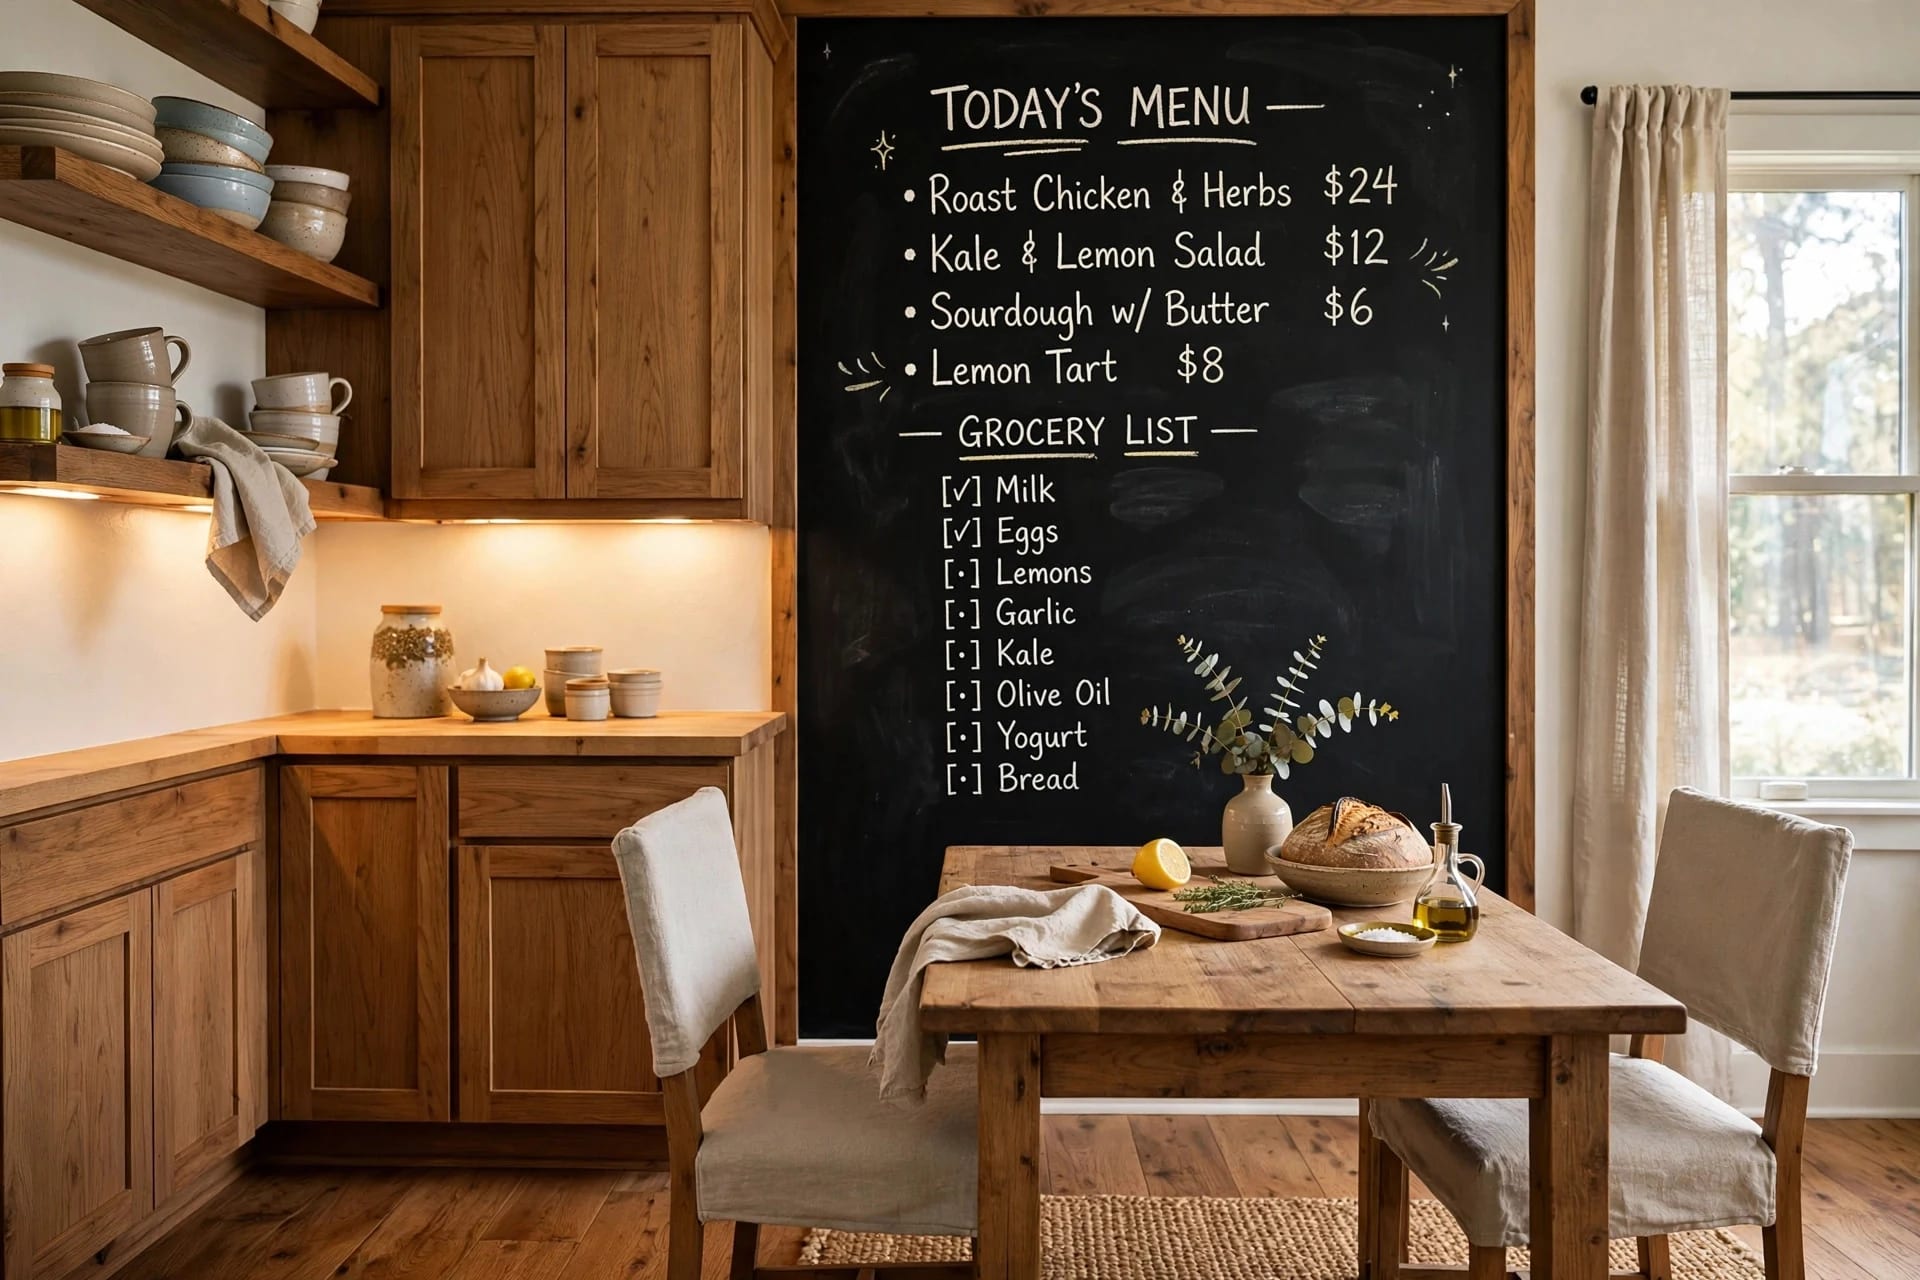
A chalkboard wall is the hardest-working wall treatment there is: part decor, part notepad, part rotating art gallery. It's also the one people ruin most often — not with bad taste, but by writing on it too early. Fresh chalkboard paint that hasn't cured and hasn't been seasoned will hold your first grocery list forever, ghosted into the surface no matter how hard you erase.
So this guide is two things: twelve genuinely useful ways to deploy a chalk wall around the house, and the exact process that makes one erase cleanly for years. Get the process right once, and the ideas are the fun part.
Key Takeaways
- Cost: one quart of chalkboard paint (~$15–$20) covers a typical accent section in 2–3 coats; a whole small wall runs $30–$50 all-in
- Time needed: an afternoon of painting, then a 3-day cure before chalk touches it — non-negotiable
- Skill level: beginner; the skill is patience, not technique
- The step everyone skips: seasoning (rubbing chalk over the whole cured surface, then erasing) — skip it and your first writing ghosts permanently
Table of Contents
- Paint, film, or panel: the three ways to get a chalk wall
- The process: smooth, prime, coat, cure, season
- 12 chalkboard wall ideas, room by room
- The magnetic primer upgrade
- Chalk sticks vs liquid chalk markers
- The renter route
- Dust, cleaning, and keeping it black
- Mistakes that ruin a chalk wall
- FAQ
Paint, film, or panel: the three ways to get a chalk wall
Chalkboard paint is the classic route: a specialty latex paint (black, or tintable to deep green, charcoal, and navy) rolled straight onto a smooth wall. It looks the most built-in, refreshes with one more coat years later, and costs the least per square foot. It's also effectively permanent — removing it means priming and repainting, not peeling.
Peel-and-stick chalkboard film is a vinyl sheet you smooth onto the wall like contact paper. Faster, cleaner, and removable — the renter's version. Its weaknesses show on textured walls (every bump telegraphs) and at the seams on wide coverage.
A painted panel — MDF or plywood primed and chalk-painted on the floor, then hung on French cleats — splits the difference: real paint surface, near-zero wall damage, and you can take it with you. Frame it with trim and it reads as intentional furniture rather than a project.
The process: smooth, prime, coat, cure, season
Five steps, in order, and the last two are where chalk walls live or die.
- Smooth the wall. Chalkboard paint amplifies texture instead of hiding it. On orange-peel or knockdown walls, skim-coat with joint compound or sand down first; on smooth walls, a wash with TSP to strip grease and fingerprints is enough.
- Prime properly. Use a dedicated primer as its own layer — magnetic primer if you're doing the upgrade below. "Paint-and-primer in one" is not a bonding layer, and chalk paint over greasy drywall peels in sheets.
- Roll 2–3 thin coats with a high-density foam roller (¼-inch nap at most), which leaves the glassy-smooth surface chalk glides on. Wait at least 4 hours between coats; a light sand with fine paper between coats kills any roller texture.
- Cure for 3 full days. The can says dry in hours — dry to the touch. Chalk dragged across uncured paint digs in. Three days of hardening is the difference between a board and a scar.
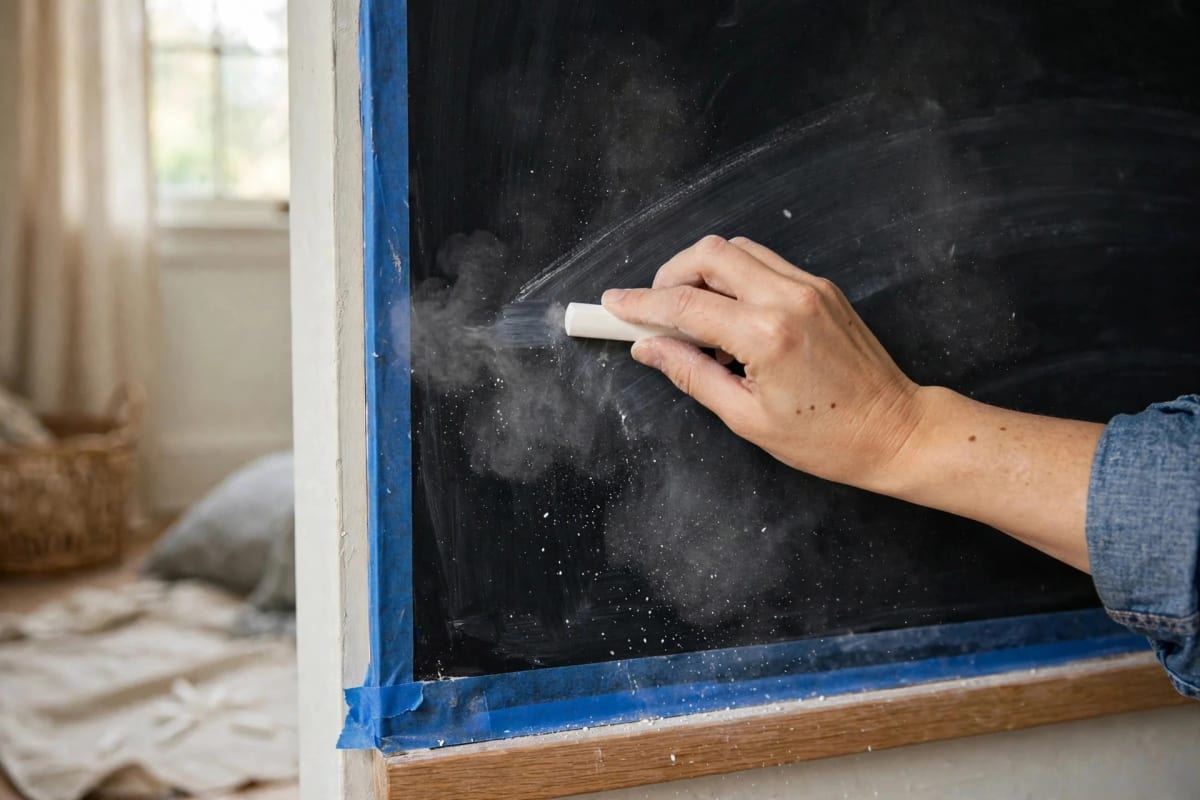
- Season the whole surface. Lay a stick of white chalk on its side and rub the entire wall until it's uniformly dusty, then erase with a dry cloth or felt eraser. The dust fills the paint's microscopic pores so future writing sits on the surface instead of in it. This is the step the ghosted walls all skipped.
12 chalkboard wall ideas, room by room
Kitchen
- The command wall. One end wall or the side of a tall cabinet run: weekly menu, grocery list, and the family calendar in one place everyone actually looks. Keep it away from the stove — grease splatter and steam are chalk's enemies; a pantry-adjacent wall beats a backsplash.
- The pantry door. The inside or outside of a pantry door is dead space begging for a job. A door-sized board holds the running "we're out of…" list at the exact place you discover you're out of it.
- The coffee station menu. A framed section above a coffee bar: house drinks, guest names, the Wi-Fi password written once instead of spelled aloud forty times.
Home office 4. The planning wall. A full wall behind or beside the desk for project timelines and thinking out loud. Dark walls also cut monitor glare compared to white — a genuine ergonomic side benefit, not just a look. 5. The permanent brainstorm strip. Not ready for a whole wall? A 2-foot horizontal band at standing height holds the current project's moving parts, erased weekly.
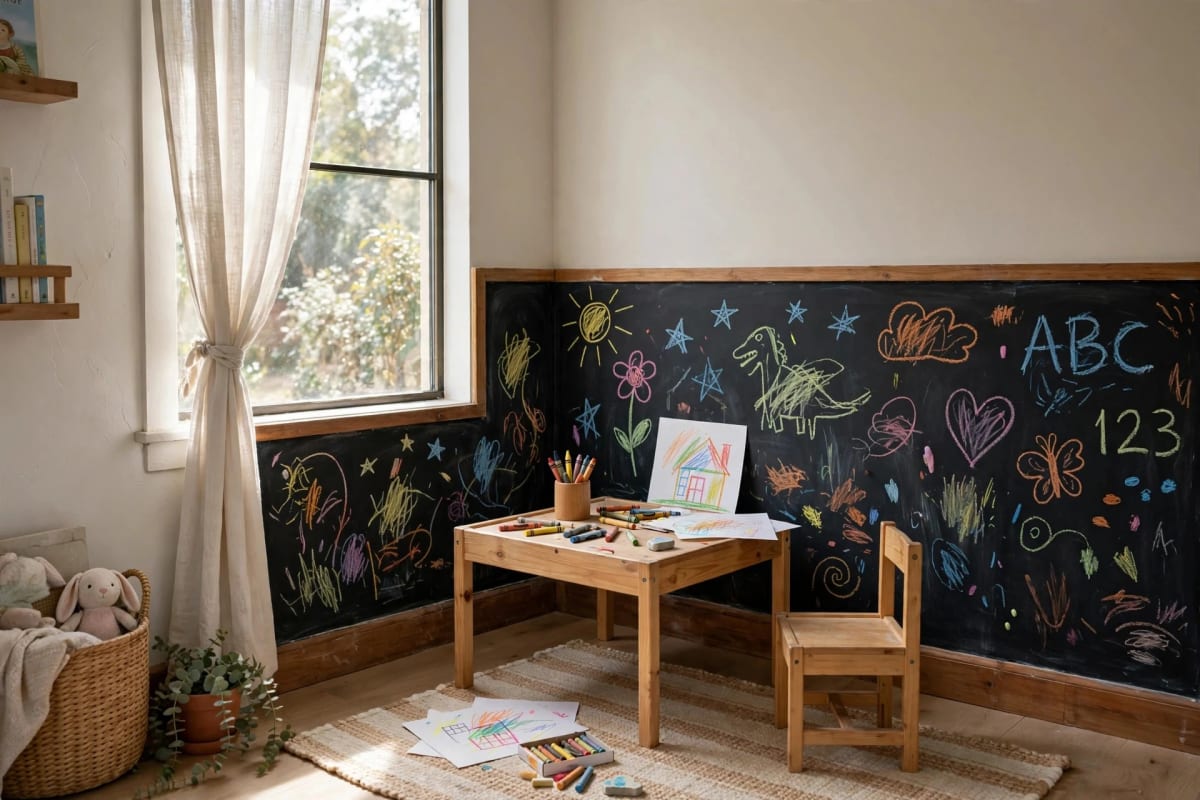
Kids' spaces 6. The low art wall. In a playroom or kid's bedroom, paint the bottom 3 feet — the part they can reach — and let the wall be the coloring book. Set the top edge at their reach, not at adult eye level; a board they can't touch is just a dark wall. 7. The homework/questions board. A section near a study desk for worked examples and spelling practice that stays up all week instead of cluttering the table.
Entryway & living areas 8. The message center. By the front door: keys below, and above them the board for "dog's fed," "package on the porch," and the departure checklist that saves the U-turn. 9. The seasonal canvas. In a living room, a framed chalk panel that changes with the calendar — a wreath sketch at Christmas, a bracket in March, nothing but a good quote in between. It's the cheapest rotating art you'll ever own. 10. The scoreboard. Game room or family room: darts, cards, board-game league standings. Chalk was born for this.
Everywhere else 11. The craft-room label wall. Shelves and bins stay the same; what goes in them changes monthly. The wall behind open shelving, labeled in chalk, ends the "which bin has the ribbon" excavation. 12. The garden planner. In a mudroom or garage-adjacent wall: planting dates, frost warnings, and what's actually in the freezer. Unglamorous, consulted daily.
The magnetic primer upgrade
Two or three coats of magnetic primer under the chalkboard paint turn the wall into a weak-but-real magnet board — recipes, photos, and kids' artwork pinned with magnets on the chalk surface. Set expectations correctly: magnetic primer holds noticeably less than a fridge door. Use strong neodymium magnets, keep pinned items light (single sheets, not cardstock stacks), and add one more primer coat than the can suggests. Combined function per square foot, nothing else in the DIY wall decor guide comes close.
Chalk sticks vs liquid chalk markers
Traditional chalk (ideally dustless sticks) is cheap, soft-edged, and erasable to a clean board with a felt eraser — the classic look. Its cost is dust: some settles on the floor below, some hangs in the air.
Liquid chalk markers write with crisp, opaque, poster-like lines and make no dust — the reason their searches keep climbing. The fine print: on real chalkboard paint (porous), many marker brands erase imperfectly and can stain, especially bright colors left up for weeks. Test any marker in a corner, erase it after a day, and check for a shadow before committing the whole wall. Markers are safest on film and sealed non-porous boards; sticks are safest on paint.
The renter route
Paint is a landlord conversation; these two aren't:
- Peel-and-stick film on a smooth wall removes cleanly and takes an afternoon including the swearing at air bubbles. Work top-down with a squeegee, and buy one roll more than measured — seams eat material.
- A cleat-hung panel (idea route three, above) leaves two screw holes total.
Either pairs with the other zero-damage strategies in our renter-friendly wall decor guide and the damage-free wall decor checklist — and if you'd rather have pattern than a writing surface, removable wallpaper is the cousin project.
Dust, cleaning, and keeping it black
- A narrow ledge or tray along the bottom catches most falling dust before the floor does.
- Erase with a felt eraser or dry microfiber; deep-clean every few weeks with a barely-damp cloth, then let the wall dry fully before writing.
- After a wet clean, if erasability feels off, re-season that section — same rub-and-erase as day one.
- Chalk walls fade to gray over months of heavy use; one fresh coat of paint, re-cured and re-seasoned, resets it to black. Budget an evening a year, not a weekend.
Mistakes that ruin a chalk wall
- Writing before the 3-day cure. The ghost of your first list is forever.
- Skipping seasoning. See above — same ghost, different door.
- Painting over texture. Bumps under chalk paint feel like writing on gravel, because you are.
- Placing it over the stove. Grease bonds with chalk dust into a film no eraser fixes.
- Using markers untested. On porous paint, "erasable" is a promise some brands can't keep.
- Making kids' boards adult-height. Reach decides the height. Always.
FAQ
How many coats of chalkboard paint do I need? Two to three thin coats with a foam roller, at least 4 hours apart. Thin coats are what give the smooth writing surface; one thick coat gives you orange peel.
Can I make a chalkboard wall any color? Yes — tintable chalkboard paints come in deep green, charcoal, navy, and plum alongside black. Darker colors show chalk best; pale tints look lovely and write poorly.
Will a chalkboard wall work in a kitchen? Yes, on a wall away from direct grease and steam — a pantry wall, an end wall, a door. Directly behind the stove is the one placement that reliably fails.
Does chalkboard paint come off later? Paint: no — you prime and paint over it when you're done (an hour's work, but a repaint, not a removal). Film peels off clean. Panels unhook.
Why does my chalk writing never fully erase? Almost always one of two causes: the board was written on before it cured, or it was never seasoned. A fresh coat, full cure, and a proper seasoning usually rehabilitates it.
Done patiently, a chalk wall is a $40 weekend project that gets used every single day — the rarest thing in home decor. Just respect the cure, and season the board.



