A dining room wall has a harder job than any other wall in the house. People sit close to it, chairs scrape back against it, and the light changes completely between a bright lunch and a candlelit dinner. Most dining room lists ignore all of that: they show a pretty gallery wall and stop, with no word on how high to hang it or what happens the first time a chair back hits the plaster.
This guide starts from those practical questions. You will get the sizing maths that matter, the chair-rail and cleanability rules that keep the wall looking good, a cost table for every idea, and a weekend plate-wall project with real measurements.
Key Takeaways
- Art above a sideboard should span roughly two thirds of its width, hung with its centre 145 to 150 centimetres from the floor.
- Dining walls need a chair-rail zone: protect the lowest 90 centimetres with paneling or wipeable paint, because chair backs will hit it.
- One focal wall beats four decorated walls.
- Sconces at 150 to 165 centimetres, on a dimmer, do more for evening atmosphere than any single piece of art.
- Seated sightlines rule: from a chair, eye level is about 110 to 120 centimetres, so the middle band of the wall matters most.
Table of Contents
- Start With the Seated View
- Sizing Rules That Stop Guesswork
- Focal Art and Mirrors
- Gallery Walls That Stay Calm
- Texture and Architecture
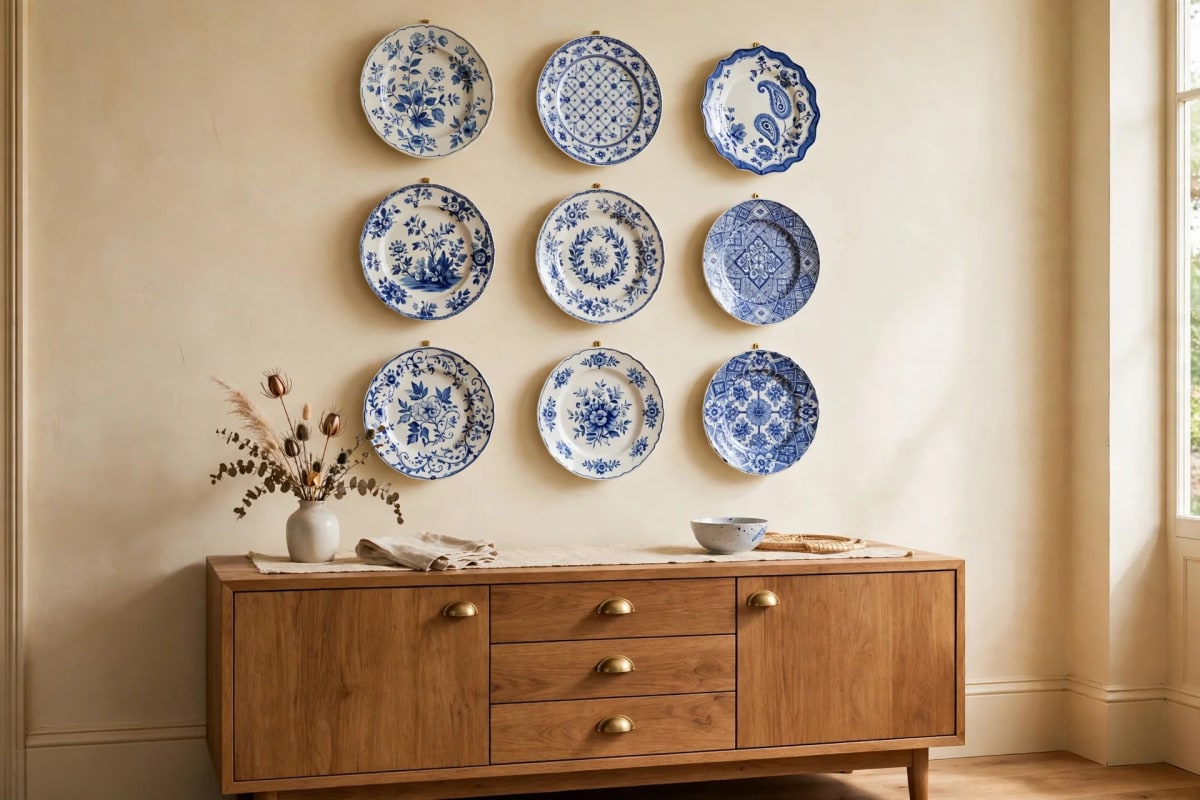
- Shelves Ledges and Plates
- Light as Wall Decor
- Costs at a Glance
- Step by Step: A Modern Plate Wall
- Common Mistakes and Fixes
- FAQ
Start With the Seated View
Stand in the doorway and you see the room the way a guest first sees it. Sit at the table and you see it the way a guest lives with it for an hour, and that second view matters more. From a dining chair, eye level sits around 110 to 120 centimetres, so the band of wall between roughly 100 and 160 centimetres carries almost all the visual weight. A tiny frame near the ceiling barely registers from the table.
Choose your focal wall by sitting in each chair in turn. The wall most seats face is your primary wall, usually the wall behind the sideboard. Put your best piece there and keep the other walls quiet; one confident wall and three calm ones feels intentional, while something shouting on every wall feels indecisive.
Circulation matters too. Chairs need about 60 centimetres of pull-out space, and guests will brush the wall with chair backs and bags. Keep the lowest 90 centimetres of a chair-adjacent wall protected or empty, and save delicate pieces for above sideboard height.
Sizing Rules That Stop Guesswork
Most dining wall failures are sizing failures, not taste failures. Three rules fix nearly all of them.
First, the two-thirds rule. A single piece, a pair, or a gallery grouping should span roughly two thirds of the furniture beneath it: about 120 centimetres of art over a 180-centimetre sideboard. The art then reads as part of the furniture arrangement instead of floating on its own. For the full sizing logic, see our guide to wall art above a sofa.
Second, the centre-height rule. Hang the centre of the arrangement at 145 to 150 centimetres from the floor above furniture, and around 140 centimetres on an empty wall. Tape the outline on the wall first and live with it for a day; it costs nothing and prevents the most common decorating regret.
Third, the gap rule. Leave 15 to 25 centimetres between the top of a sideboard and the bottom of the frame above it. For mirrors, the same gap applies, and the mirror should reflect something calm: a window, a pendant light, or a clean table setting, never a cluttered counter. Our mirror wall decor ideas guide covers placement room by room.
Focal Art and Mirrors
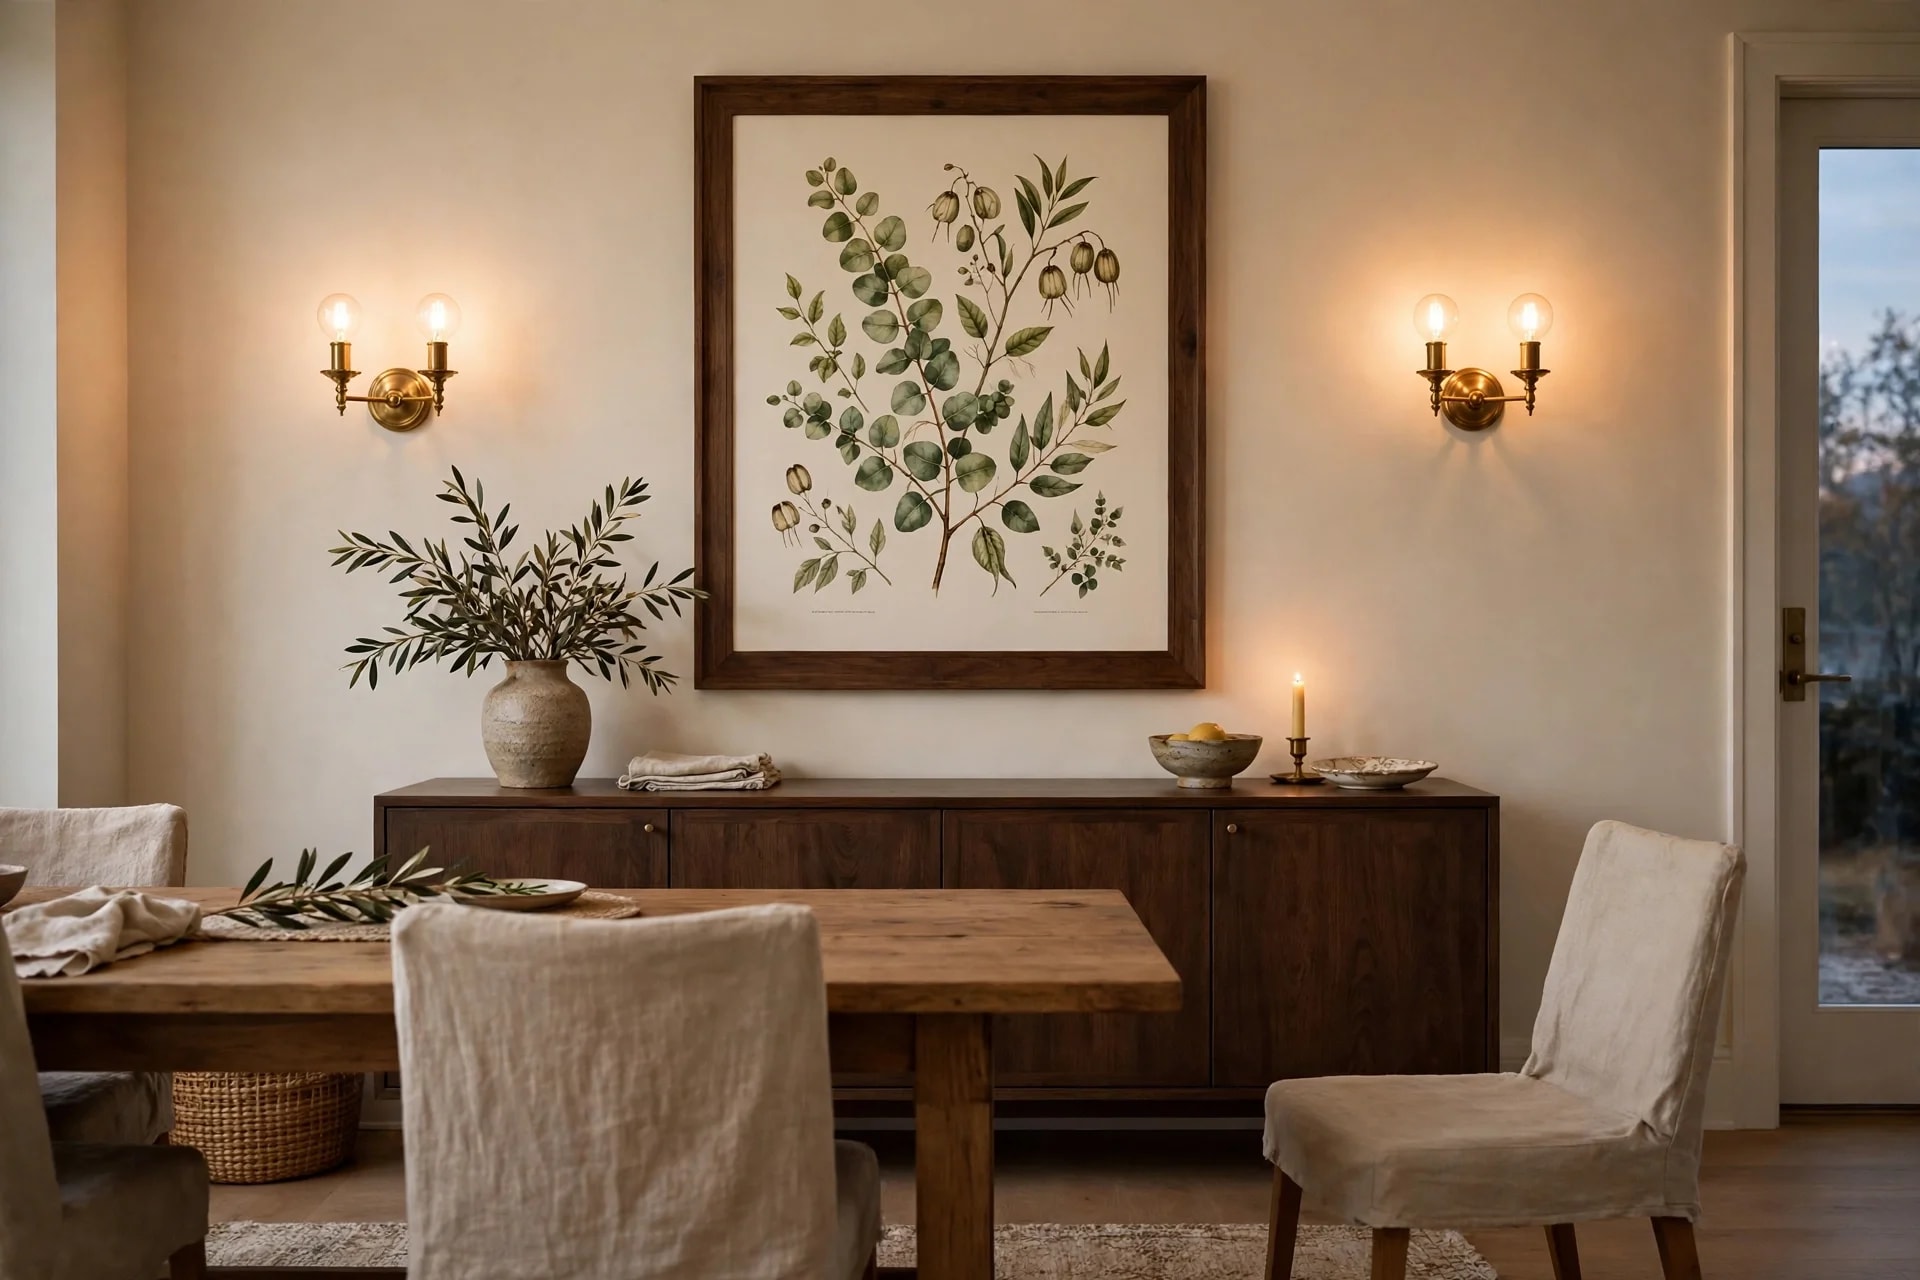
1. One oversized painting above the sideboard. A single large canvas, roughly 100 to 130 centimetres wide, resolves an entire wall in one move. Choose a subject whose colours echo the rug or table linen, and hang it dead centre over the sideboard. This is the highest-impact, lowest-effort option here, and the one Pinterest saves most.
2. A statement mirror opposite the window. In a small or dark dining room, a mirror beats art. It doubles daylight and gives evening candlelight something to bounce off. Pick a mirror about two thirds the width of the sideboard below it, in a frame that matches the room, and hang it where it reflects the window, not the doorway.
3. A pair of matching prints flanking a sconce. Two identical frames, each 50 to 60 centimetres wide, with a slim sconce centred between them, create a calm, hotel-like rhythm that suits formal dining rooms. Keep the subject matter quiet: botanical studies, architectural drawings, or black-and-white photography.
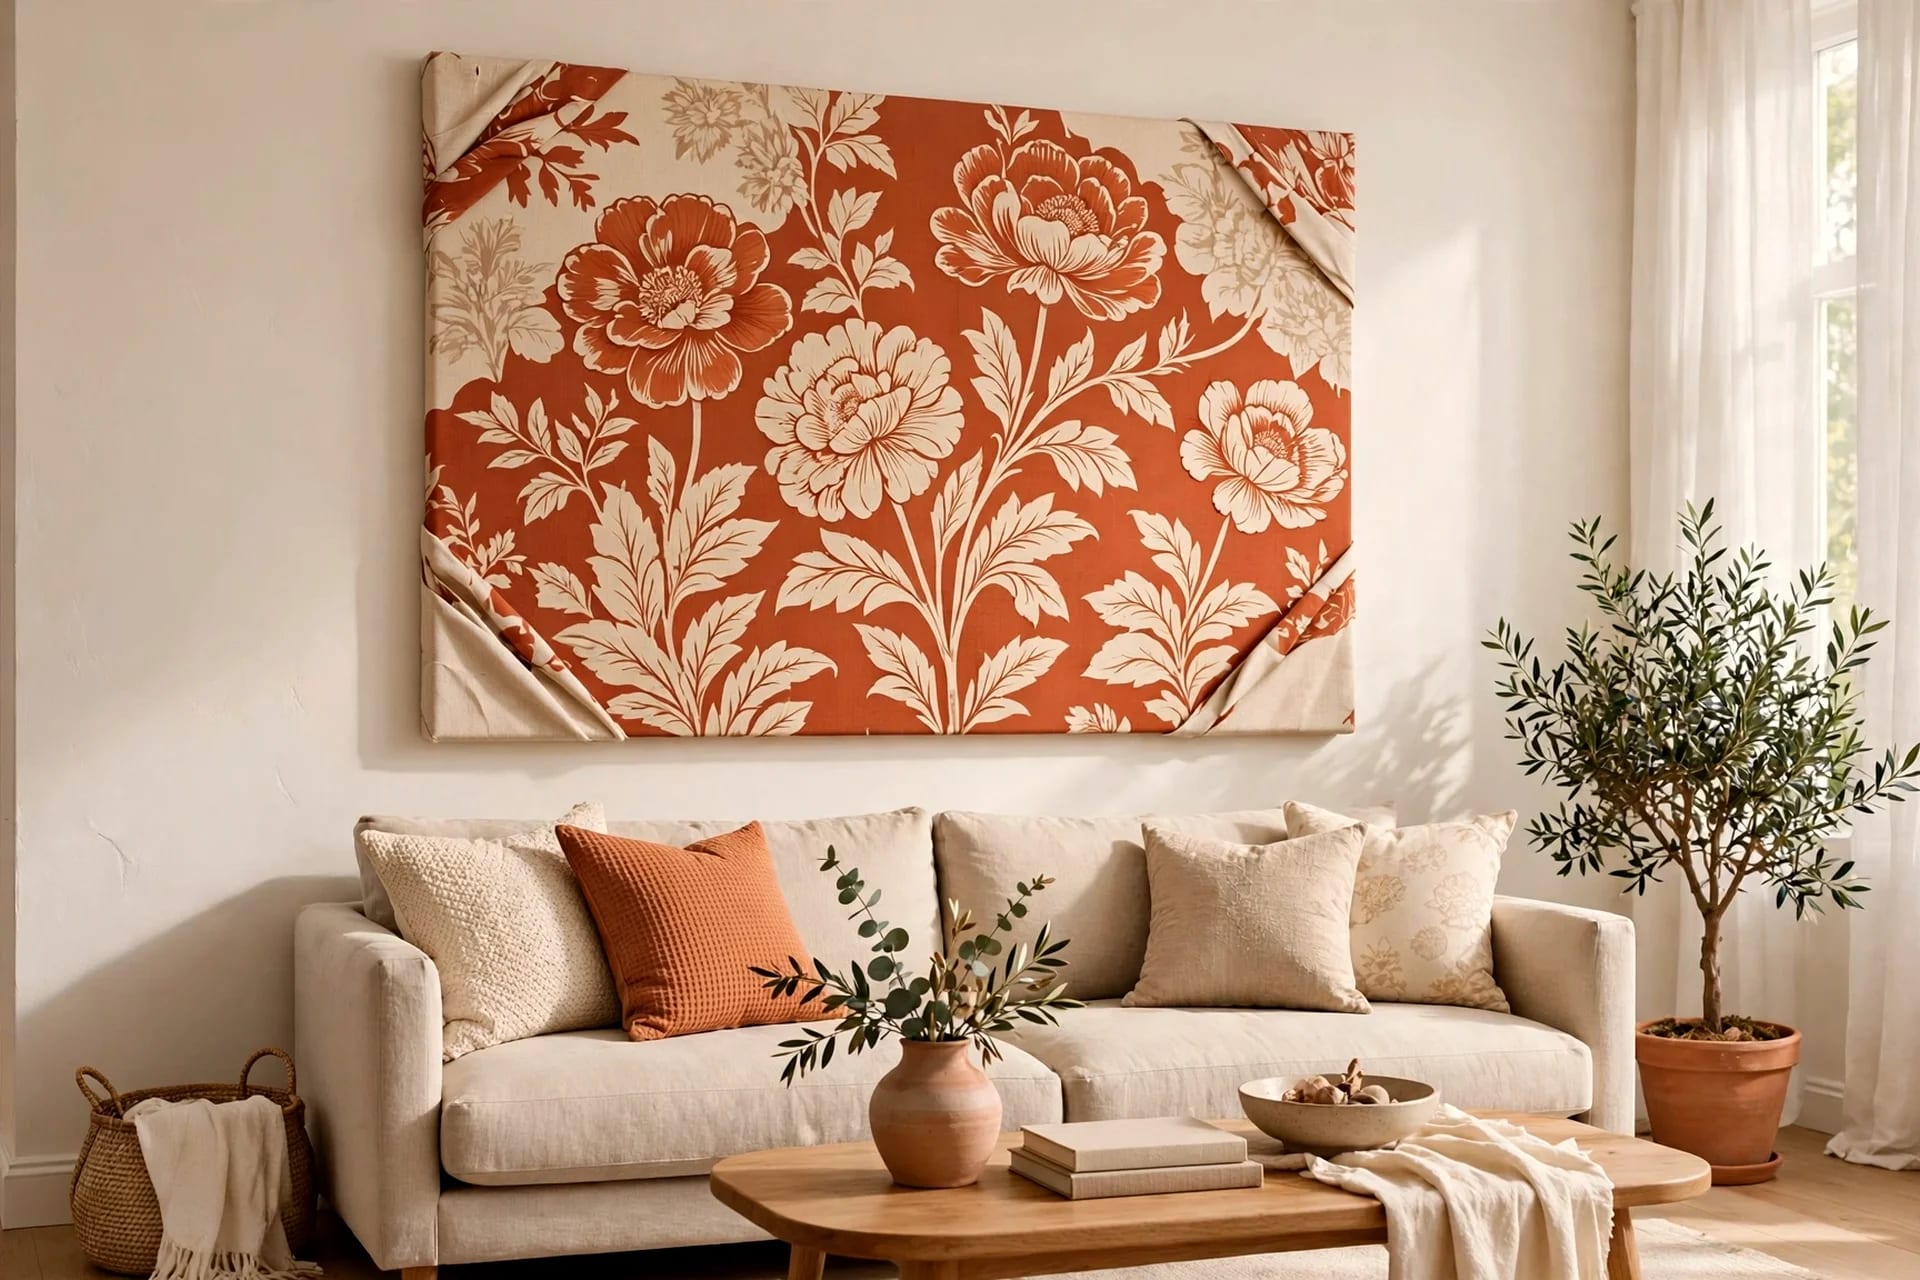
4. A textile panel as soft art. A framed vintage textile or small woven hanging softens a room full of hard wood, glass, and stone, and absorbs a little sound in echoey rooms. Stretch it over a frame rather than pinning it loose, and keep it away from direct sun, which fades fabric fast.
Gallery Walls That Stay Calm
5. A tight grid of six to nine frames. A grid is the most forgiving gallery format for a dining room because its order balances the informality of a meal. Use identical frames and mats, one subject family, and consistent 5 to 8 centimetre gaps. For layout maths and templates, see our gallery wall layouts guide.
6. A salon wall of collected pieces. If a grid feels too formal, go collected: mix paintings, photographs, small mirrors, and one or two objects, held together by a single frame finish or colour. Start with the largest piece slightly off-centre and keep the outer edge roughly rectangular so the group reads as one composition.
7. A family photo ledge you can change. A picture ledge lets you swap prints for seasons and occasions without new holes. Two ledges, each 120 centimetres long, hold a layered mix you can refresh in ten minutes before a dinner party.
Texture and Architecture
8. A peel-and-stick wallpaper accent wall. One patterned wall behind the table gives drama without papering the whole room. Botanical, grasscloth-look, or small-scale geometric papers all suit dining rooms; keep the other walls plain. Modern peel-and-stick papers remove cleanly from sound paint, making this the best renter option here. See our peel-and-stick wallpaper accent wall guide for the full method.
9. Picture-frame moulding rectangles. Applied moulding turns a flat wall into architecture. Large rectangles, sized to the wall rather than squeezed into many small boxes, suit dining rooms best. Paint the moulding the wall colour for subtlety, or a shade deeper for definition. For the build, see our DIY picture frame moulding guide.
10. Half-height paneling below the chair rail. This is the most practical idea in the guide. Board-and-batten or beadboard paneling to 90 centimetres, painted in a wipeable satin finish, protects the wall from chair backs and looks deliberately tailored. Paint the upper wall lighter so the room still feels tall.
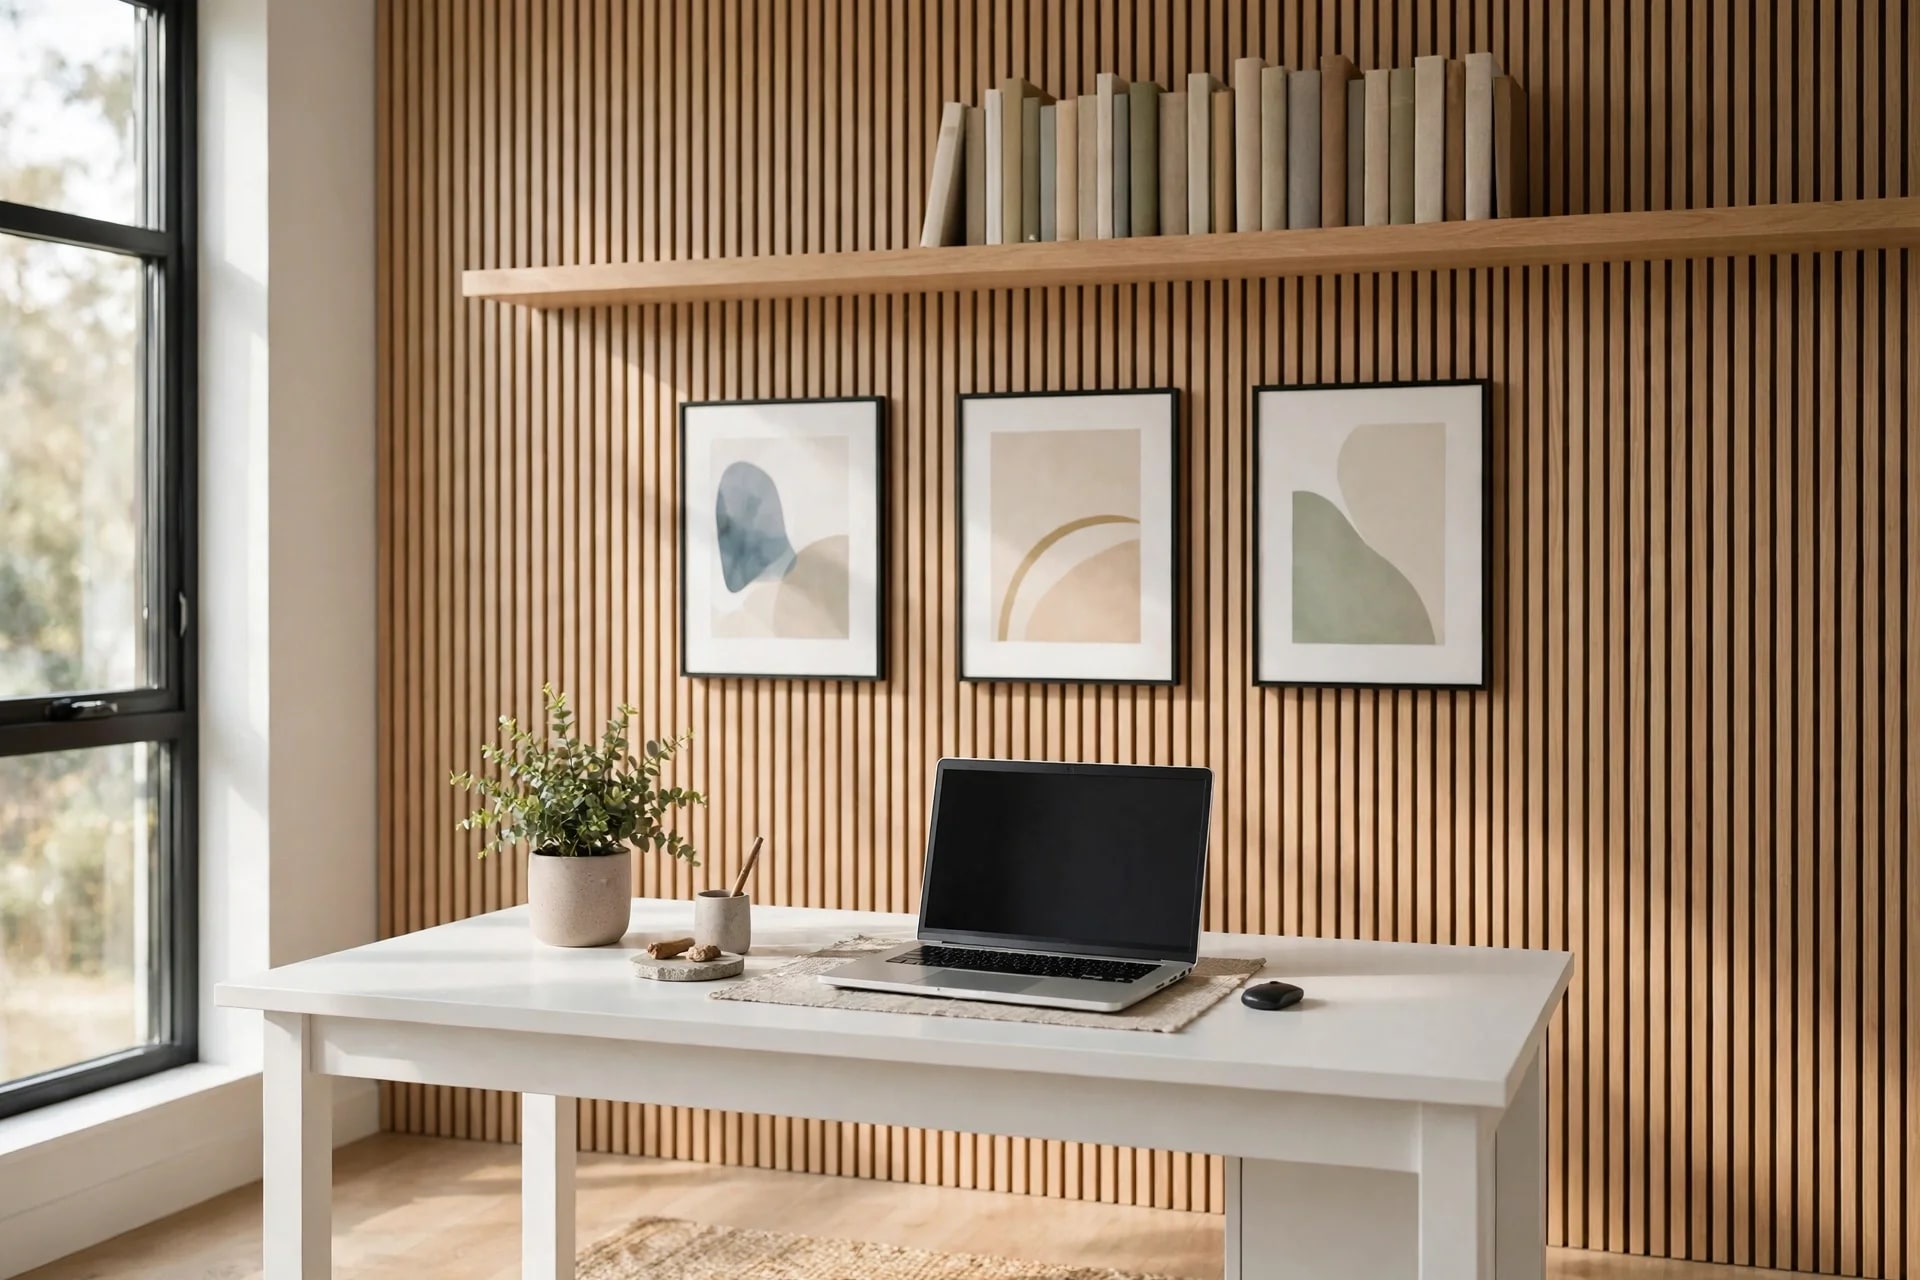
11. Vertical wood slats behind the table. Slim oak or walnut slats, run floor to ceiling behind the sideboard, add warmth and rhythm without pattern. Keep the slat finish close to the table wood so wall and furniture feel related.
Shelves Ledges and Plates
12. Floating shelves styled sparingly. One or two shelves above a sideboard hold ceramics, small art, cookbooks, and a trailing plant. The rule is restraint: leave at least a third of each shelf empty, and three objects per shelf, at different heights, is plenty.
13. A modern plate wall. Plates are the dining room's natural wall art, and the modern version uses a tight palette and proper plate hangers, not adhesive discs that fail. The step-by-step below gives the full method.
14. A wall-mounted wine rack as decor. A slim rack holding six to twelve bottles works as storage and display, provided it is kept out of direct sun and mounted beside, not above, the table. A simple horizontal rail rack reads as furniture, not a gimmick.
Light as Wall Decor
15. A pair of sconces flanking the focal piece. Two sconces, hung at 150 to 165 centimetres from the floor and about 150 centimetres apart, wash the wall with warm light and make both art and faces look better. Put them on a dimmer: full brightness for setting the table, low warmth for the meal. Battery sconces now look convincing and need no electrician, so renters can use them too.
Costs at a Glance
| Idea | Typical cost | Skill level | | --- | --- | --- | | Oversized painting | $80–$400 | Buy and hang | | Statement mirror | $70–$300 | Buy and hang | | Matched print pair + sconce | $90–$250 | Easy | | Textile panel | $40–$150 | Easy | | Grid gallery (6–9 frames) | $90–$220 | Easy | | Salon gallery wall | $60–$200 | Moderate | | Photo ledges (2) | $40–$100 | Easy | | Peel-and-stick accent wall | $60–$180 | Moderate | | Picture-frame moulding | $80–$220 | Moderate | | Half-height paneling | $120–$350 | Moderate | | Vertical wood slats | $150–$400 | Moderate | | Floating shelves (2) | $50–$140 | Easy | | Plate wall | $40–$120 | Easy | | Wall wine rack | $50–$180 | Easy | | Sconce pair (battery) | $40–$120 | Easy |
Prices assume off-the-shelf frames and mid-range materials.
Step by Step: A Modern Plate Wall
This project takes about two hours and costs $40 to $120. It suits the wall beside a sideboard or at the end of a table, out of chair-back reach.
You will need: five to nine plates in one palette, plate hangers rated for each plate's weight, paper, painter's tape, a spirit level, hooks, and a pencil.
Step 1 — Choose the palette. Pick one colour family plus white or cream, two sizes at most, and one pattern at most, so the group reads as a collection rather than leftovers.
Step 2 — Lay out on the floor. Arrange the plates inside a taped rectangle matching your wall space, keeping 8 to 10 centimetres between plates, and photograph the layout. The centre of the group should sit at 145 to 150 centimetres on the wall.
Step 3 — Make a paper template. Trace each plate onto paper, cut the circles out, and tape them to the wall in your photographed layout. Check from the table: the group should read as one shape, with no plate stranded on its own.
Step 4 — Hang the hardware. Fix a hook at the centre-top of each paper circle, remove the paper, and hang each plate, starting at the centre and working outward.
Step 5 — Step back and edit. Sit at the table and look. If one plate fights the rest, swap it for a plainer one. Dust plates monthly with a dry cloth, and never hang them above a radiator, where heat and grease collect.
Common Mistakes and Fixes
Hanging art too high. Art near the ceiling disconnects from the table. Fix: lower the centre to 145 to 150 centimetres and re-check from a seated position.
Choosing art smaller than the furniture. A small frame over a long sideboard looks apologetic. Fix: apply the two-thirds rule, or flank a small piece with sconces.
Decorating every wall. Four busy walls feel like a shop display. Fix: strip three walls back to calm paint and let one wall carry the room.
Ignoring the chair zone. Delicate frames at chair-back height get damaged within weeks. Fix: panel the lowest 90 centimetres or move fragile pieces above sideboard height.
Forgetting evening light. A wall judged only in daylight can look cold at dinner. Fix: add dimmable warm sconces and re-check colours at night.
Reflecting clutter in a mirror. A mirror opposite a messy counter doubles the mess. Fix: move it to reflect a window or a styled sideboard.

FAQ
How high should art hang above a dining table or sideboard?
Hang the centre 145 to 150 centimetres from the floor, leaving 15 to 25 centimetres between the furniture top and the frame's lower edge. Check from a seated position, since that is how the wall is actually seen.
What size art works over a sideboard?
Aim for about two thirds of the sideboard's width: roughly 120 centimetres of art over a 180-centimetre sideboard, whether as one piece, a pair, or a grouping.
How do I protect dining room walls from chair damage?
Panel the lowest 90 centimetres with board-and-batten or beadboard in wipeable satin paint, or use a scrubbable paint finish there. Keep fragile pieces above sideboard height.
Are gallery walls suitable for dining rooms?
Yes, when kept calm: one frame finish, one subject family, and consistent spacing. A tight grid suits formal rooms; a ledge gallery suits rooms where photographs change often.
What is the best wall decor for a small dining room?
A large mirror opposite a window, one confident piece of art, and warm sconces. All three add light and presence without taking floor space.
Can renters decorate dining room walls properly?
Yes. Peel-and-stick wallpaper, leaning art, picture ledges on adhesive hooks, and battery sconces all avoid drilling. Check your tenancy agreement first.