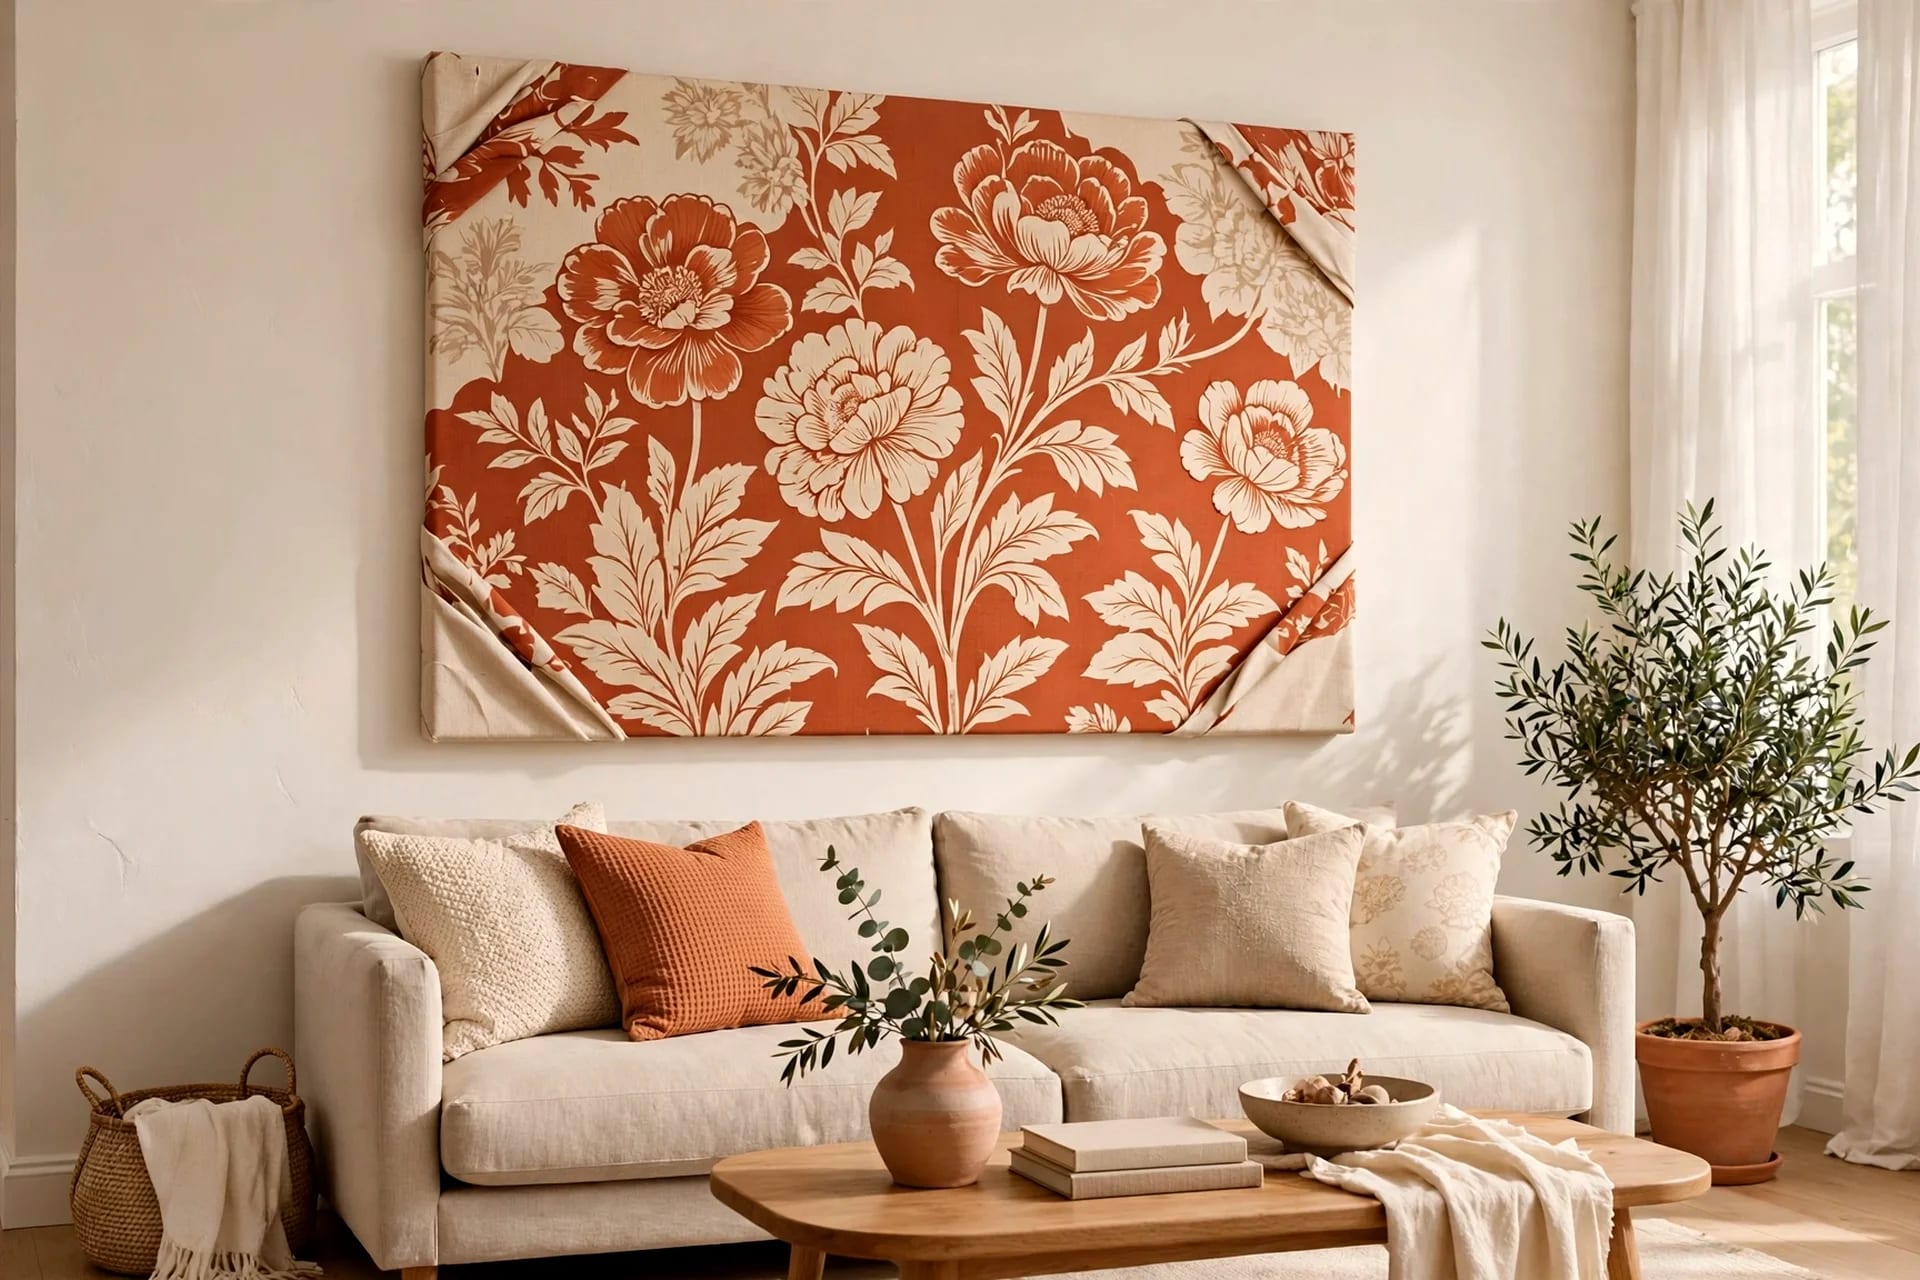
Fabric is the most forgiving material in home decor. It adds colour, pattern and softness to a bare wall in an afternoon, costs far less than framed prints, and can be changed with the seasons without repainting anything.
The catch is that fabric moves. It stretches, sags and fades, which is why many first attempts droop within weeks. This guide fixes that, with fabric choices, exact yardage maths, fourteen ideas and a wrapping method that stays drum-tight.
Key Takeaways
- Quilting cotton and canvas hold tension best; velvet and loose linen need backing or a frame.
- Always add wrap allowance — never buy fabric cut to the exact frame size.
- Stretch in a fixed staple order, finishing with hospital corners, for a sag-free result.
- Keep fabric art out of direct sun and damp rooms, or choose fade-resistant cloth.
- Tie a gallery together with one repeated element: frame, colour or spacing.
Table of Contents
- Why Fabric Wall Art Deserves a Spot on Your Wall
- Choosing the Right Fabric for Wall Art
- How Much Fabric You Need
- 14 DIY Fabric Wall Art Ideas
- The No-Sag Wrapped-Canvas Method
- Hanging a Fabric Gallery Wall
- Caring for Fabric Wall Art
- Common Mistakes and How to Fix Them
- FAQ
- Final Thoughts
Why Fabric Wall Art Deserves a Spot on Your Wall
Paint and prints are flat. Fabric is not. Even a plain weave catches light differently through the day, softens echo in hard rooms, and adds texture no photograph can replicate.
It is also practical. A wrapped panel weighs far less than a glazed frame of the same size, so it hangs easily on plasterboard and safely above a bed or sofa. If you rent, light frames or dowels leave minimal marks, as with other renter-friendly wall decor ideas. When tastes change, swap the fabric and reuse the frame. The DIY wall decor guide shows how textiles sit alongside paint and prints.
Choosing the Right Fabric for Wall Art
Weave, weight and room conditions decide the result, so choose before you buy.
Quilting cotton is the safest beginner choice. Tightly woven, it stretches evenly and comes in thousands of prints for roughly $8–$15 per metre. It stays taut on a wrapped canvas and frames cleanly, though bright prints fade, so reserve them for shaded walls.
Linen looks refined, with a subtle slub suited to calm, neutral rooms, and drapes beautifully for hangings. The drawback is stretch: pure linen relaxes under tension and can sag, especially in humidity. Back it with fusible interfacing, or frame it behind glass instead.
Velvet delivers instant luxury — deep colour and a plush surface that makes a small panel feel expensive. It stretches little, helping tension, but marks easily and attracts dust. Use it for smaller panels, handle it face-down, and avoid sunny windows or kitchens.
Canvas and duck cloth are the workhorses. Heavy, stiff and very stable, they barely stretch, making them ideal for large panels and bold designs. Plain canvas costs about $10–$18 per metre and takes paint well, though its coarse texture hides fine detail.
What to avoid. Skip stretchy jersey, sheer voile and loose open weaves for stretched panels — they distort and show the frame. Avoid silk in sunny or humid rooms; it fades and water-spots. In damp rooms, choose synthetic outdoor fabric, and in bright rooms, look for solution-dyed prints kept out of midday sun.
How Much Fabric You Need
Most failed projects start at the shop counter: people buy fabric cut to the finished size, then find nothing left to wrap around the back. You need the finished size, plus depth allowance on all sides, plus a little extra to grip and staple.
For a wrapped canvas: cut size = finished width + (2 × depth) + 5 cm, and the same for height. For a framed panel under glass, you need less: finished size plus 2 cm on each side for tucking.
| Finished size | Wrapped canvas cut size | Framed panel cut size | |---|---|---| | 30 × 40 cm, 3.8 cm deep | 43 × 53 cm | 34 × 44 cm | | 40 × 50 cm, 3.8 cm deep | 53 × 63 cm | 44 × 54 cm | | 50 × 70 cm, 3.8 cm deep | 63 × 83 cm | 54 × 74 cm | | 60 × 90 cm, 3.8 cm deep | 73 × 103 cm | 64 × 94 cm | | 30 × 30 cm, 3.8 cm deep | 43 × 43 cm | 34 × 34 cm |
Buy one continuous length for a matching set, so dye lots match, and add one full repeat for large prints to centre the motif. Standard 110 cm cotton yields one 60 × 90 cm panel, or two 30 × 40 cm panels. Budget $12–$30 per panel for fabric and frame, plus $8–$15 for staples, backing and hardware.
14 DIY Fabric Wall Art Ideas
These ideas run from five-minute projects to statement pieces. Mix sizes, but keep one thread — a colour or frame finish — running through the set. More mixing ideas sit in DIY wall decor ideas.
1. Classic wrapped canvas
Stretch a bold print over a deep-edge frame for an upholstered, glass-free statement piece.
2. Framed fabric panels
Mount fabric on foam board in a simple wooden frame for a tailored finish, ideal for scarves and small prints.
3. Embroidery hoop art
Stretch small patterned pieces in mixed-size wooden hoops, costing $3–$8 each, for a charming desk cluster.
4. Patchwork panel
Sew offcuts into a grid or strip patchwork, then wrap it as one panel and turn scraps into design.
5. Textile triptych
Split one large print, or three coordinating prints, across three equal frames hung 5–8 cm apart.
6. Tapestry-style hanging with a dowel
Sew a top sleeve, thread a dowel through it and hang it from cord — forgiving for linen and tall pieces. See tapestry wall hanging for weights and hems.
7. Padded, button-tufted panels
Add thin wadding under velvet or linen before wrapping for a soft, upholstered, headboard-like feel.
8. Appliqué silhouette panel
Iron appliqué leaves, arches or simple houses onto a plain background, stitch the edges, then wrap.
9. Seasonal swap panels
Make two or three covers for one frame with hook-and-loop tape: rust for autumn, green for spring, red for December.
10. Fabric-wrapped letters or shapes
Wrap cardboard letters, arches or circles in patterned fabric as dimensional accents in a gallery.
11. Quilt-block wall hanging
Enlarge one traditional quilt block — a star, log cabin or flying-geese strip — to panel size for bold geometry.
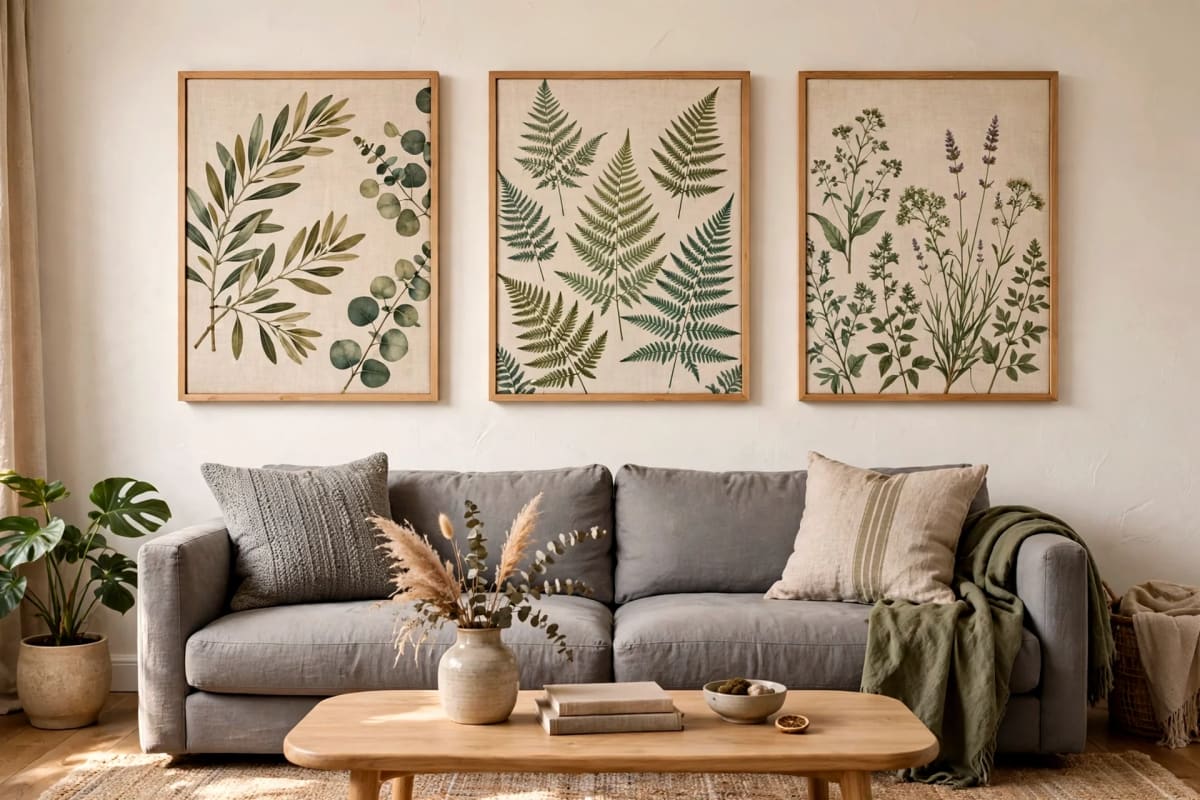
12. Botanical press panels
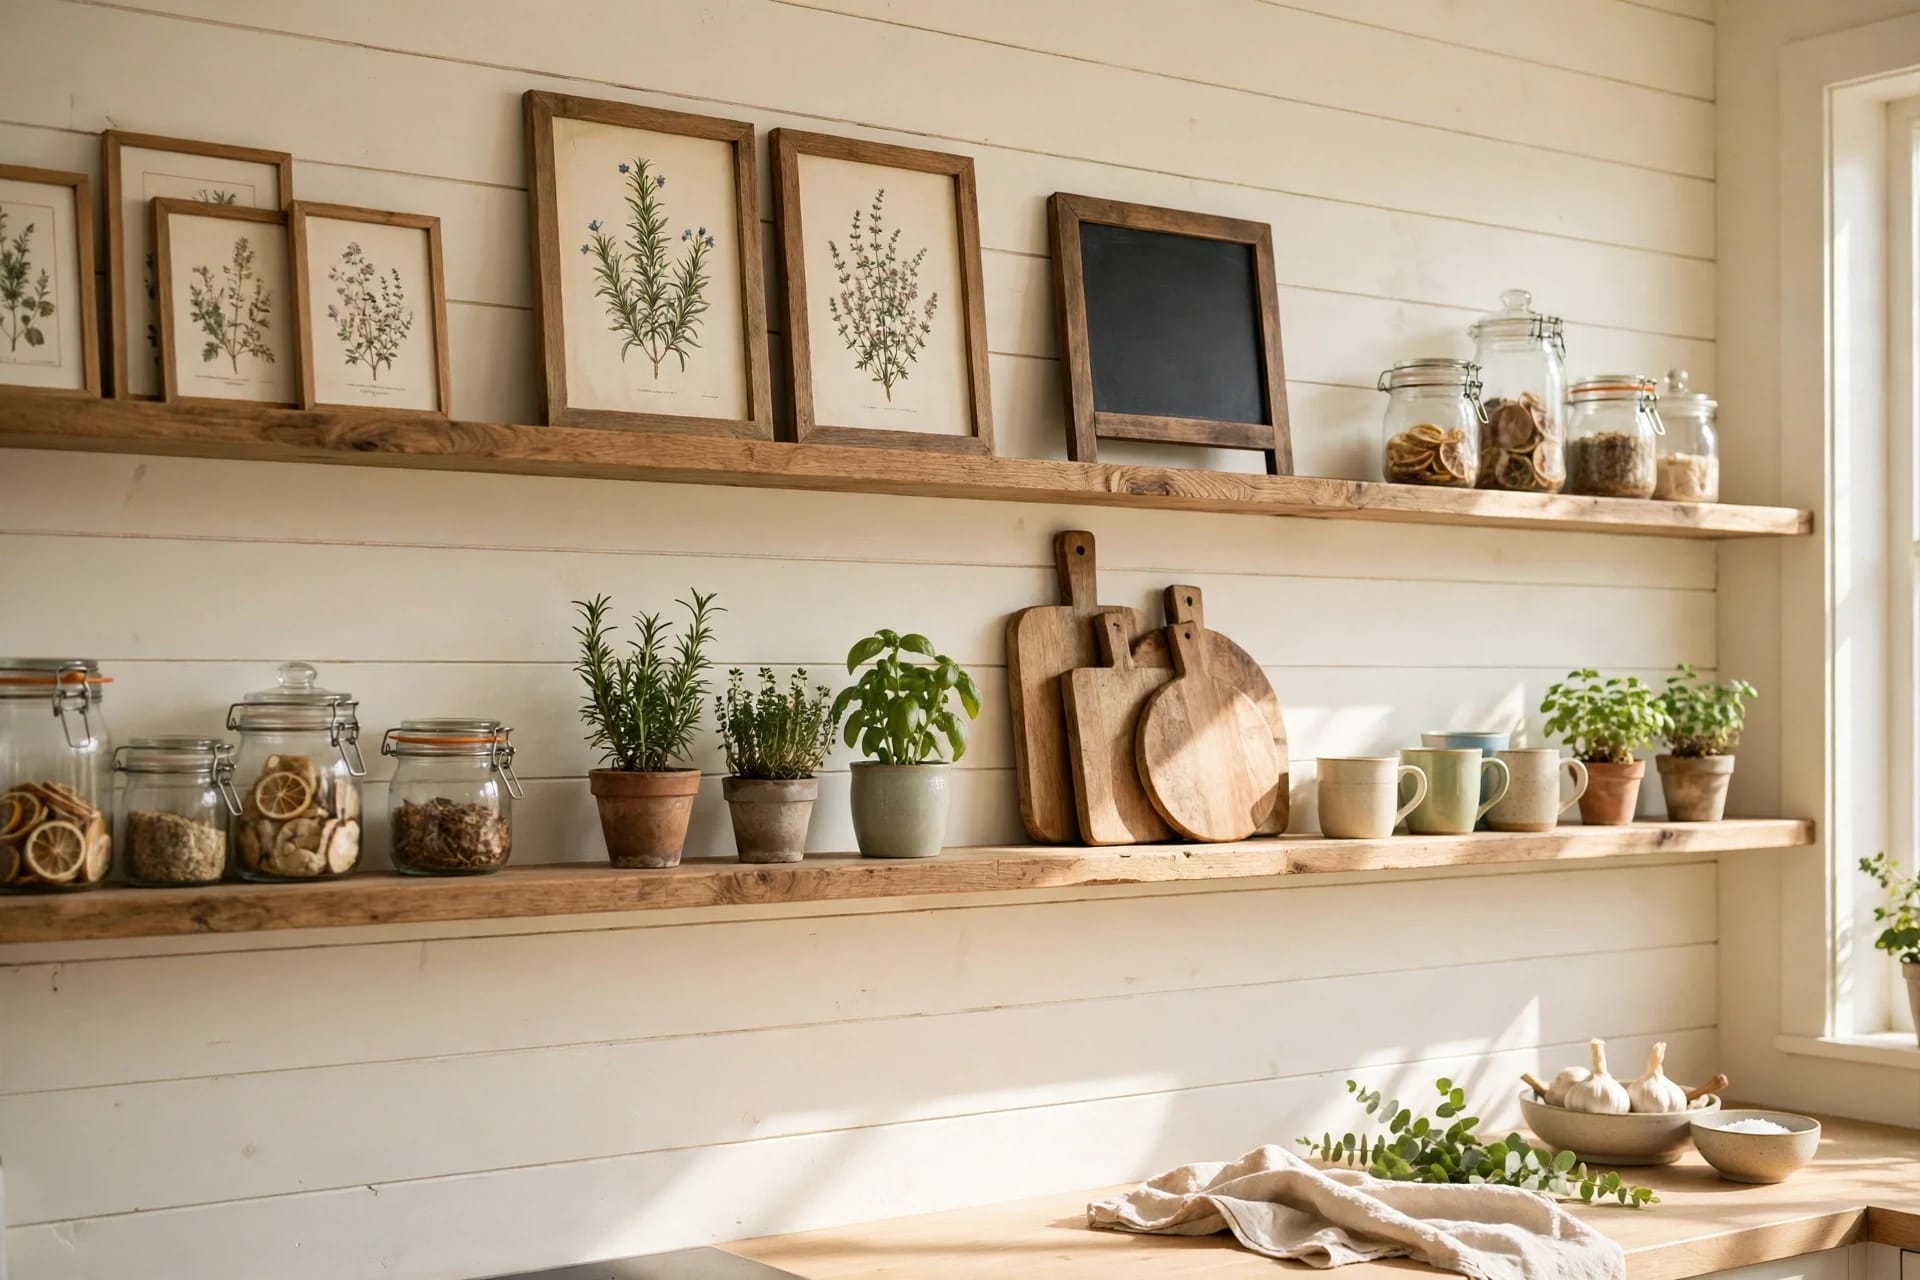
Pair botanical cotton with natural wood frames and wide mounts, keeping the palette restrained.
13. Striped or colour-blocked panels
Sew wide stripes or colour blocks from solid cottons to match exact paint colours in the room.
14. Embellished mixed-media panel
Add stitching, beads, tassels or fringe to one edge or motif only, so the piece stays calm.
The No-Sag Wrapped-Canvas Method
This method keeps a panel tight for a year or more. Work face-down so the visible side stays unmarked.
You will need: a stretcher frame, cut fabric, a staple gun with 10 mm staples, scissors, a steam iron, fusible interfacing for linen, and kraft backing paper.
Step 1 — Iron and back the fabric. Press the reverse to remove creases. For linen or lightweight cloth, iron fusible interfacing onto the back first, at the maker's temperature. Trim loose threads.
Step 2 — Centre the pattern. Lay the fabric face-down, place the frame centrally, and check the print from the front. Shift it until the main motif sits centred, or slightly above centre for tall panels.
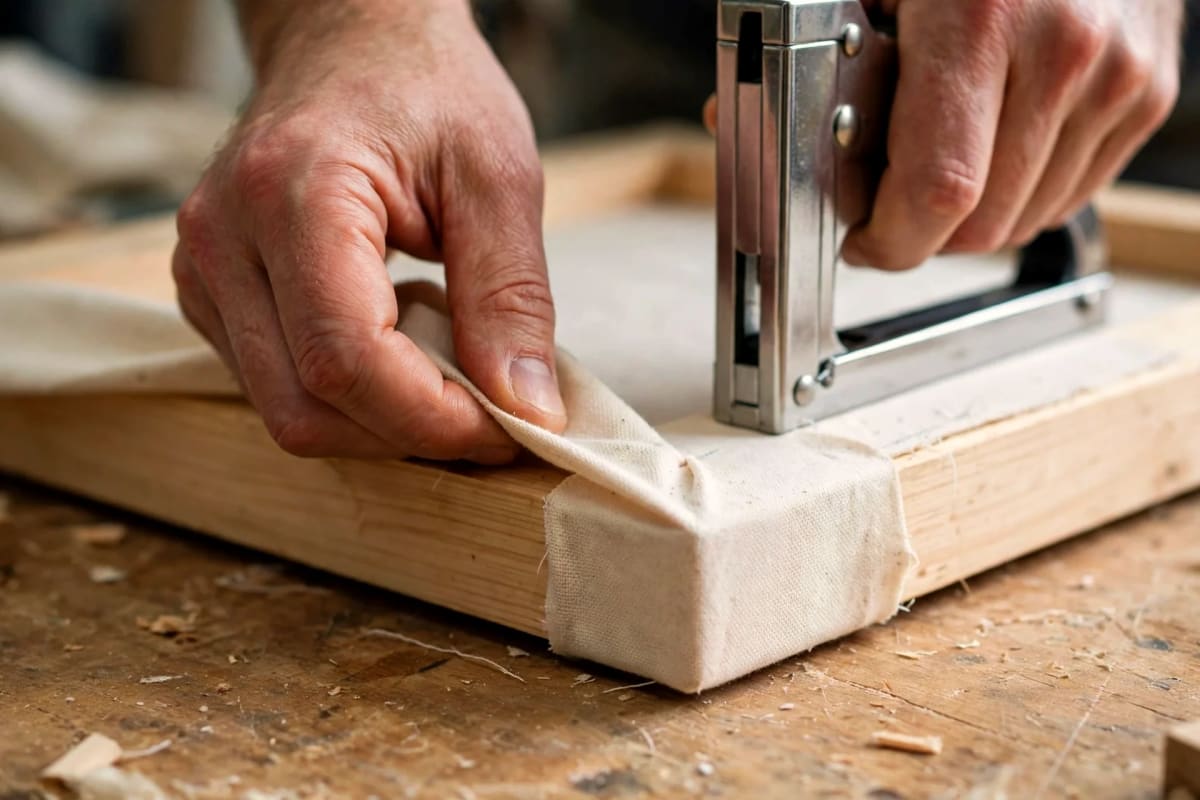
Step 3 — Staple the centres first. Fold one long side over and staple its centre. Pull the opposite side firmly until taut and staple its centre. Repeat on the short sides for four even anchors.
Step 4 — Work outward in pairs. Staple outward from each centre, alternating opposite sides, pulling with the same firm pressure each time, stopping 8 cm from each corner.
Step 5 — Fold hospital corners. At each corner, fold like wrapping a parcel: tuck one side flat, fold the second over it diagonally, and staple flat. Trim internal bulk, never close to the visible edge.
Step 6 — Check, back and hang. Check tension and corners in daylight. If one side ripples, remove only that side's staples and re-stretch it. Staple kraft paper over the back, add a hanger, and hang it. A 40 × 50 cm panel takes 30–45 minutes.
Hanging a Fabric Gallery Wall
A single panel is easy; a gallery needs a system. Lay the arrangement on the floor first, photograph it, then transfer it to the wall. This prevents extra nail holes and shows whether one print dominates.
For a grid layout, use identical frames and equal 5–8 cm spacing, with the whole grid's centre about 145 cm from the floor — average eye level. Grids suit triptychs and hoop sets, and calm a busy pattern mix.
For a salon layout, mix sizes around one large anchor piece, keeping 5–10 cm between neighbours and aligning one edge — tops, centres or a baseline — so the group feels intentional. More spacing methods are in gallery wall layouts.
Weights matter. Most panels weigh under 2 kg, so one rated hook or adhesive strip suffices on plasterboard. Panels over 60 cm wide, padded panels and glazed frames should use two hooks and, for heavy pieces, a stud or plasterboard fixing. Hang the heaviest piece first, then build outward. Leave 15–20 cm above a sofa, and keep fabric 30 cm from radiators and cookers.
Caring for Fabric Wall Art
Dust monthly with a soft brush, microfibre cloth or a vacuum on its lowest setting with a brush head, working top to bottom. Never rub velvet against the pile; brush one way only. For light marks on cotton or canvas, dab — do not scrub — with a barely damp cloth and mild soap, then air-dry flat away from heat.
Prevent sun fade by keeping pieces out of direct sun, using UV-filtering glass for framed panels in bright rooms, and rotating sun-exposed panels to a shaded wall every six to twelve months. In humid rooms, check the back twice a year for spots, and improve airflow rather than sealing the piece in plastic.
When a wrapped panel needs washing, remove the staples, wash gently per its label, press while slightly damp, and re-wrap in the same order. If a print has faded badly, simply re-cover the frame.
Common Mistakes and How to Fix Them
Sagging centres. Cause: stapling in one direction, or stretchy cloth without backing. Fix: add interfacing and re-stretch centre-out in opposite pairs.
Wrinkled corners. Cause: bunching cloth at the corner. Fix: unfold, trim internal bulk, and refold as one clean hospital corner.
Crooked patterns. Cause: centring by eye from the back. Fix: check from the front first, pin the position, and re-check after the centre staples.
Visible staples or show-through. Cause: sheer fabric, or staples too close to the edge. Fix: back sheer cloth with solid cotton and staple on the frame's back face.
Fading within months. Cause: direct sun on cotton or silk. Fix: move the piece, add UV glass, or remake it in solution-dyed outdoor fabric.
A gallery that looks random. Cause: no repeated element. Fix: unify it with one constant — frame colour, mat width, spacing, or one colour in every print.
FAQ
Can I use any fabric for wall art?
Almost any medium-weight, tightly woven fabric works, but quilting cotton, canvas and backed linen give the best results. Avoid stretchy jersey and sheer voile for stretched panels; frame delicate cloth behind glass.
How do I stop fabric wall art from sagging?
Use a stable fabric or interfacing, cut with full wrap allowance, and staple centre-out in opposite pairs. Hospital corners keep edges flat. If a panel sags later, re-stretch one side only.
What size should fabric wall art be above a sofa?
Aim for art about two-thirds the sofa's width. A 60 × 90 cm panel suits a loveseat; a three-seater needs 120–150 cm total width, as one panel or a triptych, hung 15–20 cm above the back.
Can fabric wall art go in a bathroom or kitchen?
Yes, with care. In steamy rooms use synthetic outdoor fabric, keep pieces from splashes and heat, and ensure ventilation. Natural cotton and linen may spot or smell when damp, so reserve them for dry rooms.
How much does DIY fabric wall art cost?
A basic 40 × 50 cm wrapped panel costs about $20–$45 all in, if you own scissors and an iron. Hoop art costs under $10 per piece, while a large padded velvet panel may reach $60–$90.
How do I clean fabric wall art without removing it?
Dust monthly with a soft brush or low-suction vacuum. Dab small marks with a damp cloth and mild soap and air-dry. Avoid soaking a mounted panel, steaming velvet, or harsh cleaners on printed cotton.
Final Thoughts
Fabric wall art rewards a little preparation and repays it for years. Choose a stable cloth, buy enough to wrap properly, staple in order, and hang with a clear system. Start with one panel in a print you love.