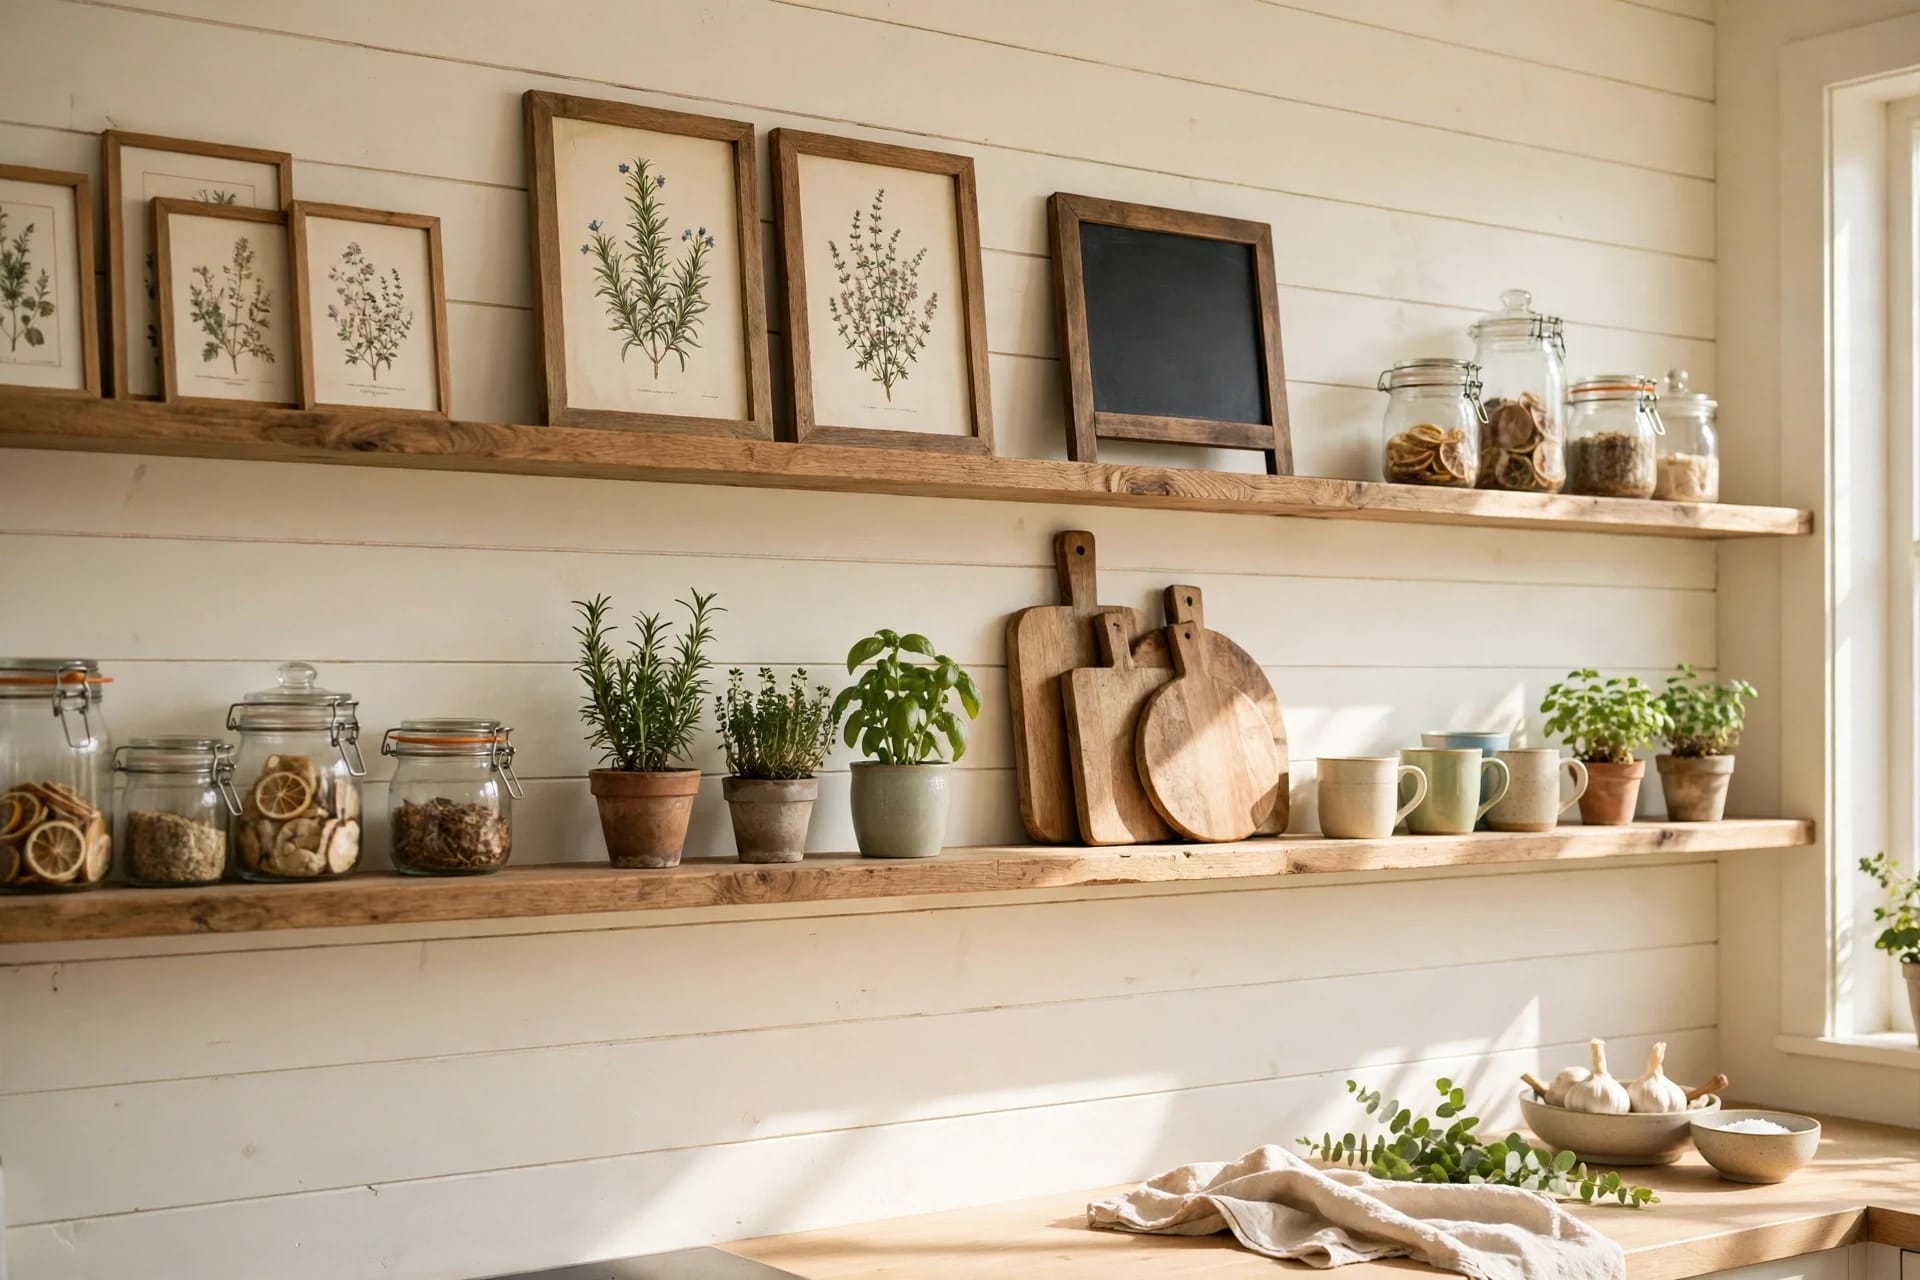
A kitchen wall has a harder job than any other wall in the house. It must survive steam, splashes and grease, stay clear of the cooker and the sink, and still make the room feel finished rather than purely functional.
The fix is to plan the kitchen wall the way you would plan a worktop: start with what the wall does, then choose decor that earns its place. This guide gives you fifteen ideas that do both jobs, with the measurements, costs and hanging methods the usual listicles leave out, so you can choose a look that survives real cooking.
Key Takeaways
- Hang kitchen art and shelves outside the splash zone: at least 45 centimetres from the hob and above splash height near the sink.
- The most useful kitchen wall is a working wall: open shelves, a rail or a chalkboard that stores or organises something every day.
- Open shelves work best at 25 to 30 centimetres deep, hung 45 to 50 centimetres above the worktop, with daily items at eye level.
- In a rental, use removable hooks, rails and lean-to boards instead of drilling into tile; a plate wall can be hung with adhesive disc hangers.
- One repeated material — wood, black metal or brass — ties mixed kitchen decor together better than one repeated colour.
Table of Contents
- Plan the wall before you decorate it
- 15 kitchen wall decor ideas
- Open shelves that actually work
- Step by step: a cutting-board and rail wall
- What survives steam, grease and splashes
- Small kitchens and rented kitchens
- Common mistakes and fixes
- FAQ
Plan the wall before you decorate it
Measure the wall first, including the parts you cannot use. Note the hob and sink positions, the extractor, plug sockets, and any window or door swing. Mark a no-decor band 45 centimetres either side of the hob and 30 centimetres above the sink splash line, where steam and water will ruin paper prints and warp unsealed wood. What is left is your real decorating space, and it is usually smaller — and clearer — than the whole wall looked.
Next, decide the wall's job. A dining-table wall is a display wall; a worktop wall is a working wall for shelves or a rail; a narrow wall between doors suits one large print or mirror, not a crowded gallery. One job per wall keeps a kitchen calm.
Finally, pick one anchor material and repeat it: oak shelves with oak frames and a wooden rail, or brass taps with brass rail and frame corners. The anchor stops a shelf, a gallery and a chalkboard looking like three separate purchases.
15 kitchen wall decor ideas
1. Open wood shelves with daily dishes
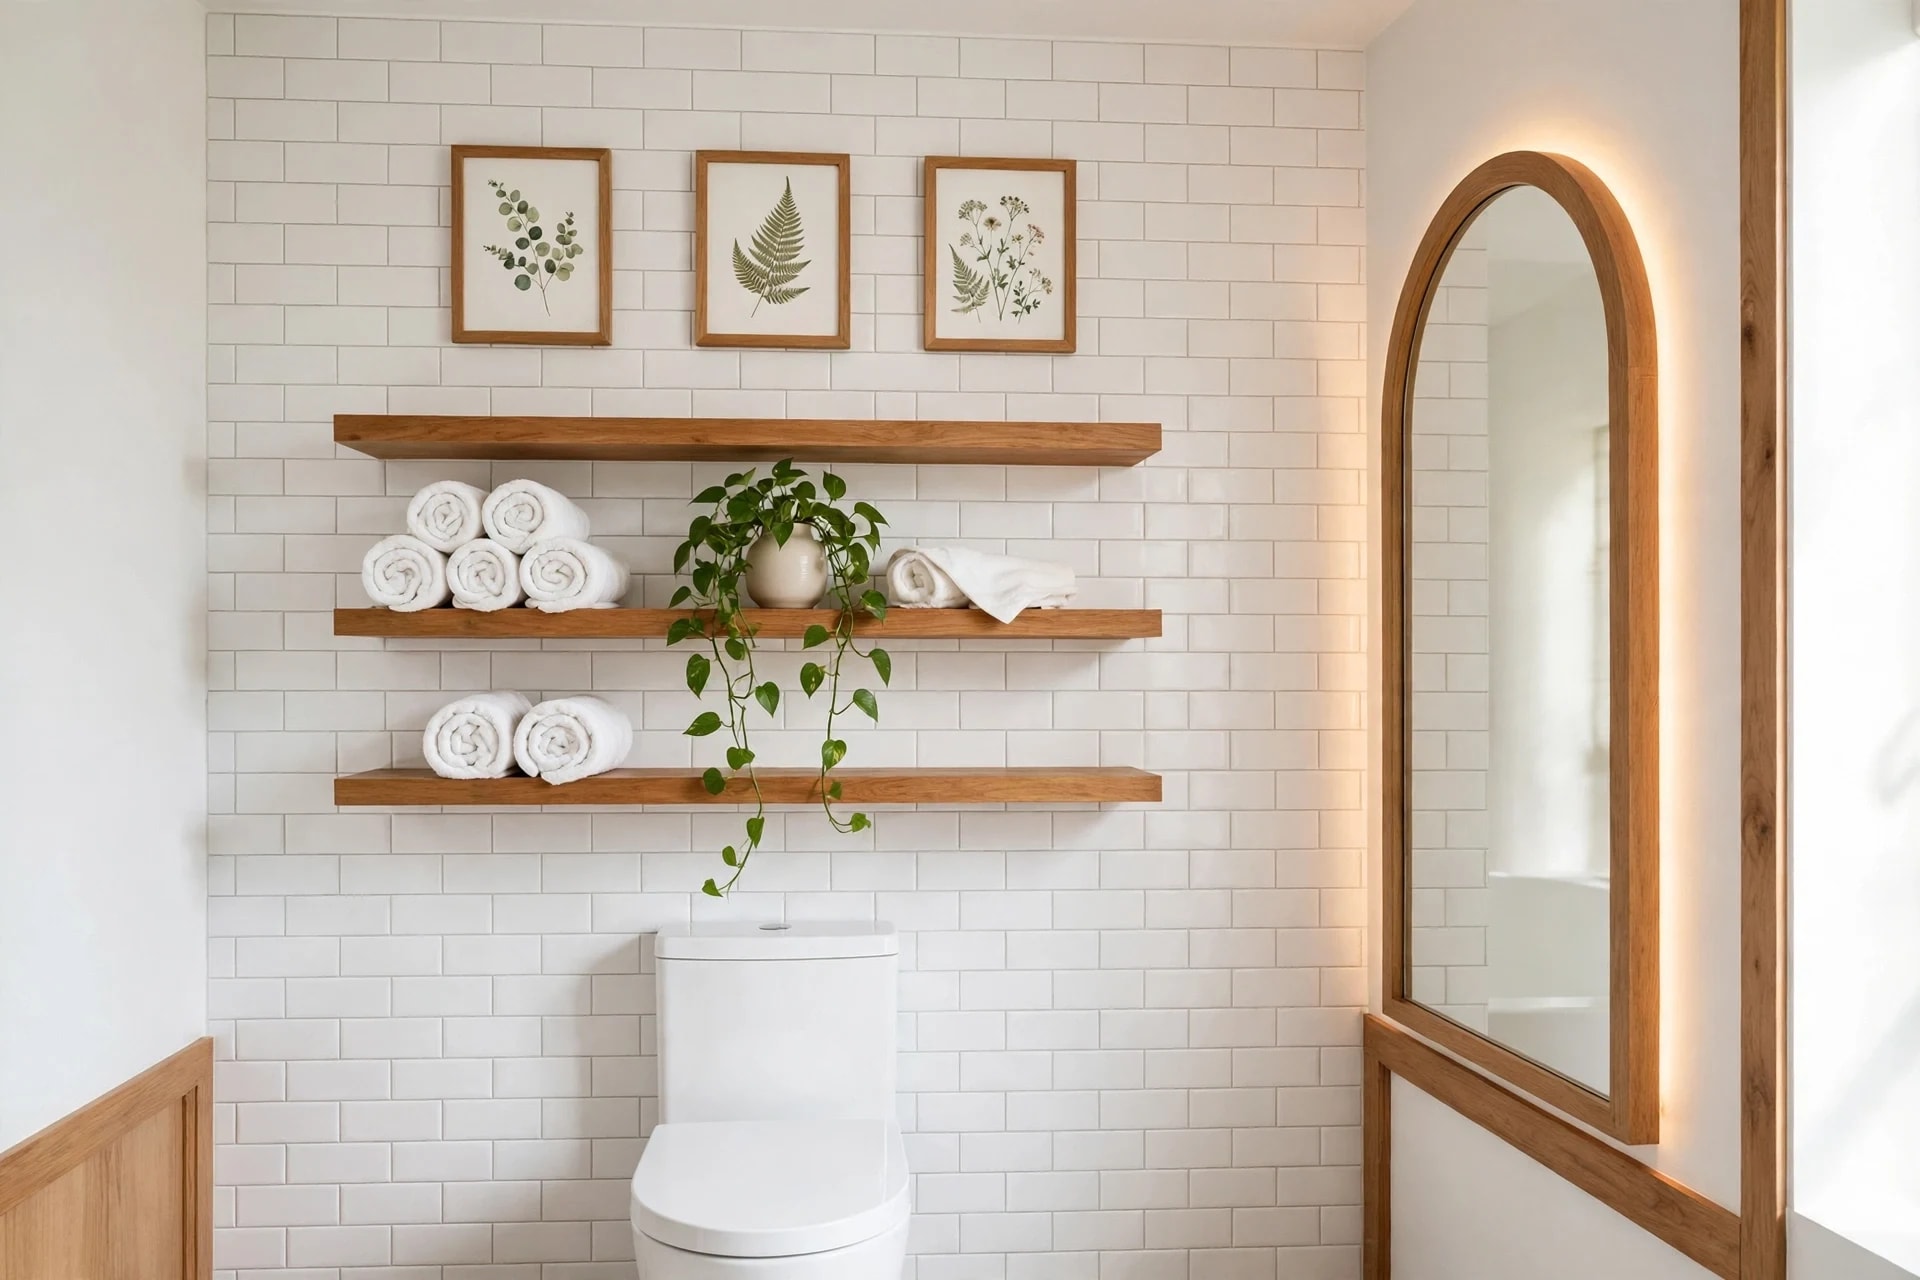
Two or three open shelves in natural wood, styled with the bowls, mugs and jars you reach for every day. Cost around £40 to £90 for the shelves and brackets.
2. A cutting-board gallery
Hang four to six wooden boards in mixed shapes from a rail or individual hooks, smallest at the front of the arrangement. Cost around £15 to £40 if you already own the boards.
3. A framed chalkboard menu
A framed chalkboard, roughly 60 by 45 centimetres, for the weekly menu, a shopping list or a seasonal quote. Cost around £20 to £35.
4. A plate and saucer gallery wall
Vintage or mismatched plates hung in a loose cluster above a console or dining bench, using adhesive disc hangers so no holes are drilled through the plates. Cost around £10 to £25 for the hangers, plus the plates themselves.
5. A copper pan rail
A wall rail with S-hooks holding copper or cast-iron pans, hung where they can be lifted without reaching over the hob. Cost around £25 to £50 for rail and hooks.
6. Herb prints in a row
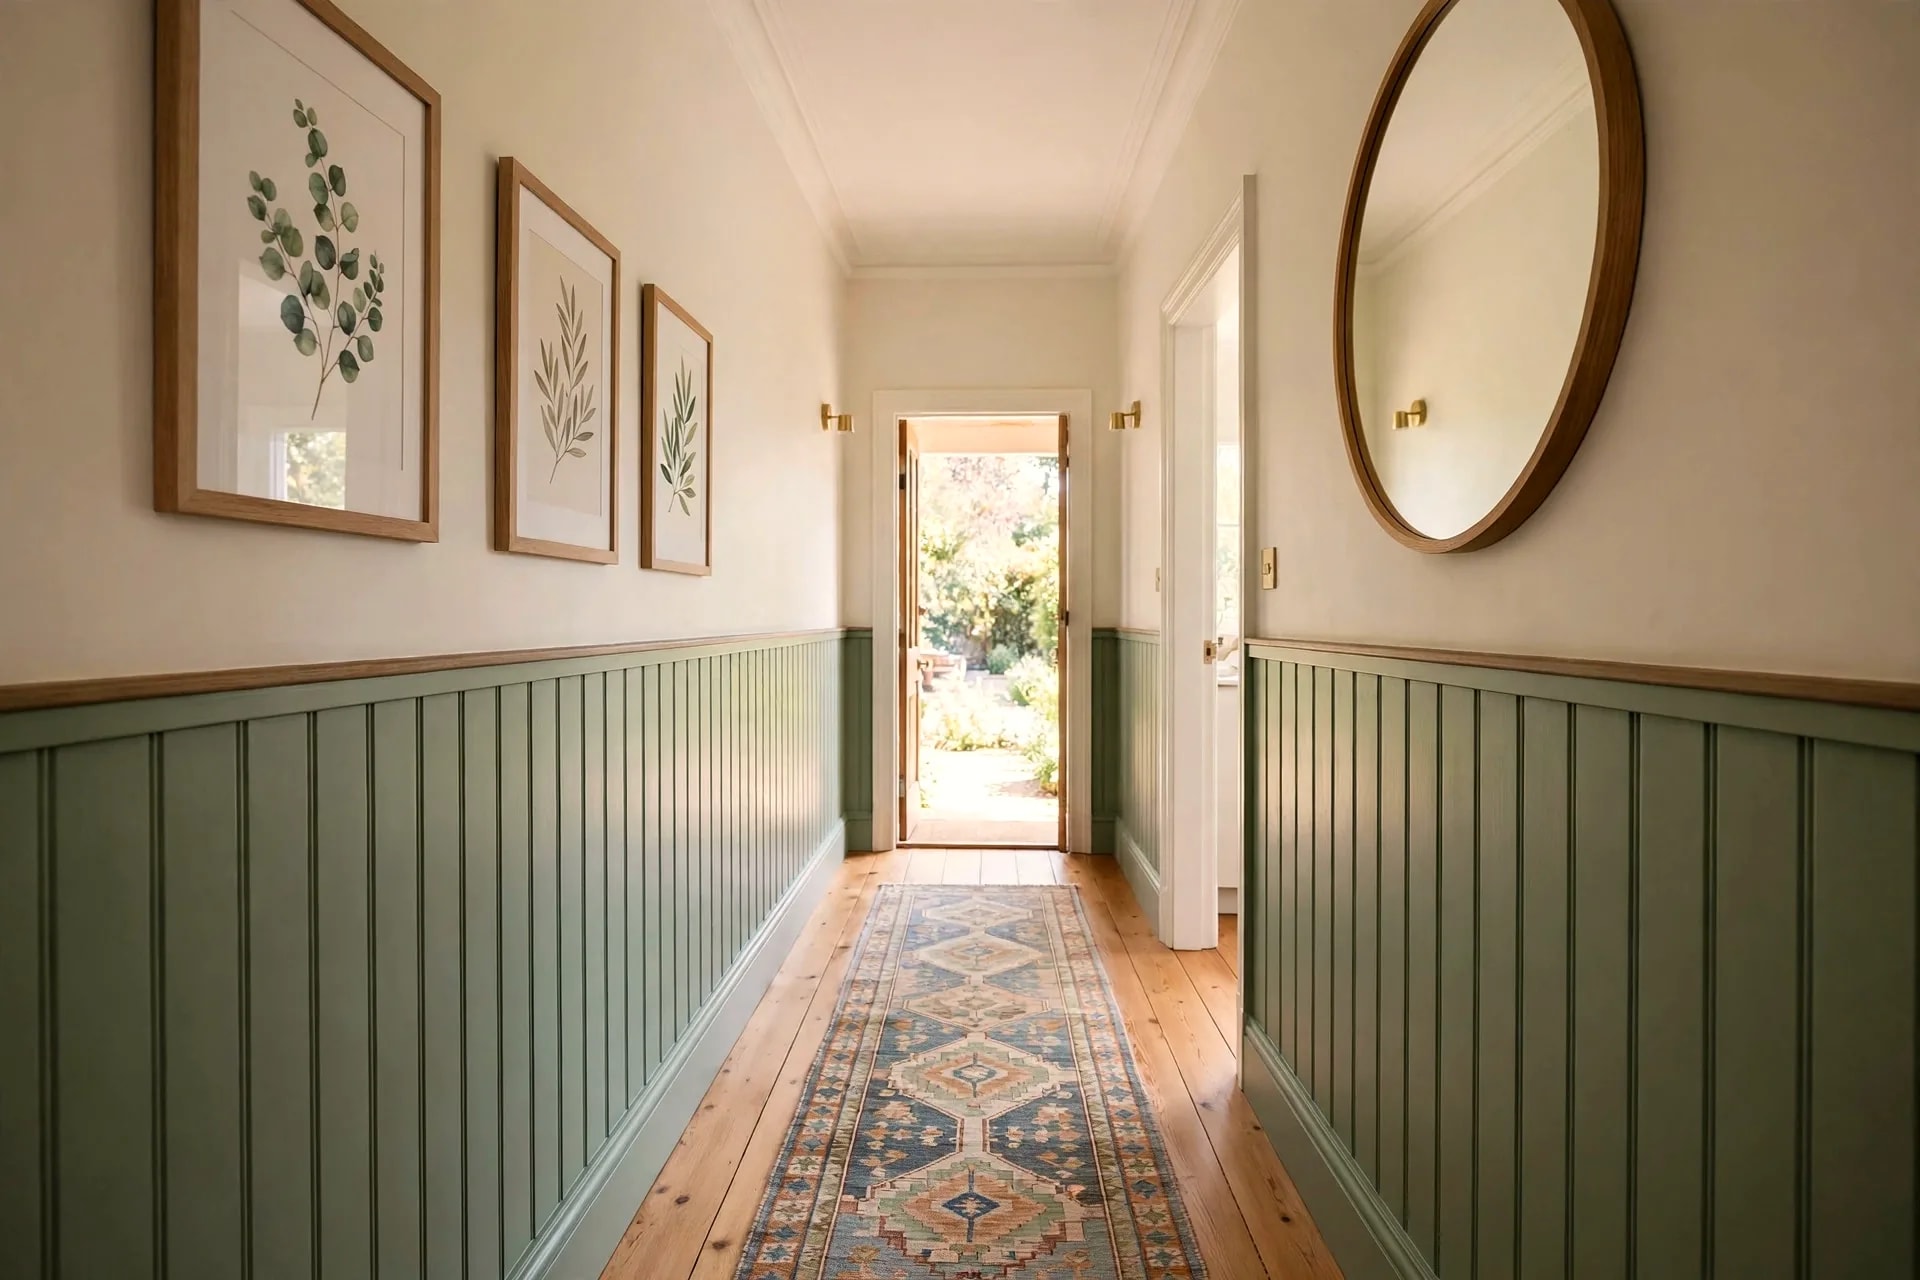
Three or four framed botanical herb prints in identical frames, hung in a straight row above a shelf or worktop. Cost around £25 to £60 for prints and frames.
7. A rolling-pin and utensil rack
A small wall rack or rail that holds a rolling pin, whisks and wooden spoons by their loops, the thrifted-tool look that dominates saved kitchen pins. Cost around £15 to £30.
8. A magnetic knife strip as decor
A wooden magnetic knife strip, hung at eye level away from little hands, that turns good knives into a display. Cost around £20 to £45.
9. A vintage food-print gallery
Old bakery, fruit-market or seed-packet prints in simple black or wood frames, grouped as a gallery on the dining wall. Cost around £30 to £70.
10. A tiled or painted feature strip
A single row of patterned tiles, or a painted arch or stripe, behind open shelves to give the wall a finished edge without retiling the room. Cost around £20 to £60 for paint or a tile strip.
11. A cookbook ledge
A shallow picture ledge, 10 to 12 centimetres deep, holding two or three cookbooks face-out with a small plant or jar between them. Cost around £15 to £30.
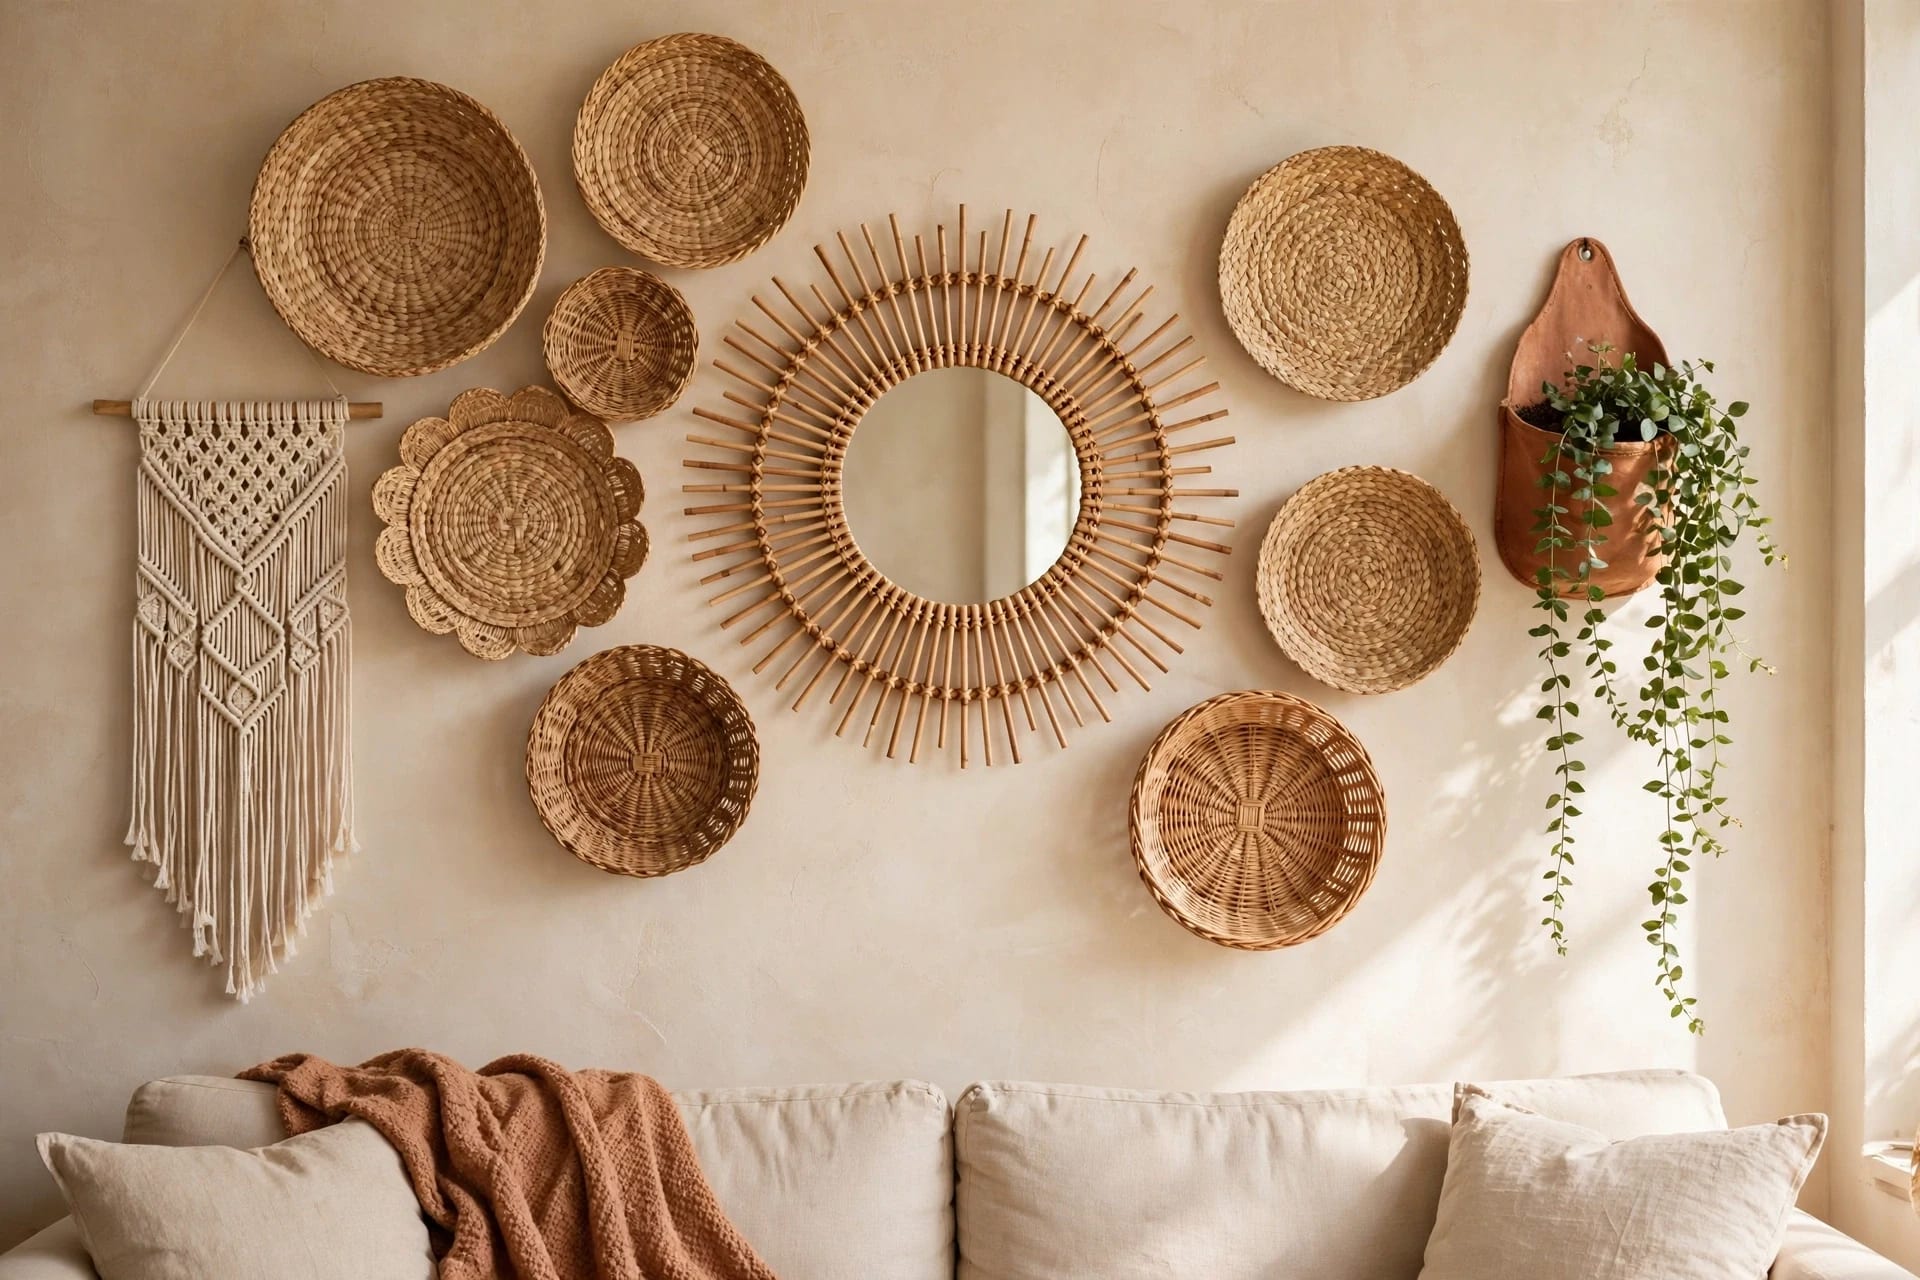
12. Woven baskets and a wall pocket
A small cluster of flat woven baskets, or one wall pocket holding dried herbs or a trailing plant, for texture on a plain wall. Cost around £15 to £40.
13. A mirror to bounce light
A small mirror, ideally opposite or beside a window, on a dark kitchen wall to bounce daylight back into the room. Cost around £25 to £60.
14. A seasonal swap shelf
One shelf or ledge reserved for seasonal change: a wreath in winter, a vase of stems in spring, a bowl of fruit in summer. Cost is whatever the seasonal piece costs, often under £15.
15. A family gallery, kitchen edition
A small gallery of family photos in matching frames, but printed on canvas or behind glass and hung on the dining wall, never above the hob. Cost around £30 to £60.


Open shelves that actually work
Open shelves fail for three predictable reasons: they are hung too high, too deep, or too full. The working numbers are simple. Hang the lowest shelf 45 to 50 centimetres above the worktop, so a standard mug or jar clears it without a stretch. Keep shelf depth at 25 to 30 centimetres: deeper shelves hide things behind other things, and shallower shelves will not hold a dinner plate.
Style in the rule of three: one stack of bowls, one group of mugs, one jar or plant, then a gap. The gap is what makes the shelf look curated rather than crammed. Daily items go at eye level, pretty items higher, and once-a-year items back in a cupboard. If a shelf needs dusting more than weekly, group its small objects into one jar or tray.
For more on shelf weight and fixing, see the guide to floating shelf weight capacity and the DIY floating shelves build, which covers bracket spacing and stud finding in detail.
Step by step: a cutting-board and rail wall
Start with a blank wall at least 90 centimetres wide, away from the hob. You need a 60 to 90 centimetre wall rail, four to six S-hooks, and the boards you already own, plus a spirit level, a pencil and fixings rated for at least 10 kilograms.
First, hold the rail at eye level, roughly 150 to 160 centimetres from the floor, and mark the bracket holes with the level. Drill and fix the rail into studs or solid wall, and tug it hard before you hang anything: a rail that moves under a tug will drop a board eventually. Hang the largest board first, near a bracket, then work outward with smaller boards, leaving 3 to 5 centimetres between boards so each shape reads separately.
Add a small shelf below the rail only if the wall below is clear worktop, not a hob or sink. Check the arrangement from the doorway, not from two feet away: a board wall is judged from across the room. Total time is under an hour, and cost is usually the rail and hooks alone.
What survives steam, grease and splashes
Paper prints, unsealed wood and fabric hangings do not survive a kitchen unless they are protected. Behind glass, a print lasts for years; unframed, the same print curls within months near a kettle or hob. Metal rails and ceramic tiles shrug off grease with a wipe, while chalkboard paint near a hob collects a film that needs a proper clean rather than a dust.
Clean it as you clean the wall behind it: a damp cloth for sealed wood and metal, glass cleaner for framed prints, a degreasing wipe within a metre of the hob. If a piece cannot be wiped, it does not belong in the splash zone, however pretty it looks in a photograph.
Small kitchens and rented kitchens
A small kitchen rewards vertical, shallow decor. One tall arrangement — a rail, a narrow shelf stack or a single column of frames — uses height the room already has, while a wide gallery eats the only wall a small kitchen can spare. Choose one wall, the dining wall if there is one, and leave the rest for function. Measure the wall before buying anything: in a small kitchen, a shelf that is five centimetres too deep can block a cupboard door, and a frame that is ten centimetres too wide can crowd a light switch. A mirror opposite a window is worth more in a small kitchen than a gallery, because it doubles the light the room already gets.
Renters have the same options without drilling: adhesive disc hangers for plates, removable hooks for boards and baskets, and a leaning shelf or freestanding rail for a shelf wall. Adhesive strips hold light frames on painted walls, but check their weight rating and never use them on tile, where they fail without warning. See renter-friendly wall decor and damage-free wall decor.
If you are starting from a blank wall and want the wider principles first, the DIY wall decor guide and DIY wall decor ideas set out the sizing and spacing rules that every room-specific guide on this site builds on.
Common mistakes and fixes
Before you hang anything, stand in the doorway and look at the whole wall for a full minute. Most kitchen mistakes are visible from there and invisible from two feet away: a gallery that crowds a door frame, a shelf that fights the extractor hood, or a chalkboard hidden behind an open cupboard door. A minute spent at that distance, before any drilling, saves a wall full of holes and a weekend of patching and repainting.
Hanging art above the hob is the most common kitchen mistake, and the fix is simply moving it: steam and grease damage it, and a falling frame near a hot hob is a safety issue, not a styling one. Mixing too many finishes — black rail, brass hooks, chrome frames, wood shelves — is the third: pick one anchor material and swap the odd pieces out, and the wall calms down immediately.
A gallery hung too high is the fourth: if its centre is above eye level, lower the group until its centre sits at 145 to 155 centimetres from the floor. Finally, leave one wall or wall section completely bare. Empty space is not unfinished; it is what lets the decorated wall be seen.
FAQ
Can I hang pictures above the hob?
No, not safely. Steam, grease and heat damage prints and frames, and a falling frame near a hot hob is a hazard. Keep art at least 45 centimetres from the hob and hang it on a dining or side wall instead.
How high should kitchen shelves be?
Hang the lowest open shelf 45 to 50 centimetres above the worktop, with a depth of 25 to 30 centimetres. That clears standard mugs and jars without a stretch and keeps plates from hiding behind each other.
What is the best renter-friendly kitchen wall decor?
Adhesive plate hangers, removable hooks for boards and baskets, leaning shelves and chalkboard easels all avoid drilling. Check weight ratings carefully, and never rely on adhesive strips on tile.
Do open shelves get too dusty in a kitchen?
They get dusty if they hold many small objects. Group small items into jars or trays, keep daily items at eye level, and dust once a week with a damp cloth. Sealed wood and metal wipe clean; unsealed wood and paper do not.
How do I make mixed kitchen decor look cohesive?
Repeat one material — wood, black metal or brass — across shelves, rails and frames. One repeated material ties a shelf, a gallery and a chalkboard together better than matching colours alone.
Are cutting boards safe to hang on the wall?
Yes, if the rail is fixed into studs or solid wall and rated for the weight, with the heaviest board nearest a bracket. Boards dry better on the wall than in a drawer, and they free drawer space at the same time.