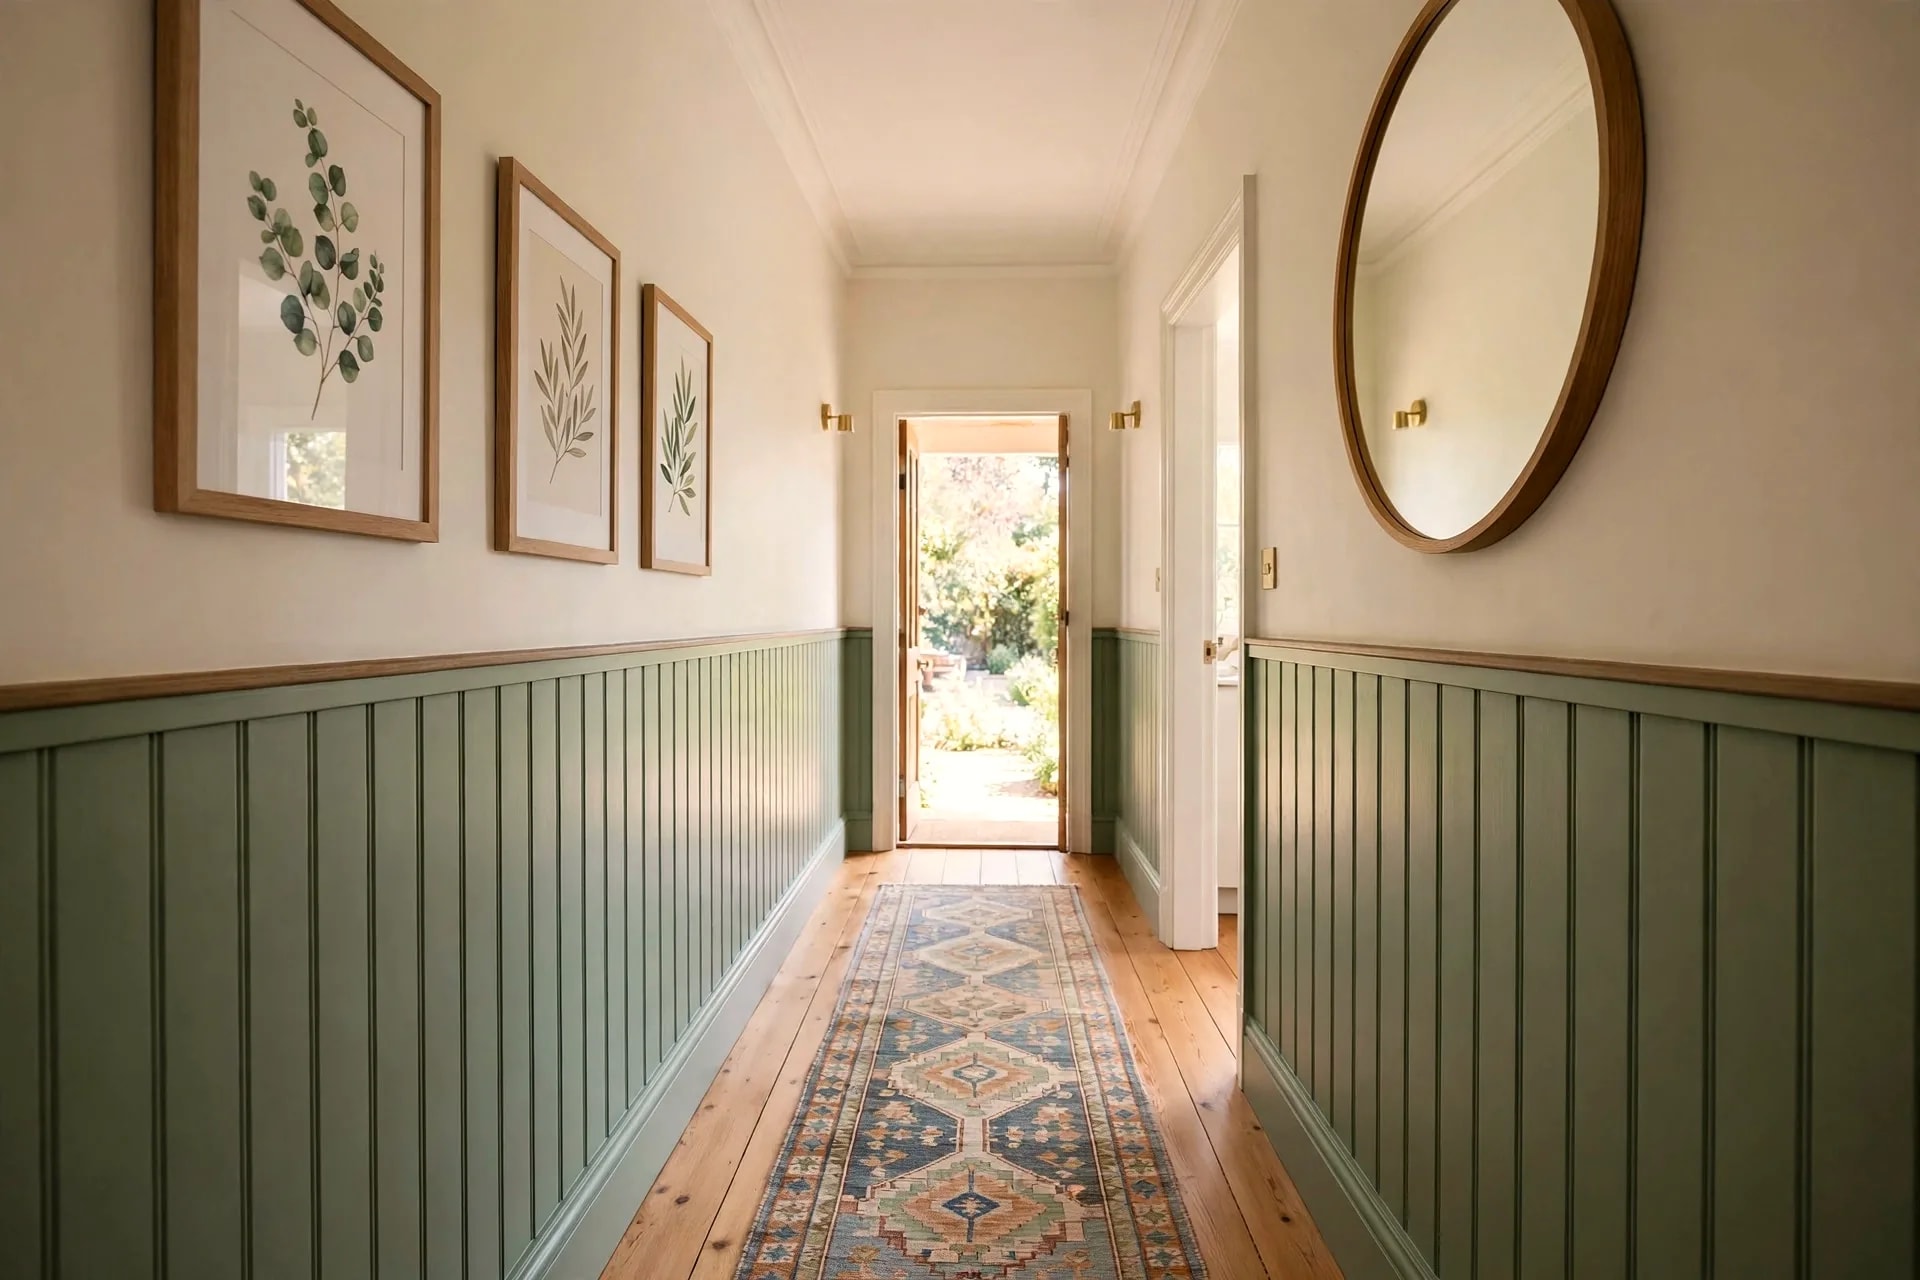
A hallway is the room everyone walks through and nobody photographs, which is exactly why it gets ignored until it feels dark, narrow and unfinished. The good news is that it is also the cheapest room to transform: the walls are the decoration, there is no big furniture to buy, and one weekend of focused work changes how the whole home feels.
The mistake most hallway makeovers make is copying a living-room idea into a corridor. A deep console that works in an entry blocks a narrow hall, and a gallery hung at living-room height looks wrong when viewed at arm's length. Hallways need their own rules: slimmer furniture, tighter spacing, lighter colours where there is no window, and art chosen for a moving viewer.
This DIY wall decor guide gives you those rules, with fourteen ideas organised by hallway type, real costs and time estimates, and one full gallery-wall tutorial.
Key Takeaways
- Hang hallway art centred at 145 to 150 centimetres: you view it standing and close up.
- Keep at least 90 centimetres of clear walkway after any console or shelf goes in.
- One large mirror opposite a light source beats a dozen small frames in a dark hall.
- Board and batten, panelling and peel-and-stick wallpaper all have renter-safe versions.
- Paper templates on the wall before any nail goes in are what make a gallery look professional.
In this guide:
- Measure your hallway first
- Make a narrow hallway feel wider
- Long hallway ideas that stop the tunnel effect
- Entry hallway ideas for a welcoming first impression
- 14 hallway wall decor ideas by type
- Step by step hallway gallery wall
- Renter friendly hallway decor with no damage
- Common mistakes and fixes
- FAQ
Measure your hallway first
Every hallway decision starts with three numbers: width, length and ceiling height. Measure the width at the narrowest point, not the widest, because a radiator, a door architrave or a protruding cupboard is what you will actually walk past. Under 110 centimetres is narrow, 110 to 140 centimetres is standard, and over 140 centimetres can take a shallow console.
Next, protect the walkway: roughly 90 centimetres of clear passage is the minimum for comfortable walking. That rule kills most console plans in narrow halls — a 30-centimetre console in a 110-centimetre hall leaves only 80 centimetres — so use wall-mounted ledges, shelves and mirrors instead.
Finally, note the light: a hallway with a door at the end behaves completely differently from a windowless corridor, and light decides your palette more than taste does. Photograph it at midday and in the evening before choosing anything.
Make a narrow hallway feel wider
Narrow hallways respond to a small set of reliable tricks, best used in combination. Paint is the cheapest: a warm white or pale sage on all walls, ceiling included, removes the visual edges that make a corridor feel like a box. If you want colour, put it on the lower half only — panelling or a painted dado line in sage, dusty blue or soft terracotta, with pale walls above — so the colour grounds the space without closing it in.
Mirrors are the second trick, and placement matters more than size: a mirror opposite a doorway or beside a light source bounces real light down the corridor, while one facing a blank wall just doubles the blankness. One large mirror beats a cluster of small ones, because a single reflection reads as an opening. Hang it centred at about 150 centimetres, with a slim frame.
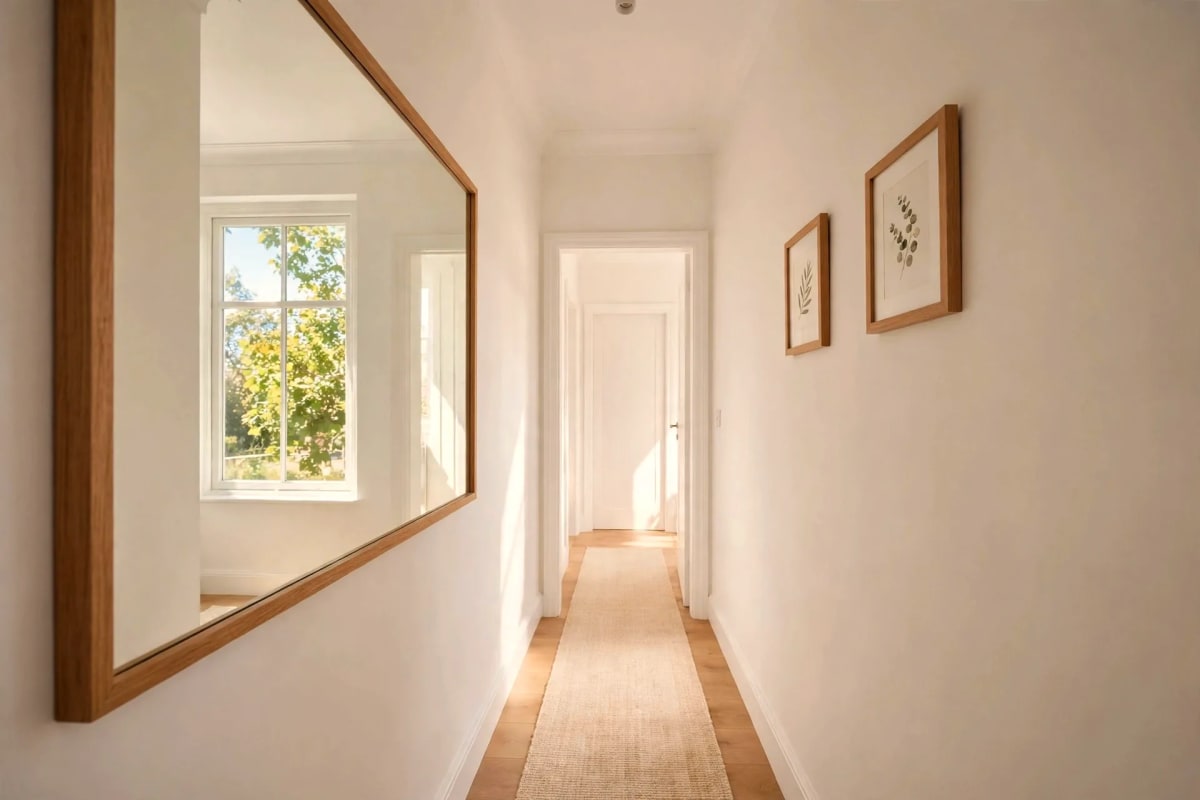
The third trick is a runner rug running the full visible length of the floor: a short rug chopped in the middle visually shortens the hall, while a long runner draws the eye forward. Choose one 15 to 20 centimetres narrower than the hall, in a low pile doors can clear.
Long hallway ideas that stop the tunnel effect
A long hallway feels endless, and a single small frame halfway down it only emphasises the distance. The fix is rhythm: repeat one element at regular intervals — the same frame size, the same shelf, the same wall light — so the eye travels along a pattern instead of an empty stretch. Three identical frames spaced evenly beat seven mismatched ones scattered at random.
Break the length into zones: a console or bench at the far end gives the eye a destination, and a change of treatment halfway — panelling starts, a painted arch appears — marks a threshold. For a repeated frame run, divide the remaining wall space evenly, with 8 to 15 centimetres between frames.
Entry hallway ideas for a welcoming first impression
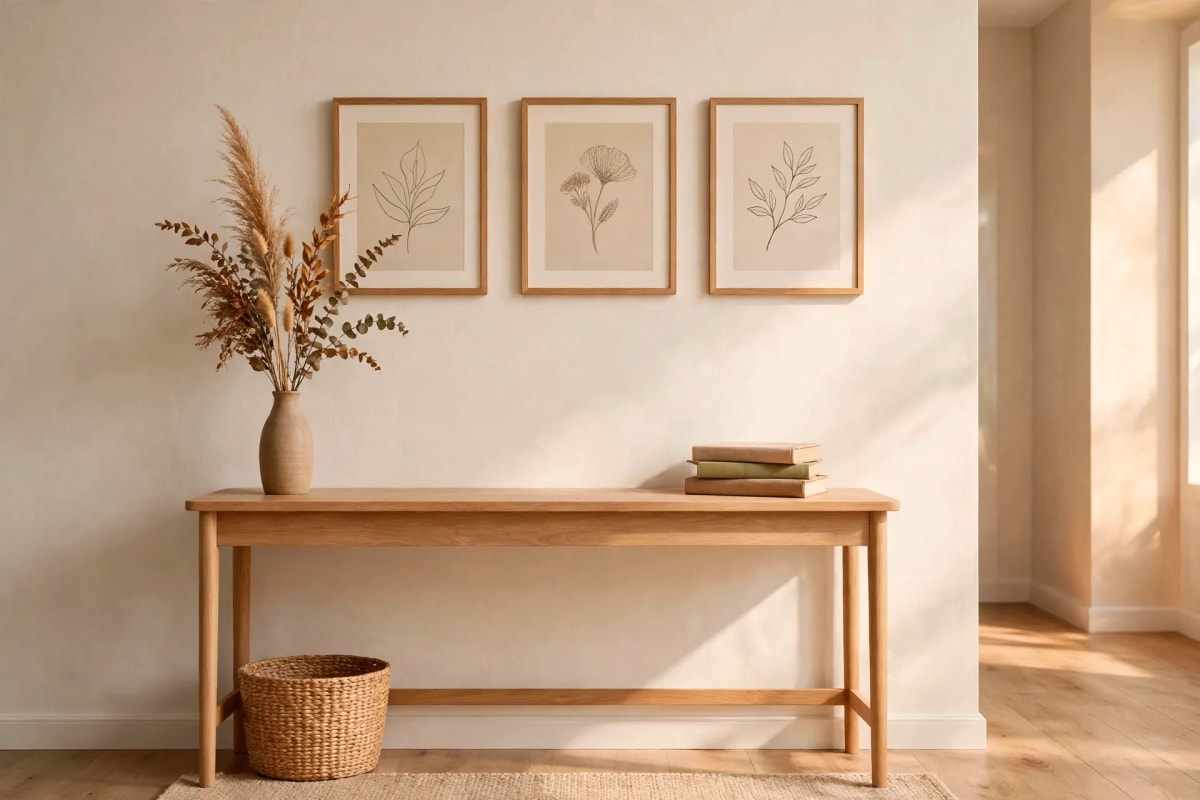
The entry hallway is the only hallway guests study, so it earns the most decoration — and the most function. A console table, a mirror and a place for keys are the classic trio, but proportions decide whether it works. The console should be no deeper than 30 centimetres, and the mirror above it roughly two thirds the console width, hung with its centre at 150 to 160 centimetres or 15 to 20 centimetres above the console surface, whichever is higher.
Give the entry a job for every item: a bowl for keys, hooks staggered at 120, 140 and 160 centimetres so children, bags and coats each find a spot, and a basket below the console for shoes. If the entry opens into a living space, carry one colour or material from that room into the hall so the spaces feel connected.
14 hallway wall decor ideas by type
Costs below are approximate and assume basic tools are already at home. Time is hands-on time, not drying time.
1. Board and batten panelling
Vertical battens on the lower half of the wall, painted one colour. Cost around £60 to £120 for a standard hall, time one weekend. Keep battens 8 to 10 centimetres wide, 25 to 35 centimetres apart, capped with a slim chair rail.
2. One oversized mirror
A mirror 90 by 120 centimetres or larger, opposite a light source. Cost around £40 to £150, time 30 minutes. Fix into studs or rated anchors, never adhesive alone at this size.
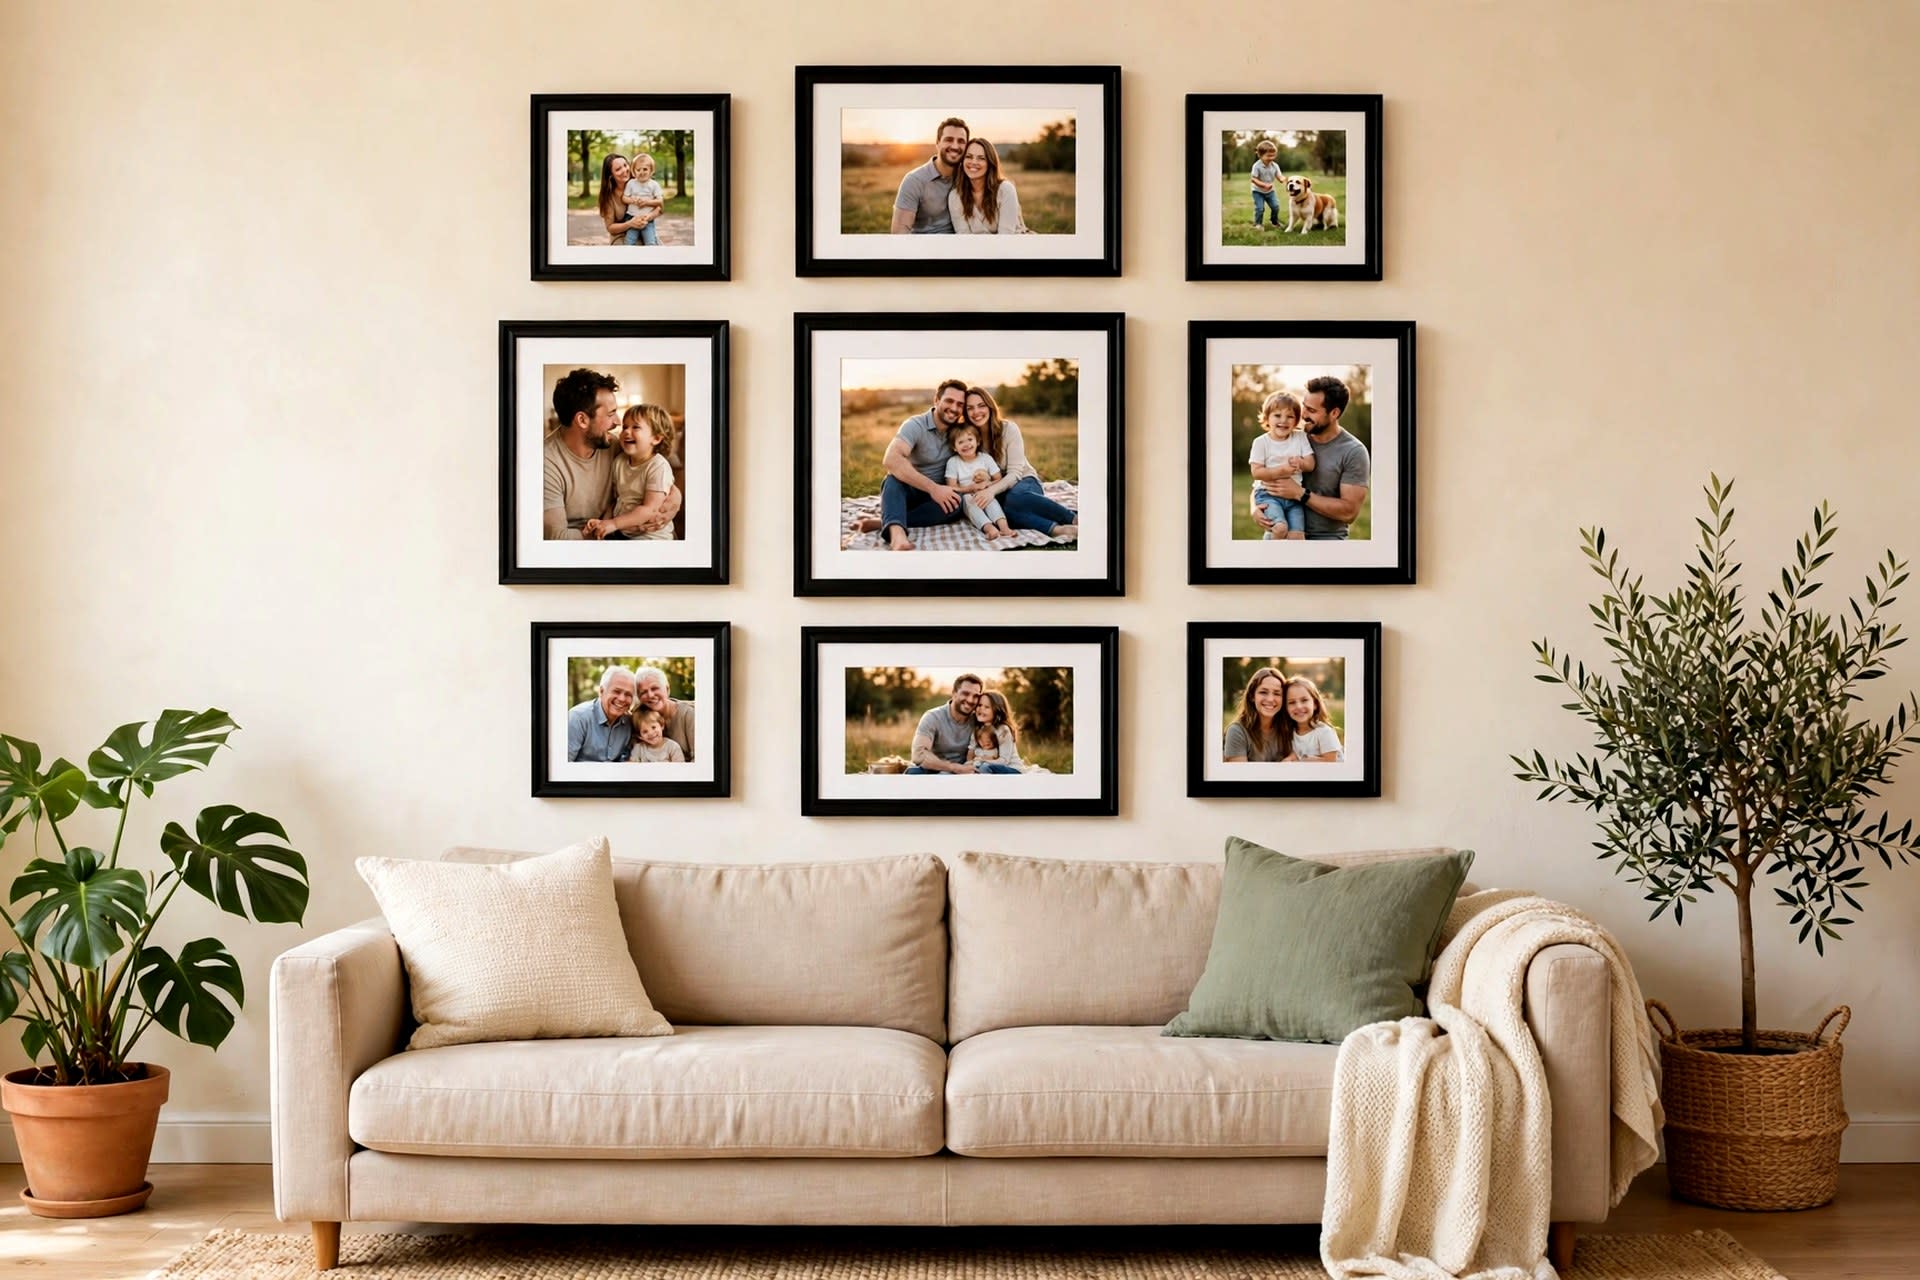
3. Gallery wall on paper templates
Six to nine frames in one frame colour, laid out on paper first. Cost around £30 to £90, time two to three hours. Full tutorial below.
4. Picture ledge run
One or two long ledges let art lean instead of hang, so you can restyle without new holes. Cost around £25 to £60 per ledge, time one hour each. Hang ledges at 150 centimetres centre height.
5. Peel and stick wallpaper accent
One wall, or the wall above a dado line, in a bold pattern. Cost around £25 to £50 per roll; most halls need one to two rolls. Time two hours. Pattern matching wastes 10 to 15 percent of a roll.
6. Painted arch behind a console
A painted arch in a contrasting colour frames a console and mirror like a doorway. Cost around £15 to £30, time three hours including drying. Draw the arch with a pencil on a string before taping.
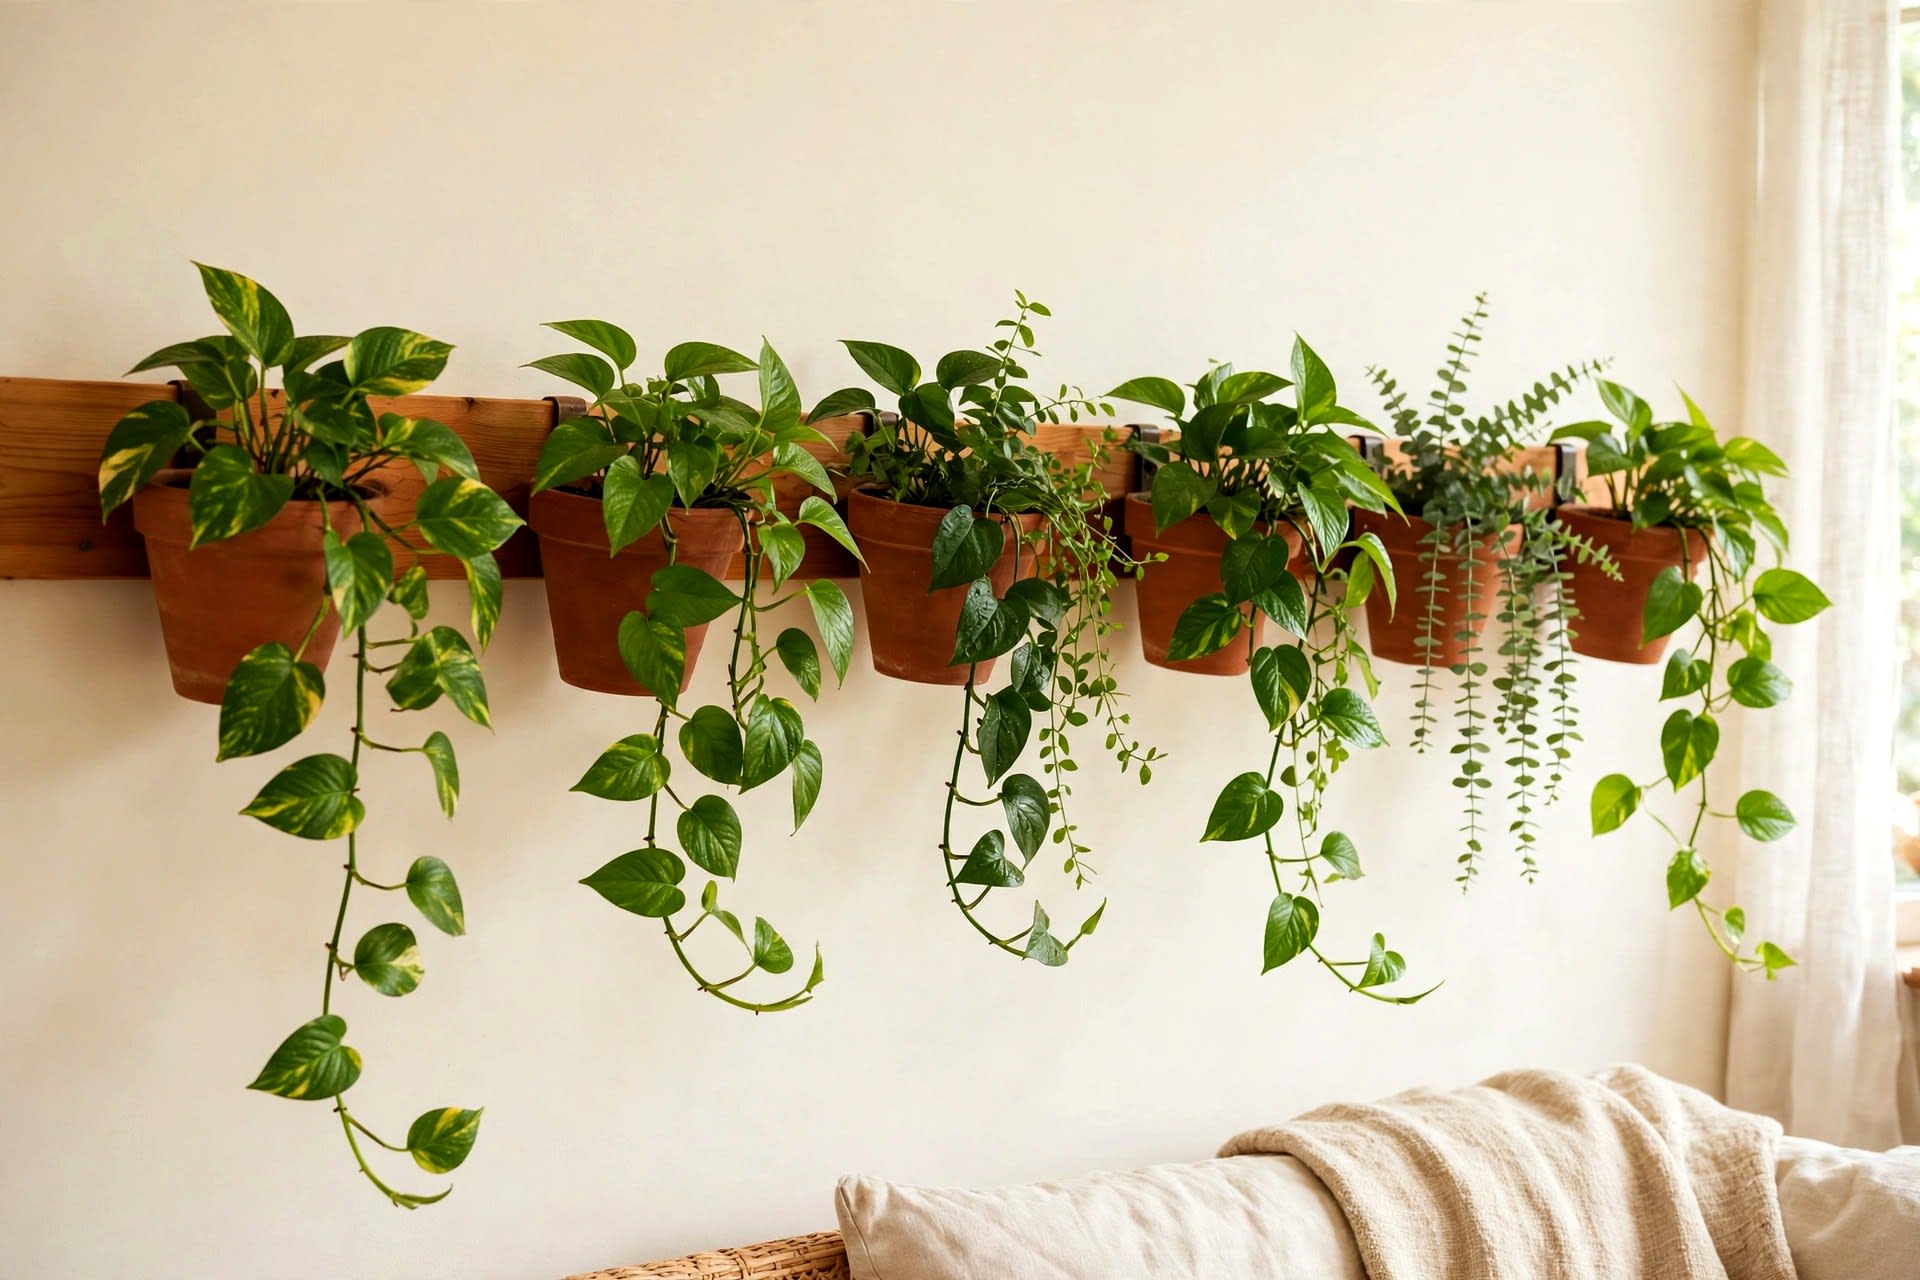
7. Floating shelves with plants and books
Two shallow shelves, 15 centimetres deep, break up a long wall without blocking the walkway. Cost around £30 to £70, time one to two hours. Keep loads light and fix into studs.
8. Wainscoting in a single colour
Full-height beadboard or shaker panels painted the same colour as the trim. Cost around £80 to £160, time one weekend. Paint before fixing for a cleaner finish.
9. Black and white photo run
One subject — family, travel, architecture — printed in black and white in identical frames. Cost around £20 to £60, time two hours.
10. Woven baskets and hats cluster
Flat woven baskets hung as art add texture where framed prints feel formal. Cost around £20 to £45, time one hour. Vary basket sizes by no more than double, and use fixings rated for the weight.
11. Wall lights as decoration
Two or three matching wall lights at 170 to 180 centimetres turn lighting into decor. Cost around £30 to £90 for plug-in or battery lights, time one hour. Battery sconces avoid all wiring.
12. Slim console with a gallery above
A 25 to 30 centimetre console, a mirror or art above, and a tray for keys. Cost around £50 to £150, time one hour. Check the walkway rule first: 90 centimetres clear after installation.
13. Chalkboard or pinboard family wall
One framed chalkboard or fabric pinboard for notes, keys and children's art. Cost around £20 to £40, time one hour. Hang it at adult eye level with the lower half within children's reach.
14. Bold colour on the end wall only
Paint the end wall in a deep colour — navy, forest green or terracotta — and keep side walls pale. Cost around £20 to £35, time half a day. The colour pulls the eye forward and shortens the corridor.
Step by step hallway gallery wall
Choose one frame colour and two or three frame sizes at most: mixed colours make a gallery look cluttered in a narrow space. Lay the frames on the floor, trace each onto kraft paper, and cut the shapes out.
Tape the paper shapes to the wall with painter's tape, starting with the centre frame at 145 to 150 centimetres centre height. Step back to the doorway and look: this is the view that matters, not the close-up view. Adjust spacing until gaps look even — 8 to 15 centimetres between frames — and check with a spirit level that the row reads level, or parallel to the stairs on a stair wall.
Mark the nail position through the paper, hammer through it, and tear it away. Hang the frames, step back, and nudge any tilted frame by its bottom corner. The job takes two to three hours, and the paper step saves you from the patch-and-repaint cycle.
Renter friendly hallway decor with no damage
Renters can do almost everything in this guide without a single hole. Adhesive strips rated for the frame weight handle prints up to about 7 kilograms per pair on smooth painted walls: clean the wall with rubbing alcohol first and wait the full hour the packet asks for before hanging. Picture ledges need screws, so swap them for leaning art on a console or a tall leaning mirror that needs no fixing at all.
Peel-and-stick wallpaper is the renter's panelling: it comes off cleanly from painted plasterboard if you peel slowly at a low angle and warm stubborn sections with a hairdryer. Test one strip behind a door first, because it grips poorly on textured walls and fresh paint under 30 days old. For the full deposit-safe playbook, see the renter-friendly wall decor and damage-free wall decor guides.
Common mistakes and fixes
The most common mistake is hanging art too high: hallway art centred at the standard 160 centimetres looks lost in a corridor, because you pass it at close range. Re-centre at 145 to 150 centimetres. Second, furniture that blocks the walkway: measure the clear passage after installation, not before, and remove anything that leaves under 90 centimetres.
Third, too many small frames: a dozen tiny prints read as clutter, while three larger pieces read as a collection — group small prints in one large frame, or edit down to the strongest five. Fourth, ignoring the end wall, the most seen wall in the house: give it a mirror, console or bold colour. Fifth, dark paint with weak lighting: lighten the colour or upgrade the lights.
FAQ
What height should pictures hang in a hallway? Centre each piece at 145 to 150 centimetres from the floor. On a stair wall, centre frames on a line parallel to the slope, about 150 centimetres above each step.
How wide should a hallway console table be? No deeper than 30 centimetres, and only where at least 90 centimetres of clear walkway remains. In halls under 110 centimetres wide, skip floor furniture and use mirrors, ledges and wall art.
Can I decorate a rental hallway without drilling? Yes. Adhesive strips handle most prints, leaning mirrors need no fixing, peel-and-stick wallpaper adds pattern without paste, and a console gives display space with zero wall damage.
What colour makes a narrow hallway look wider? Warm white or pale sage on walls and ceiling, with colour kept to the lower half through panelling or a dado line, plus one large mirror opposite a light source.
How do I stop a long hallway feeling like a tunnel? Repeat one element at even intervals, change the treatment halfway along, give the end wall a destination, and run a full-length runner rug to draw the eye forward.
Should hallway art match the rooms it connects? Echo them, not copy them: carry one colour, wood tone or frame style into the hall so spaces feel connected, while keeping the hallway's slimmer proportions.
A hallway rewards the same discipline as a small room: measure first, choose fewer and larger pieces, and let light and spacing do the heavy lifting. Start with the mirror and the paint, add one gallery or panelling project, and the corridor stops being the space you hurry through and starts being the space that welcomes you home.