
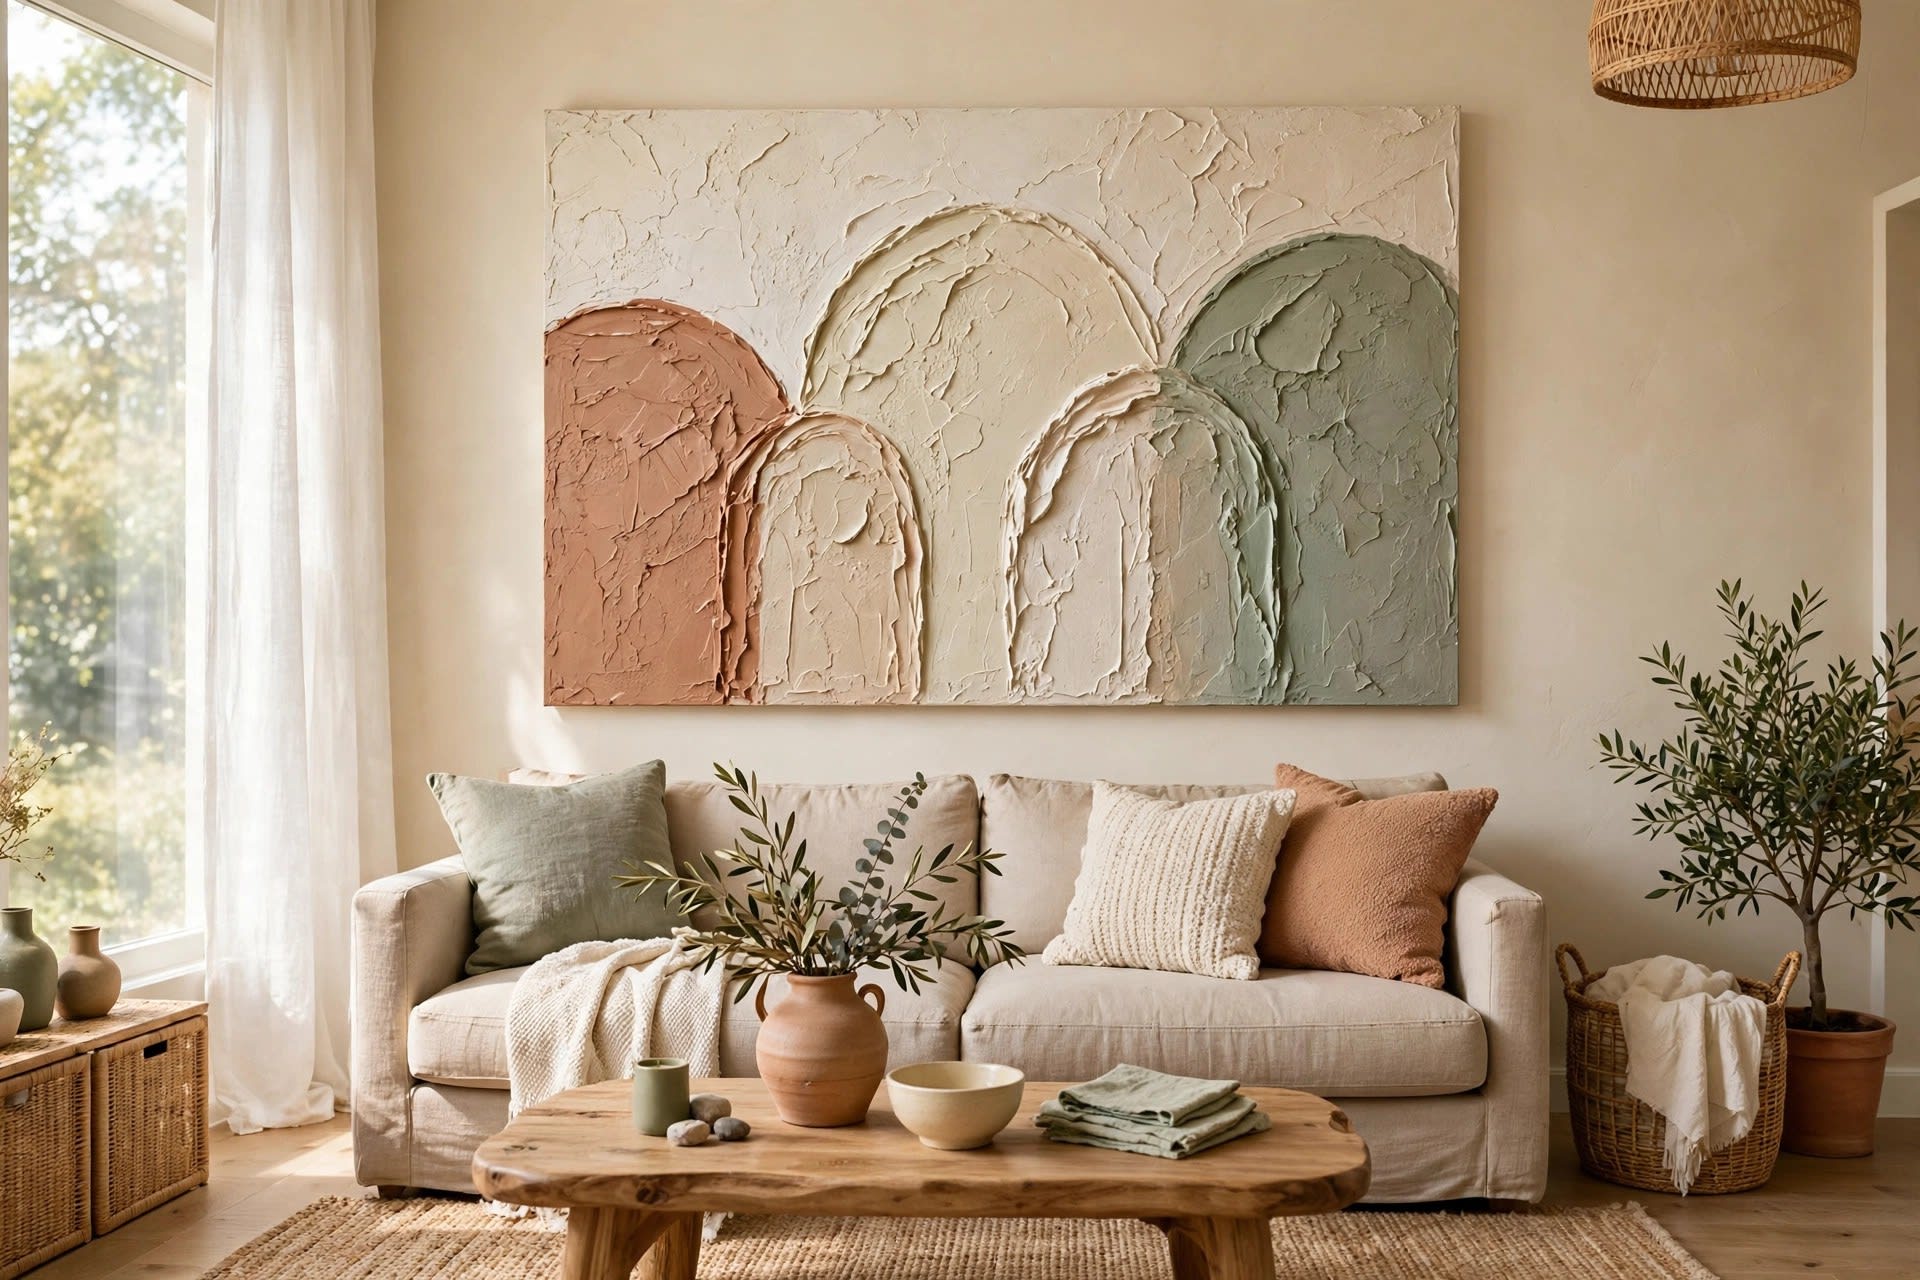
Blank canvas is the most intimidating wall decor project and, paradoxically, the most forgiving one. Unlike a print you buy once and live with, a canvas you paint yourself can be layered, sanded, repainted and rehung until it works. It costs a fraction of store-bought art and — done with a bit of planning — genuinely looks like something you chose, not something you settled for.
This guide covers the whole process: picking the right canvas size, techniques that suit beginners, a full step-by-step for the textured arch look dominating living rooms right now, and the finishing steps most tutorials skip — sealing, hanging safely, and rescuing a piece that went wrong.
Key Takeaways
- Cost: $15–$60 per canvas, depending on size and technique
- Time needed: 2–4 hours of active work, plus drying time
- Skill level: beginner-friendly — most techniques need no drawing ability
- The golden rule: size the art to the furniture, not the wall — aim for two-thirds to three-quarters of the furniture width below it
In this guide:
- Choosing the right canvas size
- 10+ canvas techniques, grouped by style
- Step-by-step: the textured arch
- Choosing a colour palette
- Sealing and varnishing
- Hanging canvas art safely
- Fixing common mistakes
- FAQ
Choosing the right canvas size
Size is where most DIY canvas art fails, and it has nothing to do with painting skill. A beautiful small canvas floating alone on a big wall looks like an afterthought; an oversized one crammed above a narrow console looks aggressive. Measure the furniture first, then buy the canvas.
The rule designers use: art above furniture should span roughly two-thirds to three-quarters of the furniture's width. Above a 72-inch sofa, that means a single canvas (or multi-panel set) around 48–54 inches wide. The bottom edge should sit 6–8 inches above the sofa back or tabletop — close enough to read as a group, high enough not to get knocked.
On a bare wall with no furniture beneath, the art should cover about 60–75% of the available wall width for a single statement piece, with its centre at eye level, roughly 57–60 inches from the floor.
| Wall / furniture situation | Best canvas size | Notes | |---|---|---| | Above a standard sofa (72–84 in wide) | 48 × 24 in, or 60 × 30 in | Single wide canvas, or a 3-panel set totalling the same width | | Above a bed (queen, 60 in wide) | 40 × 30 in, or 48 × 24 in | Keep it light — nothing heavy directly over a sleeping head | | Above a console or sideboard (48–60 in wide) | 30 × 40 in, or 36 × 24 in | Portrait orientation suits narrow furniture | | Dining room feature wall | 48 × 36 in, or a pair of 24 × 36 in | Pairs work well flanking a sideboard | | Small wall, hallway or nook | 16 × 20 in, or 18 × 24 in | Go bigger than you think — tiny art shrinks a small wall further | | Large empty wall (no furniture) | 60 × 40 in, or a 3-panel set | One big piece beats three small ones scattered around |
Orientation matters too. Horizontal canvases calm a wide wall; vertical ones add height to a low-ceilinged room. If you are torn, tape the outline on the wall with painter's tape and live with it for a day before buying. The same sizing logic applies to a gallery wall layout, where canvas usually anchors.
10+ canvas techniques, grouped by style
Every technique below works on a standard pre-primed, stretched canvas. Costs assume you already own basic brushes; add $10–$15 if starting from zero. "Beginner" means no drawing ability required.
Textured and dimensional
1. Textured plaster / joint compound art. The arch, sun and wave reliefs all over social media are mostly lightweight joint compound spread with a palette knife. Cost: $15–$25. Time: 2–3 hours plus 24–48 hours drying. Skill: beginner. The most forgiving technique here, because texture hides every wobble — our textured plaster art guide covers the material in detail.
2. Impasto acrylic. Thick acrylic applied with a palette knife so the paint itself becomes texture. Cost: $20–$35. Time: 2–3 hours. Skill: beginner. Use heavy-body paint; thin craft paint will not hold a ridge.
3. Mixed media and collage. Torn paper, fabric scraps, dried flowers or gold leaf sealed under acrylic medium. Cost: $15–$30. Time: 2–4 hours. Skill: beginner. Seal each layer before adding the next, or paper edges will lift.
Fluid and abstract
4. Acrylic pour. Paint thinned with pouring medium, tipped and tilted across the canvas. Cost: $25–$45. Time: 1 hour plus 48–72 hours drying. Skill: beginner. Beautiful and unpredictable — buy a practice canvas first.
5. Abstract brushwork. Large gestural strokes in a limited palette, built in layers. Cost: $20–$35. Time: 2–3 hours. Skill: beginner to intermediate. Restraint is the secret: three or four colours, plus breathing room.
6. Colour blocking. Bold flat shapes in two or three colours, edges crisp with painter's tape. Cost: $15–$25. Time: 1–2 hours. Skill: beginner. The easiest route to a modern, intentional look.
Graphic and drawn
7. Line art. A single continuous line forming a face, figure or botanical shape over a washed background. Cost: $15–$25. Time: 1–2 hours. Skill: intermediate. Practice on paper first — the confidence shows in the final stroke.
8. Geometric tape art. Painter's tape laid in triangles, arches or stripes, painted over, then peeled for sharp edges. Cost: $15–$25. Time: 2 hours. Skill: beginner. Press tape edges down firmly or paint bleeds underneath.
9. Botanical painting. Leaves, branches and simple florals, either loose washes or flat graphic shapes. Cost: $15–$30. Time: 2–3 hours. Skill: beginner to intermediate. One large leaf done well beats a crowded bouquet done nervously.
Statement formats
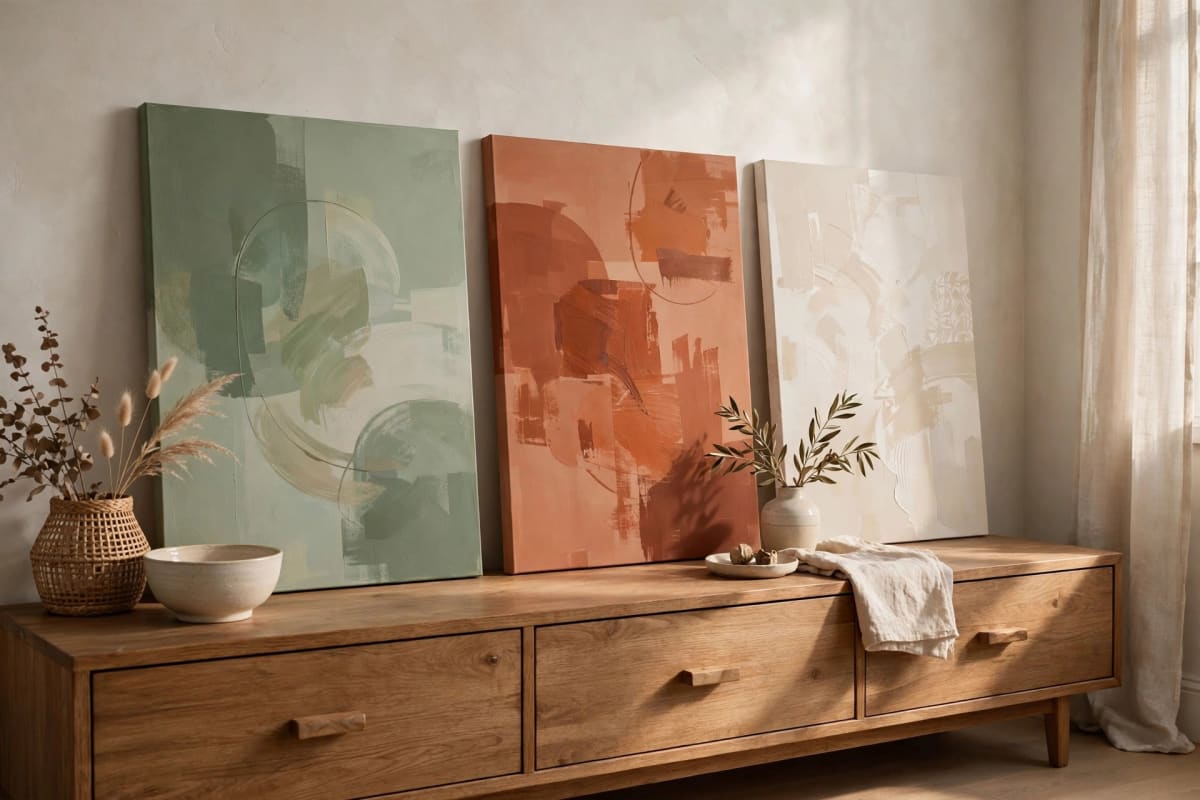
10. Multi-panel (diptych / triptych). One image split across two or three canvases hung with a 2–3 inch gap. Cost: $30–$60. Time: 3–4 hours. Skill: beginner. The panels do the visual work, so the painting can stay simple.
11. Monochrome and tonal. One colour in five or six shades, from near-white to near-black. Cost: $15–$25. Time: 2 hours. Skill: beginner. The safest choice for a room that already has plenty of colour.
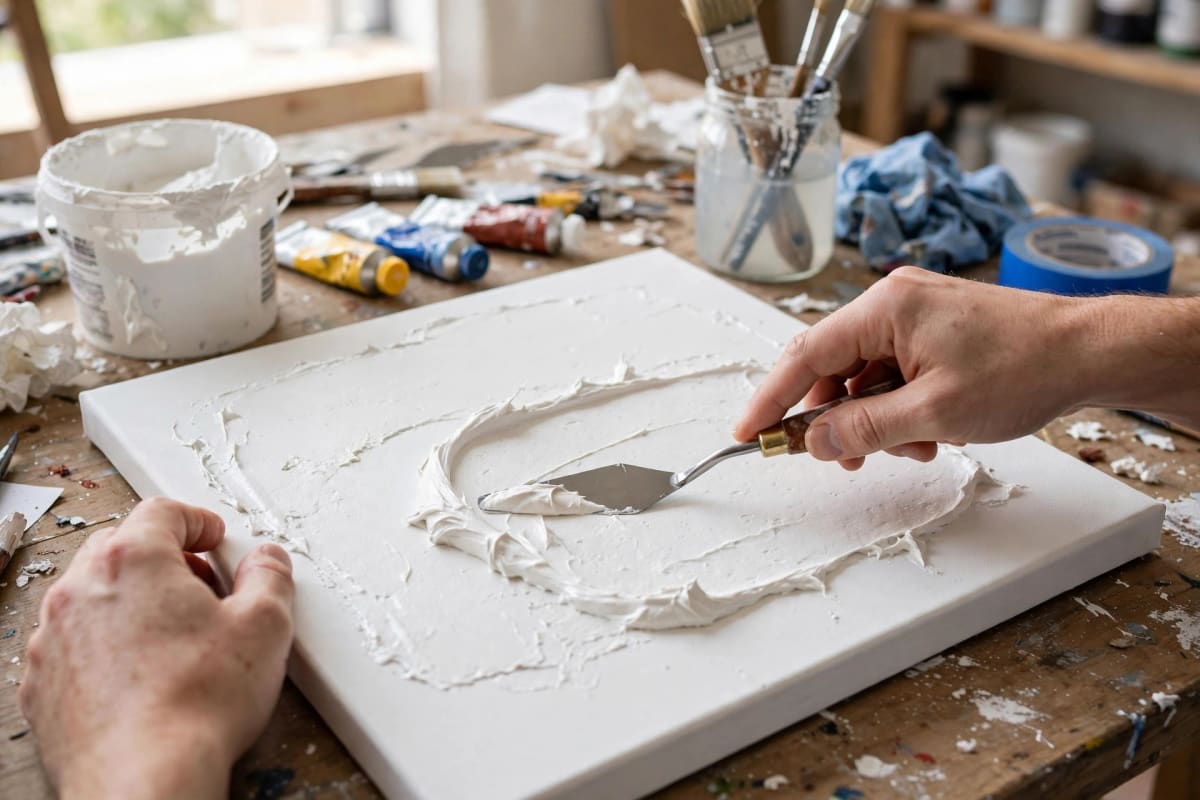
Step-by-step: the textured arch
This is the technique to start with if you only make one canvas: no drawing skill needed, and texture gives it a crafted quality flat painting cannot match.
You will need: a pre-primed stretched canvas (24 × 36 in is a good first size), lightweight all-purpose joint compound, a palette knife, painter's tape, acrylic paint, a soft flat brush, and a drop cloth.
Step 1 — Sketch the arch lightly. With a pencil, draw a large arch — two vertical lines with a semicircle on top — centred with generous margins. Do not press hard; deep grooves show through thin compound.
Step 2 — Tape the edges. Run painter's tape just outside the arch outline for a clean border. If you want a painted background, paint it now and let it dry fully first.
Step 3 — Apply the compound. Spread joint compound inside the arch with a palette knife, about 3–5 mm thick. Do not aim for smooth; drag the knife in arcs and short strokes to build ridges. Keep the layer even — thick patches dry far slower and are the main cause of cracking.
Step 4 — Add detail while wet. Drag a fork, comb or card edge through the wet compound for grooves. You have about 20–30 minutes before it skins over.
Step 5 — Dry slowly. Leave the canvas flat, indoors, away from direct heat or a fan, for 24–48 hours. Forced drying is the fastest route to cracks; the surface should feel hard all the way through.
Step 6 — Sand lightly and paint. Sand raised edges gently, wipe off dust, then paint two thin coats of acrylic rather than one thick coat — thick paint fills in the texture. Remove the tape while the second coat is still slightly tacky.
Step 7 — Seal. Once fully dry, seal with clear varnish (see below). Unsealed compound is chalky, marks easily and collects dust in every ridge.
Choosing a colour palette
Canvas art fails on colour more often than on technique. The safest approach: pull your palette from the room itself. Pick one colour already there (a cushion, a rug, a throw), then build the canvas around it plus neutrals.
Three palettes that work in almost any living space:
- Warm neutrals: cream, sand, terracotta and soft clay — the default for textured art.
- Earthy green and cream: sage, olive, warm white and a touch of charcoal.
- Bold accent: one strong colour — deep teal, ochre or navy — against off-white. One bold canvas per wall, not a set.
Stick to three or four colours including neutrals; every extra colour is another chance for muddiness. If you mix your own shades, mix more than you need — matching a dried colour halfway through is nearly impossible.
Sealing and varnishing
Sealing is the step most tutorials skip, and it is the difference between art that lasts and art that looks tired in a year. Unsealed surfaces attract dust, scuff easily and yellow unevenly in sunlight; joint compound and collage need sealing even more.
Use a clear acrylic varnish, brush-on or spray. Brush-on gives a more even coat on textured work; spray is faster on flat work but needs ventilation and several light passes. Finish matters: matte for textured and rustic pieces (gloss on texture looks plastic), satin as the all-rounder, gloss only for bold graphic work.
Apply two thin coats, letting the first dry fully (3–4 hours), in a dust-free spot.
Hanging canvas art safely
Canvas is light compared with framed art, but a large stretched canvas still carries real weight.
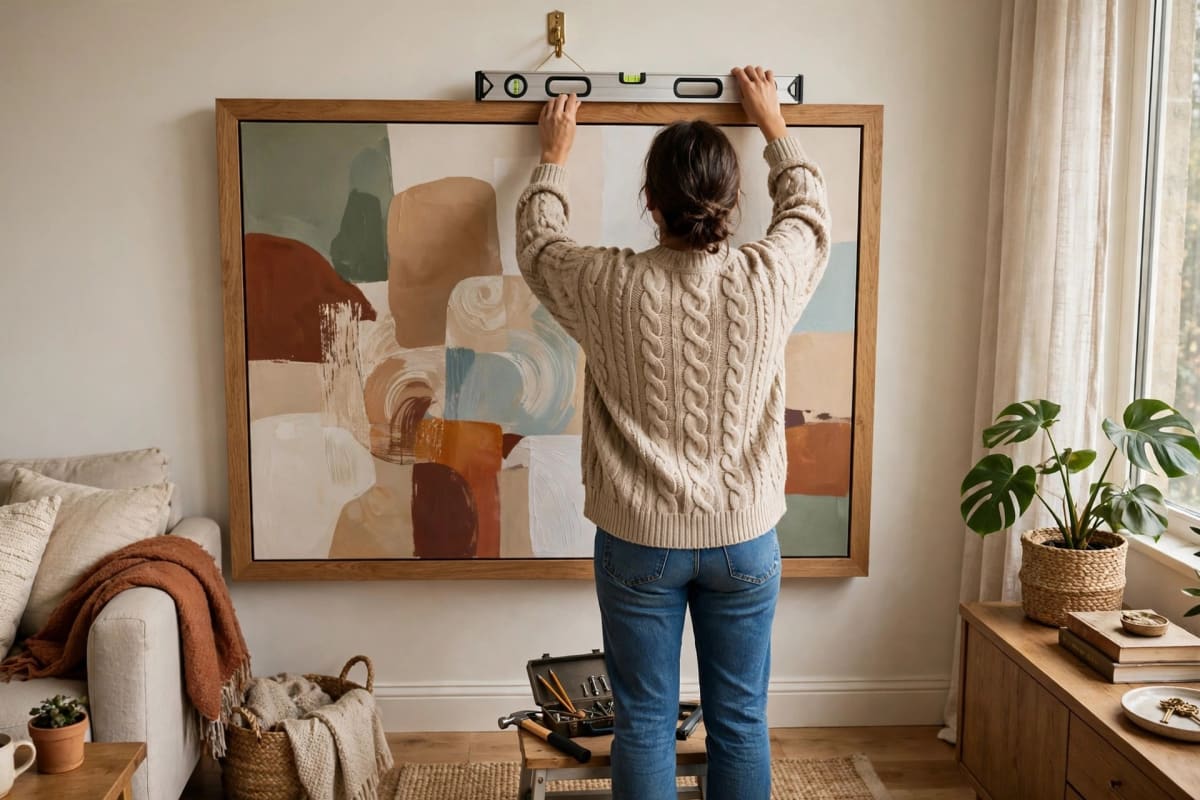
A standard 24 × 36 inch stretched canvas weighs roughly 3–5 pounds; a 48 × 60 inch piece can reach 10–15 pounds, more once joint compound is added — textured pieces can gain several pounds, so weigh yours if it feels heavy. Under 10 pounds, a single picture hook or a nail into a stud works. For heavier pieces, use two hooks spaced 12–16 inches apart, anchored into a stud or with proper wall anchors — adhesive strips are rated for frames, not heavy textured canvas, and fail exactly when the room gets warm.
Hang with the canvas's own wire or sawtooth hanger, and check level from across the room. Renters: adhesive hooks rated well above the weight, on a clean wall, fully cured — see our DIY wall decor guide.
Fixing common mistakes
Almost every canvas disaster is recoverable — match the fix to the problem.
Cracking in textured work. Layers too thick or dried too fast. For hairline cracks, press a thin skim of fresh compound in, dry slowly, repaint. For deep cracks, scrape the section back and redo it thinner.
Muddy colours. Over-mixing on the canvas, or too many colours in one area. Let it dry, then glaze over with a single clean colour in a thin layer, or repaint that section opaque. Never try to fix muddy paint while wet.
Buckling or warped canvas. Too much water from thin paint or wet collage layers. Mist the back lightly, lay it face-down on a flat surface with a weight on top, and leave overnight — it usually tightens as it dries. Severe warps are faster to replace than fight.
Paint bleeding under tape. Peel tape while paint is slightly tacky and touch up with the background colour. Next time, press tape edges down and seal the edge with background colour before painting the design colour over it.
A composition that just looks wrong. Step back to the far side of the room. Most problems are proportion or balance, not detail. One large added shape, or painting out a competing element, usually fixes it.
FAQ
What size canvas should I buy for above a sofa? Art spanning two-thirds to three-quarters of the sofa's width — typically a 48 × 24 inch canvas, or a multi-panel set totalling the same width, hung 6–8 inches above the sofa back.
Do I need to prime a store-bought canvas? Most stretched canvases are pre-primed and ready to paint. For joint compound or heavy texture, add one extra coat of gesso first — it gives the compound grip and stops it peeling.
How long does a DIY canvas take from start to finish? Active work is usually 2–4 hours, but drying dominates: acrylic dries in hours, while joint compound and acrylic pours need 24–72 hours before sealing and hanging. Plan a weekend, not an evening.
Can I hang a heavy textured canvas with adhesive strips? Only if the strips are rated comfortably above the actual weight, on a clean, smooth wall. Over 10 pounds, hooks into a stud or proper wall anchors are far safer, especially in warm rooms where adhesive weakens.
How do I stop my abstract painting looking messy? Limit the palette to three or four colours, leave empty space deliberately, and stop earlier than feels natural. A painting that looks 80% done usually looks finished from across the room.
Start with one canvas, one technique and a palette pulled from your own room.



