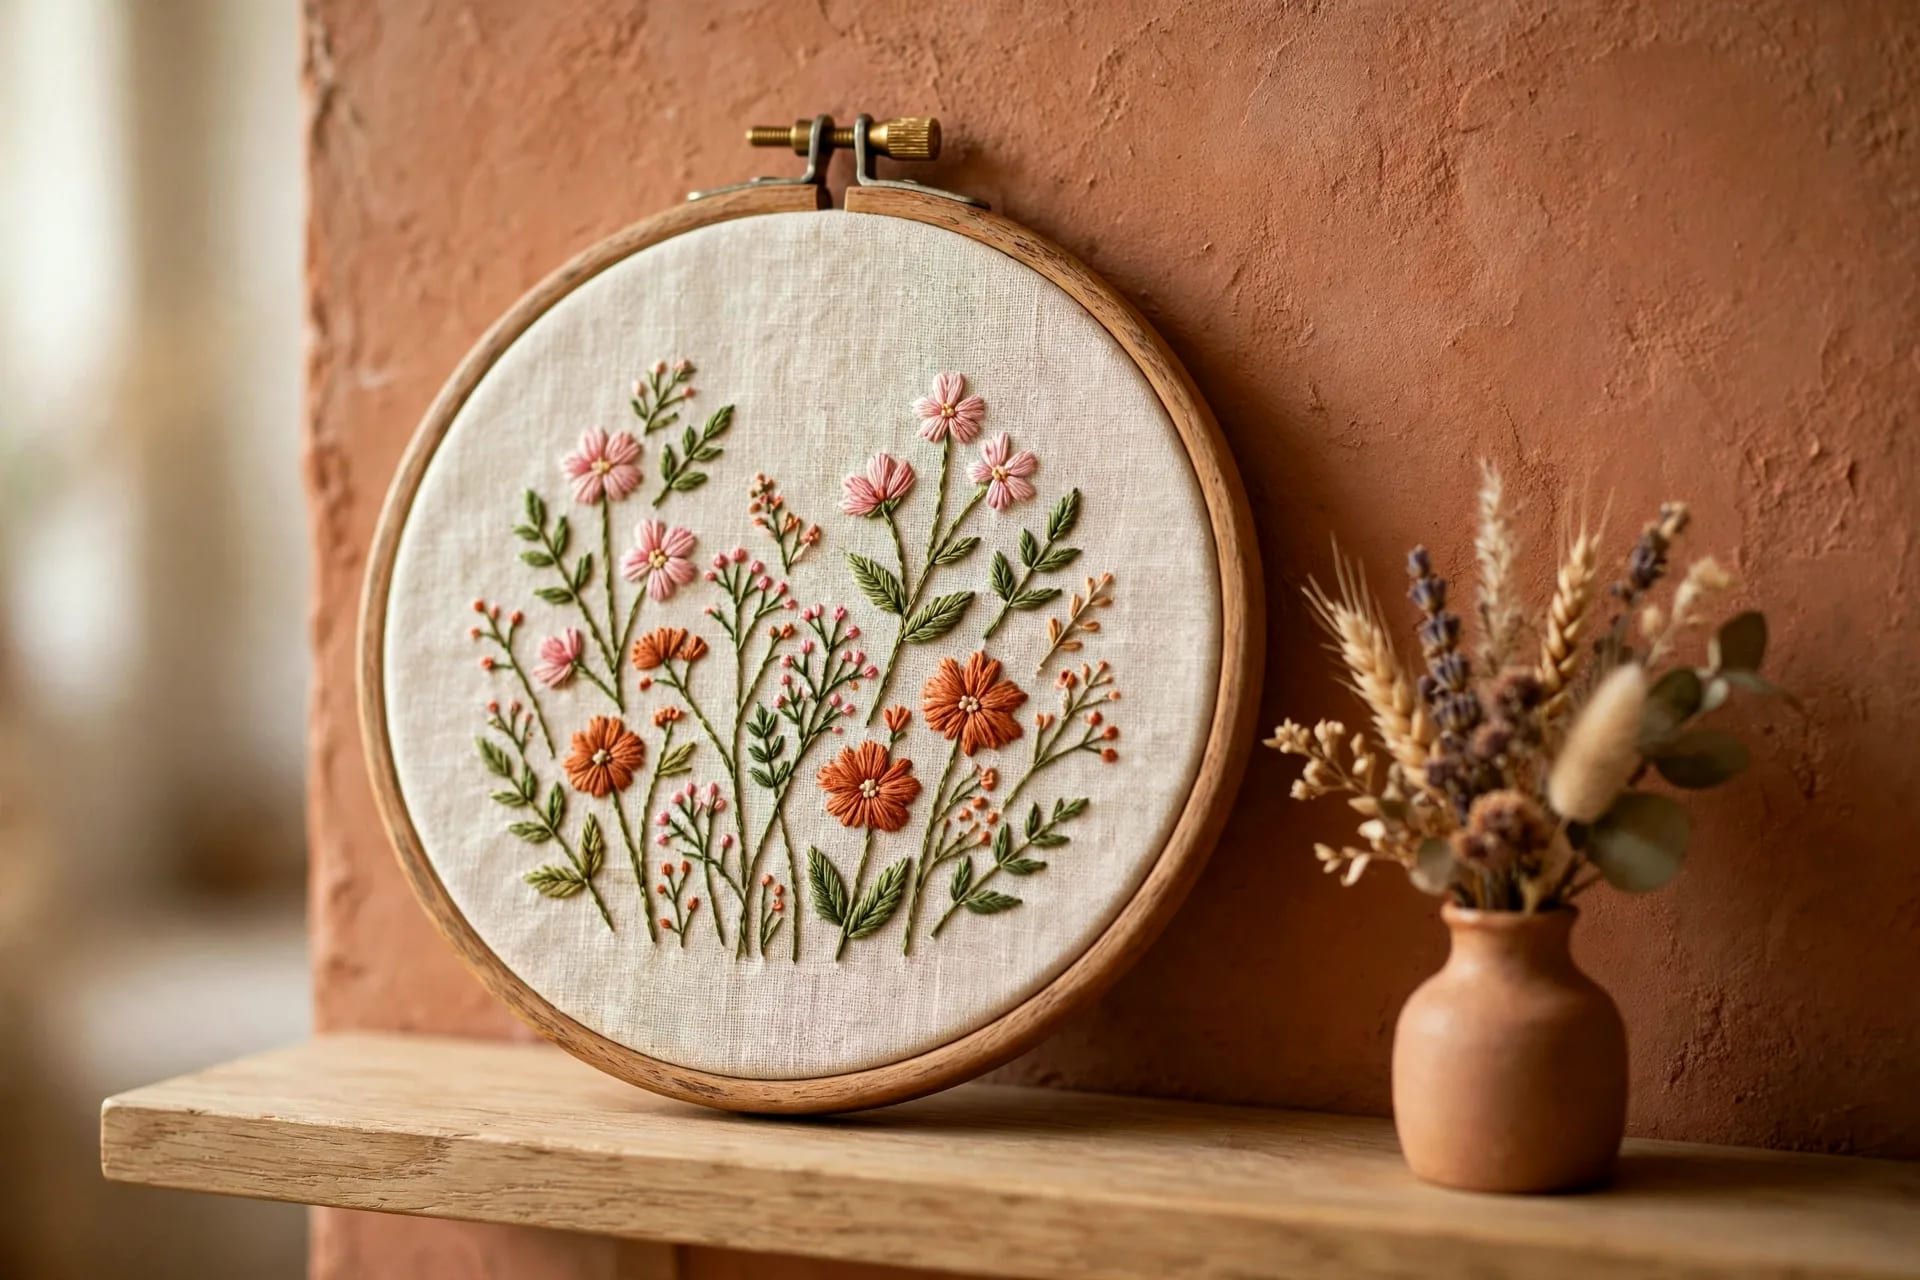
DIY embroidery hoop wall art looks far harder than it is. A wooden ring, a square of linen and a few skeins of thread become a finished piece in one evening — no sewing machine and no pattern experience needed. This guide starts at zero: what to buy, what it costs, five easy stitches, then twenty-one projects from easiest to hardest.
Key Takeaways
- A beginner kit costs £12 to £20: hoops, linen, six skeins of thread, needles and scissors.
- Five stitches — running, backstitch, French knot, lazy daisy and satin — cover nearly every beginner design.
- Start with a 15 cm hoop: easiest to hold, cheapest to fill, most forgiving of wobbly stitches.
- No-sew hoops with felt, fabric scraps and dried flowers look finished in under an hour.
- Hang hoops screw-up, centred at 145 cm from the floor, on one small nail or a damage-free hook.
Table of Contents
- What You Need: Hoop Sizes, Fabric and Thread (With Costs)
- 5 Easy Stitches Every Beginner Should Learn First
- No-Sew Hoop Art: Felt Applique, Fabric Scraps and Dried Flowers
- Personalised Name and Monogram Hoops
- Floral and Botanical Hoop Art
- Hoop Gallery Walls: How to Arrange 3, 5 or 7 Hoops
- How to Hang Embroidery Hoops Without Damaging Walls
- 7 Beginner Mistakes That Ruin Hoop Art (and How to Fix Them)
- FAQ
What You Need: Hoop Sizes, Fabric and Thread (With Costs)
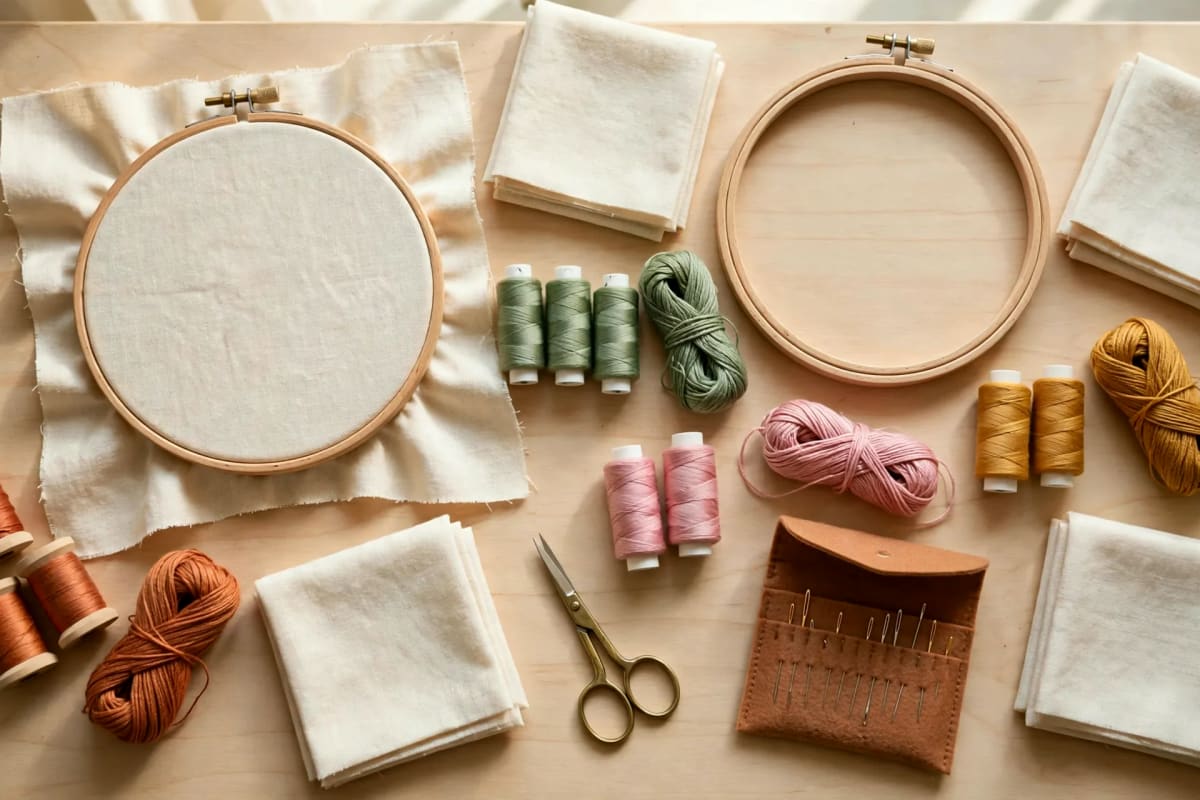
An embroidery hoop is two rings that sandwich fabric and hold it drum-tight while you stitch: loosen the brass screw, seat the fabric over the inner ring, press the outer ring down and tighten. Never stitch on slack fabric — tension is what makes neat stitches possible.
Size decides how a piece reads on the wall. A 10 cm hoop suits a tiny motif — one flower or a monogram — and works best in a group. A 15 cm hoop is the beginner sweet spot: big enough for a small bouquet or a short word, small enough to hold in one hand. A 20 cm hoop makes a statement above a bedside table, and a 25 to 30 cm hoop anchors a wall alone.
Use plain-weave linen or cotton calico in cream, natural or white: easy to follow, smooth to stitch, and light colours make thread colours pop. Avoid stretchy jersey, slippery satin and dark fabrics for your first three hoops. A half-metre costs about £4 and covers four or five 15 cm hoops.
Thread is cheap: six-strand floss costs 60p to £1 per skein. Buy six — terracotta, dusty pink, sage green, mustard, cream and dark brown for stems and lettering — plus crewel needles in sizes 7 to 9 (about £2) and small sharp scissors (£3 to £5).
| Item | What to buy | Typical cost | | --- | --- | --- | | Hoops (2) | Wooden, 15 cm and 20 cm | £4–£6 | | Fabric | Half-metre plain linen, cream | £4 | | Thread | 6 skeins of six-strand floss | £4–£6 | | Needles | Crewel needles, sizes 7–9 | £2 | | Scissors | Small sharp embroidery scissors | £3–£5 | | Extras | Pencil, tracing paper, felt scraps | £2–£3 | | Total starter kit | | £12–£20 |
That buys three or four finished hoops at roughly £4 per piece — cheaper than almost any other DIY wall decor for beginners project. For the wider sizing rules every guide on this site uses, see the DIY wall decor guide.
5 Easy Stitches Every Beginner Should Learn First
Every design here uses some combination of five stitches. Learn them on scrap linen first, ten minutes on each, and you will never need a pattern book.
Running stitch is the simplest: the needle weaves in and out in a dashed line. Use it for stems, outlines and dotted borders, keeping stitches 3 to 4 mm long and even.
Backstitch is running stitch's tidier sibling. Bring the needle up, go back one stitch-length, then come up one stitch-length ahead. The result is a solid, unbroken line, perfect for lettering. Most name hoops are ninety percent backstitch.
French knot makes tiny textured dots that read as flower centres, berries and buds. Wrap the thread twice around the needle, hold it taut, and push the needle back down right next to where it came up. Two wraps, not three, keeps the knot small and neat.
Lazy daisy builds petals one loop at a time: bring the needle up, loop the thread under it, go back down in the same hole, and tack the loop with a tiny stitch at the tip. Five or six lazy daisies around a French knot make a daisy in under a minute.
Satin stitch fills shapes — leaves, petals, hearts — with smooth parallel stitches laid side by side. Work from the centre outwards, keep stitches close, and do not pull so hard that the fabric puckers.
No-Sew Hoop Art: Felt Applique, Fabric Scraps and Dried Flowers
Not ready to stitch? These five projects need no needle — just a hoop, fabric glue and scissors — and each takes under an hour.
1. Felt flower hoop
Cut petal shapes from felt in terracotta, dusty pink and cream, layer them into flowers, and glue them onto linen in a 15 cm hoop. Add a mustard felt centre and a few sage leaves for depth.
2. Fabric scrap patchwork hoop
Cut cotton scraps in one colour family into 4 cm squares and glue them edge to edge across the hoop in a loose grid. It reads like a tiny quilt and uses up scraps that would otherwise go in the bin.
3. Dried flower hoop
Press small dried flowers and grasses flat for a week, then arrange them on linen in a 20 cm hoop with a dot of clear-drying glue per stem. Lavender, baby's breath and wheat glue flat most easily.
4. Ribbon weave hoop
Stretch strips of ribbon in toning colours across a 15 cm hoop in a simple over-under weave, gluing the ends behind the fabric. Alternate wide and narrow ribbons for texture; at twenty minutes, it is the fastest project here.
5. Button and bead bouquet hoop
Glue vintage buttons in mixed sizes onto linen as flower heads, then add thin stems below with ribbon or unstitched thread. Charity-shop button jars cost about £2 and one jar fills three hoops.
Personalised Name and Monogram Hoops
A name hoop is the most gifted piece in this guide — for a new baby, a wedding or a housewarming — and mostly backstitch, so it is easy.
6. Single-name script hoop
Pencil the name onto the linen, or print it in a script font at 15 cm wide and trace it through a sunny window. Backstitch in two strands of dark brown thread; a 20 cm hoop suits names of five to eight letters.
7. Monogram wreath hoop
Stitch one large initial in the centre — satin stitch fills it in about twenty minutes — then ring it with lazy daisy flowers and leaves. Cream linen and sage thread give the classic wedding-gift look.
8. Family names hoop
Stitch the family surname large in the centre and first names small underneath, separated by a French-knot border. Keep the design to two thread colours so it stays calm; 25 cm works best, hung in a hallway.
9. Birth details hoop
For a nursery, stitch the baby's name, birth date and weight in three neat lines of backstitch, with a small motif above — a moon, a star or a tiny animal. See the DIY fabric wall art guide for a matching panel.
Floral and Botanical Hoop Art
Flowers are forgiving: a slightly wonky petal still reads as a flower, whereas a wonky letter reads as a mistake.
10. Wildflower meadow hoop
Scatter ten to twelve small flowers of different heights across a 20 cm hoop — lazy daisy petals, French knot centres, running-stitch stems — in terracotta, pink and mustard with sage leaves. It is the best first stitched project here.
11. Single stem hoop
One elegant stem — a eucalyptus sprig, a lavender stalk or a single rose — centred on cream linen in a 15 cm hoop, with plenty of empty fabric around it.
12. Cherry blossom branch hoop
Stitch a diagonal branch in dark brown backstitch across a 20 cm hoop, then cluster five-petal blossoms along it in dusty pink with cream French knot centres. The diagonal feels dynamic and suits spring decor.
13. Botanical leaf study hoop
Fill a 15 cm hoop with five or six different leaves — fern, eucalyptus, olive, monstera — each in a different green, using satin stitch for solid leaves and running stitch for veining.
14. Punch needle flower hoop
Punch needle pushes loops of yarn through fabric to build a textured, almost carpet-like surface. A 20 cm hoop with three chunky blooms in terracotta and cream takes about an hour and looks strikingly modern. It pairs well with a macrame wall hanging on the same wall.
15. Seasonal wreath hoop
Stitch a simple circular wreath in a 20 cm hoop and swap the accents by season: holly and red berries for December, pastel blossoms for spring, wheat and mustard leaves for autumn. One hoop serves all year with thirty minutes of seasonal restitching.
Hoop Gallery Walls: How to Arrange 3, 5 or 7 Hoops
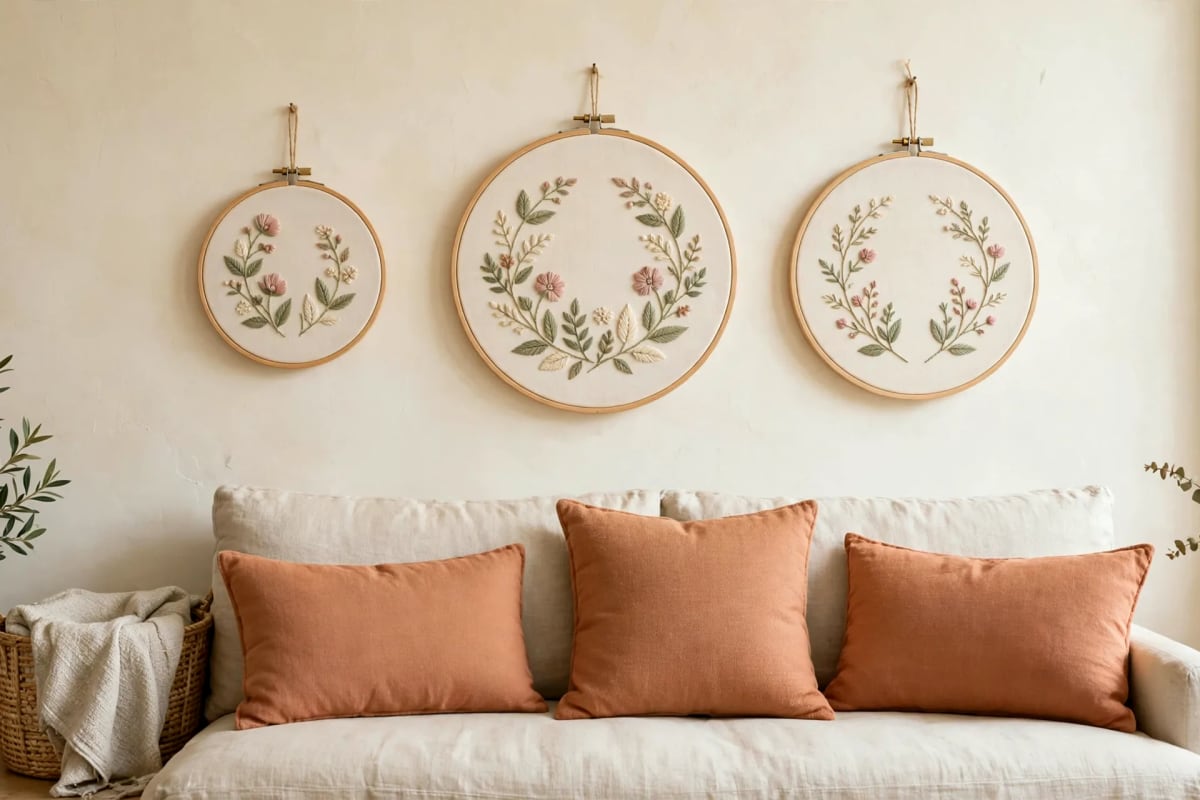
One hoop is a craft project; three or more are wall decor. Treat the group as one shape with 5 to 8 cm between hoops.
16. Trio in a row
Three hoops — 15, 20 and 15 cm — in a straight row above a sofa or bed, centres level. Keep the thread palette identical so the row reads as one piece.
17. Five-hoop cluster
Five hoops in a loose diamond: one 25 cm hoop in the centre, four 15 cm hoops around it. Mix the designs but keep one thread colour running through all five.
18. Seven-hoop salon wall
Seven hoops from 10 to 30 cm inside an imaginary rectangle about 120 cm wide and 90 cm tall. Vary the designs but keep the linen the same cream throughout. For spacing templates, see gallery wall layouts.
How to Hang Embroidery Hoops Without Damaging Walls
A finished hoop is light — most weigh under 200 grams — so hang it by the screw at the top, looped with ribbon or twine, or straight onto a small nail. Adhesive hooks rated for 450 grams hold one hoop; use one hook per hoop. For five or more, small nails beat adhesive. Centre the arrangement at 145 cm from the floor.
19. Leaning hoop on a shelf
Lean a 25 cm hoop against the wall on a console, with a small vase in front to hold it steady. No holes at all.
20. Hoop on a picture ledge
Stand two or three hoops on a narrow picture ledge, overlapping slightly, largest at the back. The ledge does the hanging work — a good option above a desk.
21. Seasonal hoop swap display
Keep one hook and one "current" hoop: a wreath in winter, wildflowers in spring, leaves in autumn. Rotating one hoop keeps the wall fresh without a new gallery each season.
7 Beginner Mistakes That Ruin Hoop Art (and How to Fix Them)
Pulling stitches too tight. The fabric puckers. Fix: stitch with a relaxed hand and retighten the hoop as you work.
Starting with a 30 cm hoop. Large hoops take hours to fill. Fix: finish a 15 cm hoop first.
Using all six strands of thread. Full six-strand stitching looks chunky. Fix: stitch with two or three strands, except for French knots.
Skipping the transfer step. Freehand lettering drifts uphill. Fix: trace the design in pencil before stitching a single thread.
Leaving the fabric loose. Slack fabric gives uneven stitches. Fix: tighten the screw until the fabric is taut and springs back.
Forgetting the back. Long thread carries show through light linen. Fix: keep carries under 2 cm and glue a felt circle over the raw edge.
Hanging hoops in direct sunlight. Colours fade and linen yellows within months. Fix: hang hoops where they get indirect light only.
FAQ
What size embroidery hoop is best for a beginner?
A 15 cm wooden hoop — comfortable to hold, cheap to fill, and large enough for a small bouquet or a short name.
Do I need to know how to sew to make embroidery hoop wall art?
No — the five stitches can be learned in an evening, and the five no-sew projects need no needle at all.
How much does DIY embroidery hoop wall art cost?
A starter kit costs £12 to £20. Each finished hoop after that costs roughly £3 to £5 in materials.
How do I finish the back of an embroidery hoop?
Trim the fabric to 2 cm, fold it behind the inner ring and glue a felt circle over it, cut 1 cm smaller than the hoop.
What fabric is best for embroidery hoop wall art?
Plain-weave linen or cotton calico in cream or natural; avoid stretchy or slippery fabrics.