
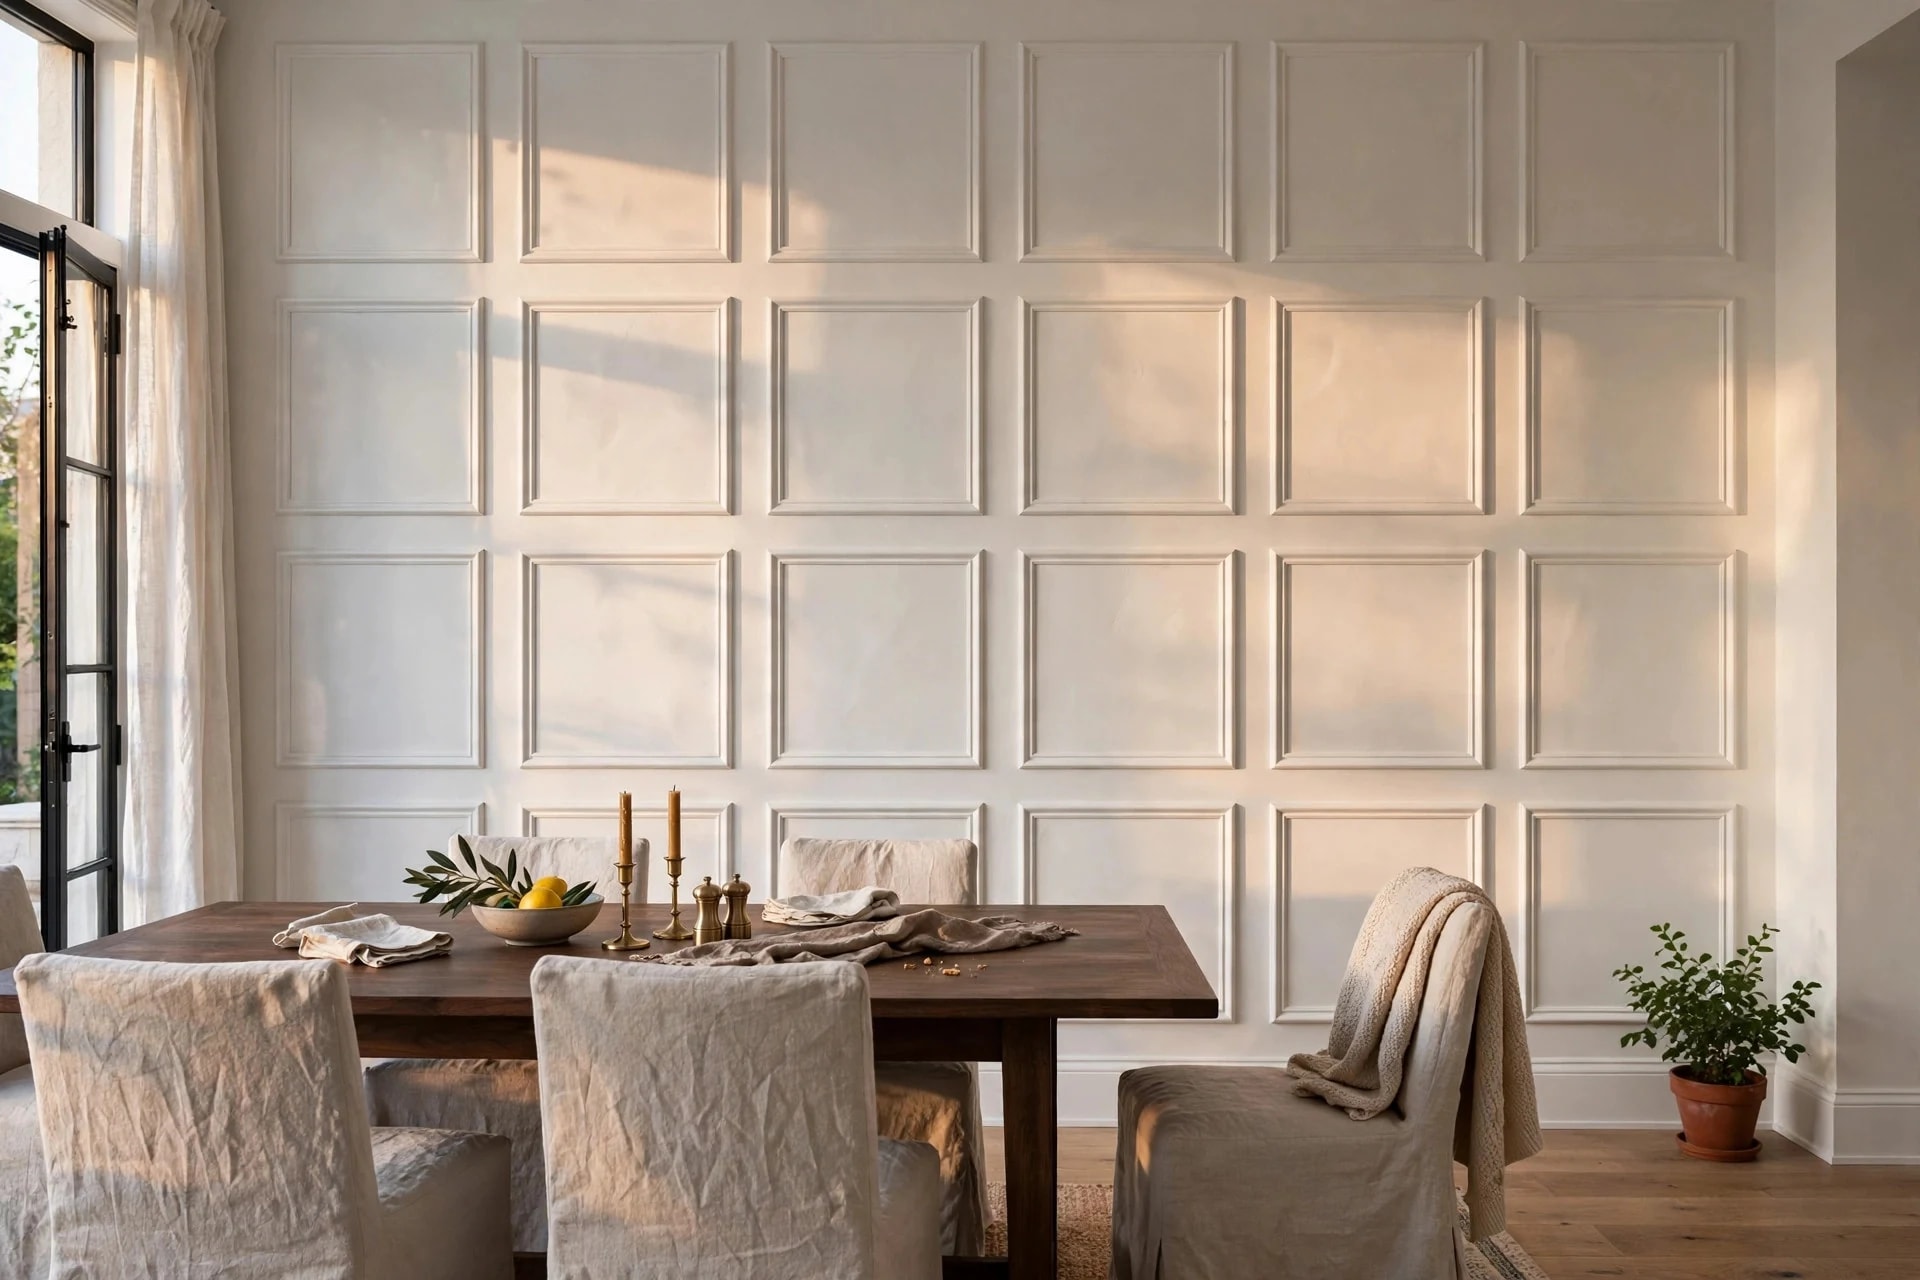
A flat drywall box of a room is the default setting of modern houses, and picture frame moulding is the cheapest known cure. The idea is simple: thin trim pieces, mitered into rectangles and applied straight onto the wall, painted the same color as the wall itself. No panels, no carpentry degree, no demolition. What you get is the shadow lines and structure of traditional wainscoting for the price of a nice dinner out.
This is the project currently filling Pinterest boards for a reason — it photographs like a renovation and costs like a craft project. But it only looks expensive when the layout math is right. Uneven boxes scream DIY in the bad way. This guide covers the spacing rules, the real costs, and the finishing step that most tutorials rush.
Key Takeaways
- Total cost: about $82 for one standard wall (moulding, nails, caulk, filler)
- Time needed: one afternoon, roughly 4 hours including painting prep
- Skill level: beginner-intermediate — the only real skill is a 45° miter cut
- The make-or-break step: caulk and filler. Skip it and the boxes look glued on; do it and they look original to the house
Table of Contents
- What picture frame moulding actually is
- The spacing rules that make it look professional
- Materials and what they actually cost
- Tools: what you need and what you can skip
- Step 1: Tape the layout before cutting anything
- Step 2: Cut and dry-fit your boxes
- Step 3: Attach the moulding
- Step 4: Caulk, fill, sand — the built-in step
- Step 5: Paint
- Mistakes that make it look cheap
- FAQ
What picture frame moulding is (and is not)
Picture frame moulding — also called applied moulding or faux panel moulding — is decorative trim stuck directly on a flat wall in rectangular "frames." Unlike real raised-panel wainscoting, there's nothing behind the wall surface: no panels, no backing boards, no structural anything. The wall itself becomes the panel, and the trim just draws the rectangle.
That honesty matters for expectations. This technique adds visual architecture, not actual millwork depth. On a smooth or lightly textured wall, the illusion is convincing. On heavy orange-peel or knockdown texture, the trim sits on top of bumps and the seams telegraph — skim-coating first is the honest fix, though that's a bigger job than the moulding itself.
It works best in dining rooms, living rooms, hallways, and primary bedrooms — anywhere a long, blank wall is doing nothing. If you're collecting wall treatments that don't involve paint alone, this pairs well with the ideas in our DIY wall decor guide, and renters should read the damage-free section there before reaching for a nail gun — or start with renter-friendly wall decor instead.
The spacing rules that make it look professional
Layout is where this project is won or lost. The trim itself is identical in every tutorial you've seen; the difference between "designer" and "dollar store" is consistent spacing.
The rules that matter:
- Keep one spacer measurement everywhere. The gap between the wall edge and the first box, between boxes, and below the boxes should be the same number. Most installers land between 2¾ and 3½ inches for side and middle gaps, with up to 4 inches acceptable above and below. Pick one — 3 or 3½ inches is a safe default — and never deviate.
- Boxes can change size; gaps cannot. If a wall needs a wider center box, fine. The spaces around the boxes stay identical, or the eye catches the error instantly.
- Do the division honestly. Box width = (wall width − all the spacer gaps) ÷ number of boxes. For a 12-foot wall with three boxes and 3½-inch spacers: 144 − (4 × 3.5) = 130 inches of box, so each box is about 43 inches wide.
- Height follows the room. A common arrangement is one tall row of boxes, or two stacked rows with the top row roughly twice the height of the bottom. Full-height single boxes suit 8-foot ceilings; two rows suit taller walls.
Uneven ceiling lines are the one legitimate exception: if your ceiling slopes or waves, measure down from the ceiling for the top gap rather than up from the floor, because your eye reads the top line first.
Materials and what they actually cost
The standard choice is ornamental chair rail moulding — the profile has a decorative edge that reads as panel trim once painted. Aim for ½ inch to 1 inch thick: thinner than ½ inch splits when you drive a brad through it, thicker than an inch starts to look like crown moulding that fell down the wall. An 11/16-inch colonial chair rail profile is the one most often recommended, and it comes in 8-foot lengths for roughly $6–$9 a stick depending on material (finger-joint pine is cheapest; pre-primed MDF costs a little more and cuts cleaner).
For one 12-foot wall, two rows of three boxes:
- Moulding: ~10–12 eight-foot sticks — $60–$85
- Brad nails, 1¼ inch: one box — $6 (usually already in the garage)
- Paintable caulk: 1 tube — $4
- Wood filler: 1 small tub — $5
- Paint: one quart if you're changing color, $0 if matching existing wall paint
Realistic total for the wall itself: $75–$95, centered around the $82 figure that keeps showing up in project reports. Add 15–20% extra moulding to your purchase for the inevitable mis-cut — everyone makes one, and the return trip costs more than the spare stick.
Tools: what you need and what you can skip
Actually need:
- Miter saw (a $25 miter box and handsaw works, just slower)
- Brad nailer — battery, electric, or pneumatic. Hand-nailing this much trim is miserable and the hammer dents show.
- Tape measure, level, pencil
- Stud finder (helpful, not critical — see below)
- Caulk gun and a damp rag
Can skip: a laser level (a 4-foot spirit level is fine), a nail set (filler covers the heads), and any "wainscoting calculator" app — the division above is the whole calculation.
Step 1: Tape the layout before cutting anything
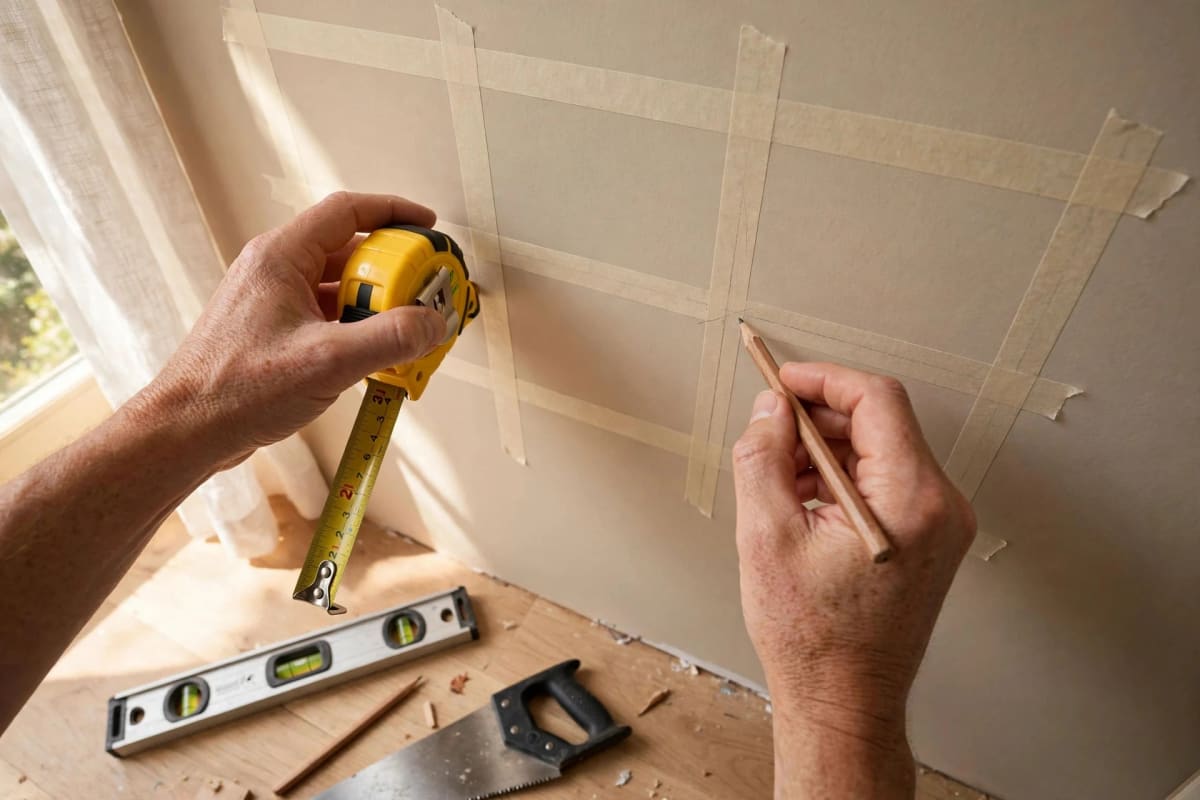
Painter's tape is the cheapest design tool in this project. Run tape outlines of your boxes directly on the wall at the measurements you calculated, then live with them for a day if you can. Proportions that look right in arithmetic sometimes look wrong at full scale — boxes slightly too tall read as doors, boxes too wide read as windows. Adjusting tape costs nothing; adjusting nailed trim costs a wall repair.
Mark stud locations lightly in pencil along the top line while you're at it. Hitting studs with some of your nails is good insurance, though construction adhesive (next steps) does most of the real holding.
Step 2: Cut and dry-fit your boxes
Cut all four pieces for one box first and hold it against the tape outline. Miter joints at 45° are forgiving in one direction only: a joint that's a hair open on the inside corner disappears under caulk, while a joint that's too long can't be fixed at all. Cut a fraction long, test, and shave.
The production trick from experienced installers: once your vertical pieces are the right length, use the first one as a jig — lay it on top of each subsequent stick and mark from it instead of re-measuring. Repeat cuts stay identical, which is the entire point.
Step 3: Attach the moulding
Work in this order per box: top horizontal piece first, then the two verticals, then the bottom horizontal. The horizontals act as a reference ledge for everything else.
A thin bead of construction adhesive or wood glue on the back of each piece, then two or three brads per piece — 1¼-inch brads, never longer, or you'll find the plumbing and wiring the hard way. Nails near the ends of a piece are the ones that split it, so keep brads at least an inch from each miter. Check level on every horizontal before moving on; a box that's ¼ inch off level will bother you for years, and nobody else will ever notice or stop mentioning.
Step 4: Caulk, fill, sand — the built-in step
This is the step that separates the Pinterest photos from the "nice try" results. Raw trim nailed to a wall has a visible shadow gap everywhere it meets the paint, and that gap reads as applied. Built-in millwork has no gap.
Run a thin bead of paintable caulk along every edge where trim meets wall, smooth it with a damp fingertip, and wipe the excess immediately. Fill every nail head and every miter seam with wood filler — gaps under ⅛ inch can be caulk alone; anything wider needs filler or a sliver of spare moulding glued in. Let it dry fully, sand the filler flush with 120-grit, and dust everything down.

Step 5: Paint
Paint the trim and the wall inside the boxes the same color — that monochrome finish is what sells the "original architecture" story. Satin or eggshell sheen is the sweet spot: flat paint hides caulk lines best but scuffs if you look at it; anything glossier than satin spotlights every imperfect seam.
If the wall is already painted and you're keeping the color, paint the trim pieces before installing (one coat), then do a final coat over everything after caulking. Two thin coats beat one thick one on trim profiles, where drips collect in the decorative edge.
Mistakes that make it look cheap
- Inconsistent spacing. The #1 tell. One gap at 3 inches and its neighbor at 3⅝ will be visible from the doorway forever.
- Skipping the caulk. See Step 4. There is no version of this project that looks built-in without it.
- Trim that's too thick. Over an inch and the boxes look like picture frames glued to the wall — which, to be fair, is where the name comes from, but not the look you want.
- Boxes sized to the furniture instead of the wall. Layout belongs to the wall's dimensions. Furniture moves; mitered trim doesn't.
- Painting trim a contrasting color (in most rooms). The classic look is monochrome. Contrast trim can work in a deliberate two-tone design, but as a default it reads as an outline, not architecture.
FAQ
Can I do picture frame moulding without a nail gun? Yes, with adhesive and painter's tape to hold pieces while glue sets — but it's slower and pieces can slide before the adhesive grabs. For a single small wall it's workable; for a room, rent or borrow a brad nailer. If nails are the dealbreaker entirely, the project stops being renter-safe anyway, so look at damage-free wall decor instead.
What if my walls are textured? Light texture is fine — caulk bridges it. Heavy orange-peel or knockdown texture makes trim rock on the bumps and leaves wavy shadow gaps; skim-coat the wall first or choose a different treatment from the DIY wall decor ideas list.
How far apart should the boxes be? Keep one consistent spacer everywhere: 2¾–3½ inches between boxes and at wall edges is the standard range, up to 4 inches above and below. Consistency matters more than the exact number.
Does picture frame moulding work with furniture against the wall? Yes — it's flat, so sofas and consoles sit flush as usual. Lay out boxes to the wall, not around the furniture.
What's the difference between this and wainscoting? Real wainscoting has panels and backing boards with actual depth. This is trim applied to flat drywall that imitates the look for roughly a fifth of the cost and none of the carpentry.
Done carefully, one wall takes an afternoon and about $82 — and it's the rare project where the cheap version and the expensive version use the same materials. The only difference is the layout math and the caulk. Take your time with both.



