
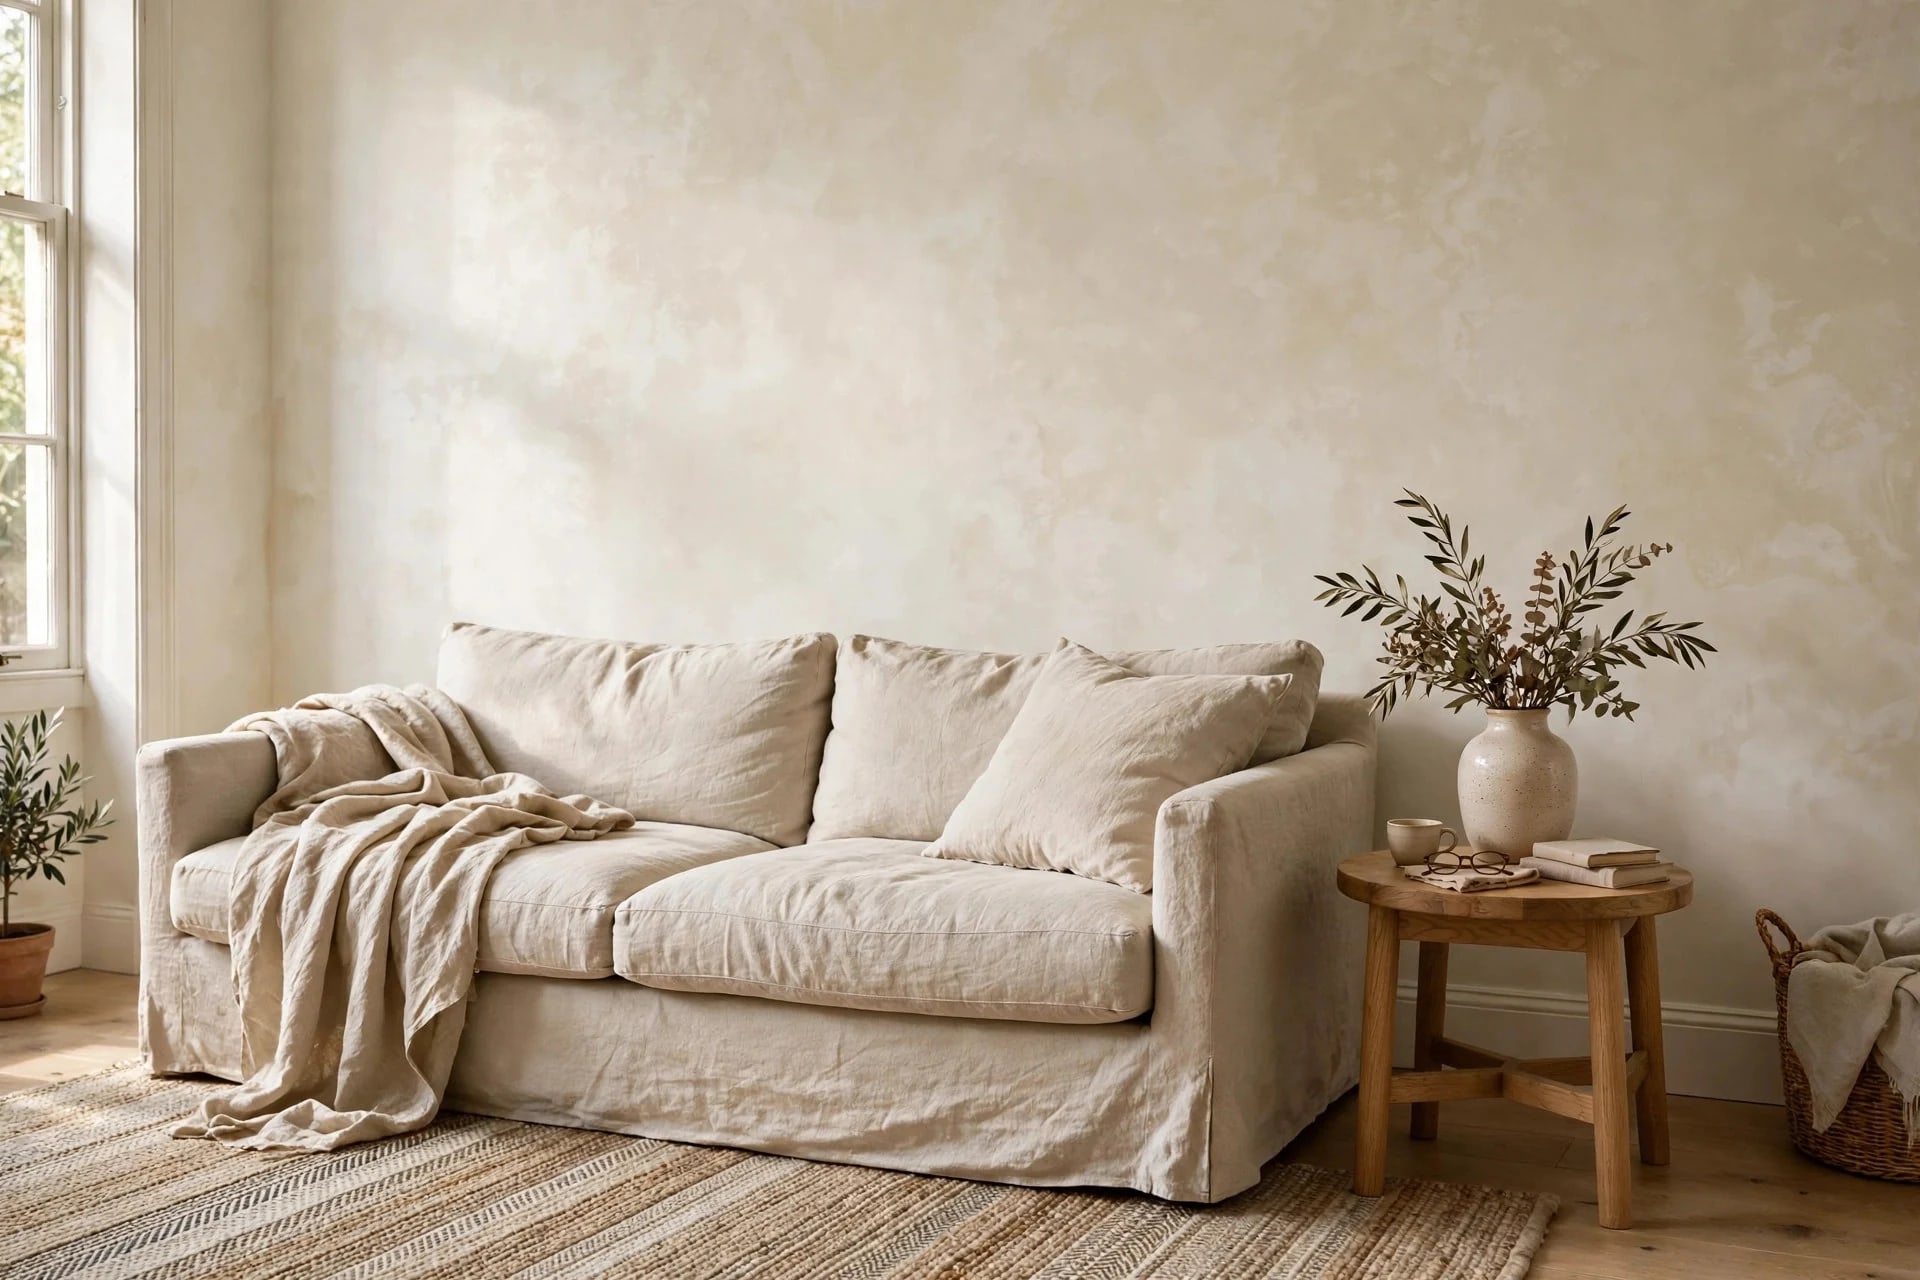
Limewash is the finish that makes a new wall look like it's been standing in a Tuscan farmhouse for a century — soft, cloudy, full of movement. It's also the finish that panics people mid-project, because halfway through coat one, every limewash wall looks like a disaster: patchy, streaky, far darker than the color card. That's not failure. That's what limewash looks like before it dries.
This guide covers the whole arc — picking the color (there's a trap), the primer question that depends on your wall, the brush technique that creates the clouds, and the honest maintenance picture nobody mentions in the pretty photos.
Key Takeaways
- Cost: roughly $120–$200 for one accent wall (paint + primer + block brush)
- Time needed: a weekend — two coats with an overnight dry between them
- Skill level: beginner-friendly, but it's a brush-only job with its own rules
- The trap: limewash dries 30–40% lighter than it looks wet — judge color the next day, never from the can
Table of Contents
- What limewash actually is
- The dry-color trap (read before choosing a color)
- Does your wall need primer?
- What it costs
- The block brush technique, coat by coat
- Where limewash should never go
- Living with it: cleaning, scuffs, repainting
- Mistakes that ruin the finish
- FAQ
What limewash actually is
Real limewash is crushed, burned limestone (slaked lime) mixed with water and pigment — a mineral coating humans have used for thousands of years. Applied wet, it soaks into porous surfaces and hardens through carbonation, slowly turning back into limestone on your wall. That chemistry is why it looks different from paint: the color lives in a chalky mineral layer with natural variation, rather than sitting on top as a uniform plastic film.
Modern interior versions (Portola, Kalklit, Bauwerk, Romabio's mineral paints) keep the look while behaving more predictably on drywall. Two traits carry over from the original and shape everything below: it's thin (more like milk than paint) and it must be brushed — the brush strokes are the texture.
The dry-color trap (read before choosing a color)
Limewash goes on dark and saturated, then lightens dramatically as it dries and carbonates — typically 30–40% lighter than the wet color. First-timers make two mistakes here: choosing a color that's perfect in the can (it dries washed-out), and panicking at the dark wet wall and "fixing" a color that was never wrong.
The only reliable method: paint a two-coat sample on the actual wall or a primed board, then judge it the next day, in daylight and evening light. Because the finish is mottled, also sample big — a 2×2 ft patch minimum; a dab tells you nothing about the cloud pattern. When in doubt between two shades, pick the deeper one.
Does your wall need primer?
It depends entirely on what's under the limewash, because limewash needs a surface it can grip and soak into:
- Raw plaster, brick, stone, concrete: apply directly — these are its ancestral surfaces. Dampen very thirsty masonry lightly first so it doesn't suck the water out of the wash instantly.
- Bare drywall: needs the brand's mineral/limewash primer first (some interior products, like Romabio's, are self-priming instead — read your can, not a general rule).
- Already-painted walls: prime with the limewash brand's undercoat. Over paint with any sheen, de-gloss or lightly sand first. Stains and patched areas telegraph through limewash's thin coats, so a stain-blocking primer underneath is cheap insurance.
- Never a glossy sealed surface with no primer — the wash has nothing to hold and will dust off.
Patch every hole and crack before you start. Limewash decorates texture; it does not fill damage, and thin coats make dents more visible, not less.
What it costs
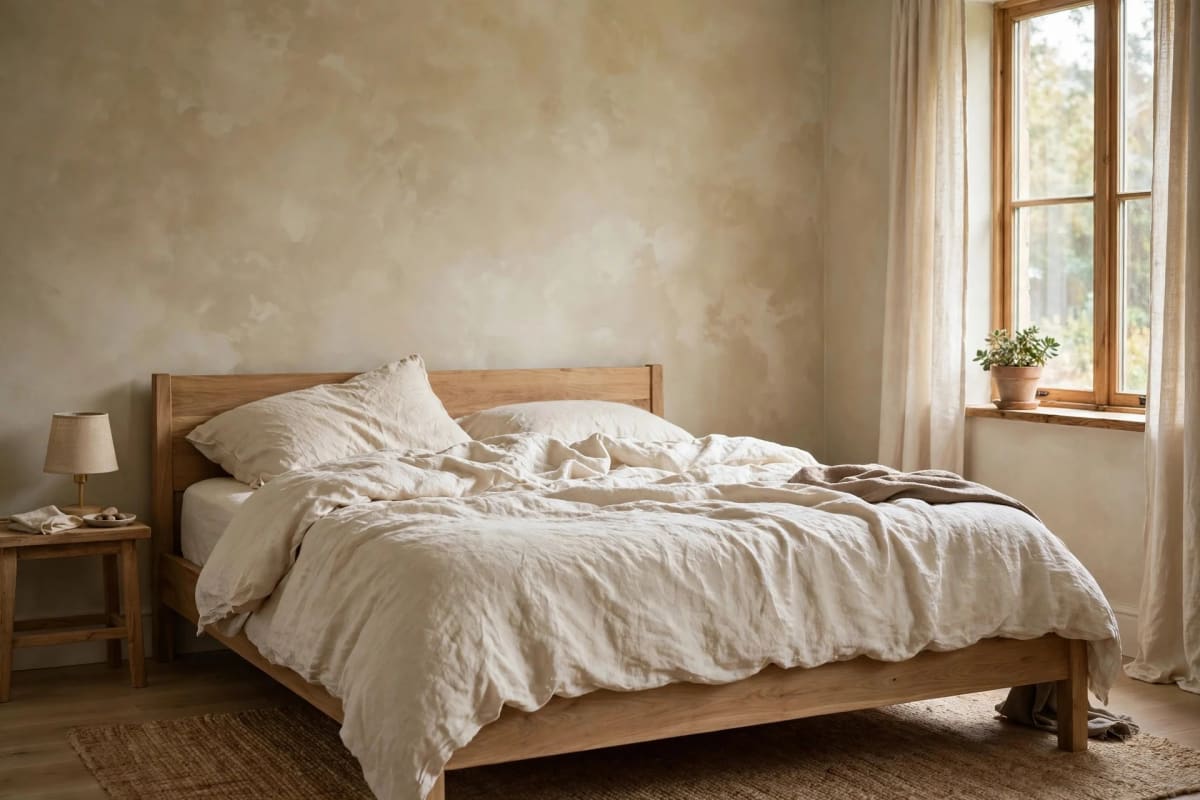
Limewash paint is premium: expect roughly $45–$65 per quart from the specialty brands, with coverage around 90–110 sq ft per quart per coat. One 12×8 ft accent wall, two coats ≈ 2 quarts of wash ($90–$130), plus primer if your wall needs it ($25–$40) and a proper 4–6 inch block brush ($15–$25). All-in: $120–$200 — comparable to a wood slat accent wall in materials, far less than textured plaster art done by a pro. It splatters more than regular paint (it's thin), so budget a drop cloth and tape into the plan.
The block brush technique, coat by coat
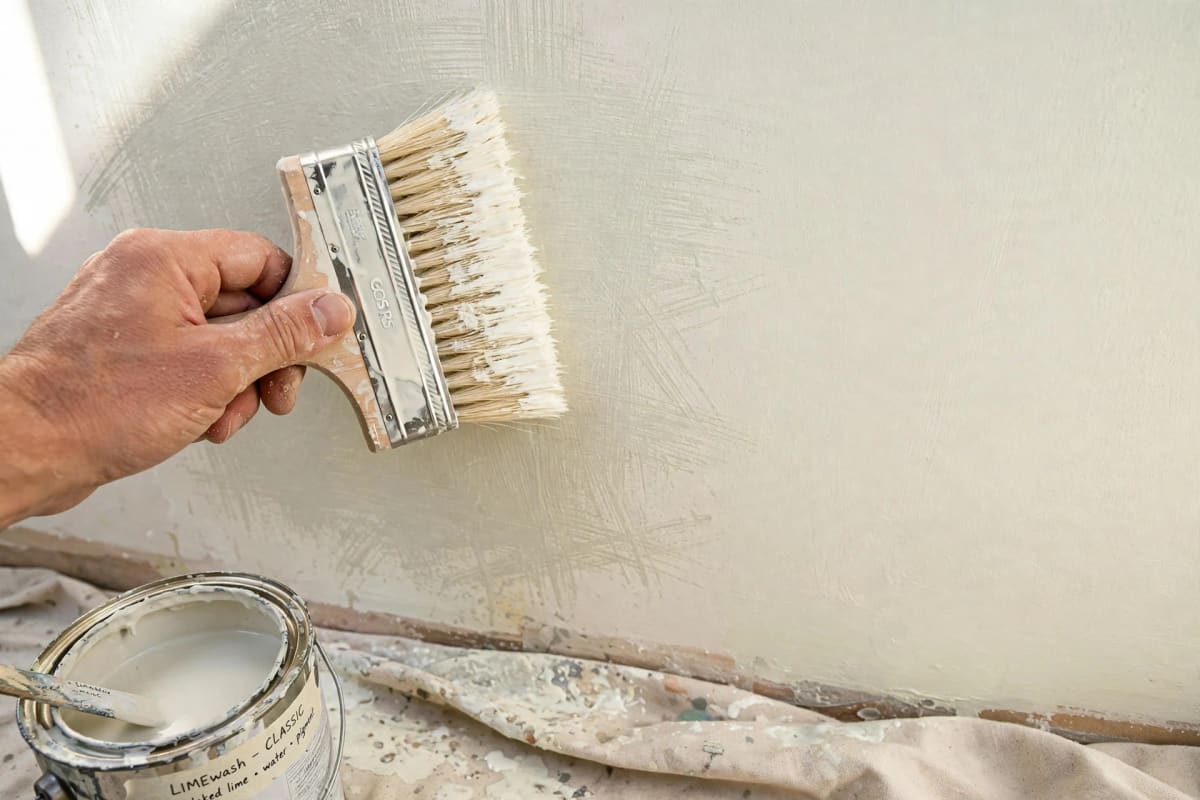
Setup. Stir the can thoroughly — lime settles to the bottom fast, and you'll stir again every few minutes while working. Tape trim and protect floors. High pH means gloves and eye protection are sensible.
Coat one. Load the block brush about a quarter of the bristles. Work corner to corner in loose crosshatch strokes — big overlapping X movements, each about 1–2 ft — keeping a wet edge the whole way. Do not cut in the edges first like regular paint; do them as you reach them. This coat should look thin and patchy, with the primer ghosting through. That's correct. Two rules with no exceptions: don't stop mid-wall (a dried restart line shows forever) and don't go back to touch up a section that's started drying (you'll get white flash marks).
Dry. Wait until fully dry — 4–12 hours depending on the room; overnight is the stress-free choice.
Coat two. Same crosshatch, over the first. Many brands suggest diluting this coat slightly with water (around 10–25% — follow your label) so it settles into the low spots and deepens the cloud effect. The mottling builds where coats overlap unevenly; that's the whole aesthetic. A third coat adds depth and coverage but flattens the movement — most walls are best at two.
Then step back and wait a full day before judging. The finish keeps lightening and settling as it carbonates.
Where limewash should never go
Limewash is porous and breathable — wonderful for living rooms, bedrooms, dining rooms and hallways, wrong for anywhere that gets wet or scrubbed:
- Shower walls and splash zones: direct water streaks and stains it. A powder room wall away from the sink is fine; a steamy full bathroom is a gamble.
- Kitchen backsplash areas: grease absorbs into the mineral surface.
- High-scuff zones (behind a kids' play area, a chair rail's rub line): it can mark and chalk with repeated contact, and it is not scrubbable — a damp cloth, gently, is the limit.
A breathable mineral sealer exists for borderline cases, but standard sealers flatten the matte movement and darken the color — test before committing a wall.
Living with it: cleaning, scuffs, repainting
The honest maintenance picture: expect the finish to last years (interior limewash commonly runs 5–15), with a patina rather than a film failure. Dust with a dry cloth; wipe marks lightly with a barely damp one. Scuffs are the good news — dab on a little leftover wash thinned with water, work it outward with the brush tip, and the mottled finish usually swallows the repair whole, which is more than flat paint ever does for touch-ups (keep the leftover can, labeled). And when you eventually want normal paint again: one coat of stain-blocking primer over the limewash to lock the chalk, then any latex paint. Nothing needs stripping.
Mistakes that ruin the finish
- Using a roller. Rollers lay a flat, uniform coat — they delete the very effect you paid for. Block brush only.
- Judging the color wet. It dries 30–40% lighter. Sample, wait a day, then decide.
- Stopping mid-wall or touching up half-dry patches. Restart lines and white flashes — the two classic scars.
- Skipping primer on drywall or painted walls. Poor bond, wild patchiness, dusting.
- Working with a settled can. Unstirred limewash changes color from the top of the wall to the bottom.
- Over-coating. Four coats of limewash is just expensive flat paint. Two, occasionally three.
FAQ
Can I limewash over regular paint? Yes, with the limewash brand's primer/undercoat first (and a light sand on anything glossy). The primer gives the mineral wash something to grip; without it, adhesion is the failure mode.
Limewash vs Romabio-style mineral paint — what's the difference? Traditional limewash is slaked lime, made for porous masonry. Interior mineral paints are engineered to give the same cloudy look on drywall, sometimes self-priming. For a first drywall project, the interior products are the forgiving choice; for brick and plaster, traditional wash is cheaper and authentic.
How is limewash different from plaster wall finishes? Plaster builds physical texture you can feel; limewash is a thin coating whose texture is visual. They're cousins — see our DIY plaster wall art guide — and limewash over a plastered wall combines both, at plaster prices.
Can renters limewash? It's a real paint job requiring primer and repainting to undo — landlord permission territory, unlike the options in our renter-friendly wall decor guide. If you own the wall, though, it's one of the cheapest ways in the whole DIY wall decor guide to make a room feel old in the good way.
Brush it on cloudy, let it dry pale, and don't touch it while it's thinking. Limewash rewards patience more than skill — which is exactly why it suits a first-timer willing to wait one night before judging.



