
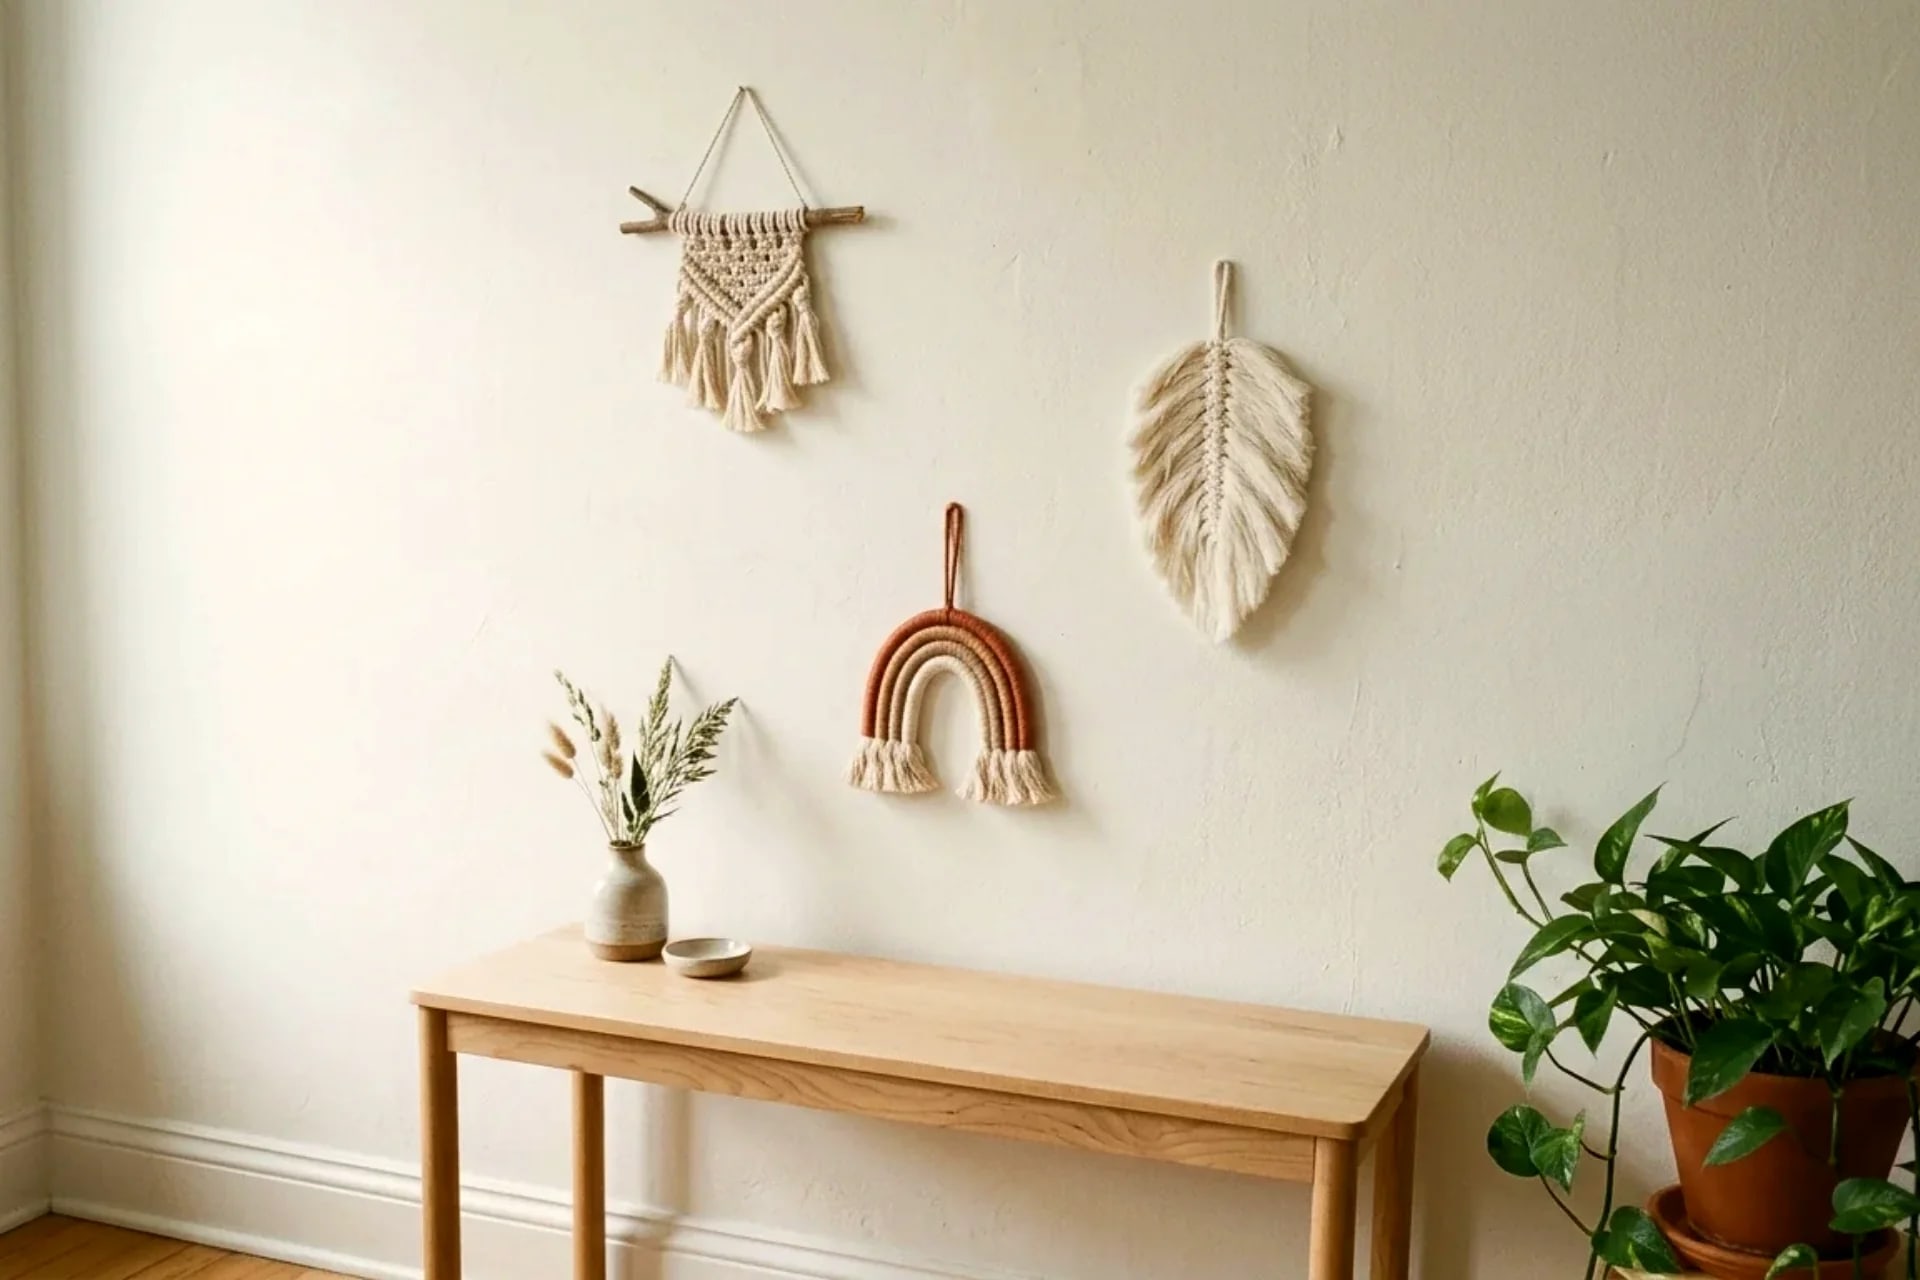
Big macramé wall hangings are a commitment — meters of cord, a free weekend, wall space you might not have. Mini macramé is the opposite: small projects finished in under an hour, mostly from cord scraps. They're perfect for gifts, gallery-wall fillers, nursery decor, and renters who want texture without a statement piece. Every project below uses the same three basic knots — if you can tie a square knot, you can make all seven.
Haven't knotted before? Learn the three knots first in our macramé patterns guide — each project below assumes you know the lark's head, square knot, and double half hitch.
Key Takeaways
- All 7 projects: twig mini hanging, macramé feather, mini plant hanger, rainbow charm, hoop art, beaded mini, tassel trio
- Time: 20–60 minutes each — genuine one-evening crafts
- Cord: mostly scraps; the longest cuts here are 1.5 m (nothing like full-size hangings)
- Cost: $0–5 per project if you have leftover cord; a $15 spool covers all seven
- Skill level: true beginner — 3 of the 7 use only one knot
Table of Contents
- Why minis are the smartest macramé to start with
- Project 1: Twig mini wall hanging
- Project 2: Macramé feather
- Project 3: Mini plant hanger
- Project 4: Rainbow wall charm
- Project 5: Embroidery hoop wall art
- Project 6: Beaded mini hanging
- Project 7: Tassel wall trio
- Using up cord scraps: what to save
- Hanging minis without wall damage
- The takeaway
- Frequently asked questions
Why minis are the smartest macramé to start with
Three reasons minis beat full-size hangings for beginners. First, cord is cheap at this scale — mistakes cost centimeters, so you experiment freely. Our macramé cord guide explains which cord suits minis best. Second, you finish fast — a completed project in 40 minutes teaches more than a half-done wall hanging abandoned for a month. Third, minis are useful — they fill awkward small wall spots, work as gifts, and cluster into larger arrangements.

Project 1: Twig mini wall hanging
A 15 cm twig with a few rows of knots — the mini version of a full wall hanging, and the best first project.
You need: a 15–20 cm twig or cinnamon stick, 8 cords × 60 cm of 3 mm cotton cord. Time: 30 minutes. Knots: lark's head, square knot.
- Mount 8 cords on the twig with lark's head knots (16 strands).
- Tie one row of 4 alternating square knots.
- Tie a second row offset by 2 strands (3 knots).
- Trim the bottom into a shallow V and brush out the fringe.
- Tie a hanging loop: fold a 30 cm cord in half, lark's-head it to each end of the twig, knot the loops together at top.
Make it yours: wrap the twig ends with colored thread, or add one wooden bead per strand before the fringe.
Project 2: Macramé feather
The Pinterest-famous feather — one cord as a spine, knotted cords as barbs, brushed out and trimmed into a feather shape. Looks far harder than it is.
You need: 1 spine cord × 40 cm, 20 side cords × 20 cm, 3 mm single-twist cotton. Stiff fabric spray (optional but recommended). Time: 40 minutes. Knots: square knot only.
- Fold the spine cord in half — this is your center stem, loop at top.
- Take a side cord, fold in half, and tie it onto the spine with a square knot: the fold goes behind the spine, the two tails come forward through the loop. Repeat down both sides, alternating, spacing knots 1 cm apart.
- Work from top to bottom on both sides until the feather is ~25 cm long.
- Brush out all the side cords thoroughly with a comb until fluffy.
- Trim into a feather shape: narrow at top, widest at the middle, tapering to a soft point at the bottom. Cut at an angle, stepping back to check symmetry.
- Mist with stiffening spray so it holds its shape on the wall.
The trim is everything: a badly trimmed feather looks like a fuzzy blob; a well-trimmed one looks store-bought. Trim less than you think, check, trim more.
Project 3: Mini plant hanger
A tiny hanger for a succulent or air plant — 4 cords, a few knots, done. Sells the "I made that" moment for almost zero effort.
You need: 4 cords × 1.2 m of 3–4 mm cotton cord, a 5–8 cm pot, a metal ring or wooden bead for the top. Time: 25 minutes. Knots: square knot, gathering knot.
- Fold all 4 cords in half through the ring; tie a gathering knot (wrap a separate 30 cm cord around the bundle 5–6 times, tuck the end) 5 cm below the ring.
- You have 8 strands. Tie square knots in 4 pairs, 15 cm down from the gathering knot.
- Tie one more round of square knots offset (pair strands from adjacent pairs) 8 cm lower — this forms the net that cradles the pot.
- Gather all strands, tie a final gathering knot 5 cm below, trim the tassel to 8 cm.
- Drop in a small potted succulent. Hang from a hook — total weight under 500 g.
Project 4: Rainbow wall charm
Wrapped cord arcs in a rainbow shape — no knots at all, just wrapping. The easiest project here and a nursery favorite.
You need: 3–4 lengths of thick cotton rope or clothesline (30, 25, 20, 15 cm), colored yarn or thin macramé cord for wrapping, fabric glue. Time: 45 minutes. Knots: none.
- Wrap each rope length tightly with colored yarn, securing the start with a dab of fabric glue. Wrap edge-to-edge with no gaps — this is the fiddly part.
- Bend the wrapped ropes into arcs, largest to smallest, nesting them.
- Glue the arcs together side by side, largest at the back.
- Glue or stitch a hanging loop to the back of the largest arc.
- Trim any rope ends poking out and add a dab of glue to each wrap end.
Color recipe that always works: terracotta, mustard, sage, cream — earthy, modern, matches everything.
Project 5: Embroidery hoop wall art
A 15 cm embroidery hoop as the frame, macramé net inside. Reads as intentional wall art, not "craft project."
You need: a 15 cm wooden embroidery hoop, 12 cords × 80 cm of 3 mm cord. Time: 50 minutes. Knots: lark's head, square knot, double half hitch.
- Mount 12 cords across the top inner edge of the hoop with lark's head knots (24 strands).
- Tie 3 rows of alternating square knots.
- Finish the bottom edge with a row of double half hitches along a gentle curve.
- Trim fringe to 10 cm, brush lightly.
- Tighten the hoop screw and trim any cord caught in the hardware.
Hang in clusters of three hoops at different heights — the group reads as one deliberate installation.
Project 6: Beaded mini hanging
Square knots + wooden beads on a short dowel. The beads do the visual work; the knotting is minimal.
You need: a 20 cm dowel, 10 cords × 70 cm of 3 mm cord, 8–10 wooden beads with 6–8 mm holes. Time: 35 minutes. Knots: lark's head, square knot.
- Mount 10 cords on the dowel (20 strands).
- Tie one row of 5 square knots.
- Thread one bead onto each pair of center strands (use a bobby pin as a needle — thread the cord through the pin, push the pin through the bead).
- Tie a second row of square knots below the beads.
- Trim into a V, brush the fringe.
Bead rule: odd numbers and asymmetry look handmade-good; perfect symmetry looks manufactured. Scatter, don't align.
Project 7: Tassel wall trio
Three chunky tassels on a branch at staggered lengths. Zero knots — just wrapping and trimming. The fastest project here.
You need: a 30 cm branch, cotton cord for 3 tassels (about 15 m total of 3 mm cord), wrapping cord. Time: 20 minutes. Knots: none.
- For each tassel: wrap cord 25 times around your hand (fingers together), slide off, tie a 20 cm cord tightly around the top fold, cut the bottom loop.
- Wrap a separate cord 6–8 times around the tassel 3 cm below the top tie to form the head. Tuck ends.
- Trim the tassel bottom straight.
- Tie the three tassels to the branch at 25, 32, and 20 cm hanging lengths.
- Add a hanging cord to the branch ends.
Hang it where you'd put a small framed print — entryways, beside mirrors, above nightstands.
Using up cord scraps: what to save
After any full-size project, sort your leftovers before binning them:
- Save: anything over 40 cm (feathers, tassels, beads projects), 20–40 cm pieces (wrapping, rainbow arcs), and the fluffy combed-out bits (stuffing for cushions or pet beds — seriously).
- Toss: pieces under 15 cm (too short to knot with) unless you're saving a jar for tassel filler.
- Organize: coil by length and bag by color. A tangled scrap box kills motivation; a sorted one invites an evening project.
One 100 m spool of cord, used for a full-size hanging plus these minis, genuinely produces zero waste — the economics are as satisfying as the decor.
Hanging minis without wall damage
Minis are light — almost all weigh under 300 g — so damage-free hanging is trivial:

- Adhesive strips: one small set per mini, rated to 450 g. Clean the spot with rubbing alcohol first.
- Washi tape: for paper-light pieces (rainbow charms, feathers), decorative washi tape doubles as the hanger and the frame.
- Existing hardware: drape over curtain rods, tuck into bookshelf edges, hang from cabinet knobs. Minis are small enough to live where big art can't.
- Grouping: three minis in a tight triangle read as one intentional arrangement — and one adhesive strip cluster holds all three.
For heavier small pieces or full damage-free methods, our DIY wall decor guide covers renters' options in depth.
The takeaway
Mini macramé is the highest-fun-per-hour corner of the craft: under an hour, a few meters of cord, and you hold a finished thing. Make the feather first (it's the crowd-pleaser), then the twig hanging, then raid your scrap bag for the rest. They gift well, they fill the awkward small spots that big art can't, and they teach you every knot you'll need when — inevitably — you decide to go big. Start tiny; the wall hanging comes later.
Frequently asked questions
What can I make with leftover macramé cord? Feathers, tassels, mini wall hangings, keychains, plant hangers, and gift wrap ties. Save anything over 40 cm; pieces 20–40 cm work for wrapping and small charms. One spool genuinely stretches across a full-size hanging plus all seven projects here.
How long does mini macramé take? 20–60 minutes per project. The tassel trio is fastest (~20 minutes, no knots); the embroidery hoop art is slowest (~50 minutes). All seven fit comfortably in a craft weekend.
Is mini macramé good for beginners? It's the best entry point. Small scale means cheap mistakes, fast finishes, and quick confidence. Three of the seven projects here need only one knot (or none).
What size cord is best for mini macramé projects? 3 mm single-twist cotton for most minis — proportional to the small scale and easy to knot tightly. Use 4–5 mm only for the mini plant hanger, which needs the extra strength.
How do you stiffen a macramé feather? Brush it out fully, trim to shape, then mist with fabric stiffening spray and let dry flat. Two light coats beat one heavy coat. Without stiffener, feathers droop within weeks — especially in humid rooms.
Can I sell mini macramé wall decor? Yes — minis are ideal starter products: low material cost ($1–3 each), fast to make, and easy to ship. Feathers and rainbow charms are the bestsellers in the mini category; price at 4–5× material cost as a starting point.



