

Peel and stick wallpaper has the best marketing in home decor — "just peel, stick, and peel off when you're bored!" — and a comment section full of people whose paper slid down the wall in July. Both are true. The difference between the two outcomes is almost never the paper. It's the wall underneath it, and whether the person hanging it knew four or five unglamorous rules.
This is the install guide for one accent wall, done in an afternoon, done so it stays up for years and still comes off clean when you want it gone. For the pattern-shopping side — which prints work where — start with our removable wallpaper ideas guide; this page is about the hanging.
Key Takeaways
- Cost: a 12×8 ft accent wall takes 4–5 standard rolls — roughly $150–$300 all-in
- Time needed: 2–4 hours for one wall, including prep
- Skill level: beginner with patience; the second pair of hands matters more than skill
- The rule that decides everything: the paper only sticks to smooth walls with sound, fully-cured satin or eggshell paint — everything else is a countdown to peeling
Table of Contents
- How many rolls you actually need
- Wall prep: the rules that decide success
- Step 1: Plumb line, not the corner
- Step 2: Peel 12 inches at a time
- Step 3: Match the pattern, butt the seams
- Step 4: Trim with a fresh blade
- Bubbles: same day vs next week
- Removal day: getting it off clean
- Mistakes that end in a fallen wall
- FAQ
How many rolls you actually need
Standard peel and stick rolls are around 20–24 inches wide and 14–18 feet long — call it roughly 28–33 sq ft printed on the roll. That number lies to you, because pattern matching eats length: every strip must start at the right point in the repeat, so each strip wastes up to one full pattern repeat at the top.
Honest math for a 12 ft wide × 8 ft high wall (96 sq ft) with 24-inch panels:
- Strips needed: 144 in ÷ 24 in = 6 strips
- Each strip: 8 ft of wall + up to ~2 ft of pattern-match waste = ~10 ft per strip
- Per roll (16 ft usable): one full strip plus a partial — realistically 4–5 rolls covers the wall
- Add one extra roll from the same purchase for mistakes, future repairs, and the strip you'll inevitably cut 2 inches short at 9 p.m.
Two buying rules: order everything in one order so all rolls share a dye lot (the same pattern from a later batch can shift color just enough to show at a seam), and check the match type before ordering — a straight match wastes less than a drop match, which offsets the pattern by half a repeat on alternate strips.
Wall prep: the rules that decide success
Peel and stick adhesive is engineered to hold firmly and release cleanly — on the right surface. The wrong surfaces defeat both halves of that deal:
- Smooth walls only. Orange-peel texture holds the paper at the high points only; it will lift. Heavy texture is a hard no.
- Paint finish matters. Satin and eggshell are the sweet spot. Flat/matte paint is porous and chalky — adhesive grabs weakly now and takes paint with it later. High-gloss can be too slick for some adhesives.
- Fresh paint must cure — fully. Wait at least 4 weeks after painting before papering. Adhesive on uncured paint bonds to the paint instead of the wall, and removal day becomes repaint day.
- Clean and dry. Wipe down with a damp microfiber cloth (a TSP wash on greasy kitchen walls), then let the wall dry completely. Dust is a release agent.
- Do the sample test. Stick a sample or a 6-inch test strip in a hidden corner for 48–72 hours, then peel slowly at a low angle. Clean release = go. Paint on the back of the sample = your paint film isn't sound, and the whole wall would have failed the same way.
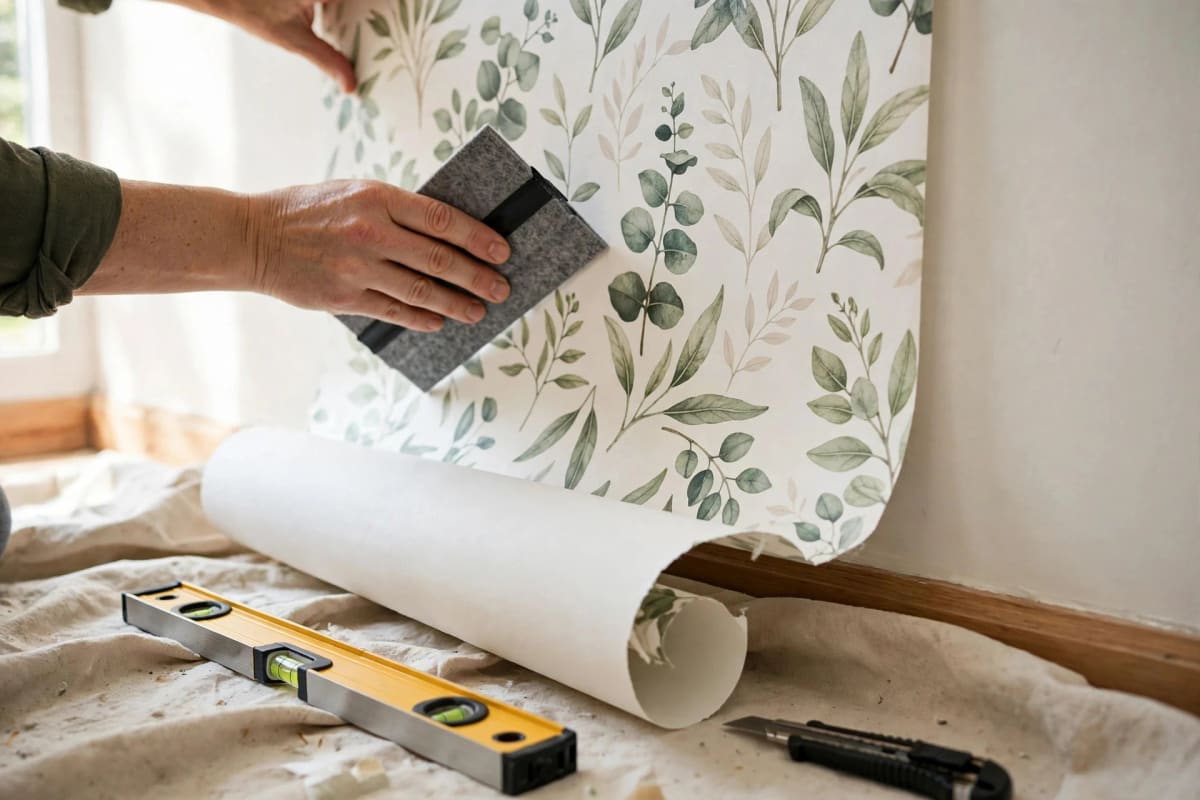
Step 1: Plumb line, not the corner
Corners are never straight and never plumb, so panel one does not go in the corner. Measure out one panel-width from the corner (minus ½ inch, so the first panel wraps slightly into the corner), draw a true vertical line with a level or laser, and align panel one to the line. Every panel after it keys off that one — the same first-piece discipline as a wood slat wall, and for the same reason: errors compound across the wall.
Start at the top with about 2 inches of excess above the ceiling line, to be trimmed later.
Step 2: Peel 12 inches at a time
The backing comes off in stages, never all at once. Peel back the top 10–12 inches, position the panel on your plumb line, and stick that band down. Then work downward in foot-long stages: peel a section, smooth it from the center outward with a felt-edged squeegee, peel the next section. Two failure modes to avoid the whole way down:
- Stretching. Peel and stick is vinyl — it stretches if you pull it, then shrinks back over the following days and opens your seams. Handle it like it costs what it costs: support it, don't haul on it.
- Self-sticking. A panel that folds and touches its own adhesive is nearly impossible to separate without damage. Keep the unstuck portion folded back loosely or — better — have a second person hold it. This is the step where two people halve the time and a quarter of the swearing.
Step 3: Match the pattern, butt the seams
For panel two onward, the pattern match is the job. Peel back only the top few inches plus a flap along the seam edge, align the repeat against panel one at the top, stick that seam zone first, then work down the panel — matching as you descend, not after. Seams should butt tightly, edge to edge, not overlap: overlapped vinyl edges catch light, cast a tiny shadow line, and tend to lift. A correctly butted seam on a matched pattern all but disappears at standing distance.
Working around outlets: power off at the breaker, remove the cover plate, paper straight over the box, then cut a careful X over the opening, fold the triangles back, trim, and replace the cover over the paper.
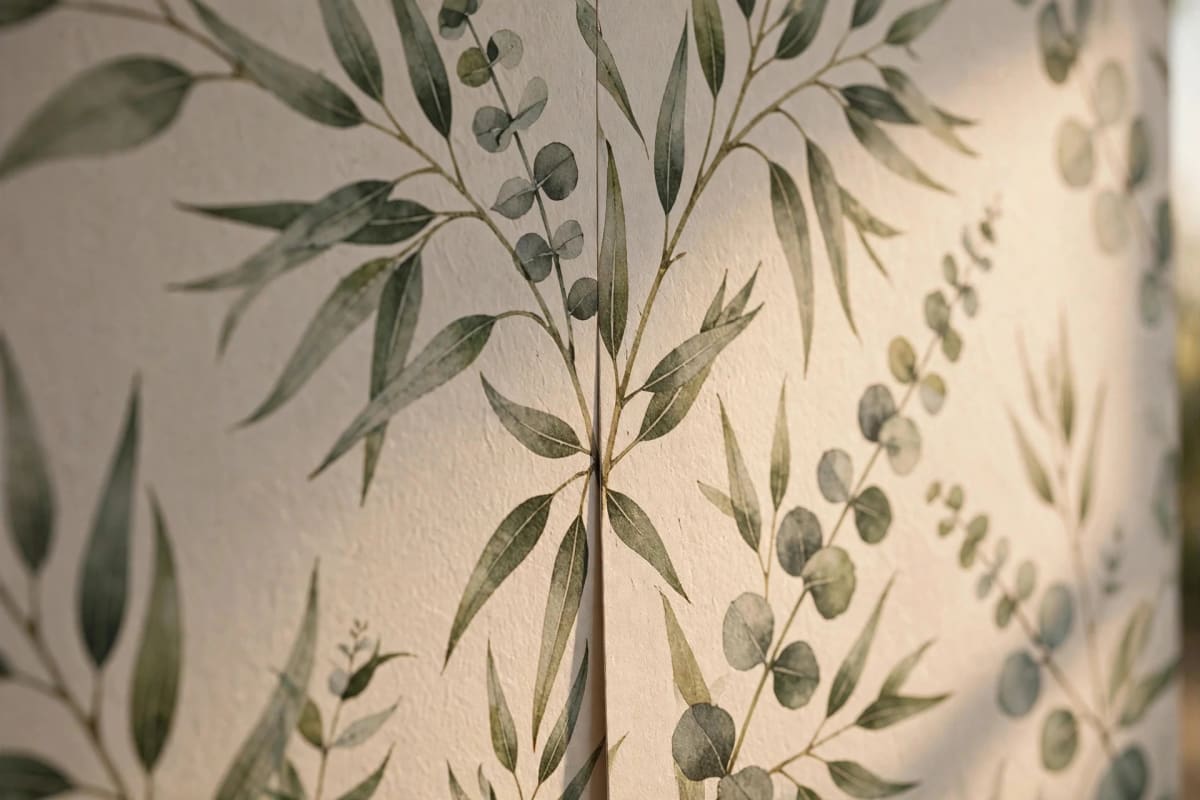
Step 4: Trim with a fresh blade
Trim the excess at ceiling, baseboard, and corner with a utility knife guided by a wide putty knife or straight edge — and snap off to a fresh blade segment for every cut. A dulling blade stops slicing and starts dragging, and a dragged cut tears a little scalloped edge you'll see every day. Slow, firm, one pass.
Let the wall sit 24 hours before judging it. Small bubbles often relax as the adhesive settles; seams that looked a hair off at midnight frequently read fine in daylight. ( Frequently. Not always. See below.)
Bubbles: same day vs next week
A bubble on install day is a trapped-air problem: lift the panel back to the bubble and re-smooth, or prick it with a pin at its edge and press the air out — the pinhole vanishes.
Bubbles that appear days later are a different diagnosis: the adhesive is letting go of the wall — almost always dust, texture, or unsound paint from the prep section. Pressing them down buys hours, not weeks. The honest fix is to pull that panel, correct the surface, and rehang. This is why the 72-hour sample test exists: it surfaces prep failures on a 6-inch strip instead of a 12-foot wall.
Removal day: getting it off clean
When the pattern's time is up: start at a top corner, warm the first stretch with a hairdryer on low, and peel slowly, down and back on itself at a low angle, warming as you go. On a sound satin or eggshell wall it comes off in full sheets with nothing behind it — the entire promise of the product, delivered. Residue, if any, wipes off with warm soapy water. The two surfaces that break the promise are the two from the prep rules: flat paint and uncured paint. If your test patch failed and you papered anyway, removal is where the bill arrives.
Renters: photograph the wall before you start and after removal. Deposit arguments are won with timestamps. More deposit-safe projects live in our renter-friendly wall decor guide.
Mistakes that end in a fallen wall
- Papering a textured or freshly painted wall. The two classic failures; both are prep, not product.
- Following the corner instead of a plumb line. Panel six ends up diagonal, and no pattern match survives that.
- Stretching panels to force a match. They shrink back in days and the seams gap open in perfect vertical lines.
- Overlapping seams. Shadow lines today, lifting edges by summer.
- One dull blade for the whole wall. Torn trim edges on every cut after the third.
- Skipping the extra roll. The repair you need in two years will be from a different dye lot, and it will show.
FAQ
How long does peel and stick wallpaper last? On a properly prepped wall in a dry room, years — five-plus is normal. Heat, steam, and sun are what shorten its life; standard (non-rated) paper in a steamy bathroom is on borrowed time from the start.
Can I put peel and stick wallpaper in a bathroom? Only products rated for humidity, on walls away from direct shower spray, in a bathroom with a working exhaust fan. Run the sample test there too — humidity finds weak prep faster than any other room.
What if my walls are textured? Light orange-peel: some thicker papers get away with it — sample test decides. Heavy texture: don't. Smooth the wall first, choose a different treatment like picture frame moulding, or paper a large panel/board and hang that instead.
Can peel and stick go over existing wallpaper or paneling? Over sound, smooth, well-bonded wallpaper it can work (clean it, test it). Over paneling, the grooves telegraph through and seams land in them — fill grooves first, or pick another wall.
Is one accent wall really an afternoon? Yes — 2 to 4 hours for a standard wall once the paper is in hand, and most of that is panels two through six. Budget the afternoon, not the hour the box implies, and it's a pleasant job instead of a rushed one. The full menu of what's possible lives in our DIY wall decor guide.
Prep honestly, start plumb, never stretch — that's the whole secret. The paper does exactly what it promised, on the wall that was ready for it.



