
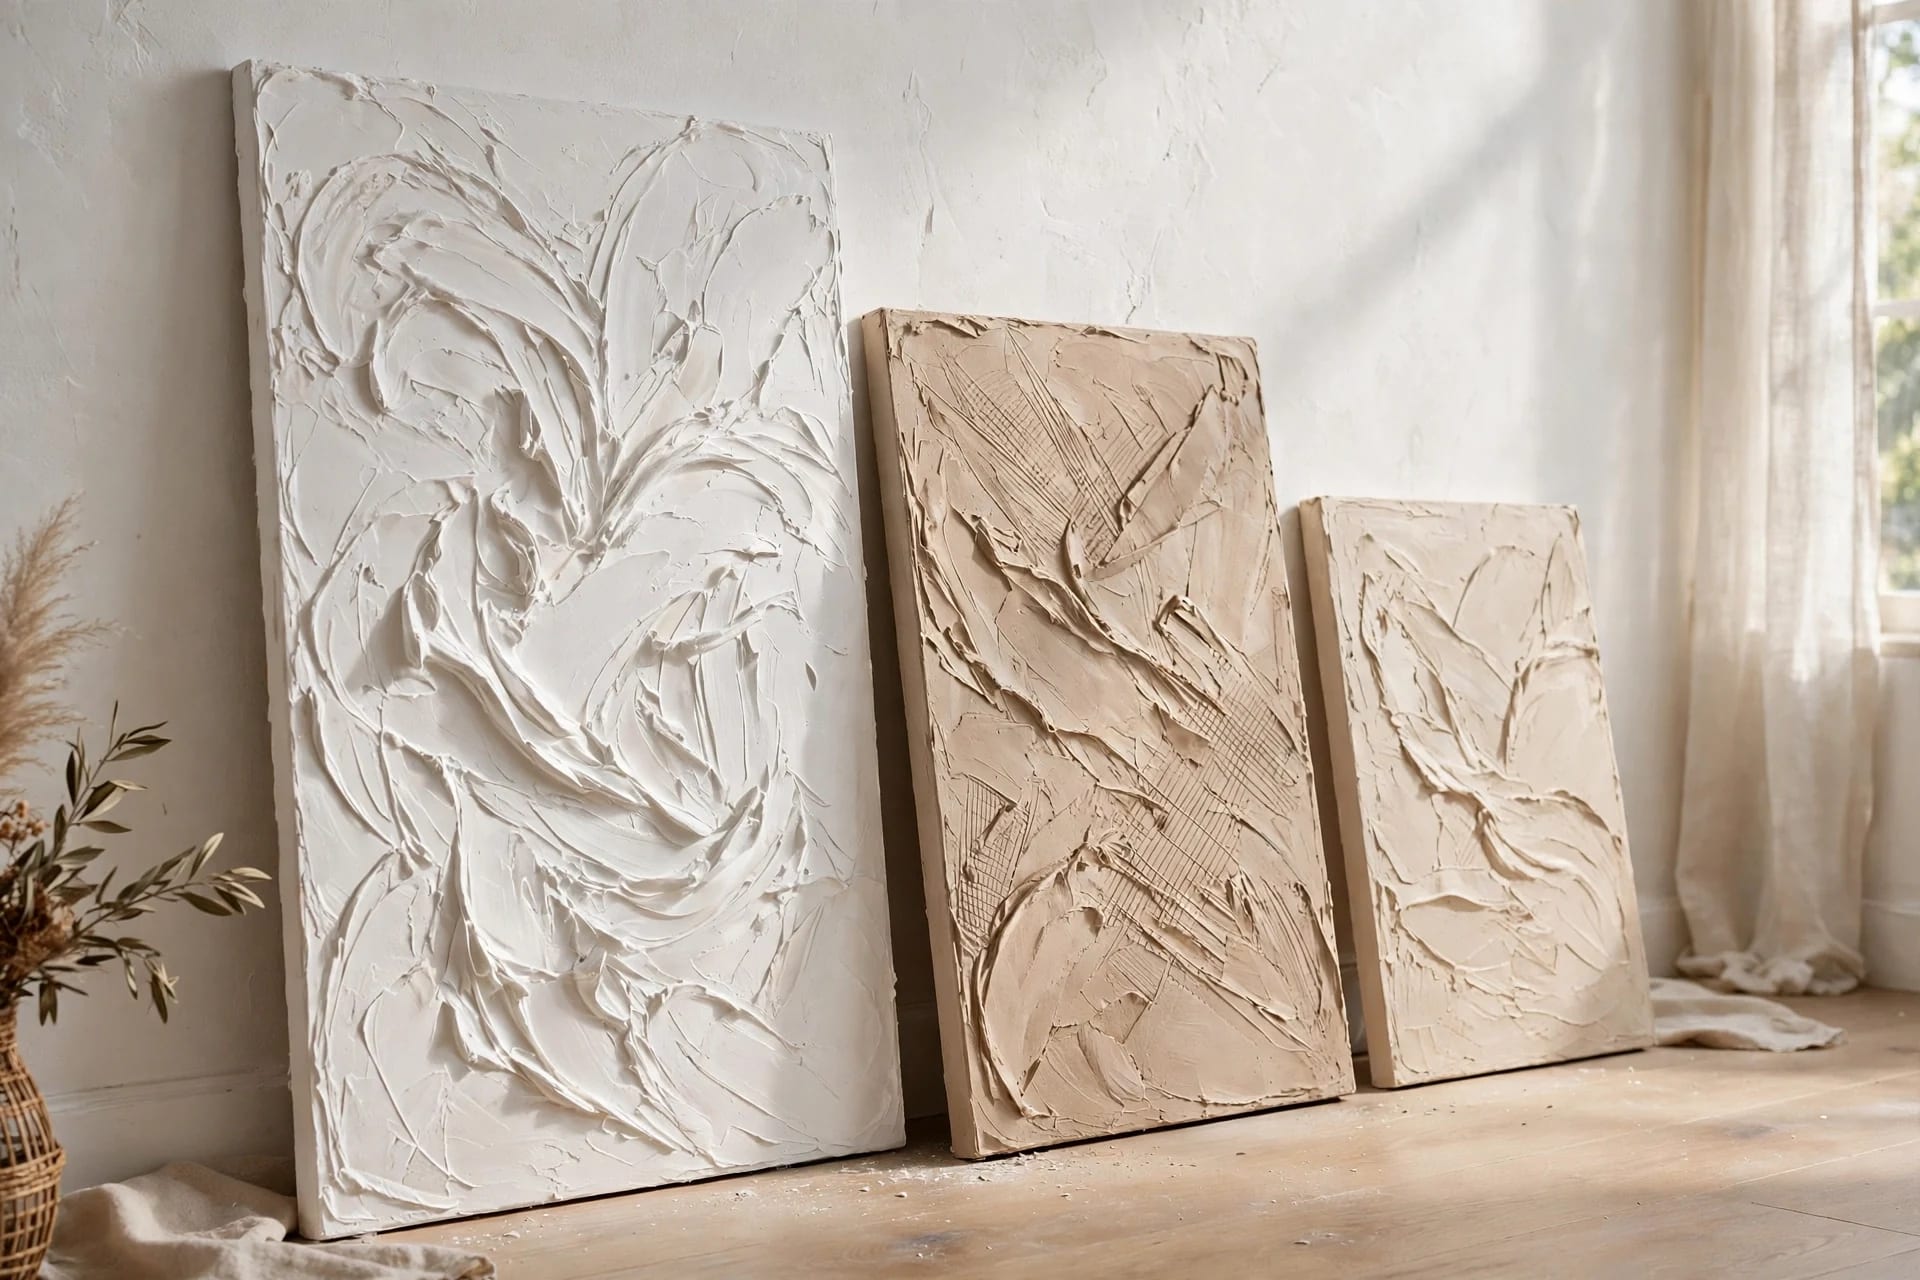
Walk into the plaster aisle with a textured-art idea in your head and you'll face a wall of white bags that all look identical and behave completely differently. One sets in five minutes and cracks if you look at it wrong; one stays workable for hours but takes days to cure; one is technically wall filler, not plaster at all, and happens to be the best beginner material of the lot. Buying the wrong bag doesn't just waste $15 — it decides whether your first piece survives the week.
This guide compares the four materials people actually make plaster art with, what each one costs, where each one fails, and what to buy for a first project.
Key Takeaways
- Beginners: start with all-purpose joint compound — smooth, cheap, forgiving, slow-drying; the best first material by a wide margin
- Plaster of Paris sets in 5–15 minutes and dries hard, but it's brittle and cracks on flexible canvas unless blended 50/50 with acrylic gel
- Lime plaster cures over days to weeks by absorbing CO₂, stays breathable and flexible, and takes mineral pigment at max 5% of the lime putty's weight
- Thick coats crack in every material — build texture in thin layers and let each one dry
- First-project shopping list lands under $50 if you already own a palette knife and an old canvas
Table of Contents
- The four materials at a glance
- Joint compound: the beginner pick
- Plaster of Paris: fast, hard, brittle
- Lime plaster: the slow authentic cure
- Modeling plaster and premixed pastes
- Color: pigments, paint, and the lime exception
- Surfaces, tools, and sealing
- First-project shopping list
- Mistakes that ruin plaster art
- FAQ
The four materials at a glance
| Material | Sets/cures | Best for | Watch out for | | --- | --- | --- | --- | | All-purpose joint compound | Dries in 12–24 hrs per coat | First projects, smooth texture, canvas art | Cracks in thick coats; not waterproof | | Plaster of Paris | Sets in 5–15 min | Casts, small reliefs, crisp detail | Brittle; cracks on flexing canvas; short working time | | Lime plaster / putty | Cures over days–weeks | Authentic textured walls, fresco-style color | Slow; needs skill; lime-safe pigments only | | Modeling plaster | Sets in ~30 min | Larger, durable pieces, pro finish | Heavier; harder to sand; pricier |
Prices are 2026 US retail, rounded: a gallon of all-purpose joint compound runs roughly $10–$18, a 4 lb box of plaster of Paris $8–$12, lime putty $25–$45 for a comparable tub, and modeling plaster sits between plaster of Paris and lime. Premixed textured pastes (the art-store jars) cost $15–$30 for a small jar — convenient, but five times the price per ounce of joint compound for what is often a very similar product.
Joint compound: the beginner pick
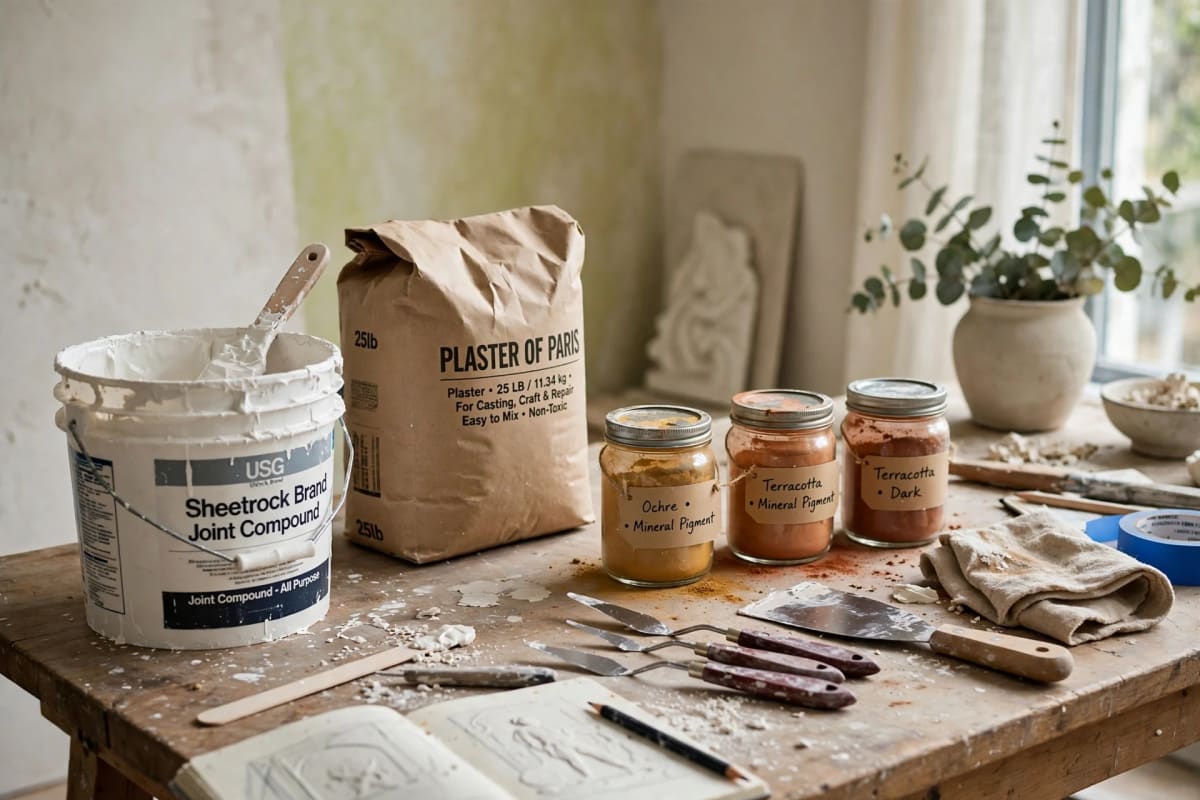
Joint compound — the stuff sold for taping drywall seams — is the material most first-timers should actually buy, and it's not close. It's premixed, so there's no ratio to get wrong. It spreads like thick frosting, holds palette-knife marks beautifully, sands to a smooth finish, and costs less than lunch. Drying is slow (12–24 hours per coat depending on thickness and humidity), which is a feature when you're learning: you can rework a section for an hour, walk away, and fix it tomorrow.
Buy all-purpose (green-lid in most brands), not lightweight and not topping compound, for art. All-purpose has the best adhesion and the hardest dried surface of the three. Lightweight compound is softer, dents easily, and sands so fast you'll take off more than you meant to; topping compound is made for the final skim coat on walls, not for building texture.
Limits, honestly stated: joint compound is not waterproof and not structural. A thick single coat — anything past about a quarter inch — shrinks as it dries and cracks in a map pattern. The fix is layering: two or three thin coats, each fully dry before the next, instead of one heroic thick one. And a joint-compound piece belongs indoors, on a wall, not in a bathroom or on a porch. For the full technique, our DIY plaster wall art guide walks through the layering process, and textured plaster art covers the pattern side.
Plaster of Paris: fast, hard, brittle
Plaster of Paris is gypsum powder that, mixed with water, rehydrates and hardens into a dense, fine-grained solid. The classic mix is roughly 2 parts powder to 1 part water by volume, stirred to a smooth cream. Working time is brutally short — 5–15 minutes before it starts to set — so you mix small batches, work fast, and never, ever pour leftover mix down a drain (it sets in pipes exactly like it sets in a mold).
What it's good at: crisp detail, hard surfaces, casts, and small relief panels. A plaster-of-Paris piece sands and carves cleanly when dry, and takes paint beautifully. What it's bad at: anything that flexes. Pure plaster of Paris on a stretched canvas cracks as the canvas moves with temperature and humidity — the single most common beginner heartbreak in this medium. The proven fix is blending 50% plaster of Paris with 50% acrylic gel or acrylic paint, which gives the dried layer enough elasticity to ride the canvas. For large pieces, skip stretched canvas entirely and use plywood-backed boards or cradled panels — a rigid surface removes the problem at the source.
Also know: plaster of Paris has poor water resistance and low impact strength. Drop a thin cast and it chips. For pieces that will be handled, modeling plaster (below) is the upgrade.
Lime plaster: the slow authentic cure
Lime plaster is the old material — slaked lime, sand, and water — and it behaves like nothing else on this list. It doesn't "dry" the way gypsum does; it cures by carbonation, slowly reabsorbing carbon dioxide from the air over days to weeks until it turns back toward limestone. That slow cure is why lime walls in old buildings are still standing: the material stays slightly flexible, breathes moisture in and out instead of trapping it, and resists mold naturally.
For art, lime's payoff is the surface: a soft, matte, mineral depth that paint sitting on top of gypsum can't quite imitate, and color that bonds chemically with the plaster instead of coating it (the fresco principle). The price is patience and skill. Lime is caustic when wet — gloves and eye protection are not optional — it punishes fast drying (mist it, don't heat it), and it demands lime-safe mineral pigments. Standard acrylic colorants can shift or fade in lime's high alkalinity; the working rule from lime suppliers is no more than 5% pigment by weight of the lime putty, mixed into the putty before the sand goes in, so the color runs all the way through.
Choose lime when the piece is a wall treatment or a serious textured panel you want to last decades. Skip it for a first canvas experiment — joint compound teaches the same knife skills at a tenth of the fuss. Our plaster art colors guide goes deeper on which colors hold up in which material.
Modeling plaster and premixed pastes
Modeling plaster (sometimes sold as casting plaster or art plaster) is gypsum's tougher sibling: denser, harder when set, and more durable for larger pieces. It sets in around 30 minutes — a sane middle ground between plaster of Paris's sprint and joint compound's all-day dry — and it sands to a professional finish. Downsides: it's heavier (weight matters on a hanging panel), harder to carve than plaster of Paris, and typically costs more per pound. If your joint-compound pieces are turning out well and you want a harder, more archival result, modeling plaster is the natural second material.
Premixed textured pastes from art stores are the convenience option: open the jar, spread, done. They hold peaks and knife marks exceptionally well, dry flexible, and come tinted or tintable. You're paying for that convenience — $15–$30 for a jar that covers a fraction of what a $15 bucket of joint compound covers. Buy one small jar to learn what good texture paste feels like; buy joint compound for everything after.
Color: pigments, paint, and the lime exception
Three ways to color plaster, and the material decides which ones are safe:
- Mix acrylic paint into the wet material. Works well for joint compound and plaster of Paris in small amounts (a few tablespoons per cup). More paint weakens the set — the piece stays soft and dusty — so for strong color, paint on top instead of mixing in.
- Paint on top after curing. The most reliable route for all gypsum materials: let the piece dry fully (24 hours minimum for joint compound, longer for thick areas), seal with a thin coat of acrylic medium or matte varnish, then paint with acrylics. Sealing first stops the thirsty plaster from drinking your paint unevenly.
- Mineral pigments. The only proper route for lime (max 5% by weight of lime putty, as above), and also excellent mixed into joint compound and plaster of Paris for through-color that can't scratch off. Iron oxides, ochres, and umbers are the workhorses; they cost $8–$15 a jar and last years.
One color warning that applies everywhere: white plaster yellows slightly as it ages, especially in sunlight. If you want a true gallery white, plan on a final coat of white acrylic or a UV-protective varnish rather than trusting raw plaster to stay white.
Surfaces, tools, and sealing
Surfaces: stretched canvas is fine for thin joint-compound texture, risky for thick plaster of Paris, and wrong for heavy lime. Cradled wood panels and plywood-backed boards are the safe default for anything over a quarter inch thick — they don't flex, so nothing cracks. Whatever the surface, prime it first: a coat of gesso (or, for boards, a shellac-based primer) gives the plaster something to grip. Unprimed canvas drinks the water out of your mix before you finish spreading it.
Tools: you need fewer than the art stores suggest. A flexible palette knife (the big one, not the tiny diamond-shaped one), a 2-inch putty knife, an old credit card for smooth passes, and a fork or comb for linear texture cover 90% of plaster art. Our plaster art tools guide lists the full kit with what to skip.
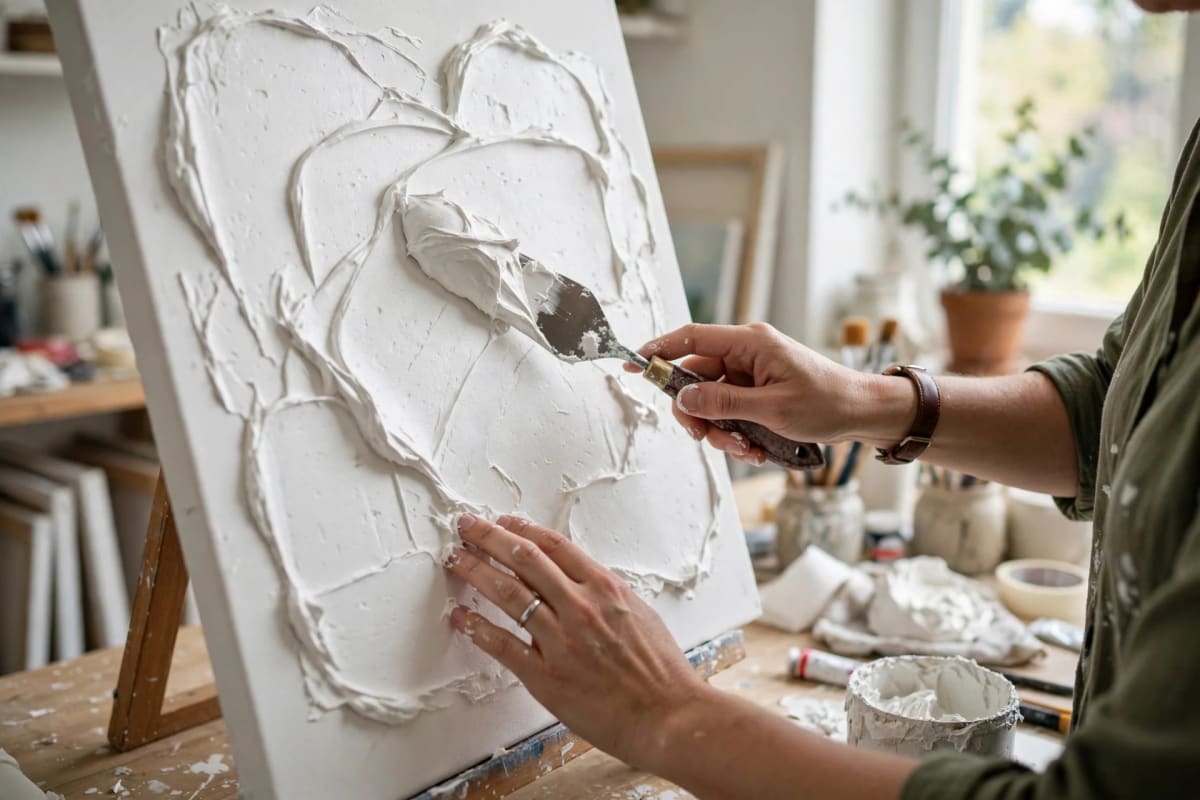
Sealing: finished pieces get one or two thin coats of matte acrylic varnish or diluted acrylic medium, brushed on, not sprayed thick. Sealing does three jobs: it hardens the dusty surface, evens out paint absorption, and protects against fingerprints. Skip gloss unless you want a wet look — gloss varnish on texture catches light unevenly and photographs badly.
First-project shopping list
For a first 16×20-inch textured canvas, assuming you own brushes and a palette knife:
- All-purpose joint compound, 1 gallon: ~$12
- One cradled wood panel or a primed canvas you already own: $0–$15
- Acrylic paint (two or three colors you already own): $0
- Matte acrylic varnish, small bottle: ~$10
- Painter's tape, sandpaper (120 + 220 grit), an old sheet for the table: ~$8
Total: roughly $30–$45 — and the compound bucket covers your next five projects too. The only thing I'd add for project two is a jar of mineral pigment, because through-color changes the whole look for $10.
Mistakes that ruin plaster art
- Mixing a full batch of plaster of Paris at once. It sets in the bucket while you're still spreading the first half. Mix a cup at a time; your future self will thank you.
- One thick coat instead of thin layers. Every material cracks when laid on thick. Two thin coats always beat one thick one, and the drying time between them is when you plan the next layer.
- Painting before it's dry. Trapped moisture under paint blisters and peels within weeks. Joint compound that feels dry on top can still be damp inside — give thick areas 48 hours, not 24.
- Pouring plaster water down the sink. Rinse tools in a bucket, let the solids settle, pour off the water outside, and bin the sludge. One plumbing bill teaches this permanently.
- Skipping the seal coat. Unsealed plaster sheds dust forever and drinks paint unevenly. One thin coat of acrylic medium is the best few dollars you will spend on the entire piece.
- Working on a flexing surface with a rigid material. Pure plaster of Paris on stretched canvas is a crack waiting for a season change. Rigid boards, or the 50/50 gel blend, or joint compound — pick one of the three.
FAQ
What is the best plaster material for beginners? All-purpose joint compound. It's premixed, cheap, slow-drying (so you can rework it), and forgiving. Start there; graduate to modeling plaster or lime once your knife skills are solid.
What is the difference between joint compound and plaster of Paris? Joint compound is a premixed drywall filler that dries slowly and stays slightly soft; plaster of Paris is a gypsum powder you mix with water that sets hard in 5–15 minutes but is brittle. Joint compound is friendlier for art; plaster of Paris is better for casts and crisp detail.
How do I stop plaster art from cracking? Apply thin layers and let each dry fully, use a rigid surface (wood panel, not stretched canvas) for thick work, and for plaster of Paris on canvas, blend it 50/50 with acrylic gel so the dried layer can flex.
Can I add color to plaster? Yes — small amounts of acrylic paint mixed into gypsum materials, mineral pigments for through-color, or paint on top after sealing. For lime plaster, use lime-safe mineral pigments only, max 5% of the lime putty's weight.
How long does plaster art take to dry? Joint compound: 12–24 hours per thin coat. Plaster of Paris: sets in minutes, fully dry in 24 hours. Lime plaster: surface-dry in days, fully cured over weeks. Thick areas in any material need longer — when in doubt, wait another day.
Do I need to seal plaster art? Yes — one or two thin coats of matte acrylic varnish or diluted acrylic medium. It hardens the surface, stops dusting, evens out paint absorption, and protects the piece from fingerprints.



