
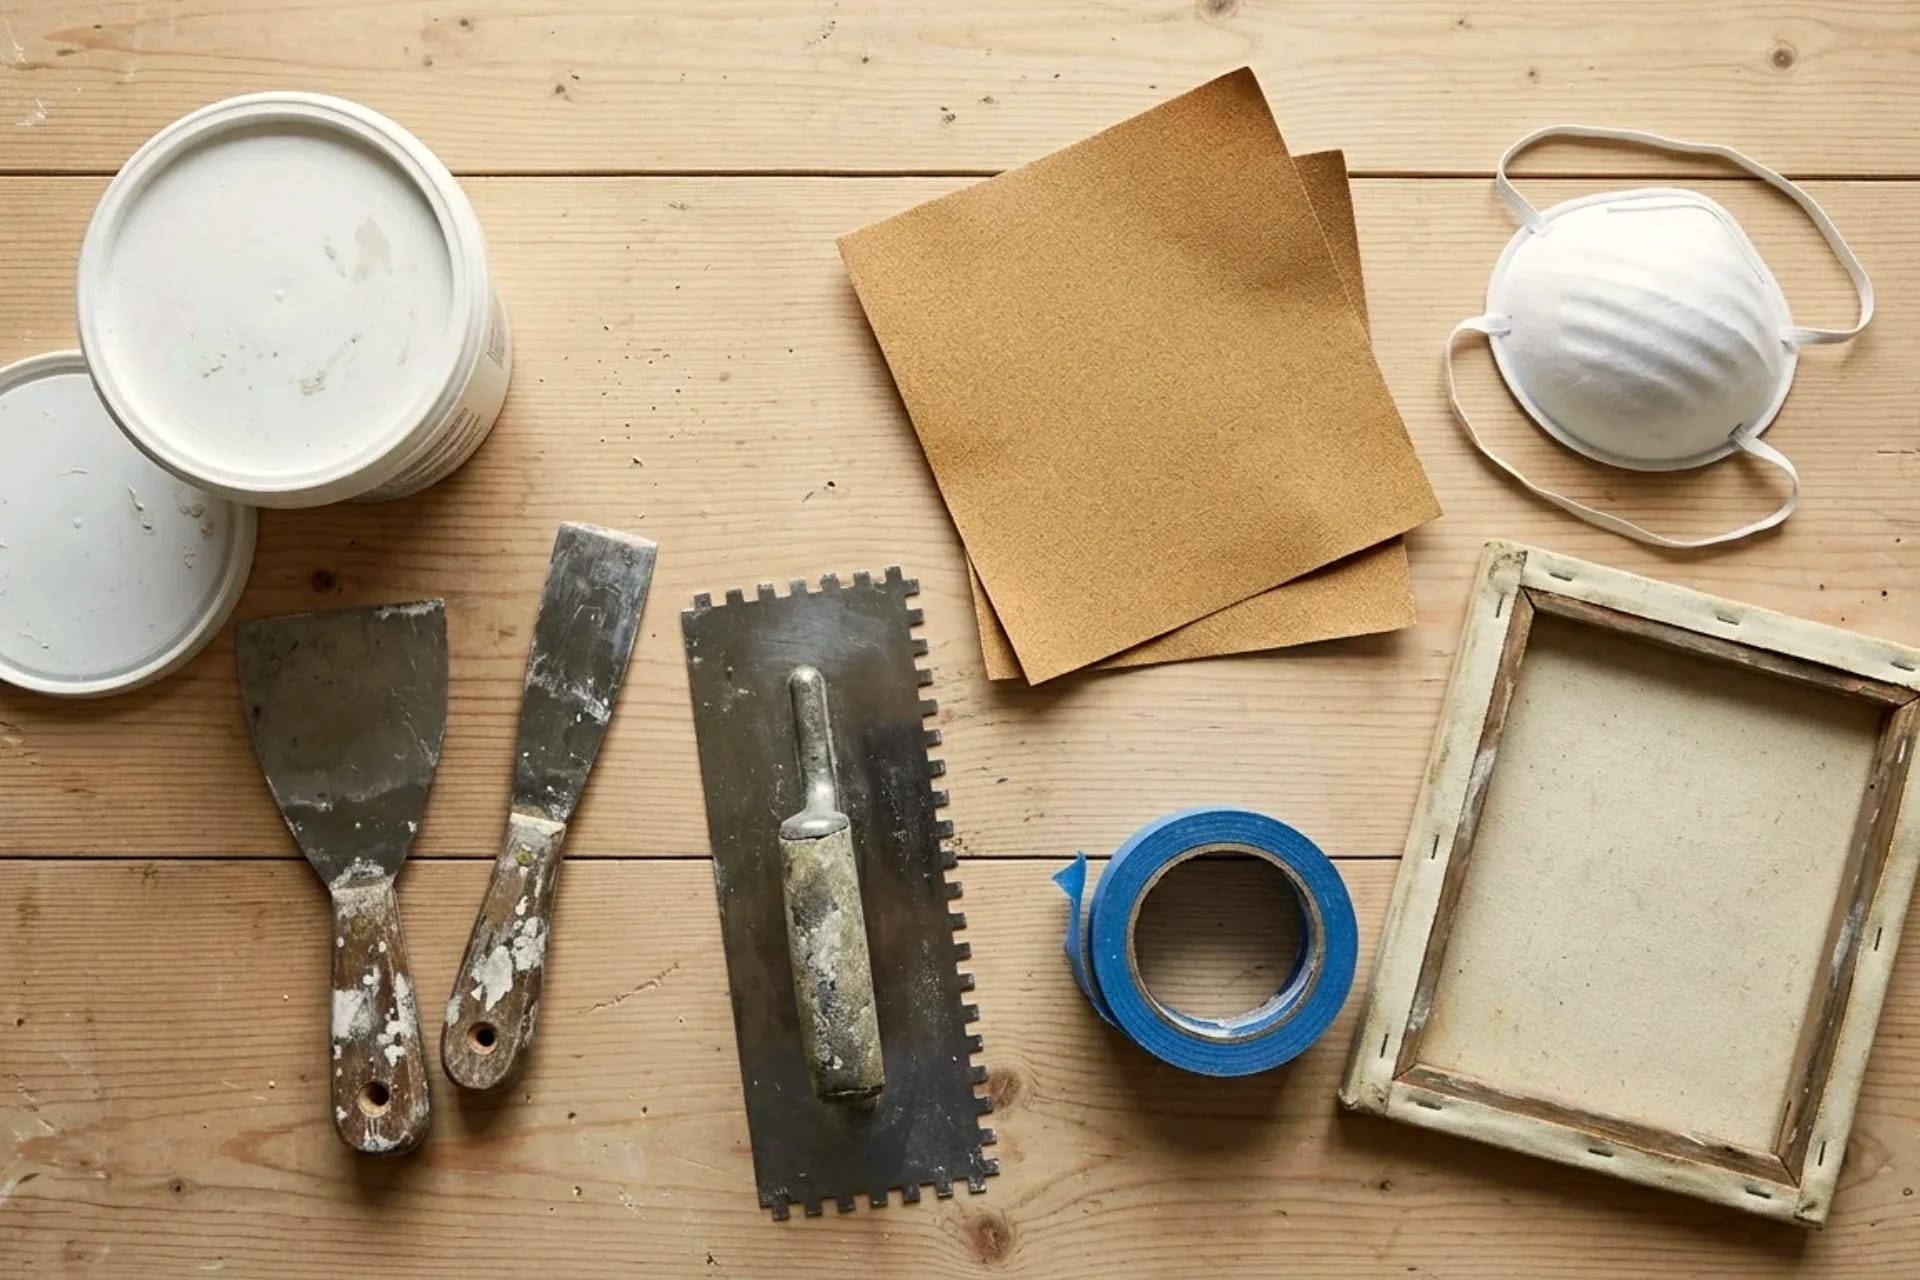
Buying the wrong materials is the most expensive beginner mistake in plaster art — not because the materials cost much, but because the wrong compound or a flimsy canvas ruins the piece and the afternoon. This checklist covers exactly what to buy, what each item does, what to skip, and three budget kit tiers from $15 to $60. Buy once, make a dozen pieces.
For the technique itself, see the full DIY plaster wall art tutorial; for what to make, browse the textured plaster art designs. The complete wall decor hub is our ultimate DIY wall decor guide.
Key Takeaways
- The one non-negotiable: all-purpose premixed joint compound (not plaster of Paris, not lightweight, not quick-set)
- Starter kit total: $15–$25 covers compound, a thrifted canvas, putty knives, and sandpaper — enough for 3–4 pieces
- Skip: texture mediums, "complete kits" (2–3x markup), expensive canvases for practice pieces
- Thrift first: canvases, frames, combs, and shaping tools are all thriftable — buy sealant and compound new
- Safety: dust mask for sanding is mandatory, not optional — compound dust is extremely fine
Table of Contents
- The compound: what to buy and what to avoid
- Surfaces: canvas, board, and alternatives
- Shaping tools: knives, trowels, and household substitutes
- Prep and finishing supplies
- The 3 budget kit tiers
- What to thrift vs what to buy new
- Storage, cleanup, and reuse
- Frequently asked questions
- The takeaway
The compound: what to buy and what to avoid
This is the single most important buying decision. Get it right and everything else is easy.
Buy: all-purpose premixed joint compound
The white tub (typically 3.5 liters / ~$8). "All-purpose" is the key phrase — not lightweight, not quick-set, not topping compound. Why all-purpose wins:
- Workable 30–45 minutes — enough time to design, adjust, and fix
- Sands easily when dry — softer than real plaster
- Forgiving — scrape off and restart while wet, no penalty
- Cheap — one tub makes 3–4 medium pieces
Avoid
- Plaster of Paris — sets in ~10 minutes (panic, not art), harder to sand, less forgiving. Fine for small cast details; wrong for textured canvases.
- Lightweight joint compound — fluffier, weaker, doesn't hold crisp texture as well.
- Quick-set / setting-type compound — 20–45 minute set times by chemical reaction, not drying. Unforgiving for beginners; the clock starts at mixing and doesn't stop.
- Pre-mixed "texture mediums" and art pastes — they work, but cost 5–10x more per liter than joint compound for the same result. Buy them never, at least until you're selling pieces.
How much do you need
One 3.5-liter tub covers roughly: 3–4 medium canvases (50×60 cm) at 3–5 mm texture, or 1–2 sculptural pieces. Buy one tub to start; you'll know your consumption rate after the first piece.
Surfaces: canvas, board, and alternatives
Thrifted framed canvas (best value)
The ideal beginner surface: $3–$8 at thrift stores, often with ugly art you paint over. The frame is a bonus — tape it off and it becomes part of the finished piece. Any size from 40×50 cm up; bigger reads more gallery-like.
Check before buying: press the canvas center — it should be taut, not saggy. Saggy canvas flexes under compound weight and cracks later. Re-staple loose canvas or skip it.
New stretched canvas
$8–$20 depending on size. Buy new when you want a specific large size or when thrift stock is thin. Quality varies enormously at the cheap end — avoid the ultra-thin "value packs" whose frames warp under moisture. Mid-range student canvases are fine.
Wood board (MDF or plywood)
Sanded plywood or MDF, 6–12 mm thick. Advantages: zero flex (fewer cracks on thick sculptural work), cheap, available in any size cut at the hardware store. Disadvantages: heavy (a 60×80 cm MDF piece needs real hanging hardware), and raw wood must be sealed with primer first — unsealed wood sucks moisture from the compound unevenly and causes patchy drying.
What to skip
- Canvas panels/boards (the thin flat ones) — they warp under wet compound. Fine for paint, wrong for plaster.
- Cardboard — warps, period.
- Unprimed anything — primer first, always. One coat of white acrylic or spray primer, 20 minutes to dry.
Shaping tools: knives, trowels, and household substitutes
You need fewer tools than you think. The essentials:
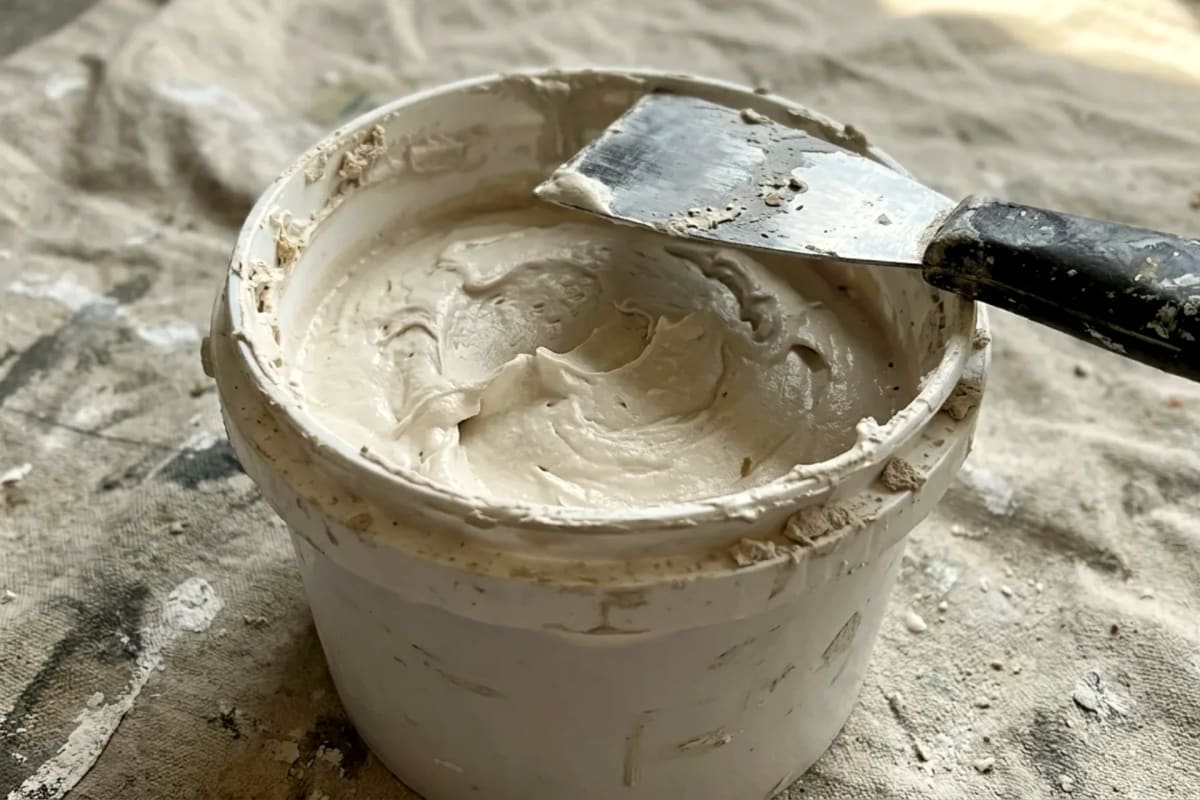
Putty knives (essential)
One flexible 10 cm and one 15 cm — a $6 set covers 90% of plaster art. The 15 cm lays down base layers; the 10 cm does detail and edges. Flexible blades (not stiff) give smoother strokes. Metal lasts; plastic works for a few pieces.
Notched trowel or comb (for line designs)
A small notched tile trowel ($4) makes perfect parallel lines, waves, and the arch designs from the design library. Plastic is fine.
Household substitutes (free)
Before buying specialty tools, raid the kitchen and toolbox:
- Fork — combed lines and fine texture
- Spoon back — smooth arcs and concave curves
- Old credit card — crisp straight edges, scraping flat
- Stiff brush / toothbrush — stippled texture
- Crumpled plastic bag — organic mottled texture
- Lace or leaves — pressed impressions (see botanical designs)
- Your gloved fingers — sculptural shaping; honestly the best tool for organic forms
Buy vs substitute rule: buy the putty knives (you'll use them every time); substitute everything else until you've made 3+ pieces and know which specialty tools match your style.
Prep and finishing supplies
Primer
White acrylic paint or spray primer — one coat on the surface before compound. $4–$6. Non-negotiable: it determines what color shows through in carved grooves.
Sandpaper (120-grit)
For smoothing dried ridges and leveling repairs. Buy a multi-pack — you'll use it. Dust mask mandatory when sanding: joint compound dust is extremely fine and lung-irritating. A basic P2/N95 disposable mask costs $1–$2 and lasts several sessions.
Sealant
One coat after everything is dry (and painted, if painting):
- Water-based matte polyurethane ($6–$8) — brush on thin; the standard choice
- Clear furniture wax ($8–$12) — rubbed in with a cloth; softer, warmer finish
- Matte spray sealant ($6) — fastest for complex texture; light passes
Unsealed compound is chalky, marks on touch, and absorbs airborne grease over time — sealing is the 10-minute step that makes pieces last years.
Paint (if coloring)
Matte acrylic craft paint or matte wall paint, thinned 10–15% with water. Full color guidance in the plaster art color ideas guide.
Painter's tape
For protecting frames during work and masking crisp edges in geometric designs. The blue multi-surface kind; $4–$5 a roll lasts many projects.
The 3 budget kit tiers
Tier 1: The $15 starter (first piece)
- All-purpose joint compound, 3.5L tub — $8
- Thrifted framed canvas — $4
- Painter's tape (borrow or mini roll) — $2
- Household tools only (fork, spoon, old card, fingers)
- Sandpaper sheet — $1
Makes: 1 medium piece, flat texture designs. Proves you enjoy the process before spending more.
Tier 2: The $35 complete kit (recommended)
Everything in Tier 1, plus:
- Putty knife set (10 cm + 15 cm) — $6
- Notched trowel — $4
- 120-grit sandpaper multi-pack + dust mask — $5
- White primer (small can) — $4
- Matte sealant — $6
Makes: 3–4 pieces, all design levels except heavy sculptural. This is the kit 90% of people need.
Tier 3: The $60 serious setup
Everything in Tier 2, plus:
- Second canvas or wood board for larger work — $10
- Matte acrylic paint set (basics + 2–3 colors) — $8
- Metallic gold acrylic for dry-brush accents — $4
- Clear wax + extra sealant — $8
Makes: unlimited pieces, full color work, gallery-level finishing. Buy this when you're on piece five and still excited.
What to thrift vs what to buy new
Thrift (quality is fine secondhand): canvases and frames, putty knives, trowels, combs, brushes, drop cloths, spray bottles. Thrift stores and flea markets are full of barely-used art supplies.
Buy new (don't compromise): joint compound (old tubs dry out and harden), sandpaper (worn grit is useless), dust masks (hygiene), sealant (old sealant can yellow or fail to cure), painter's tape (old tape loses adhesion and tears surfaces).
The golden rule: anything that touches the chemistry (compound, primer, sealant, paint) should be fresh. Anything that's just a shaped piece of metal or plastic can be secondhand.
Storage, cleanup, and reuse
- Compound storage: press plastic wrap directly onto the compound surface before closing the lid — prevents the dried skin that forms on contact with air. Stored this way, an opened tub lasts months.
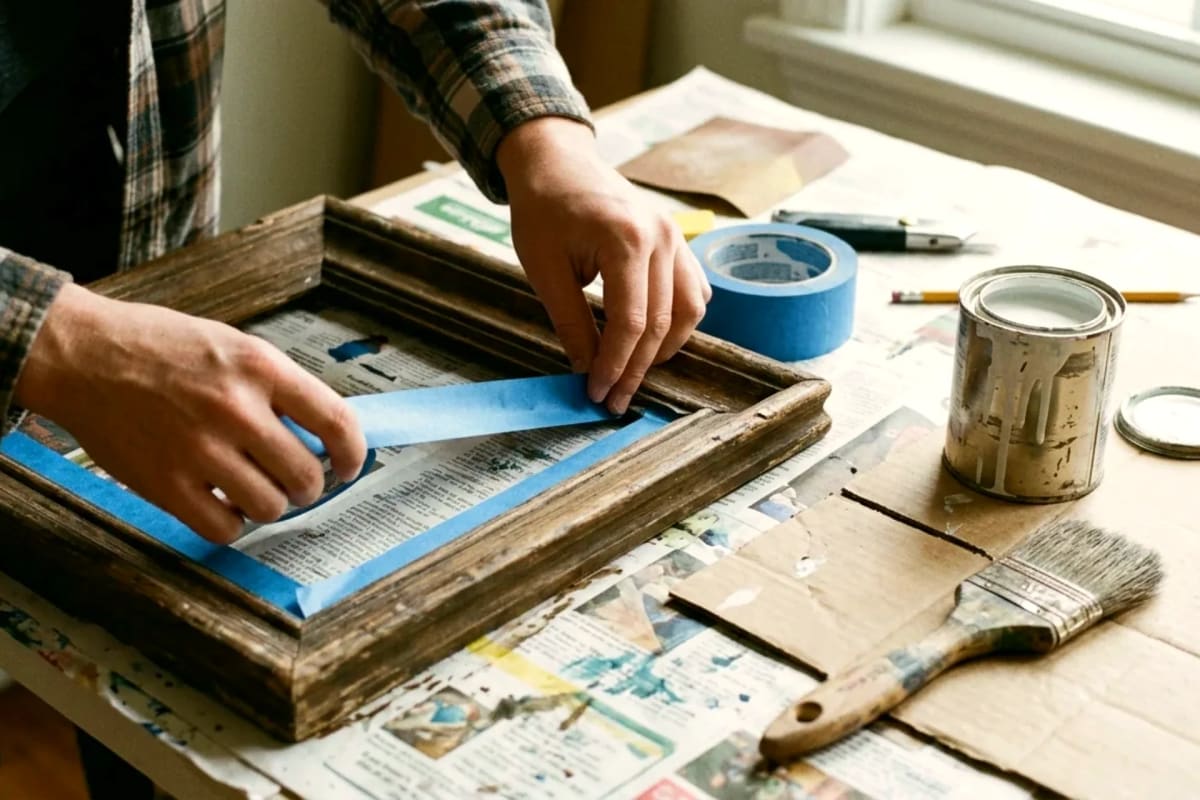
- Tool cleanup: wash putty knives and trowels in warm water immediately after use. Dried compound is removable with soaking, but it's miserable — 2 minutes now saves 20 later. Never wash large amounts down the drain; wipe excess into the trash first (compound + pipes = plumber).
- Reusing mistakes: scraped-off wet compound goes back in the working pile. Dry scraps go in the trash. Nothing is wasted while it's wet — one more reason joint compound beats plaster of Paris for learning.
- Workspace: a plastic drop cloth or old shower curtain under everything. Compound washes off hard floors easily when wet; it's permanent-feeling on fabric and carpet once dry.
Frequently asked questions
What is the best joint compound for plaster wall art? All-purpose premixed joint compound (the standard white tub). Not lightweight, not quick-set, not plaster of Paris. All-purpose stays workable 30–45 minutes, sands easily, and forgives mistakes — it's the beginner-friendly choice professionals actually use for art.
How much does it cost to start making plaster art? $15–$25 for the first piece: $8 compound tub (enough for 3–4 pieces), $3–$8 thrifted canvas, household tools. The recommended complete kit with proper knives, primer, sandpaper, mask, and sealant runs about $35.
Can I use plaster of Paris instead of joint compound? You can, but it's harder in every way that matters: 10-minute working time, harder sanding, no wet-restart. Joint compound is cheaper, slower-setting, and more forgiving. Save plaster of Paris for small cast details.
Where can I buy joint compound? Any hardware store, home improvement store, or online. It's a standard drywall product — look in the paint/drywall aisle, not the art aisle. The 3.5-liter tub is the standard small size.
Do I need a sealant for plaster art? Yes — one thin coat of water-based matte polyurethane or clear wax after the piece is fully dry. Unsealed compound is chalky, marks when touched, and absorbs grease over time. It's the highest-ROI 10 minutes in the whole process.
Is joint compound dust dangerous? It's a lung irritant, not a toxin — but sanding produces extremely fine dust, so a P2/N95 dust mask is mandatory when sanding. Work in a ventilated area and wipe surfaces with a damp cloth afterward rather than dry-sweeping.
The takeaway
The shopping list is short: all-purpose joint compound, a thrifted canvas, two putty knives, sandpaper, a dust mask, primer, and sealant — $35 for the complete kit that makes a dozen pieces. Everything else is substitutable from your kitchen until you know your style. Buy the chemistry fresh, thrift the tools, and spend the savings on your second and third canvases — because piece three is where it starts looking like the designs you're aiming for.



