
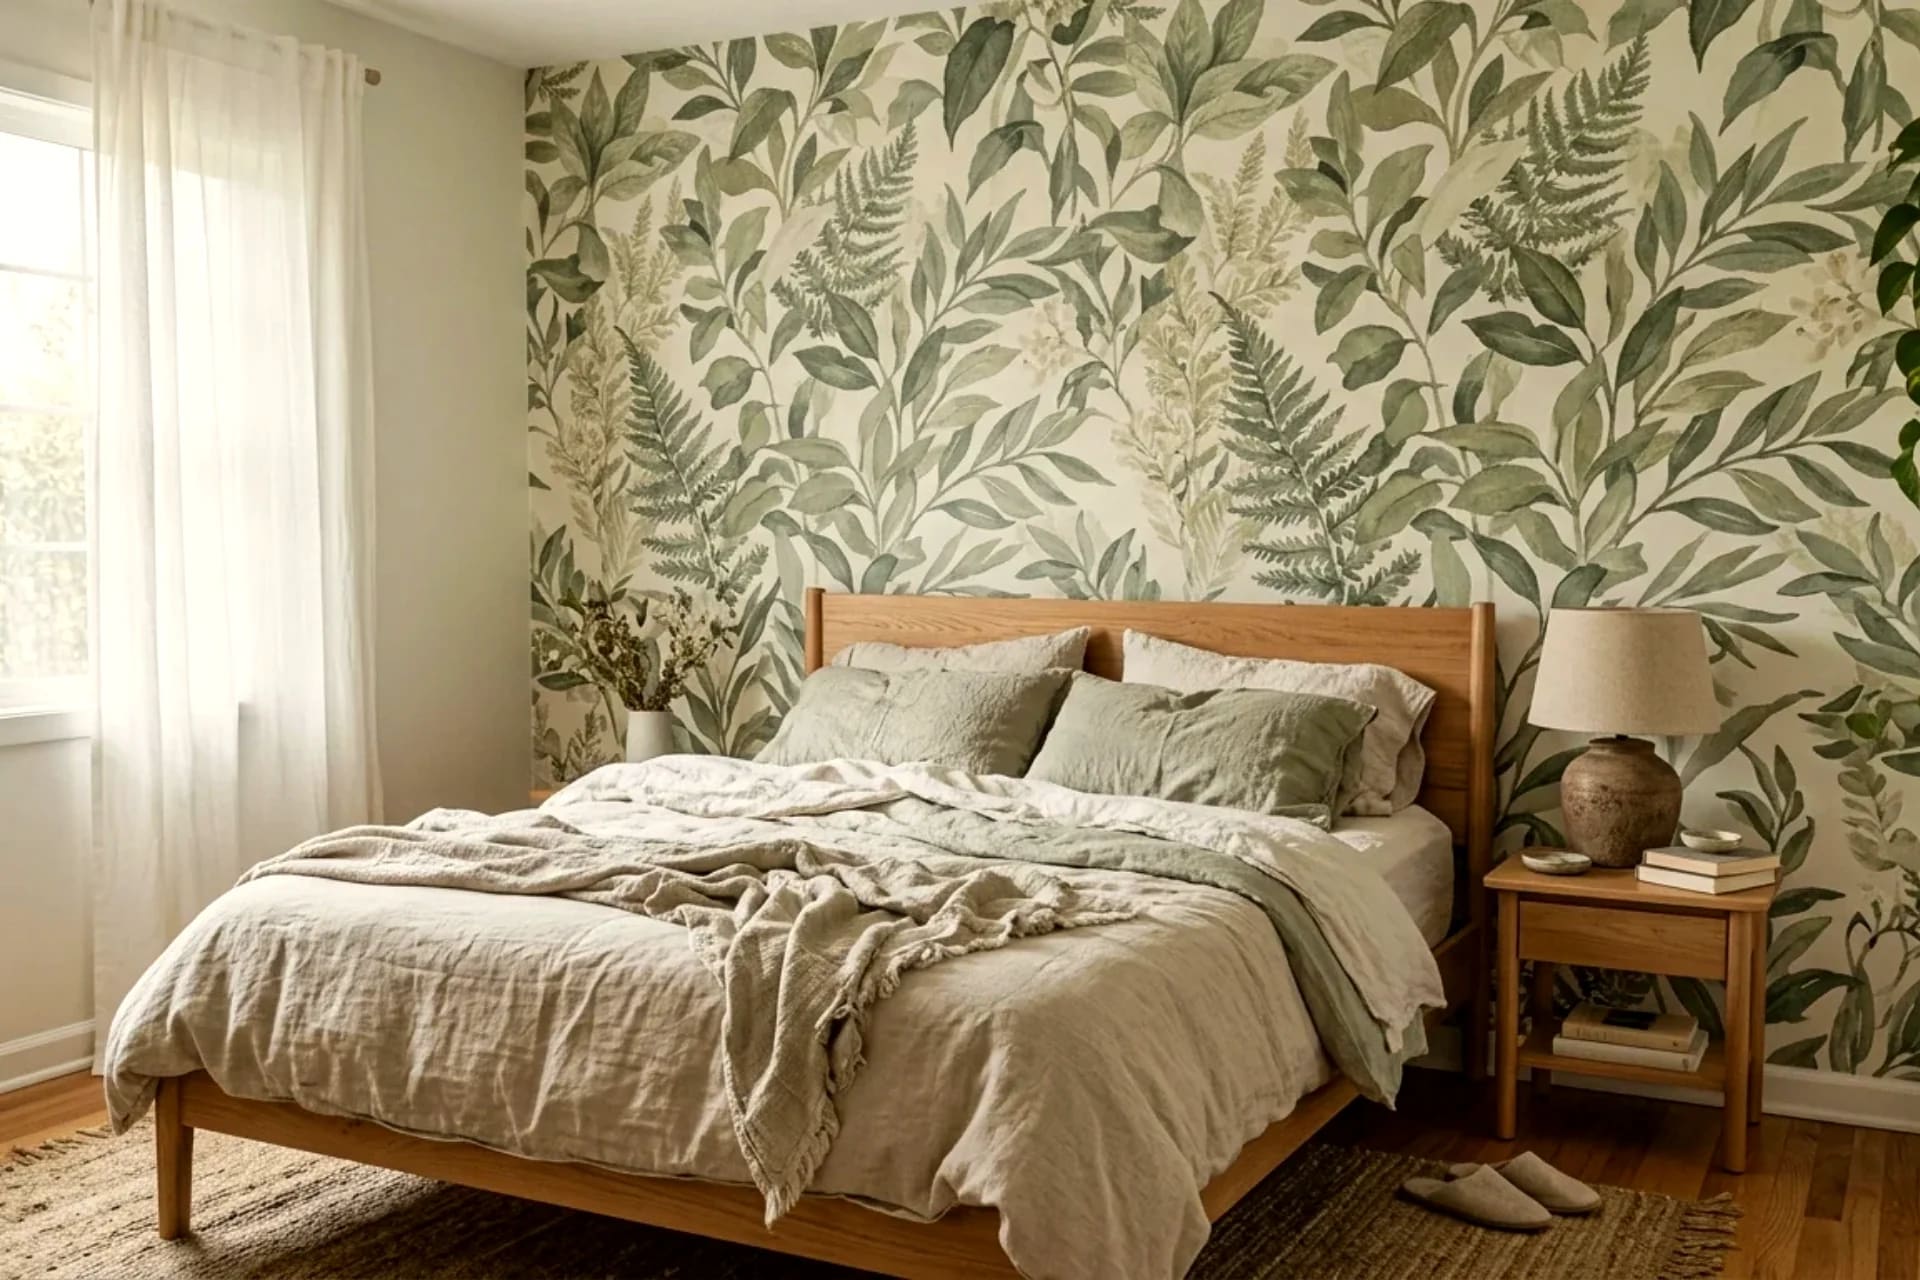
One accent wall of removable wallpaper changes a room more than $500 of scattered decor — the highest visual impact per dollar in home DIY, and the only wall treatment that comes off cleanly for renters. But peel-and-stick has a reputation problem: bubbles, crooked seams, horror stories of paper that wasn't removable. All three are technique problems, not product problems.
New to dressing up walls entirely? Our DIY wall decor beginner's guide covers the full landscape — this guide goes deep on the single most transformative renter-safe wall treatment.
Key Takeaways
- Cost: $40–$120 per accent wall (peel-and-stick), vs $200–$400 for traditional paper + paste
- Time: 2–4 hours for one wall, beginner-friendly
- Order math: measure wall area + 10% overage + account for pattern repeat (big repeats waste more)
- #1 application rule: plumb line first, panels hang top-down — never try to align as you unpeel
- Removal: low heat + slow 180° pull; comes off clean on cured paint, eggshell or satin finish
Table of Contents
- What "removable" actually means
- 10 accent wall ideas
- How much to order: the real math
- Application, step by step
- The 6 mistakes that ruin peel-and-stick
- Removal: getting it back off cleanly
- Cost breakdown and where to buy
- Frequently asked questions
What "removable" actually means
Three products get confused here, and buying the wrong one is the most expensive mistake in this guide:
Peel-and-stick (self-adhesive): fabric or vinyl with a built-in adhesive backing. Peel the liner, stick to wall, repositionable during install, removes by peeling. This is what "removable wallpaper" means in 2026. No water, no paste, no tools beyond a smoothing tool and a knife.
Traditional wallpaper: needs paste (applied to wall or paper), not repositionable, removal involves steaming and scraping. Beautiful and durable, but not renter territory.
"Removable" traditional: some brands sell pre-pasted paper marketed as strippable. It removes in full sheets — better than standard — but still needs water activation and can't be repositioned. A middle option for homeowners, not the renter pick.
For this guide, "removable wallpaper" = peel-and-stick. If you're renting, don't buy anything else — and pair it with our renter-friendly wall decor guide for the rest of the room.
One honest caveat: "removable" assumes cured paint (30+ days), smooth walls, and eggshell/satin finish. On fresh paint, flat/matte paint, or textured walls, even good peel-and-stick can misbehave. Test a hidden 30 cm strip for 48 hours before committing to a whole wall — this 10-minute test prevents every horror story.
10 accent wall ideas
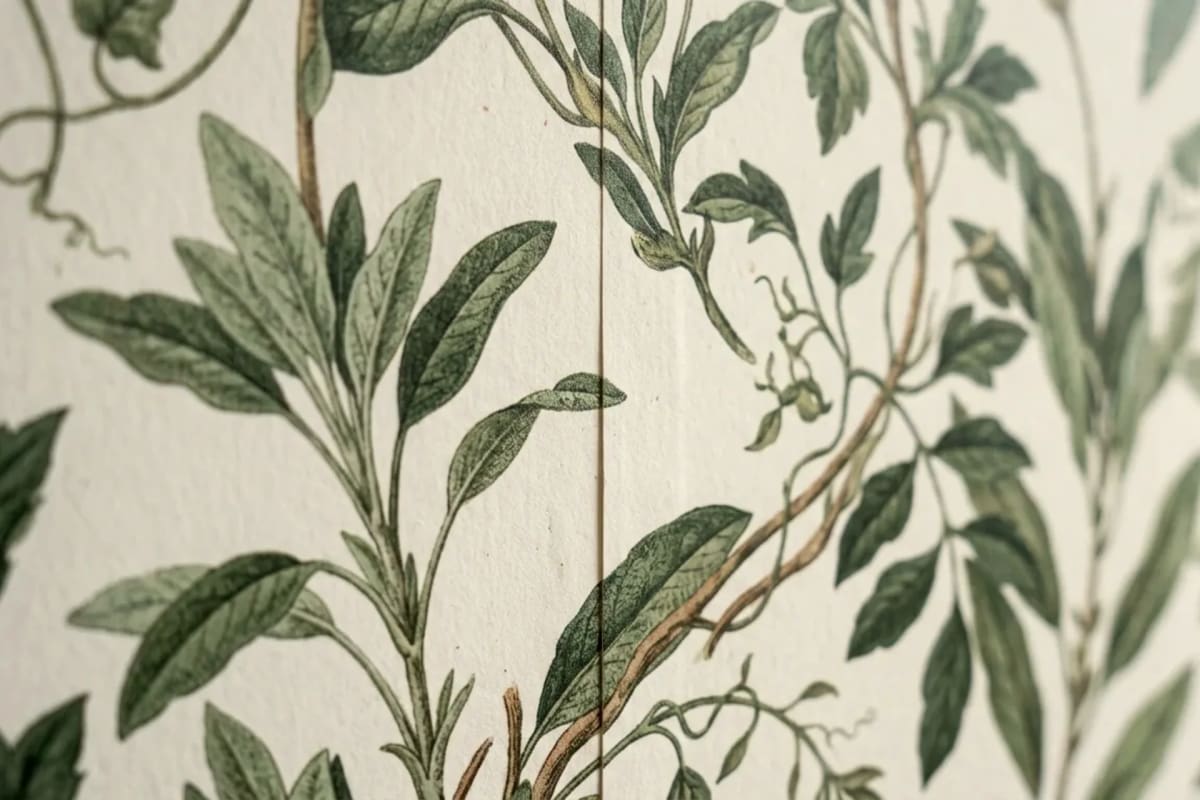
1. Botanical oversized print (behind the bed)
Large-scale leaves or branches behind the bed — the single most-pinned wallpaper look. The oversized pattern reads as art, so the wall needs nothing else. Works in bedrooms where you want calm, not busy.
2. Japandi limewash-look texture
Peel-and-stick that mimics limewash or plaster gives flat walls the depth of a $2,000 plaster job. Best in living rooms and bedrooms in warm neutrals — it never fights your furniture.
3. Bold geometric in the entryway
Small space, big pattern: entryways and hallways take bold geometrics that would overwhelm a bedroom. Black-and-white or terracotta geometrics make a 2-meter hallway feel designed instead of forgotten.
4. Faux wood slats (fluted panels look)
Vertical fluted-panel wallpaper is everywhere right now — the acoustic-slat look without the $800 panel order. Behind a TV or sofa, in oak or walnut tones. The vertical lines also make low ceilings feel taller.
5. Mural wall (one big scene)
A single panoramic mural — mountains, arches, vintage landscape — instead of a repeating pattern. No repeat-matching during install; panels align edge to edge. Dining rooms and home offices love these.
6. Small powder room, maximal pattern
The powder room is the bravest room: tiny, guests see it, no one lingers. Go maximal — dark botanical, chinoiserie, bold stripe. Hate it? It's one wall and two hours to redo.
7. Kids' room: stars, dots, or rainbows
Simple shapes on a soft background — and the removable part matters most here, because kids' tastes change yearly. Peel off the dinosaurs, put up the space theme. No repainting between phases.
8. Behind open shelving (kitchen)
The strip behind open kitchen shelves is usually dead space. A washable vinyl peel-and-stick there — tile-look, subtle texture — upgrades the whole sightline. Choose vinyl over fabric for kitchens; grease happens.
9. Ceiling accent ("the fifth wall")
Wallpaper the ceiling of a bedroom or dining room in a soft pattern — less material than a wall, dramatic result. Start from the room's center line and work outward.
10. Closet and nook interiors
Inside a closet, pantry, or reading nook — pattern where only you see it. Small area, cheap to do, disproportionate joy. Great first project to practice technique before a full wall.
How much to order: the real math
Step 1: Measure. Wall width × height in meters = area. A 3 m × 2.5 m wall = 7.5 m².
Step 2: Check the roll specs. Peel-and-stick typically comes in rolls ~0.5 m wide × 3–6 m long. Note the pattern repeat — the vertical distance before the pattern restarts (e.g., 53 cm). Every new strip must align to the repeat, and the offcut between your wall height and the next repeat multiple is waste.
Step 3: The waste formula. Strips needed = wall width ÷ roll width, rounded up. Length per strip = wall height rounded up to the next multiple of (pattern repeat). Small repeats (under 30 cm) waste little; large repeats (60 cm+) can waste 20–30% of the roll.
Step 4: Add 10% overage on top, minimum one extra strip. Mistakes happen, and dye lots differ — order everything at once from the same batch.
Example: 3 m wide × 2.5 m high wall, 0.5 m × 6 m rolls, 53 cm repeat. Strips: 3 ÷ 0.5 = 6. Length per strip: 2.5 m rounds up to 2.65 m (5 × 0.53). Total: 6 × 2.65 = 15.9 m → three 6 m rolls (18 m), which covers it with one strip spare. Cost at $25/roll: $75.
Application, step by step
Prep (30 minutes): Clean the wall with a damp cloth, let dry fully. Fill any holes and sand smooth — every bump shows through. If the paint is fresh (under 30 days), wait. Remove outlet covers and switch plates. This prep is non-negotiable; wallpaper forgives nothing underneath it.
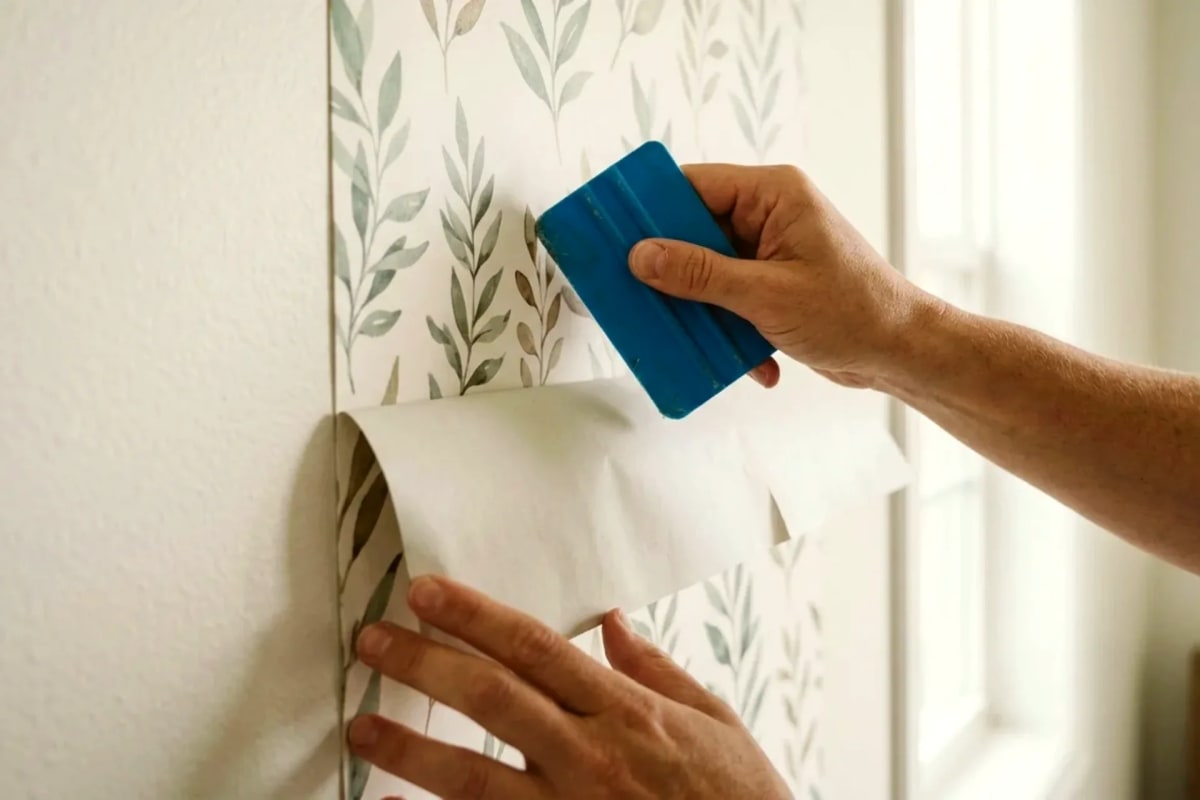
Step 1: Draw your plumb line. Measure one roll-width in from your starting corner, and draw a true vertical line with a level (pencil, light). Walls are never straight — starting from the corner guarantees a crooked wall of paper. The plumb line is your truth.
Step 2: Cut the first strip. Wall height + 5 cm extra top and bottom. Peel back ~30 cm of the liner at the top only — don't peel the whole thing.
Step 3: Hang top-down. Align the strip's edge to the plumb line at the top, smooth the exposed 30 cm onto the wall (center outward), then peel the liner downward slowly, smoothing as you go. Gravity is your assistant here.
Step 4: Trim. At ceiling and baseboard, crease the paper into the corner and trim with a sharp knife + straightedge. Change the blade often — dull blades tear instead of cutting.
Step 5: Next strip. Butt the edge tight against the previous strip (no overlap — overlap creates a visible ridge). Align the pattern at eye level first, then smooth up and down. Repositionable means you can peel back and retry — do it within the first minutes, before the adhesive fully sets.
Step 6: Outlets. Cut an X over the outlet box, fold the flaps in, trim. Replace the cover plate — it hides all sins.
Small bubbles smooth toward the nearest edge. A stubborn one: prick with a pin and smooth flat. Large trapped air: peel back to the bubble and re-smooth. Never stretch the paper to chase a bubble — it shrinks back and opens seams later.
The 6 mistakes that ruin peel-and-stick
- Skipping the plumb line. The #1 cause of visibly crooked walls. Corners lie; levels don't.
- Applying on textured walls. Knockdown and orange-peel textures prevent full adhesive contact — edges lift within weeks. Skim-coat or choose a smooth wall.
- Stretching the paper during install. Pulling it taut to align patterns feels right and is wrong — it relaxes later and opens gaps at the seams. Align, don't stretch.
- Dull blades. Tearing instead of cutting leaves ragged edges at the ceiling line, the most visible part. Fresh blade every couple of strips.
- Ignoring the pattern repeat when ordering. Running short mid-wall with a different dye lot is a disaster you can calculate your way out of (see the math above).
- Installing in a steamy bathroom. Peel-and-stick and constant steam are enemies. Powder rooms are fine; full bathrooms need humidity-rated vinyl or a different plan.
Removal: getting it back off cleanly
Start at a bottom corner, pull slowly at ~180° — back against itself, close to the wall. Slow and low-angle is the whole technique. Warm stubborn sections with a hair dryer on low for 20–30 seconds, then continue.
If adhesive residue remains: roll it off with your fingers, or press a fresh piece of the wallpaper's liner against it and pull — the adhesive prefers itself. Rubbing alcohol on a cloth handles the last film. On properly cured eggshell/satin paint, good peel-and-stick leaves nothing behind. On flat paint or fresh paint, all bets are off — which is why the 48-hour test strip matters.
This is also why wallpaper and heavy damage-free hanging methods don't mix well on the same wall: plan the wallpaper as the finished surface, and put your art on adjacent walls or lean it.
Cost breakdown and where to buy
- Budget peel-and-stick: $15–$30 per roll (0.5 × 6 m) — solid colors, simple patterns, decent quality from big home stores and online marketplaces
- Mid-range: $30–$60 per roll — the sweet spot: better adhesive, richer prints, independent design brands
- Premium/mural: $60–$150+ per wall — custom murals, designer collabs, textured finishes
- A typical accent wall (3 × 2.5 m): $40–$120 all-in, including the smoothing tool kit ($8–$12)
Compared to hiring a painter for an accent wall ($200–$400) or traditional wallpaper + installer ($500+), peel-and-stick is the cheapest dramatic change you can make to a room — and the only one you can undo on moving day.
Frequently asked questions
Does removable wallpaper really come off cleanly? Yes — on cured paint (30+ days), smooth walls, eggshell or satin finish, quality peel-and-stick removes cleanly with slow low-angle pulling plus a little heat for stubborn spots. The failures come from fresh paint, flat/matte paint, or textured walls. Always test a hidden strip for 48 hours first.
Can I put peel-and-stick wallpaper in a bathroom? In a powder room (no shower), yes. In a full bathroom, steam degrades the adhesive — use humidity-rated vinyl or skip it. Kitchens are fine with wipeable vinyl; avoid directly behind the stove.
How long does removable wallpaper last? 3–5 years is typical for quality peel-and-stick in normal conditions. Edges near windows (UV + heat cycling) may lift sooner — press them back down; the adhesive is repositionable for the product's life.
Can I apply it over existing wallpaper or textured walls? Over existing smooth wallpaper: sometimes, but removal then takes both layers — test first. Over textured walls: no — the adhesive can't make full contact and edges will lift. The wall needs to be smooth.
What's the difference between peel-and-stick and pre-pasted "removable" wallpaper? Peel-and-stick has built-in adhesive, is repositionable during install, and needs no water. Pre-pasted needs water activation, can't be repositioned once placed, and removes by different mechanics. For renters, peel-and-stick is the safer, more forgiving choice.
Will it damage the wall if I leave it up for years? Adhesive can harden over years, especially in hot sunny spots. On cured paint it's still renter-safe — just expect removal to need more patience and heat in year four than year one.



