
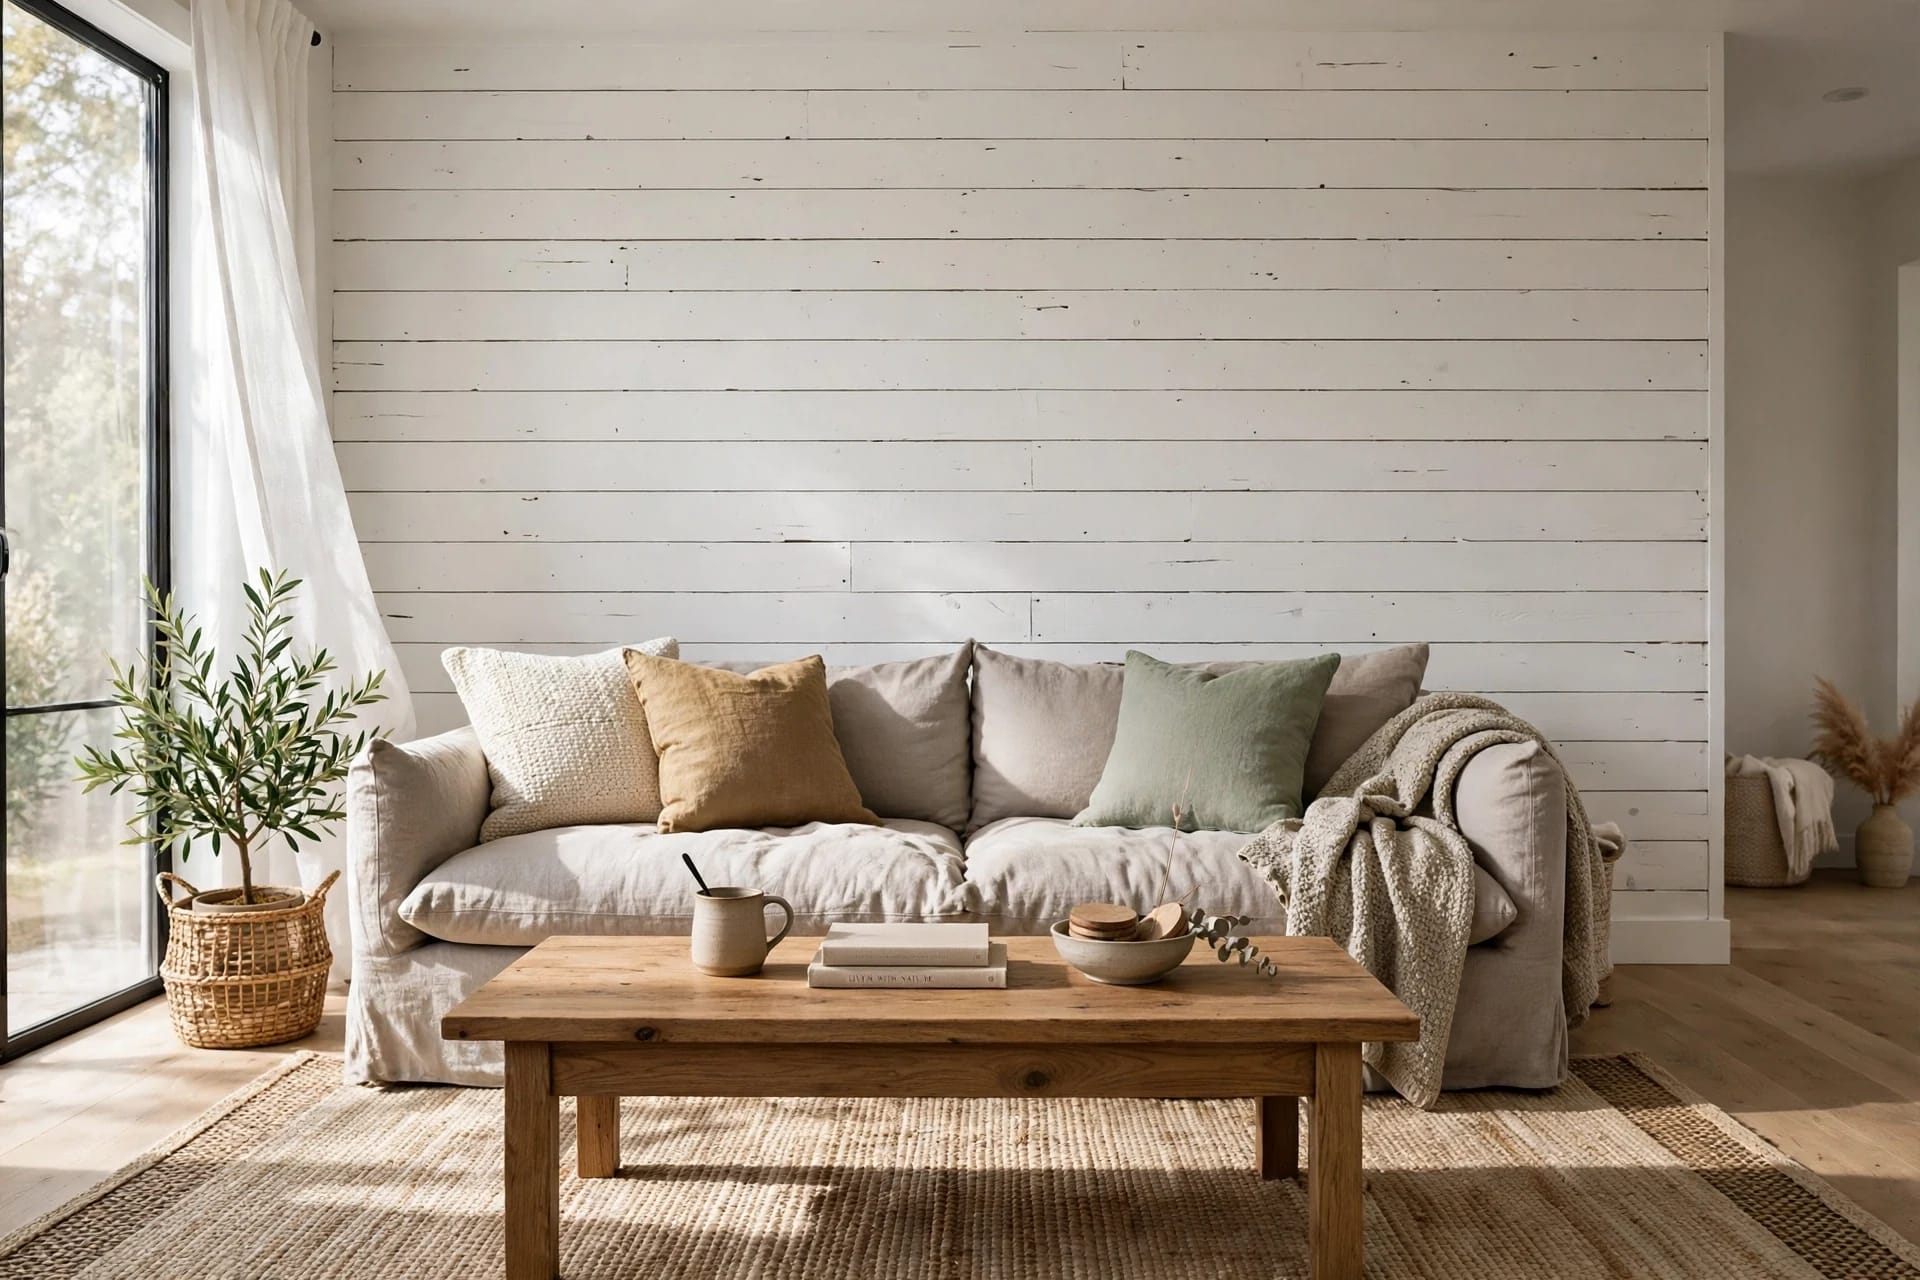
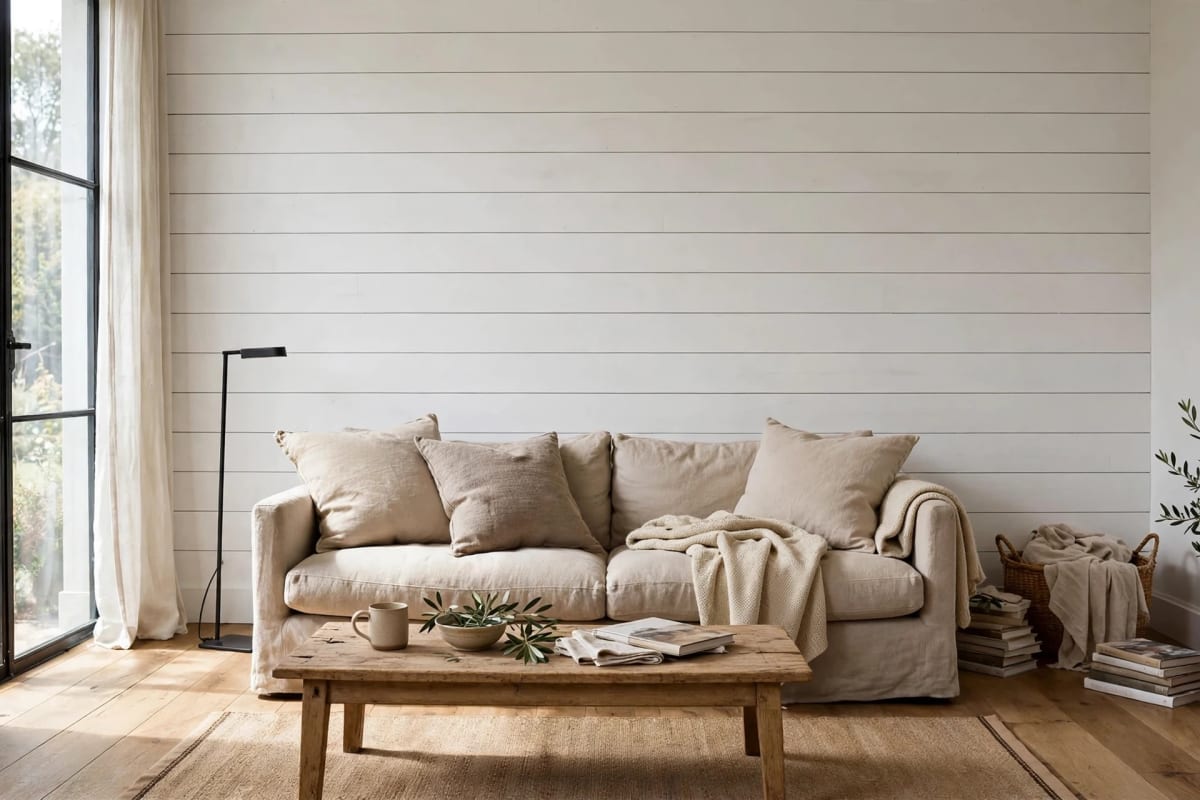
Shiplap survived its farmhouse moment and came out the other side as a permanent option — horizontal (or vertical) planks with a shadow gap, texture without pattern. But "shiplap" in a store listing can mean three quite different products at three very different prices, and the cheapest route to the look isn't a product at all. Here's how the three routes compare, what a real wall costs, and the installation details that separate a crisp plank wall from a wavy one.
Key Takeaways
- Real shiplap boards: $2–$7/sq ft; faux (ripped plywood/MDF strips): $0.80–$1.50/sq ft
- A 12×8 ft accent wall in 1×6 boards takes roughly 28–30 boards (8 ft)
- Paint the wall a dark shade first — whatever shows through the gaps then reads as shadow
- The first board must be perfectly level: every later row inherits its error
Table of Contents
- Three routes to the look
- Materials and real costs
- Board math for a real wall
- Install steps that matter
- Vertical, diagonal and ceiling installs
- Where shiplap fails
- FAQ
Three routes to the look
- True shiplap: boards with a rabbet (overlapping L) joint. Each board laps over the one below, and you set the gap yourself with spacers. Rustic, forgiving of slightly uneven walls, nail holes visible in the face (fill them or own them).
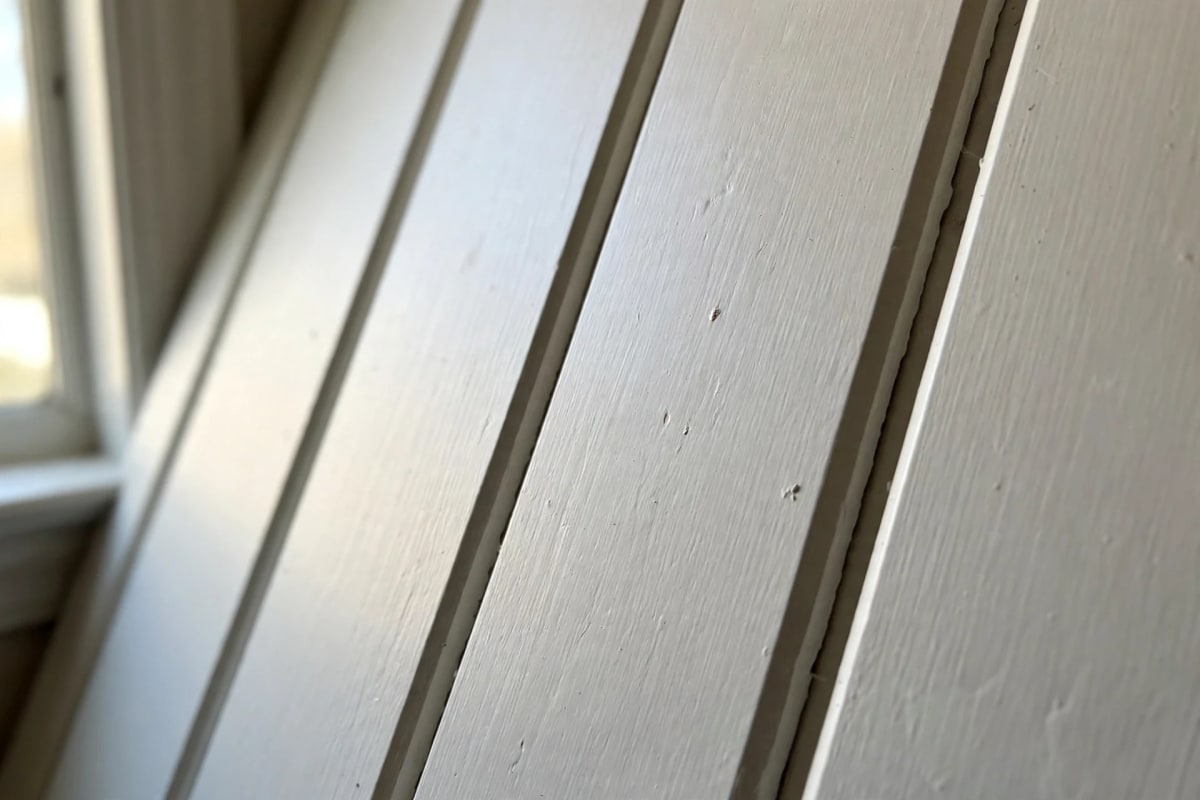
- Nickel gap: tongue-and-groove boards milled so the joint self-spaces at roughly the thickness of a nickel (about 1/16–3/32 inch of shadow line). Cleaner and more modern than true shiplap, nails hide in the tongue, and every gap comes out identical — most of what big-box stores sell as "shiplap" is actually this.
- Faux shiplap: no milled boards at all. Rip ¼–⅜-inch plywood or MDF sheets into planks (usually ~6 inches wide), nail them up with an actual nickel as the spacer, and paint. The shadow line is shallower than the real thing, but at $0.80–$1.50/sq ft in material it's a tenth of the installed cost of premium boards — the route most DIY accent walls actually take.
Materials and real costs
Material cost per square foot, 2026 US pricing:
- MDF (primed): $1.50–$4.50 — smoothest paint finish, easiest cutting; swells if it gets wet, so keep it out of bathrooms and laundry rooms
- Pine: $2–$4 (standard) — real wood character, dents if you look at it hard, needs primer (knots bleed through paint; shellac-based primer over knots)
- PVC/vinyl: $3–$9 — waterproof and stable, the wet-room answer
- Cedar: $5–$7 — rot-resistant, the porch and bathroom upgrade
- Ripped plywood/MDF (faux): $0.80–$1.50 — plus paint
Professional installation changes the picture completely: installed shiplap commonly runs $8–$20/sq ft with labor, which is why a 96 sq ft wall quotes at $800–$1,900 pro versus $150–$400 of DIY materials. This is a genuinely DIY-able wall — the labor is patience, not skill.
Board math for a real wall
Nominal board sizes lie politely: a 1×6 is actually 5.5 inches of coverage per board. For a wall 8 feet tall (96 inches) with horizontal boards: 96 ÷ 5.5 ≈ 18 rows. On a 12-foot-wide wall with 8-foot boards, each row is 1.5 boards → 27 boards, call it 30 with cuts and waste (order 10% extra; the return desk is easier than a mid-wall store run). Full rooms, ceilings and vertical installs just change which dimension divides by 5.5.
Install steps that matter
- Find and mark the studs (usually 16 inches on center). Brads into drywall alone will hold shiplap — it's light — but studs make it permanent; a bead of construction adhesive on the back is the belt-and-braces option.
- Paint the wall first, dark. The gaps show the wall behind them. White wall + white boards = gaps vanish in some lights and glare in others; a dark gray or the board color several shades deeper makes every line read as a clean shadow. This one step is the difference between faux that fools people and faux that doesn't.
- Start at the bottom, first board dead level. Shim it if the floor slopes — floors slope. Every row above stacks on this one, and a 1/8-inch error at row one is an inch of visible drift by the ceiling.
- Space every row — nickels, tile spacers, or the board's own milled joint — and check level every 3–4 rows, correcting gradually rather than in one visible jump.
- Stagger the seams when a row needs two boards, and keep butt joints off the same stud line row after row; aligned seams draw the eye like a zipper.
- Fasten with 18-gauge brads, two per stud crossing, angled slightly. Fill holes, caulk the edges against side walls and ceiling, then paint — ideally with boards pre-primed (and knot-sealed, for pine) before they go up.
Finishing details decide whether the wall reads as carpentry or as panels leaning on drywall. Pull the baseboard and any crown first and reinstall them over the boards — the plank ends disappear behind trim instead of stopping at it. Electrical outlets need box extenders (a few dollars each) so the plate sits on the new wall surface instead of sinking ¾ inch behind it; switch plates floating in a recess is the loudest tell of a rushed job. For paint quantities, a gallon covers roughly 350–400 sq ft per coat — a 96 sq ft accent wall in two coats drinks barely a third of a gallon, so a quart-plus-a-sample is the smarter buy if you're color-testing. Timing, realistically: one day to cut and install a single accent wall, a second morning to fill, caulk and paint. Rushing the caulk before it skins over is the only step that visibly punishes impatience.
Compare the effort honestly with the applied-trim alternative in our board and batten wall guide: batten gives shadow lines with a fraction of the material and no rip cuts.
Vertical, diagonal and ceiling installs
Nothing in the method cares about direction. Vertical shiplap stretches low ceilings visually and suits entryways and bathrooms (in PVC) — the board math divides the wall's width by 5.5 instead. Diagonal looks expensive and wastes 15–20% more material to cuts; budget for it. Ceilings are the fifth-wall move in bedrooms — use adhesive plus brads into joists, and know that ceiling boards get painted before install unless you enjoy overhead rolling. Gaps on a ceiling read deeper, so the dark-backing trick doubles in importance.
Where shiplap fails
- Wet rooms in MDF or raw pine: swelling, bubbling paint, a redo within two years. PVC or cedar, or pick another wall.
- Behind a wood stove or fireplace surround without checking clearances — shiplap is combustible cladding, and local codes set minimum distances to heat sources. Tile and stone own that wall.
- As a renter project. Nails every 16 inches in two rows per board is not damage-free; renters get the look from our renter friendly wall decor routes instead.
- Dust, honestly: horizontal gaps are ledges at microscopic scale. A vacuum brush pass every few weeks keeps the shadow lines dark instead of fuzzy.
FAQ
Shiplap or nickel gap — which should I buy? For a painted living-room wall, nickel gap: the self-spacing joint is faster and every shadow line matches. True shiplap suits stained, rustic work where variable gaps read as character.
Can I shiplap over existing drywall? Yes — that's the standard install. Boards add about ¾ inch; remove baseboards and trim first and reinstall them over the boards for a built-in finish, and use box extenders on outlets so the plates sit flush. If the drywall itself is wavy, shim behind boards at the low spots rather than pulling boards tight to a bad wall — the planks will happily telegraph every dip you force them into, and a straightedge laid across the finished wall is the honest way to check your work before paint makes it permanent.
Do I paint before or after installing? Prime and first-coat before (covering edges and tongues that will sit inside gaps), final coat after filling and caulking. Fully painting in place leaves raw lines visible inside the gaps whenever the wood shrinks seasonally.
How do I handle corners? Butt the boards into the corner and cover the joint with a small corner trim or quarter-round, or miter the ends at 45° if your saw work is confident. Trim-covered corners look intentional and forgive everything.
Is shiplap going out of style? The farmhouse package (shiplap + barn doors + word signs) dated itself; painted plank walls in modern colors — especially vertical and in muted tones — are being installed more than ever, closer to paneling than to a theme. See the broader paneling family in our DIY wall decor guide.



