
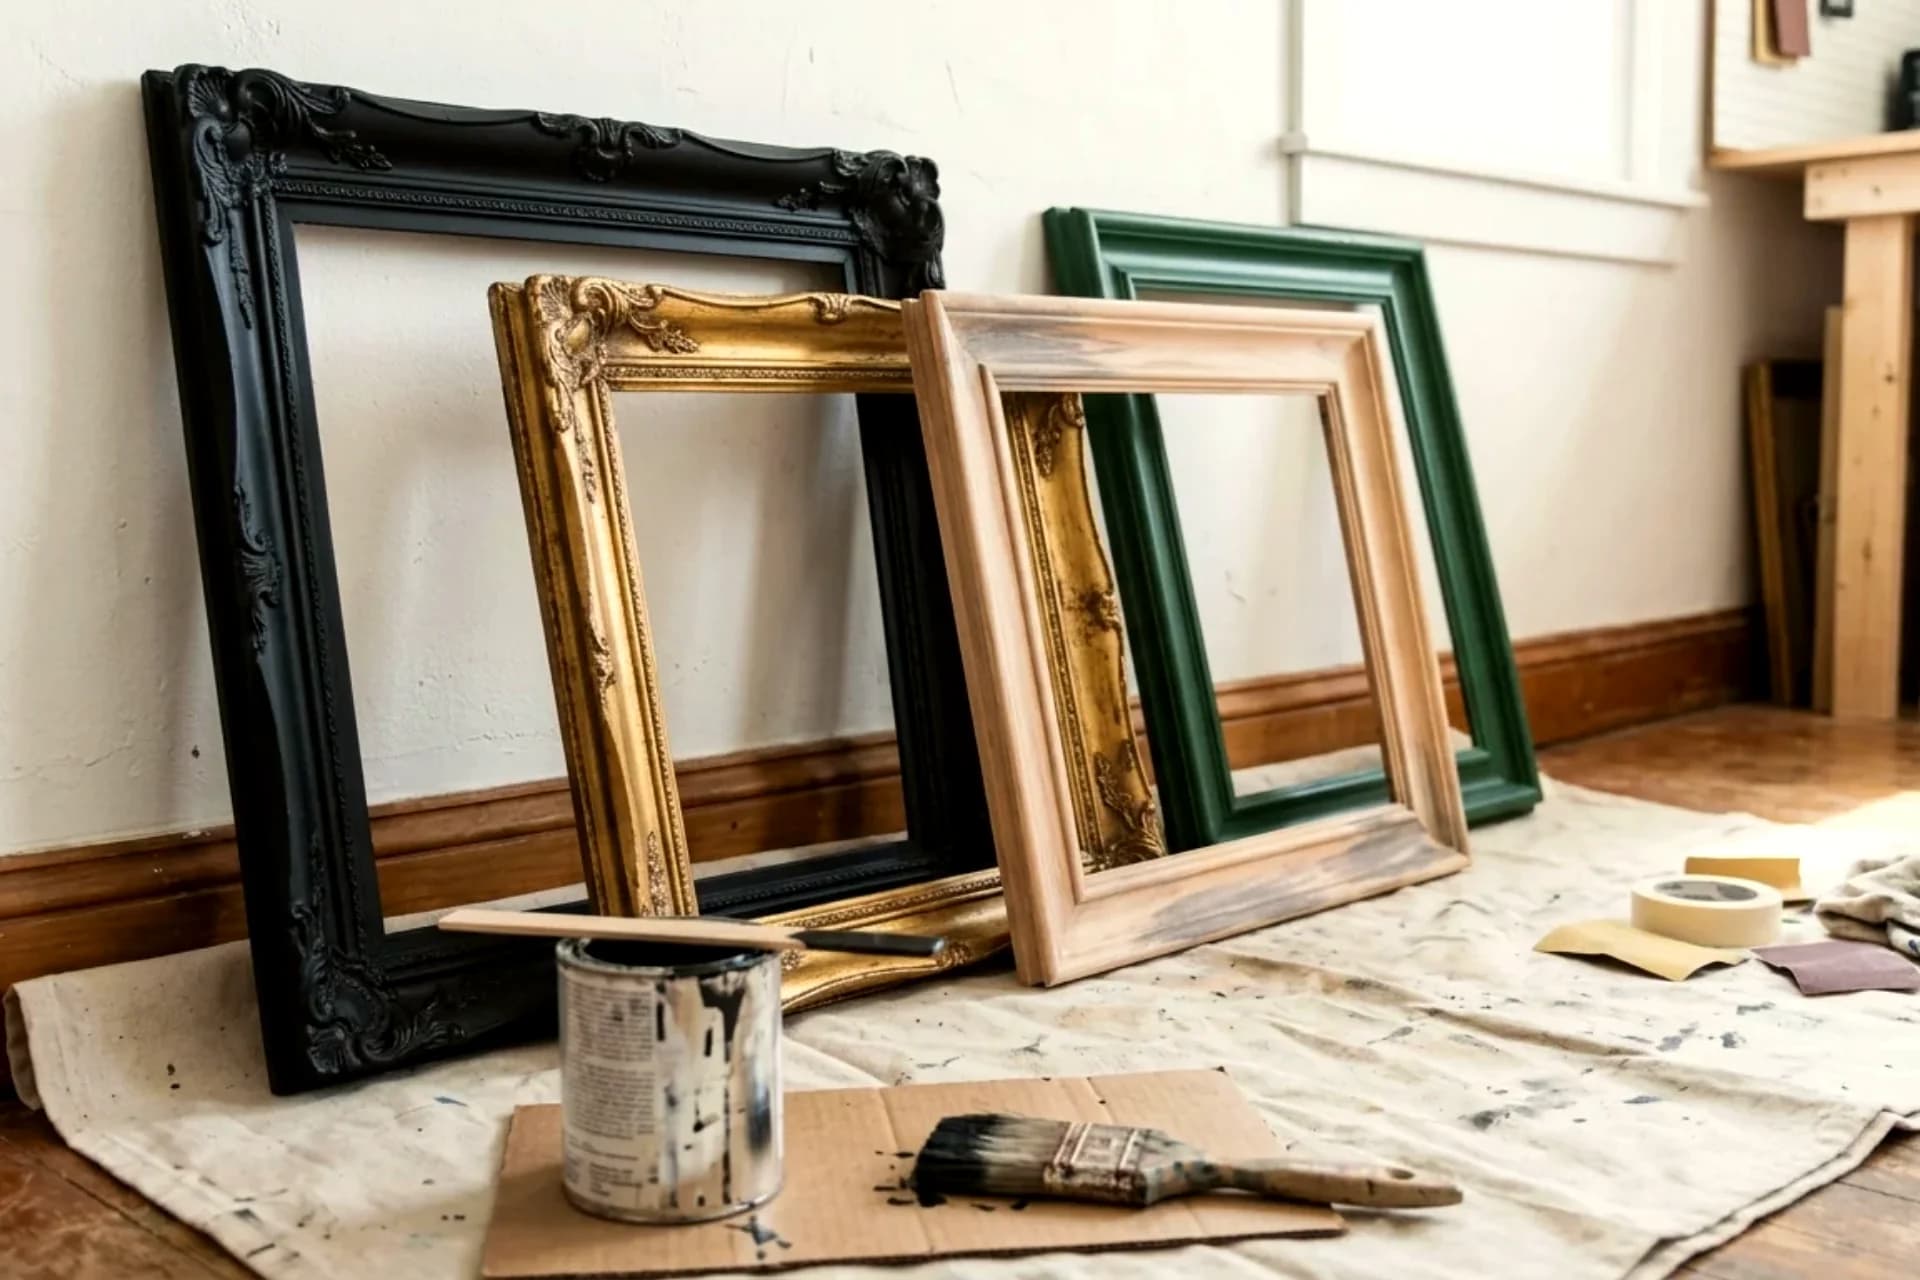
Thrift stores price picture frames like they're doing you a favor — because they are. A solid wood frame that retails for $40–$80 sits in the bin for $2–$5, usually because the art inside is a faded motel landscape and the finish is 1994 honey oak. The frame is the asset; everything else is packaging. Frame flipping is buying the bones and fixing the skin.
If wall decor is new territory for you, our DIY wall decor beginner's guide sets the scene — this guide is the treasure-hunt deep-dive. And if you want the single-technique version first, see our thrifted frame makeover tutorial.
Key Takeaways
- Cost: $2–$5 per frame thrifted + $3–$8 in paint/supplies = gallery look for under $12
- The buy test: solid wood (knock it — dense thud, not hollow), tight corners, glass included is a bonus
- Skip: plastic frames with fake woodgrain, warped boards, broken corner joints, missing glass you can't replace cheaply
- The universal process: clean → scuff-sand → prime → 2 thin paint coats → seal
- Best ROI flip: matte black or antique gold — both make cheap frames look 10x the price
Table of Contents
- How to spot frames worth flipping
- 8 before-and-after flip ideas
- The universal flip process
- Glass, backing, and hardware
- What to put inside your flipped frames
- The cost math
- Frequently asked questions
How to spot frames worth flipping
Walk past the art. You're shopping for rectangles.
The knock test: rap the frame with a knuckle. Solid wood gives a dense, low thud; hollow plastic or MDF gives a higher, empty sound. Wood takes paint beautifully and lasts decades; plastic fights every coat.
Check the corners. Look at the miters (the 45° joints). Tight, flush corners = quality construction worth your time. Gaps, staples showing, or wobble = walk away, no matter how cheap. A broken joint is the one thing paint can't fix.
Size sweet spots: 40×50 cm and 50×70 cm are the most useful sizes — standard mat and print sizes, easy to fill. Oversized frames (70×100 cm+) are gold when you find them; they retail for $60–$150 and thrift for $5–$10. Anything under 20×25 cm is only worth it in sets of 3+.
Glass is a bonus, not a requirement. Glass included saves you $5–$15 per frame (custom-cut glass isn't cheap). But don't reject a great wood frame for missing glass — you can run it glassless (modern look) or get acrylic cut cheaply.
Always skip: plastic frames with fake woodgrain print (paint peels off the slick surface), warped or twisted boards (won't hang flat), frames with that dusty gold plastic "ornate" finish that's actually hollow (paint won't save the cheapness), and anything smelling of mildew — the backing board is compromised.
The 30-second evaluation: knock (wood?) → corners (tight?) → size (useful?) → price (under $5?). Four yeses = buy it. You'll develop the eye within three thrift trips.
8 before-and-after flip ideas
1. Honey oak → matte black modern
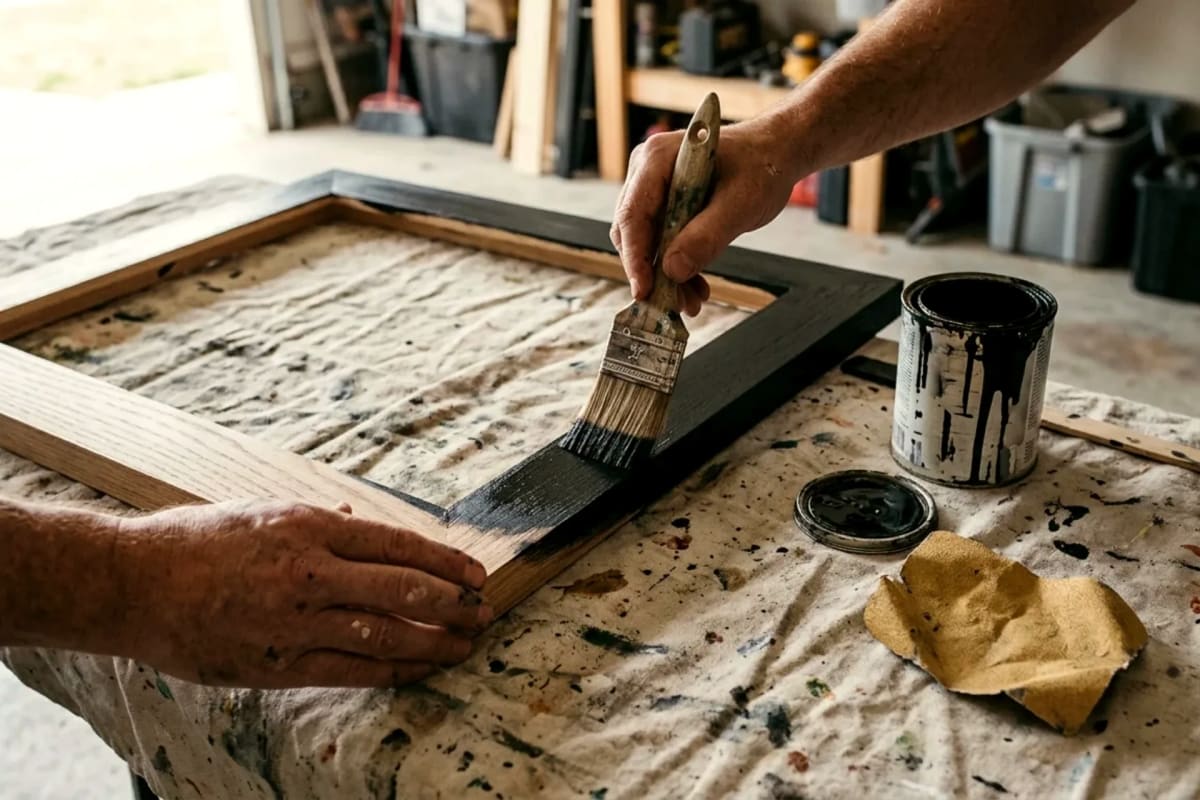
The most common thrift frame in existence: 1990s honey-oak wood. Scuff-sand, prime, two coats of matte black (chalk paint or acrylic). The transformation is absurd — dated wood becomes a modern gallery frame. Before: grandma's hallway. After: MoMA gift shop.
2. Dated gold → antique gold rub
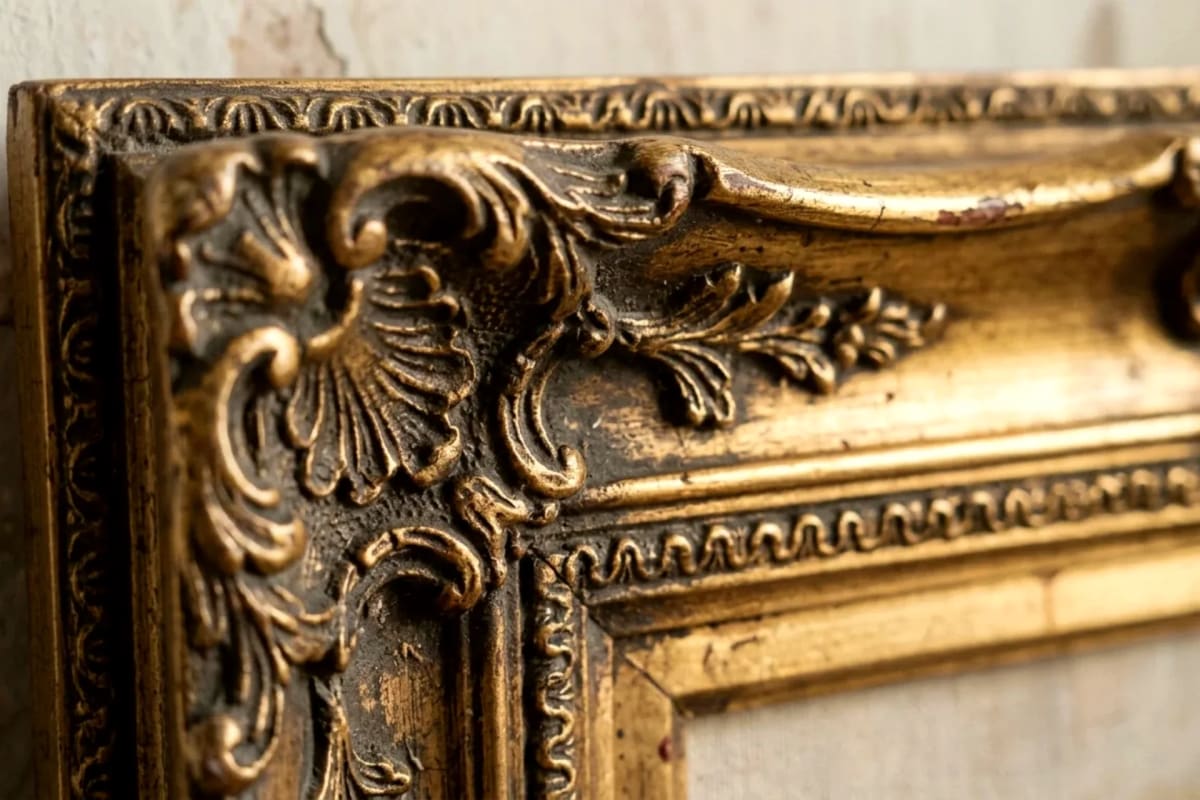
Not all gold is equal. That shiny 80s gold gets a makeover with dark wax or a dry-brush of dark bronze over a fresh gold base — the dark settles into the crevices and reads as aged, expensive gilt. Before: brass trophy. After: Paris flea market.
3. Any wood → raw Scandi
Sand the old finish completely off (80 → 120 → 220 grit), then seal with clear matte wax or polyurethane. Pale raw wood with visible grain is the Scandinavian look that retails for a fortune. Works best on frames with nice grain — oak, ash, pine. Before: dark stained bulk. After: Copenhagen apartment.
4. Mismatched set → color-pop lacquer
Five different frames, one bold color (deep green, terracotta, navy). Same paint unifies completely different shapes into an intentional gallery set. This is the highest-impact flip for gallery walls — the color does the unifying that matching shapes normally do. Before: yard sale pile. After: designer collection.
5. Ornate plastic → stone-look neutral
Those hollow ornate plastic frames nobody wants? Two coats of textured stone-effect spray paint (or regular paint + baking soda mixed in for texture) turn the fussy details into sculptural texture. The ornament becomes the point. Before: tacky. After: Restoration Hardware.
6. Big empty frame → oversized mat minimal
A large thrifted frame with a huge mat and a tiny print centered inside — the mat does the luxury work. Cut (or order) a mat with a 10–15 cm border; the small art floating in white space reads as extremely high-end. Before: empty giant frame. After: gallery minimalism. Our frame matting guide covers the mat math in detail.
7. Flat boring → fabric-wrapped
Wrap the frame face in linen, burlap, or velvet — cut, wrap like a gift, glue on the back. Adds texture and color that paint can't. Velvet-wrapped frames in jewel tones look custom-made. Best on simple flat-profile frames where the fabric sits cleanly.
8. Scratched and sad → two-tone dip
Paint the frame one color, then "dip" the bottom third (or one side) in a second color with a crisp tape line. Two-tone frames look designed and modern, and the technique hides scratches on the dipped portion entirely. Terracotta + cream, black + natural wood, sage + white — pick your palette.
The universal flip process
Every flip above runs on the same backbone. Learn it once, apply forever.
Step 1: Disassemble. Remove the art, mat, glass, and backing. Keep the hardware (hangers, wire) if solid; replace if rusty. Photograph the assembly order — you'll thank yourself at reassembly.
Step 2: Clean. Warm water + dish soap + a soft brush. Thrift frames carry years of dust, nicotine film, and kitchen grease. Paint bonds to clean wood, not to grime. Let dry completely.
Step 3: Scuff-sand. 120-grit sandpaper, light pass over every surface — you're not removing the old finish (unless going raw), just scratching it so primer grips. Wipe dust with a tack cloth or damp rag.
Step 4: Prime. One coat of bonding primer (shellac-based for glossy old varnish; regular for matte). Primer is the difference between paint that lasts years and paint that chips in months. Don't skip it.
Step 5: Two thin coats. Whatever the finish — chalk paint, acrylic, spray — two thin coats beat one thick coat every time. Thin coats level smooth and cure hard; thick coats drip, orange-peel, and stay soft. Light sand (220-grit) between coats for a furniture-grade finish.
Step 6: Seal. Clear matte polyurethane or furniture wax, one coat. Frames get handled, dusted, and leaned — unsealed paint scuffs. This 10-minute step is what makes the flip survive real life.
Drying truth: paint feels dry in an hour and cures in 2–3 weeks. Hang gently at first; full hardness comes with time. Stacking freshly painted frames face-to-face = stuck paint. Ask me how I know.
Glass, backing, and hardware
Cleaning old glass: razor blade scraper for stuck-on grime, then glass cleaner. If the glass is scratched, replace rather than fight it — scratches catch light forever.
Replacing glass: a glass shop cuts to size for $5–$15, or buy acrylic sheets and score-and-snap them yourself (lighter, shatterproof, slightly less crisp). For anything going above a bed or in a kids' room, acrylic is the smarter choice.
Going glassless: modern and fine for canvases, wood art, and anything textured. Not for paper prints in humid rooms — paper cockles without glass protection.
Backing boards: replace stained or warped backing with foam core cut to size ($1–$2). While you're in there, add fresh dust-cover paper on the back — it's the detail that makes a flip feel professional.
Hanging hardware: D-rings + picture wire for anything over 2 kg; sawtooth hangers for light frames. If the frame came with a flimsy cardboard easel back and you want it on the wall, add proper hardware — easel backs are for desks.
What to put inside your flipped frames
A flipped frame with the original faded print still in it is a tragedy. Options, cheapest first:
- Your own photos printed at a drugstore or online ($0.50–$5) — the personal gallery wall
- Free printables — thousands of high-quality art prints are legally free online; print at a copy shop on heavyweight matte paper
- Pressed botanicals — free from the garden, timeless in a flipped frame (see our pressed-flower approach in the wall decor guides)
- Kids' art — the oversized-mat trick (flip #6) makes a crayon drawing look like a $200 gallery piece
- Fabric or wallpaper scraps — texture as art; a remnant of beautiful fabric beats a bad print
- Your own DIY art — a small plaster texture piece or macramé mini in a flipped frame is the full-circle DIY flex
The frame is half the art. A $3 flipped frame with a $1 print inside, matted well, outclasses a $40 store frame with a mediocre print — because the mat and frame are doing the visual work.
The cost math
| | Thrift flip | Retail equivalent | |---|---|---| | 40×50 cm wood frame | $3–$5 | $35–$60 | | Paint + primer share | $3–$5 | — | | Mat (DIY cut) | $2–$4 | $12–$20 | | Print | $1–$5 | $15–$40 | | Total per finished piece | $9–$19 | $60–$120 |
A six-frame gallery wall: ~$75 flipped vs $400–$700 retail. That's not a small saving — it's the difference between doing the project and postponing it for a year.
Frequently asked questions
How do I know if a thrift store frame is real wood? Knock test (dense thud = wood, hollow ring = plastic/MDF), weight (wood is noticeably heavier), and check the back — unfinished wood backs and visible grain at the edges confirm it. When in doubt, look at a corner chip: wood shows wood underneath, plastic shows plastic.
What paint works best on old frames? Chalk paint (no-sanding-needed on most surfaces, matte finish) or acrylic latex over bonding primer. For the smoothest modern finish: spray paint, light coats, primer first. Avoid wall paint — it's too soft for objects that get handled.
Can I flip plastic frames? Yes, with the right prep: clean thoroughly, scuff-sand, use a plastic-bonding primer (regular primer peels off slick plastic), then paint. Or use the stone-texture trick (flip #5) — texture hides the plastic-ness better than smooth paint does.
Do I need to remove the old finish completely? Only if you're going raw wood (flip #3). For painted finishes, scuff-sanding + primer is enough — the old finish becomes just another layer underneath. Full stripping is hours of work for zero visual benefit under paint.
Where are the best places to find frames to flip? Thrift stores (cheapest, $1–$5), estate sales (best quality, slightly more), flea markets (negotiable, best for sets), and curbside/furniture-donation piles (free, check for warping). Go on weekday mornings for the best selection.
How do I price flipped frames if I want to sell them? Materials × 3 is the craft-fair rule of thumb, but check your local market — flipped gallery-size frames sell for $25–$60 depending on size and finish. The matte-black and antique-gold flips command the highest prices because they photograph best.



