
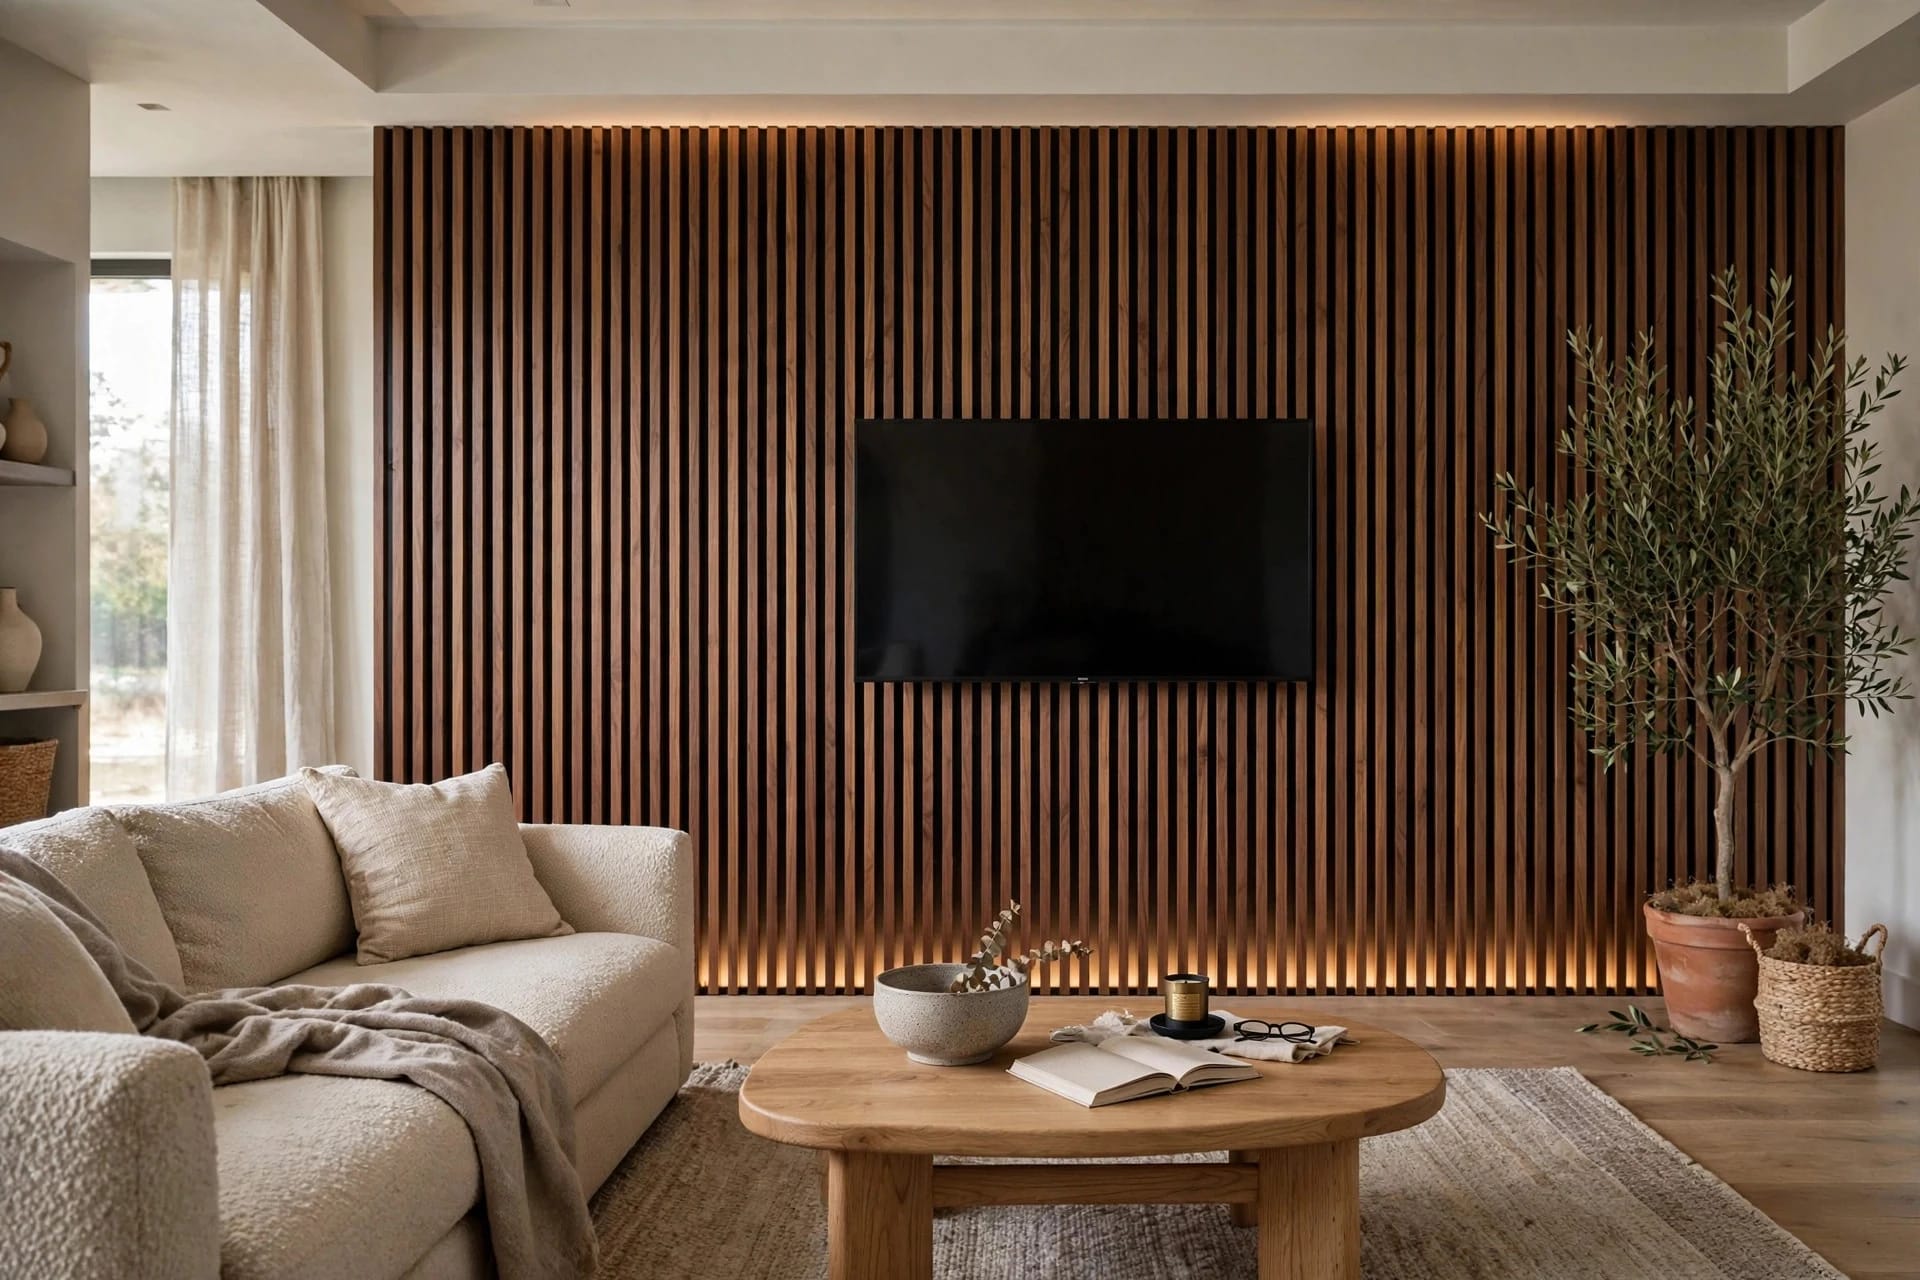
The wood slat wall is the rare trend that earns its popularity. Vertical battens over a dark backing add depth, rhythm, and a faint echo-taming quality that flat paint can't imitate — and unlike most "statement walls," it suits a rental-sized budget as comfortably as a renovation. It is also a project with two genuinely different routes, and picking the wrong one for your skills and wall is how people end up $400 in with a half-finished grid of pine.
Route one: build it from raw lumber, slat by slat. Route two: buy ready-made acoustic panels — wood veneer slats pre-mounted on felt backing — and screw them up in an afternoon. This guide prices both honestly for the same wall, gives you the spacing math, and covers the install details that decide whether the result looks architectural or arts-and-crafts.
Key Takeaways
- DIY lumber route: roughly $230–$380 for a 12×8 ft wall, one full weekend
- Ready-made panel route: roughly $600–$1,300 for the same wall, one afternoon
- Spacing sweet spot: slats 1½–2¼ in wide with a ½–¾ in gap
- The rule that decides everything: the first slat must be perfectly plumb — every following slat inherits its error
Table of Contents
- The two routes, honestly compared
- What each route really costs
- Spacing math: how many slats you actually need
- The felt question: looks vs real sound absorption
- Step 1: Finish the wood before it goes up
- Step 2: Set the first slat dead plumb
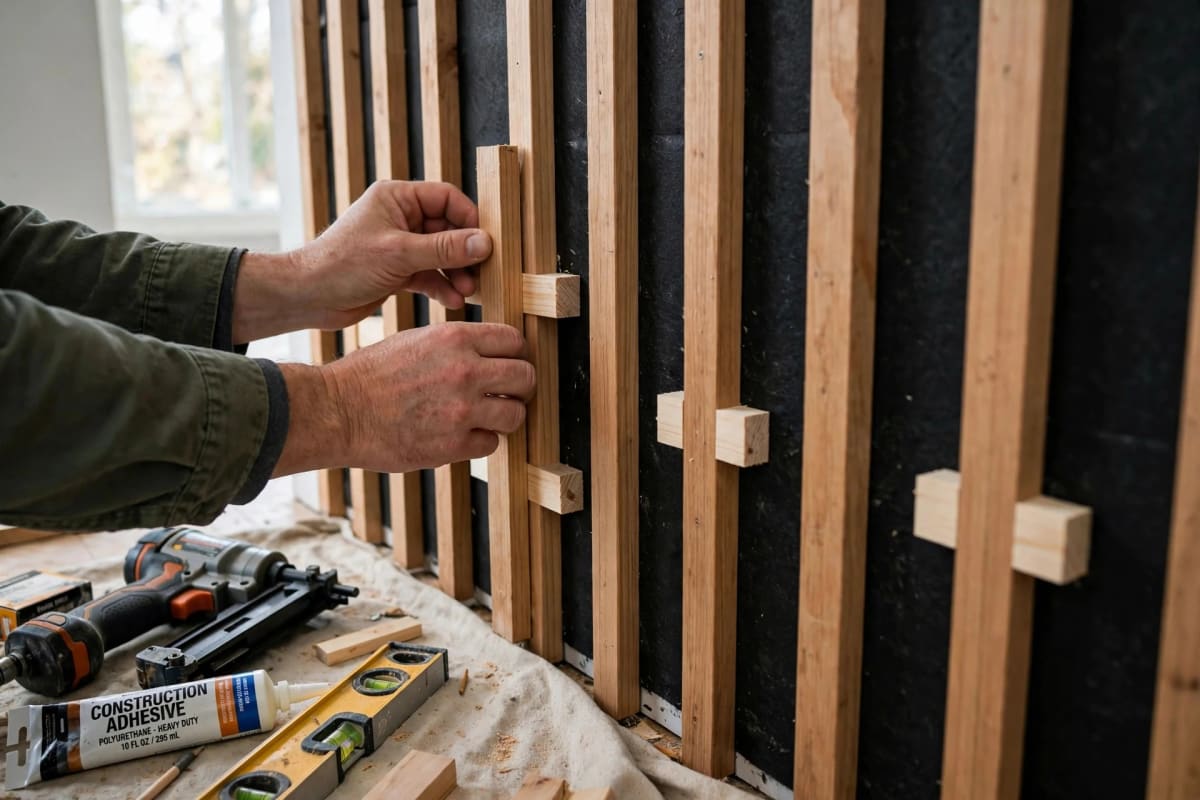
- Step 3: Work across with spacers, not hope
- Step 4: Baseboards, outlets, and the edges
- The renter version: build it on plywood
- Mistakes that give DIY away
- FAQ
The two routes, honestly compared
DIY from lumber means buying 1×2 or 1×3 boards (pine and poplar are the budget species; white oak is the splurge), cutting them to ceiling height, finishing them, and fixing each one to the wall over a painted-dark or felt-covered surface. You control everything — species, stain, spacing, budget — and you do every bit of the labor. A wall takes a weekend: day one for cutting and finishing, day two for installation.
Ready-made acoustic panels arrive as wide boards — commonly around 24 × 48 in or roughly 25 × 94 in — with veneer slats already stapled to a PET felt backing. You cut them to height, screw through the felt into studs, and butt the next panel against the first. The slat spacing is factory-consistent, the finish is factory-applied, and a wall takes an afternoon. What you give up is choice (a handful of finishes) and money (two to four times the DIY cost).
Neither route is the "real" one. Panels look more uniform; lumber looks more bespoke and can match an exact stain. The deciding factors are your wall size, your patience for repetitive cuts, and whether the felt backing's acoustics matter to you.
What each route really costs
Priced for one 12 ft wide × 8 ft high wall (96 sq ft):
DIY lumber route
- 1×2 pine slats at a 2¼ in pitch: 64 slats × 8 ft ≈ 512 linear ft — buying 8-ft boards, roughly $190–$260 depending on grade
- Backing: dark matte paint ($25) or PET felt sheets ($60–$100)
- Construction adhesive, brads, spacers: ~$30
- Stain/oil finish: ~$20
- Total: ≈ $230–$380
Ready-made panel route
- Panels at roughly $50–$110 per 8 sq ft of coverage: 96 sq ft needs 12 small panels or about 6 tall ones — ≈ $600–$1,300 depending on brand and finish (oak veneer sits at the top of the range)
- Screws and a saw blade for trimming: ~$15
- Total: ≈ $615–$1,315
The gap is real, but so is the labor gap: the DIY route is 60+ individual pieces to cut, sand, finish, and align. Price your weekend honestly before choosing.
Spacing math: how many slats you actually need
The rhythm of a slat wall comes from one repeated unit: slat width + gap width = the pitch. Divide the wall width by the pitch and you get your slat count.
- Nominal 1×2 lumber is actually ¾ × 1½ in. Mounted with the wide face out, the slat shows 1½ in.
- A ¾ in gap with a 1½ in slat gives a 2¼ in pitch → a 144 in wall needs 64 slats.
- Want a airier look? A 1 in gap (2½ in pitch) drops the count to about 58 and shows more backing.
- Ready-made panels typically run slats around ¾–1 in wide with ½ in gaps — a denser, more uniform rhythm than most DIY layouts.
Ratios worth knowing: a 2:1 slat-to-gap ratio reads refined and calm; 1:1 reads bold and graphic. Below a ½ in gap, dusting between slats becomes a chore you will resent; above 1 in, the backing dominates and the wall starts to read as stripes rather than slats. And whatever pitch you choose, it must divide your wall cleanly — adjust the gap by a fraction rather than ending with one orphaned narrow space at the corner. That orphan is the first thing guests see.
The felt question: looks vs real sound absorption
Felt backing does two jobs. Visually, it gives the gaps a deep, matte, shadow-like read — the same effect you get painting the wall near-black behind DIY slats. Acoustically, PET felt genuinely absorbs a portion of reflected sound; panel makers cite figures around 50% absorption of sound waves hitting the panel, and the clap test in an echoey room confirms a real, if modest, softening.
Be clear about the limit, though: slat panels reduce echo inside the room; they do not soundproof it. Nothing about a ¾-inch slat and 9 mm of felt will stop a neighbor's television coming through the wall. Buy them for reverb and looks, in that order, and you won't be disappointed. For a TV wall or home office that sounds harsh on calls, felt-backed coverage behind the seating or desk zone — even 40–60% of the wall — is where the audible difference lives.
Step 1: Finish the wood before it goes up
For the DIY route: cut every slat to length first, then sand and stain or oil them on sawhorses, not on the wall. Finishing in place means stain wicking into the gaps, drips on the backing, and sanding dust ground into fresh felt. Pre-finished slats also let you cull the warped and ugly boards before they're attached — set aside spares, because replacing one damaged slat later is a five-minute job only if its twin is in the garage. A light chamfer or a quick pass along each edge with 180-grit stops splinters and softens the highlights down each batten.
Step 2: Set the first slat dead plumb
Every installer says it because it's true: the first slat dictates the whole wall. Walls and ceilings are rarely square, so don't trust the corner — snap or draw a true vertical line with a level or laser, and set slat one on it. Fix it with construction adhesive plus two or three brads or screws into studs where possible. Then walk across the room and look at it. If slat one leans, slat sixty-four leans four times as visibly.
Panels skip some of this risk — the slats are pre-aligned on the felt — but the first panel must still start plumb, or the seams stair-step their way across the wall.
Step 3: Work across with spacers, not hope
Cut two spacer blocks at exactly your gap width (a scrap of plywood ripped to ¾ in is perfect) and use them between every pair of slats, top and bottom. Eyeballing gaps produces the slow drift that ends in the orphan-space problem from the spacing section. Check plumb again every fifth slat or so; small corrections early are invisible, large corrections late are not. Press adhesive-mounted slats firmly for a full 30 seconds, and add brads on textured walls where glue alone can't grip.

Step 4: Baseboards, outlets, and the edges
Three details separate finished from nearly:
- Baseboards. Either run slats all the way to the floor (remove the baseboard behind them, add a slim shoe moulding if you like) or stop the slats neatly on top of the existing baseboard. Both are legitimate; the unfinished look is slats ending at random heights above it. Decide before slat one, because it changes your cut length.
- Outlets and switches. Mark their positions on your layout before installing. Slats crossing an outlet get notched or split around the box, and the cover plate goes back on over the slats — plan the pitch so a slat doesn't land dead-center on an outlet.
- The perimeter. A ¼–⅜ in shadow gap around the whole installation hides wavy walls and reads as an intentional design detail. For DIY slats ending mid-wall, a single vertical trim piece as a "frame" edge finishes the run cleanly.
The renter version: build it on plywood
Slats don't have to touch your wall at all. Build the whole array on painted plywood or MDF sheets — slats glued and pinned to the panel on the floor, where alignment is easy — then hang each finished panel on the wall with a handful of screws into studs. Four to eight screw holes per panel is a deposit-friendly patch job compared to 64 adhesive strips. It's also how you take the wall with you when you move. More zero-damage ideas live in our renter-friendly wall decor guide, and if slats feel like too much commitment entirely, removable wallpaper scratches a similar accent-wall itch.
Mistakes that give DIY away
- Starting from the corner instead of a plumb line. Corners lie; levels don't.
- Finishing on the wall. Stain in the gaps, forever.
- Inconsistent gaps. Spacers cost one ripped scrap of plywood. Use them.
- Ignoring the backing color. Light drywall showing through the gaps flattens the whole effect — the backing should be dark and matte, whether paint or felt.
- Glossy finish. Satin or matte only; gloss spotlights every alignment wobble and fingerprint.
- Expecting soundproofing. Echo control, yes. Neighbor control, no.
FAQ
How far apart should wood slats be? For 1½ in slats, a ½–¾ in gap (2:1 to 3:1 slat-to-gap ratio) looks refined and hides the backing well. Whatever you choose, use physical spacers so the gap never drifts.
Can I install a slat wall behind a TV? Yes — it's one of the most popular placements. The slats hide cable runs, the felt softens TV audio reflections, and the wall becomes a focal point. Just keep finishes matte to avoid screen glare.
Do wood slat panels really help with sound? They reduce echo and flutter inside the room — speech gets clearer, claps sound shorter. They do not block sound traveling between rooms.
How do I clean between the slats? A vacuum brush attachment weekly, a microfiber cloth for dusting the faces. This is the practical argument against gaps narrower than ½ in.
Slats or picture frame moulding — which first? They solve different walls. Slats add texture and warmth to a media or bedroom wall; picture frame moulding adds classic structure to dining and living rooms for about a quarter of the price. Plenty of houses end up with both, in different rooms — see the full menu in our DIY wall decor guide.
Whichever route you take, the formula is the same: honest math before the first cut, a plumb first slat, and spacers you actually use. The wall does the rest.



