
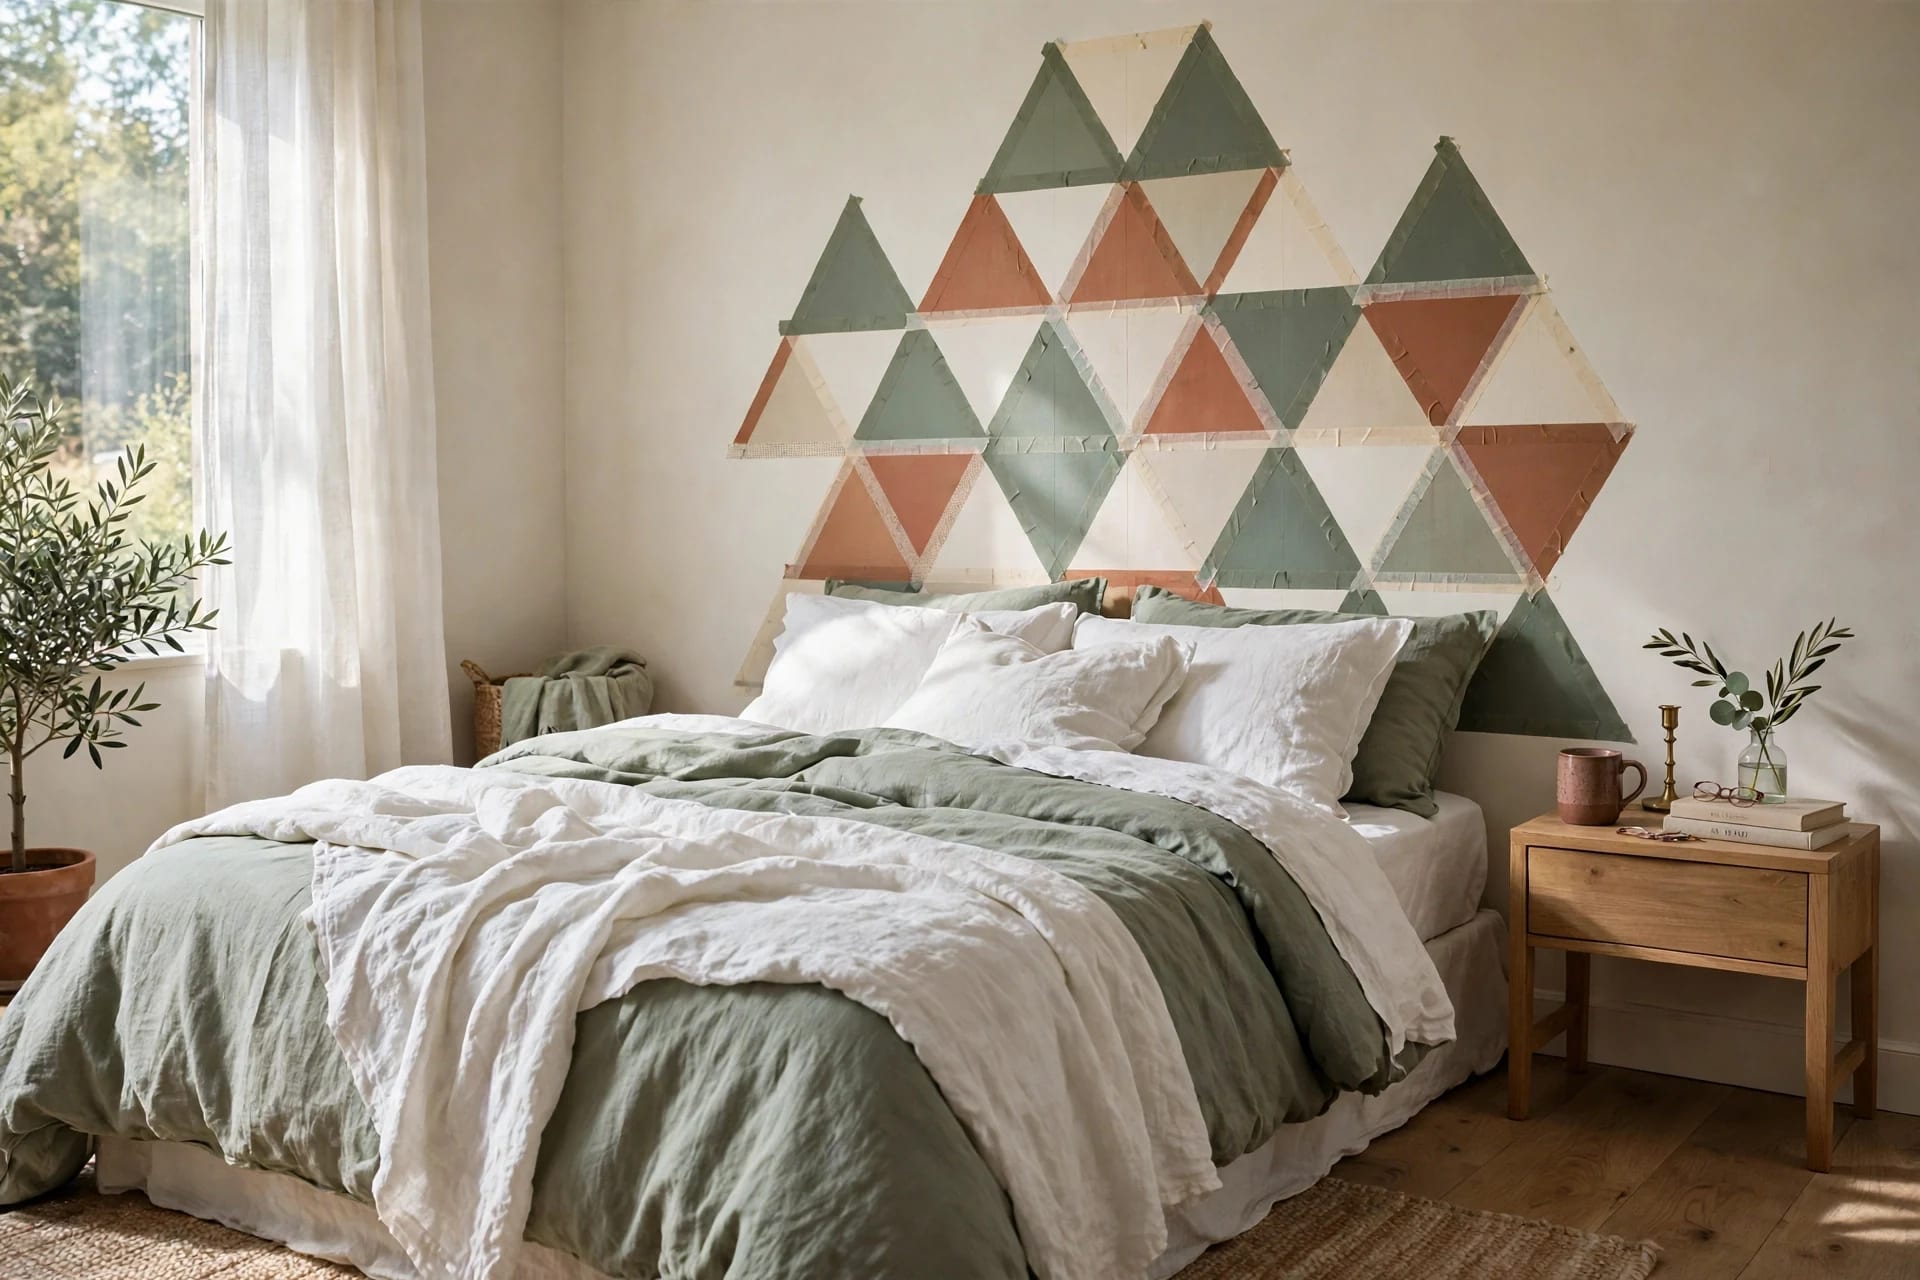
Washi tape is a thin decorative paper tape from Japan, made from natural fibers like rice paper and bamboo. It sticks gently, peels off cleanly, and comes in hundreds of colors and widths. That combination makes it the closest thing to painting an accent wall that a renter can do without ever opening a paint can — and the reason it dominates renter decor on Pinterest, where the same handful of formats get saved over and over: geometric patterns, faux headboards, tape frames, and polka dots.
The difference between washi tape that looks like a design choice and washi tape that looks like a craft project is almost entirely discipline: a limited palette, straight lines, and a pattern with a clear structure. This guide covers the ten patterns that work, the technique that keeps them crisp, and the removal rules that keep your deposit safe.
Key takeaways
- Washi tape is low-tack paper tape: it removes cleanly from most painted walls and can be repositioned while you work.
- The golden rule is two or three colors maximum. A rainbow reads as a craft project; a tight palette reads as a design decision.
- The most-saved formats are geometric patterns, striped accent sections, faux headboards, tape frames, and polka dots.
- Prep matters more than talent: a clean wall, a pencil-and-ruler map, and firm burnishing along every edge.
- Test removal on a hidden spot first, and warm old tape gently with a hairdryer before peeling.
Table of Contents
- Before you buy: what to get
- The technique: crisp lines, clean removal
- 10 patterns that actually work
- Where washi tape works best (and where it does not)
- Removal day: getting your deposit back
- FAQ
Before you buy: what to get
Most rolls cost $2–$5, and a full wall is doable in an afternoon with a handful of them. You do not need a pattern collection — a few rolls in coordinating colors go much further than twenty clashing ones. For one wall, buy:
- Two or three tape colors that already exist in your room (a wall color, a furniture color, one accent).
- Two widths: a standard width for the main lines and a thin one for detail or outlines.
- One metallic — gold or silver — if you want a grown-up finish. Metallic used as a thin accent line against matte colors is the single easiest way to make tape look expensive.
- Tools you already own: a pencil, a ruler or level, scissors, and a credit card for burnishing.
Color choice is where most tape walls go wrong. The rule repeated by every renter guide that does this well is the same: three colors maximum, and they should relate to each other. Pick colors from one family, or one bold color plus one neutral plus one metallic. The moment a fourth unrelated color joins, the wall starts looking like a kindergarten project.
The technique: crisp lines, clean removal
Washi tape forgives mistakes — you can peel a strip and restick it — but it rewards preparation. The difference between wobbly lines and sharp ones is about ten minutes of prep.
Clean the wall first. Wipe away dust with a damp sponge or a cloth with a little rubbing alcohol, then let it dry. Dust under tape is the main reason edges curl later.
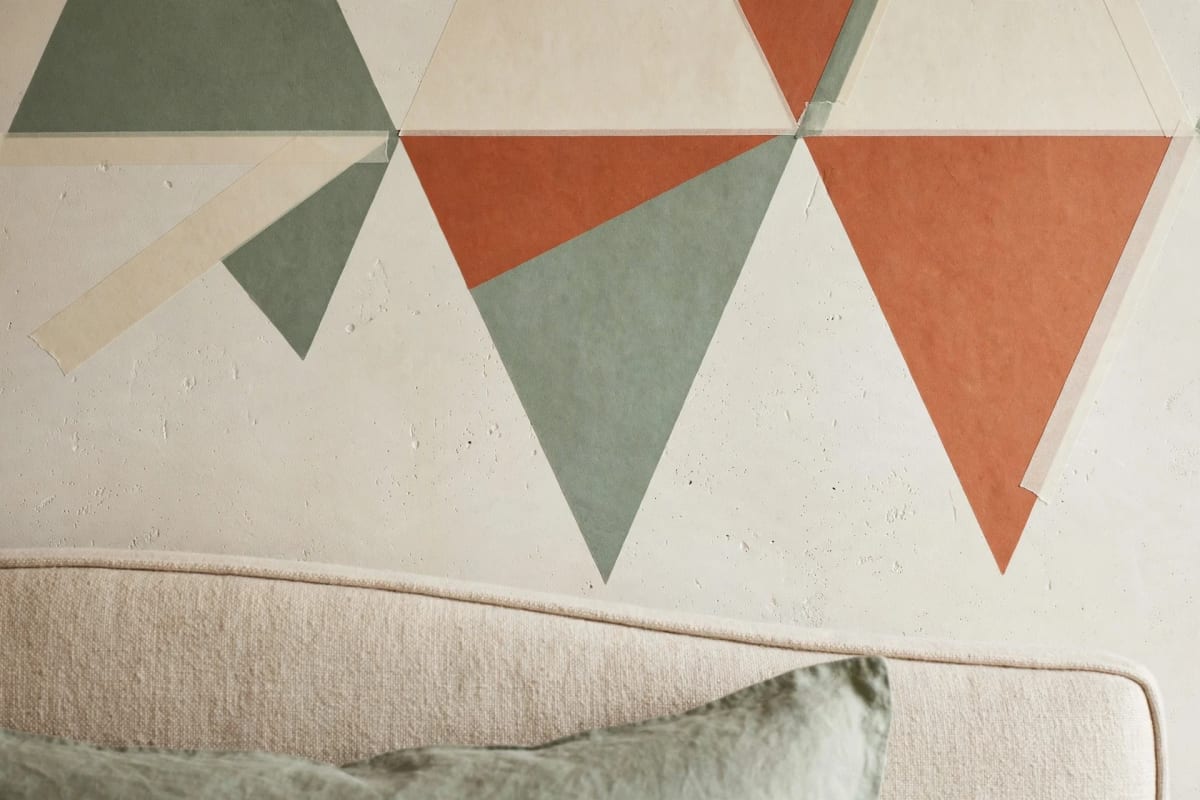
Map it in pencil. Sketch the design lightly with a pencil and ruler before any tape goes up. For geometric patterns, mark the key points and let the ruler guide the tape, not your eye. For a striped section, mark the stripe edges top and bottom so the lines stay parallel all the way down. Pencil marks erase after the tape comes off, and they are the difference between a pattern that looks intentional and one that drifts.
Apply with tension, then burnish. Lay each strip with a little pull so it sits straight, then run a credit card edge firmly along it, pressing the edges down. Burnishing is the step people skip, and it is the step that stops edges lifting and dust collecting underneath — especially on semi-gloss paint, where tape needs the extra help to grip.
Cut, don't tear. Scissors give a clean end. Torn ends fray, and frayed ends lift first. For corners, overlap two strips and cut through both at the angle you want, then peel away the excess — a crisp mitered corner instead of a folded lump.
Work top to bottom, and step back often. Tape walls look different from three feet away than from three inches. Every few strips, walk to the other side of the room and look. A pattern that looks busy up close often resolves beautifully at distance, and a crooked line you cannot see up close will shout from the doorway.
10 patterns that actually work
These are ordered by impact per hour of effort, starting with the easiest win.
1. Geometric triangles and diamonds
The classic, and the most-saved washi format for a reason. Map a grid of triangles or diamonds in pencil, then tape along the lines in two colors, leaving the wall color as the third "color" of the pattern. It works best as a single feature section — behind a bed, behind a desk, or on one hallway wall — rather than on every wall of a room. Keep the shapes large; tiny triangles read as confetti, and confetti reads as clutter.
2. A striped accent section
Vertical or horizontal stripes in varying widths, in two or three tones of one color family, can make a plain wall look styled and even make a small room feel wider (vertical) or longer (horizontal). Mark the stripe edges at the top and bottom of the section and keep the outer edges perfectly straight — the eye forgives a slightly wobbly inner stripe but never a wobbly border.
3. The faux headboard
No headboard? Tape one. A simple rectangular or arched frame behind the bed, in one solid color or a thin double line, gives the bed a finished look for the price of two rolls. This is the highest-impact renter trick in the whole list: one afternoon, one wall, and the bedroom looks furnished in a way it simply did not before. Keep it symmetrical and centered on the bed, and let it rise a little above pillow height.
4. Tape frames for photos and prints
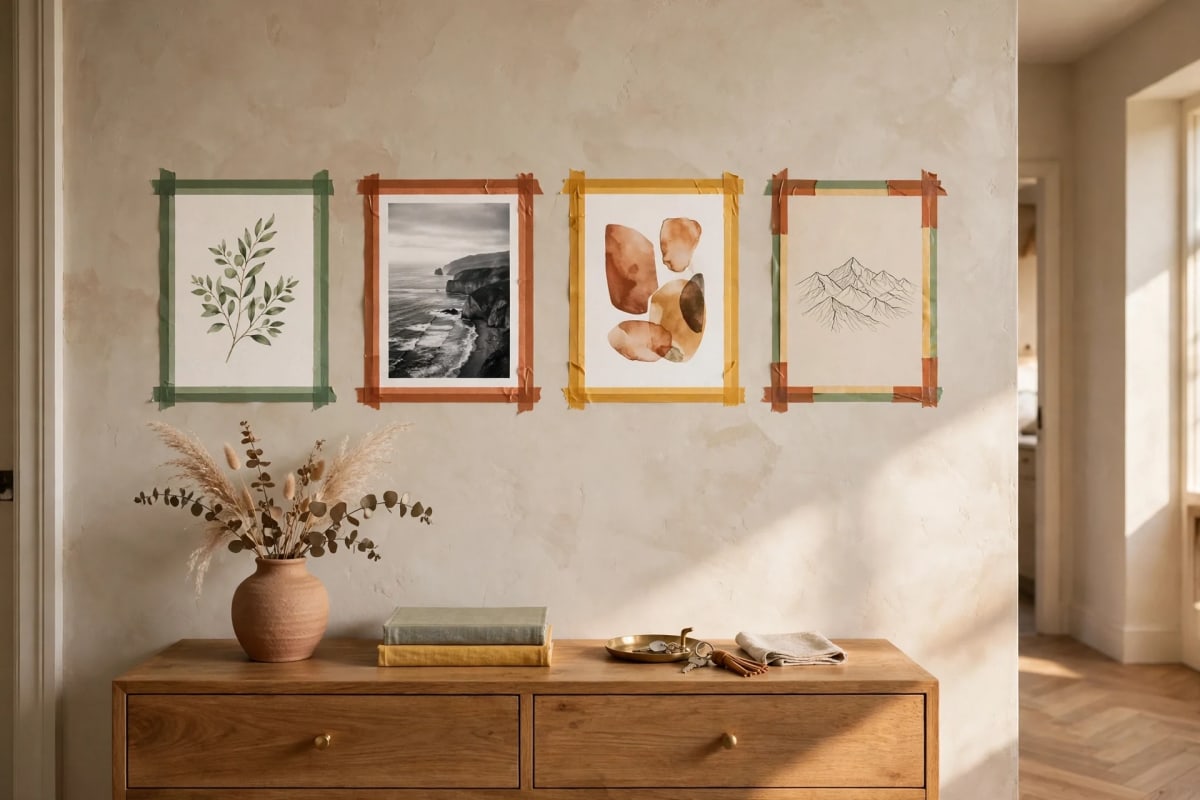
Skip the frames entirely: tape a photo or print to the wall, then build a border around it from tape. A single-color border looks like a mat; a double border in two widths looks like a real frame. This is how you build a gallery wall with zero nails and zero cost per frame, and you can reposition a piece in seconds when the arrangement is not working. For a whole gallery, keep every frame the same tape and width — consistency is what makes a tape gallery look deliberate instead of improvised.
5. Polka dots and confetti
Cut small pieces of tape into dots and scatter them across a wall for a playful, cheerful effect. This one belongs in kids' rooms, craft corners, and home offices — places where playfulness is the point. The discipline rule still applies: one or two colors, and a roughly even spacing. Random placement looks random; a loose grid with slight variation looks designed.
6. A faux entryway zone
In a studio or an open-plan room, tape can draw the entryway that the architecture forgot. A section of wall marked with a simple pattern — plus signs, diamonds, or a single-line border — visually separates the entry from the rest of the room. House Digest's take on this went viral for a reason: it solves a real problem (no defined entry) with nothing but tape and an afternoon. Choose a color that contrasts with the wall so the zone reads clearly.
7. City skyline or silhouette mural
Outline a skyline, a mountain range, or a tree branch in a single dark color — black or deep green — against a pale wall. Silhouettes are forgiving because the eye reads the outline, not the fill, so you do not need drawing skill, just a steady hand and a printed reference to trace from. This is the most sophisticated-looking tape project, and it costs one roll.
8. Minimalist line art
One continuous line, or a few abstract lines, in black or gold tape. This is the gallery look: it asks the least of the tape and gets the most back, because a single confident line on an empty wall reads as art in a way a busy pattern does not. It suits hallways and above consoles, where a big gesture would overwhelm the space.
9. A grid or Scandinavian panel wall
Evenly spaced tape lines forming a grid or a set of panels give a structured, modern, almost architectural feel. This works beautifully in home offices and dining nooks, where order is the aesthetic. Measure carefully — a grid exposes every crooked line — and use the same width tape throughout.
10. Faux wallpaper: a repeating motif
Mimic wallpaper by repeating one small motif — a diamond, a cross, a leaf — across a whole wall in a regular rhythm. This is the most time-consuming pattern on the list, so save it for a small wall: a powder room, a nook, or the wall behind open shelves. On a big wall it becomes a weekend; on a small wall it becomes the room's best feature.
Where washi tape works best (and where it does not)
Best rooms: bedrooms (headboards, geometric feature walls), home offices (grids, dots), kids' rooms (confetti, rainbows, murals that can change as tastes change), hallways (line art, frames), and entryways (faux zones). These are rooms where a temporary, changeable design is a feature, not a compromise.
Best surfaces: smooth painted drywall, glass, mirrors, plain furniture, and doors. Tape grips these well and releases cleanly.
Worst surfaces: heavily textured walls (the tape cannot grip the valleys, so edges lift), fresh paint (wait at least a few weeks — tape on uncured paint can pull it), and walls in direct sun for months on end. UV exposure makes the adhesive brittle over time and harder to remove cleanly, so a south-facing wall that bakes all summer is the one place to think twice.
How long can it stay up? Weeks to months is the comfortable range. Tape left up for a year or more can still come off, but the longer it sits — especially in sun or heat — the more patient the removal needs to be. If you know a design will live somewhere for a year, plan a gentle removal day rather than a fast one.
Removal day: getting your deposit back
This is the part that makes washi tape a renter's tool instead of a risk, and it is simple if you are patient.
- Test first. Peel one small piece in a hidden spot and check the paint underneath before you commit to the whole wall.
- Warm it. A hairdryer on low heat, held a few inches away and moved slowly along the strip, softens the adhesive. This is the single best trick for old tape, and it sharply reduces the chance of lifting paint.
- Peel back slowly, keeping it low. Pull the tape back on itself at a low angle, slowly, rather than yanking it outward. If a section resists, warm it again instead of forcing it.
- Clean up. Any faint residue comes off with a damp cloth or a little rubbing alcohol. Pencil guide marks erase with a soft eraser.
If a design has been up for a very long time and a strip is fighting you, leave it, warm it again, and come back to it. Tape removal rewards patience the way tape application rewards preparation, and both are cheaper than a paint repair.
FAQ
Does washi tape damage walls or paint?
On cured, smooth painted walls, no — it is designed to release cleanly, and it is one of the safest removable options available. The exceptions are fresh paint, heavily textured walls, and tape baked by sun for a very long time. Test a hidden spot first.
How long does washi tape wall art last?
Weeks to months comfortably. It can stay up longer, but removal gets slower with age, heat, and sun exposure. For a design you plan to keep a year, expect a patient, hairdryer-assisted removal day.
Can you reposition washi tape?
Yes — that is its main advantage over vinyl decals. You can peel a strip and restick it several times while you work, though each repositioning weakens the grip slightly, so aim to get it right within a couple of tries.
Is washi tape cheaper than removable wallpaper?
Dramatically. A wall of tape costs a few rolls at $2–$5 each, against a roll of removable wallpaper that costs many times more and cannot be repositioned strip by strip. Tape also lets you design the pattern yourself instead of repeating a print.
What width of washi tape should I buy?
Standard width (around 15 mm) for main lines, thin tape (around 5–6 mm) for outlines and detail, and one wide roll if you are doing stripes or a headboard. Two widths cover nearly every pattern in this guide.
Can washi tape go on furniture and doors too?
Yes. It works on smooth furniture, doors, mirrors, and even light-switch covers, which makes it useful for tying a room's theme together — a tape detail on a plain door or a mirror frame can echo the wall design for almost no extra cost.
For the rest of a no-damage decorating plan, see Renter-Friendly Wall Decor and Damage-Free Wall Decor, and if you like the idea of a temporary pattern on a bigger scale, Removable Wallpaper Ideas covers the next step up. Tape frames pair naturally with the layouts in Gallery Wall Layouts and Small Gallery Wall Ideas.



